
Closing your pool for winter is not as simple as tossing on a cover and walking away. If you skip the proper steps, you could face cracked plumbing, a green swamp in spring, or a torn liner from expanding ice. Learning how to winterize an above ground pool step by step saves you hundreds of dollars in repairs and makes your spring opening dramatically easier.
I have helped neighbors and family members close their above ground pools for over a decade, and the process is the same every year once you know what to do. The key is timing, the right chemicals, and protecting every component that water can freeze inside. This guide walks you through the entire process from start to finish.
Whether you live in a region with harsh freezing winters or a milder climate where temperatures dip below freezing only occasionally, this step-by-step guide covers everything you need. You will learn when to close, what supplies to gather, how to balance your water chemistry, and how to protect your pump, filter, skimmer, and liner through the coldest months.
When to Winterize Your Above Ground Pool?
Timing is the single most important factor in a successful pool closing. If you winterize your above ground pool too early, warm fall temperatures can trigger algae growth even after you have added chemicals. If you wait too long, an unexpected hard freeze can damage your equipment before you get the cover on.
The general rule is to close your pool when daytime temperatures consistently stay below 65 degrees Fahrenheit and nighttime temperatures begin dipping into the 40s. For most of the northern United States and Canada, this means closing between mid-September and late October. In southern states, you may not need to close until November or December, if at all.
Watch the forecast closely as fall progresses. You want to complete the full winterization process before the first hard freeze, which is when temperatures drop below 28 degrees Fahrenheit for several hours. Leaving your pool open through one light frost is fine, but a hard freeze with water still inside your pump and hoses can crack them overnight.
If you live in a region where temperatures never drop below freezing, you may not need a full winterization at all. Many pool owners in Florida, southern Texas, and parts of Arizona simply reduce their pump run time and continue minimal chemical maintenance through winter. I cover the differences between these approaches in detail later in this guide.
Tools and Supplies You Will Need
Gathering everything before you start makes the process go smoothly and prevents mid-project trips to the pool store. Here is the complete checklist of what you need to winterize an above ground pool.
Chemicals:
Pool winterizing kit (or individual chemicals)
Chlorine or non-chlorine pool shock
Winter algaecide
Stain and scale preventer (sequestering agent)
pH increaser and decreaser
Total alkalinity increaser
Calcium hardness increaser
Phosphate remover (optional but recommended)
Equipment and Accessories:
Winter pool cover (sized for your pool)
Air pillow (also called an ice compensator)
Skimmer winterizing plate or plug
Threaded winterizing plugs for return jets
Cover cable and winch or cover clips
Cover pump (for removing rainwater and snowmelt)
Water testing kit or test strips
Tools:
Pool brush and telescoping pole
Pool vacuum or manual vacuum head
Skimmer net
Adjustable wrench or pliers
Screwdriver set
Shop vac or air compressor (for blowing out lines)
Tarp or containers for storing removed equipment
Having all of these items ready before you begin saves you from scrambling halfway through. I keep a dedicated storage bin with my winterizing chemicals and plugs so nothing gets misplaced between seasons.
How to Winterize an Above Ground Pool Step by Step
This is the core process. Follow these eight steps in order, and do not skip any of them. Each step builds on the previous one, and cutting corners is what leads to spring headaches.
Step 1: Deep Clean the Pool
Start with a thorough cleaning about a week before you plan to close. Skim the surface to remove all leaves, bugs, and debris. Brush the walls and floor to loosen any attached algae or dirt, then vacuum the entire pool bottom.
Cleaning matters because organic material left in the pool over winter will decompose and consume your winterizing chemicals. Leaves and debris sitting on the floor for months create stains that are nearly impossible to remove in spring. A clean pool means your chemicals stay effective longer.
If you have significant algae growth, treat it with a shock treatment first and wait 24 to 48 hours before proceeding. Do not close a green pool. The algae will only get worse over winter and turn your spring opening into a major battle.
Step 2: Test and Balance the Water Chemistry
About two to three days before closing, test your water and adjust the chemistry to winter closing levels. You want the water properly balanced so your chemicals work effectively and your liner and equipment stay protected through the off-season.
Target these closing levels:
pH: 7.4 to 7.6
Total alkalinity: 80 to 120 ppm
Calcium hardness: 200 to 400 ppm
Chlorine: 2.0 to 4.0 ppm (test before adding closing chemicals)
Adjust each level one at a time, waiting the recommended time between additions. Run the pump for at least an hour after each adjustment to circulate the chemicals. I recommend retesting the next day to confirm everything is in range before moving on.
Balanced water prevents scale buildup on your pool walls and corrosion of metal components during winter. It also ensures your winterizing chemicals perform at full strength throughout the cold months.
Step 3: Add Winterizing Chemicals
Once your water is balanced, it is time to add the winterizing chemicals. This is where many pool owners get confused about timing, so let me be clear: add chemicals while the pump is still running and before you lower the water level. This allows the chemicals to circulate fully.
Start with a phosphate remover if you are using one. Phosphates are the primary food source for algae, and removing them gives you a significant head start on algae prevention. Wait about an hour after adding it before moving on.
Next, add a stain and scale preventer (sequestering agent). This keeps minerals from depositing on your liner over winter, especially in areas with hard water. Run the pump for 30 minutes after adding.
Then shock the pool. Use either chlorine-based or non-chlorine shock according to the package directions for your pool size. Pour it slowly around the perimeter of the pool while the pump runs. Keep the pump running for at least one hour after shocking to ensure full distribution.
Finally, add your winter algaecide. This is the last chemical you add, and it provides long-lasting algae protection through the winter months. Do not add algaecide at the same time as shock because high chlorine levels can reduce algaecide effectiveness. Wait at least a few hours between them.
Many pool owners use a pre-packaged winterizing kit that includes the right amounts of shock, algaecide, and stain preventer for their pool size. These kits take the guesswork out of measuring and are convenient for first-time pool closers.
Step 4: Lower the Water Level
After chemicals have circulated for at least a few hours (ideally overnight), it is time to lower the water level. This step is critical for preventing ice damage to your skimmer and return fittings.
For pools with a through-wall skimmer, lower the water to 4 to 6 inches below the skimmer opening. This prevents water from sitting in the skimmer housing where it can freeze and crack the plastic. If your pool uses an intex-style removable skimmer that hangs on the wall, you can leave the water slightly higher.
Lower the water using your filter pump on the waste or drain setting, or use a submersible pump. Do not drain the pool completely. You should never drain an above ground pool entirely for winter because the water weight helps hold the pool walls in place and prevents the liner from shrinking and pulling away from the walls.
This is a common question I see in pool owner forums. The short answer: yes, you can and should winterize an above ground pool without removing water. In fact, draining it completely risks wall collapse and liner damage.
Step 5: Remove and Store Accessories
With the water level lowered, remove all pool accessories and store them properly. Take out the ladder, removing the bolts or pins that hold it in place. Clean and dry the ladder before storing it in a garage or shed.
Remove the pool skimmer basket and store it indoors. Take out the return jet eyeball fitting if your pool has one. Remove any pool cleaners, vacuums, thermometers, floating chlorine dispensers, and games from the water.
Disconnect all hoses connected to the pump and filter system. This includes the hose from the skimmer to the pump and the hose from the filter to the return jet. Drain all water from these hoses completely, because any water left inside will freeze and split the hoses.
Clean and dry everything before storing. I recommend labeling each hose and fitting with a permanent marker or masking tape so reassembly in spring goes quickly. Store all small parts in a sealed bag or container to prevent loss.
Step 6: Drain and Winterize the Pump and Filter
This step protects your most expensive pool equipment from freeze damage. The process varies slightly depending on your filter type, but the principle is the same: remove all water from the system.
Start by turning off the power to the pump at the circuit breaker. Never work on the pump with the power still connected. Remove the pump strainer basket and drain plug, letting all water drain out of the pump housing.
For a sand filter, set the multiport valve to the winterize position if it has one. This prevents internal damage from trapped water. Remove the drain cap at the bottom of the filter tank and let all water drain out. Leave the drain cap off for winter, storing it somewhere you will find it in spring. Some pool owners add a sand filter winterizing solution to prevent the sand from clumping.
For a cartridge filter, remove the cartridge element and clean it thoroughly with a hose. Let the cartridge dry completely, then store it indoors. Drain the filter tank completely and leave the drain plug out.
For a DE (diatomaceous earth) filter, backwash the filter to remove the DE powder. Then open the filter tank, remove the grid assembly, and clean it. Drain the tank completely. Store the grids indoors if possible, or leave the drain plug out if storing outside.
If you live in a particularly cold climate, consider removing the entire pump and filter assembly and storing it indoors. This provides maximum protection. At minimum, cover the pump with a waterproof cover to protect the motor from moisture.
Step 7: Protect the Skimmer and Return Jets
With the equipment drained, you need to seal the openings in the pool wall. This prevents water from entering the plumbing lines where it could freeze and cause damage.
For the skimmer, install a skimmer winterizing plate. This is a flat plate that screws or snaps over the skimmer face, creating a watertight seal. Alternatively, you can use a skimmer winterizing plug that inserts into the skimmer opening. Either method prevents water from accumulating in the skimmer housing.
Some pool owners also place a half-filled plastic bottle (like an antifreeze bottle, cleaned out) inside the skimmer to absorb ice expansion. This is an extra layer of protection in very cold climates.
For the return jets, remove the eyeball fitting and install a threaded winterizing plug. These rubber or plastic plugs screw into the return fitting opening and create a watertight seal. Make sure the plug is tight enough that it will not pop out from ice pressure.
Do not use regular pool return fittings as winterizing plugs. They are not designed to hold back ice pressure. Use dedicated winterizing plugs rated for freeze protection.
Step 8: Install the Air Pillow and Winter Cover
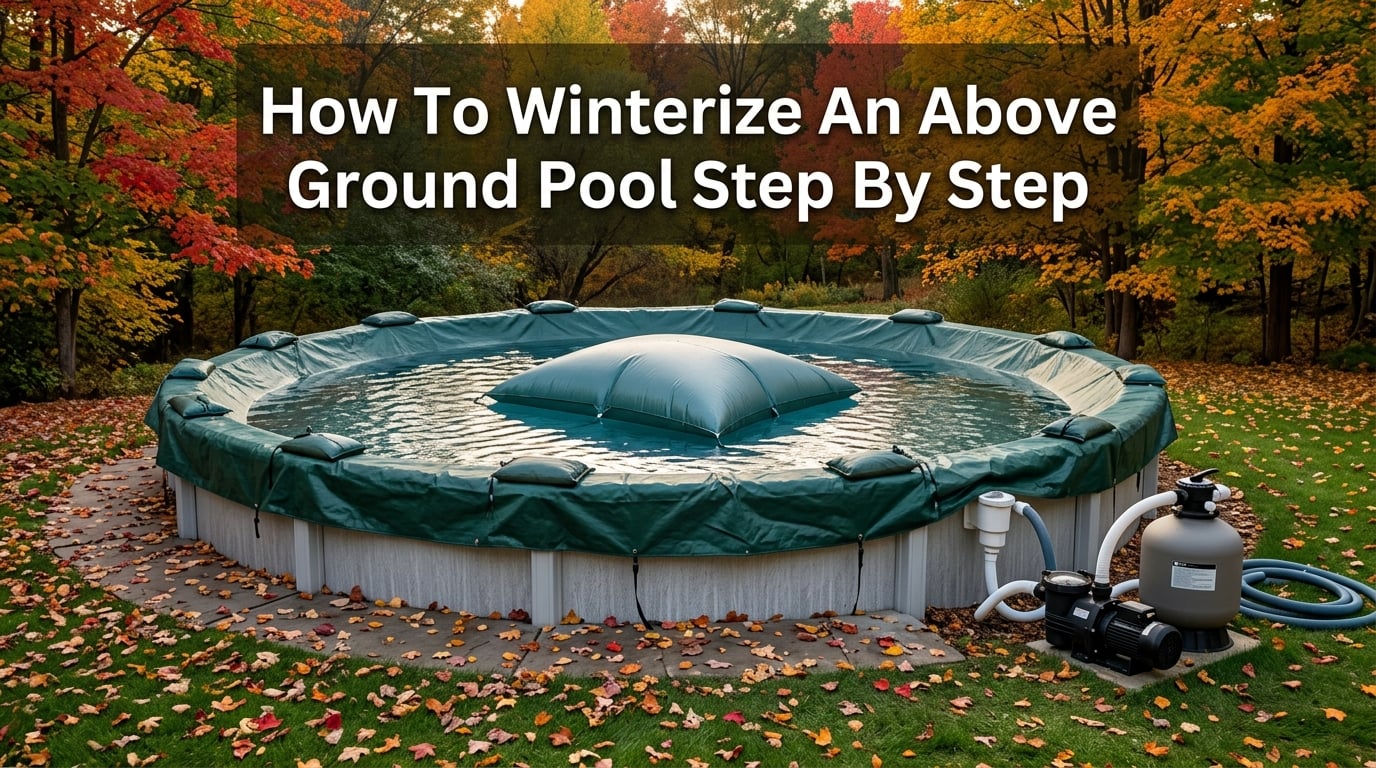
The final step is installing your air pillow and winter cover. The air pillow sits in the center of the pool and serves two purposes: it absorbs ice expansion to protect your pool walls, and it keeps the cover raised in the center so rainwater runs off to the sides instead of pooling in the middle.
Inflate the air pillow to about 60 percent capacity. Do not fully inflate it because cold temperatures will cause the air to contract and an over-inflated pillow can pop. Secure the pillow in the center of the pool using string or rope tied to the pool uprights on opposite sides. The pillow should float centered on the water surface.
For oval or rectangular pools, you may need two air pillows positioned evenly. Round pools typically need one pillow in the center. Some pool owners in very cold climates use multiple pillows for extra ice protection.
Now install the winter cover. Lay it out over the pool, making sure it is centered with equal overhang on all sides. Feed the cover cable through the grommets or loops around the cover edge and tighten it using the cable winch. The cover should be snug against the pool wall.
For extra security, use cover clips along the top rail of the pool. These plastic clips hold the cover tight and prevent wind from lifting it. In windy areas, cover clips are essential because a loose cover will tear or blow off entirely.
Place a cover pump on top of the cover to automatically remove rainwater and snowmelt. Excess water on top of the cover is the number one cause of cover tears and pool wall damage. Check the cover weekly during fall and after any significant storm.
How to Winterize Different Filter Types
Your filter is the most expensive component of your pool system, and winterizing it correctly depends on the type. Here is a quick reference for each filter type.
Sand filters are the most common on above ground pools. To winterize, turn off the pump, set the multiport valve to the winterize position, and remove the drain plug at the bottom of the tank. Let all water drain out completely. Leave the drain plug and pressure gauge removed for winter. If your filter does not have a winterize setting on the valve, simply leave the valve in any position and ensure the tank is fully drained.
Cartridge filters require a bit more work. Open the filter tank clamp or ring, remove the lid, and take out the cartridge. Hose down the cartridge until it is clean, then let it dry completely. Store the cartridge indoors where it will not freeze. Drain the filter tank fully and leave the drain plug out.
DE filters need the most attention. Backwash the filter to remove the old DE powder. Then disassemble the filter, remove the grid assembly, and clean each grid with a hose. Inspect the grids for tears or damage and replace if needed. Drain the tank completely. Store the grids and drain plug indoors if possible.
Regardless of filter type, always remove the pressure gauge and sight glass if your filter has them. These small components can trap water and crack when frozen. Store them in a labeled bag with the drain plug.
Freezing vs Non-Freezing Climate Differences
Not every pool owner faces the same winter challenges. The winterization process differs significantly depending on your climate, and understanding these differences helps you avoid unnecessary work or dangerous shortcuts.
In freezing climates where temperatures regularly drop below 32 degrees Fahrenheit, full winterization is mandatory. This means following all eight steps outlined above, including lowering the water level, draining all equipment, and sealing all wall openings. Skipping any step in a freezing climate risks cracked plumbing, split hoses, and damaged equipment.
In non-freezing or mild climates, such as the Sunbelt region, you have more options. Some pool owners in areas like southern California, Arizona, and Florida keep their pools running all year. They simply reduce pump run time to a few hours per day and maintain normal chemical levels. Others do a partial closing where they keep the water full, run the pump occasionally, and use a lightweight leaf cover instead of a heavy winter cover.
If you choose to keep your pool open in a mild winter, you still need to monitor the weather. An unexpected freeze in a normally warm region can damage equipment that was not winterized. Keep an eye on the forecast and be prepared to at least drain the pump and hoses if a hard freeze warning is issued.
The general guideline: if your area experiences more than a few days of freezing temperatures per year, do a full winterization. The small effort is worth the peace of mind and equipment protection.
Common Winterization Mistakes to Avoid
Over the years, I have seen the same mistakes repeated by pool owners of all experience levels. Avoiding these errors will save you money and frustration.
Closing the pool too early. If you close in August or early September while temperatures are still warm, algae can bloom even with winterizing chemicals in the water. Warm water and sunlight feed algae growth, and your pump is not running to circulate chemicals. Wait until temperatures consistently stay below 65 degrees.
Not balancing the water chemistry. Adding shock and algaecide to unbalanced water is like painting a dirty wall. The chemicals will not work properly, and you will open to a green pool in spring. Always test and adjust pH, alkalinity, and calcium hardness before adding winterizing chemicals.
Skipping the air pillow. The air pillow is not optional in freezing climates. Without it, ice forms as a solid sheet and expands outward against your pool walls, potentially causing structural damage. The pillow compresses as ice expands, absorbing that force.
Not draining the pump and filter completely. Even a small amount of water left in the pump housing can freeze and crack the housing, which is an expensive replacement. Take the time to drain every component and remove every drain plug.
Letting water accumulate on top of the cover. A winter cover with a foot of water on top of it weighs hundreds of pounds. This weight can pull the cover down into the pool, damage the top rails, and even collapse pool walls in extreme cases. Use a cover pump and check it regularly.
Using the wrong plugs. Regular return fittings and drain plugs are not designed for winter freeze protection. Use dedicated winterizing plugs and skimmer plates made for this purpose. They create a better seal and withstand ice pressure.
Winter Maintenance During the Off-Season
Closing your pool is not the end of your responsibilities. A few minutes of maintenance each month during winter prevents major problems and makes your spring opening much smoother.
Check your cover at least every two weeks during fall when leaves are falling. Remove leaves and debris from the cover surface using a leaf net or soft broom. Leaves left on the cover absorb moisture, get heavy, and can cause the cover to sag or tear.
Use your cover pump to remove standing water after rainstorms or snowmelt. Never let more than an inch or two of water accumulate on the cover. If you do not have an automatic cover pump, use a small submersible utility pump to remove water manually.
In snowy climates, carefully remove heavy snow accumulation from the cover using a soft push broom. Do not use metal shovels or sharp tools that could puncture the cover. The weight of accumulated snow can be enormous and should not be ignored.
Periodically check that the cover cable or clips are still secure. Wind and ice can loosen the cover over time. Tighten as needed to keep the cover snug against the pool wall.
If you notice the air pillow has deflated, you may need to add air through the cover. Use a long pole to reposition the pillow or add air without removing the entire cover if possible. A deflated pillow provides no ice protection.
FAQs
What do you put in an above ground pool to winterize?
To winterize an above ground pool, you add shock (chlorine or non-chlorine), winter algaecide, stain and scale preventer, and optionally a phosphate remover. Many pool owners use a pre-packaged winterizing kit that contains the right amounts of each chemical for their pool size. Add these chemicals while the pump is running and before you lower the water level.
When closing a pool, do I put chemicals in before or after draining water?
Always add winterizing chemicals before lowering the water level. The pump needs to be running to circulate the chemicals throughout the pool. Once the chemicals have circulated for at least a few hours (ideally overnight), then you can lower the water level below the skimmer. Adding chemicals to a partially drained pool with the pump off results in poor distribution.
What chemicals do you need to open an above ground pool after winter?
To open your pool in spring, you typically need chlorine shock, algaecide, pH increaser or decreaser, total alkalinity increaser, calcium hardness increaser, and a metal sequestering agent. Test the water first, then balance pH and alkalinity before adding shock and algaecide. Run the pump for 24 hours before retesting and making additional adjustments.
How to winterize an above ground pool without removing water?
You should never drain an above ground pool completely for winter. Instead, lower the water level 4 to 6 inches below the skimmer, add winterizing chemicals, drain and store the pump and filter, plug the skimmer and return jets, and install a winter cover with an air pillow. The remaining water protects the liner and provides structural support for the pool walls through winter.
Can you leave water in an above ground pool during winter?
Yes, you absolutely should leave water in your above ground pool during winter. Draining it completely risks wall collapse, liner shrinkage, and structural damage. The water weight holds the walls in place and keeps the liner snug. You only lower the water level a few inches below the skimmer to protect plumbing and fittings from ice damage.
What temperature should you winterize your above ground pool?
Start the winterization process when daytime temperatures consistently stay below 65 degrees Fahrenheit and nighttime temperatures dip into the 40s. Complete all steps before the first hard freeze, which is when temperatures drop below 28 degrees Fahrenheit for several hours. Closing too early risks algae growth, while closing too late risks freeze damage to equipment.
Conclusion
Learning how to winterize an above ground pool step by step is one of the most important skills a pool owner can develop. The process comes down to eight core steps: clean the pool, balance the chemistry, add winterizing chemicals, lower the water level, remove accessories, drain the pump and filter, protect the skimmer and return jets, and install your air pillow and winter cover.
Do it right once, and your spring opening becomes a simple matter of pulling off the cover, reconnecting the pump, and balancing the water. Skip steps or rush the process, and you will spend your first warm weekend of the year scrubbing algae and replacing cracked equipment.
If this is your first time closing a pool, do not be intimidated. The process takes about half a day, and once you have done it once, it becomes routine. Gather your supplies, wait for the right temperature window, and follow each step in order. Your pool, your liner, and your equipment will all thank you when spring arrives.