
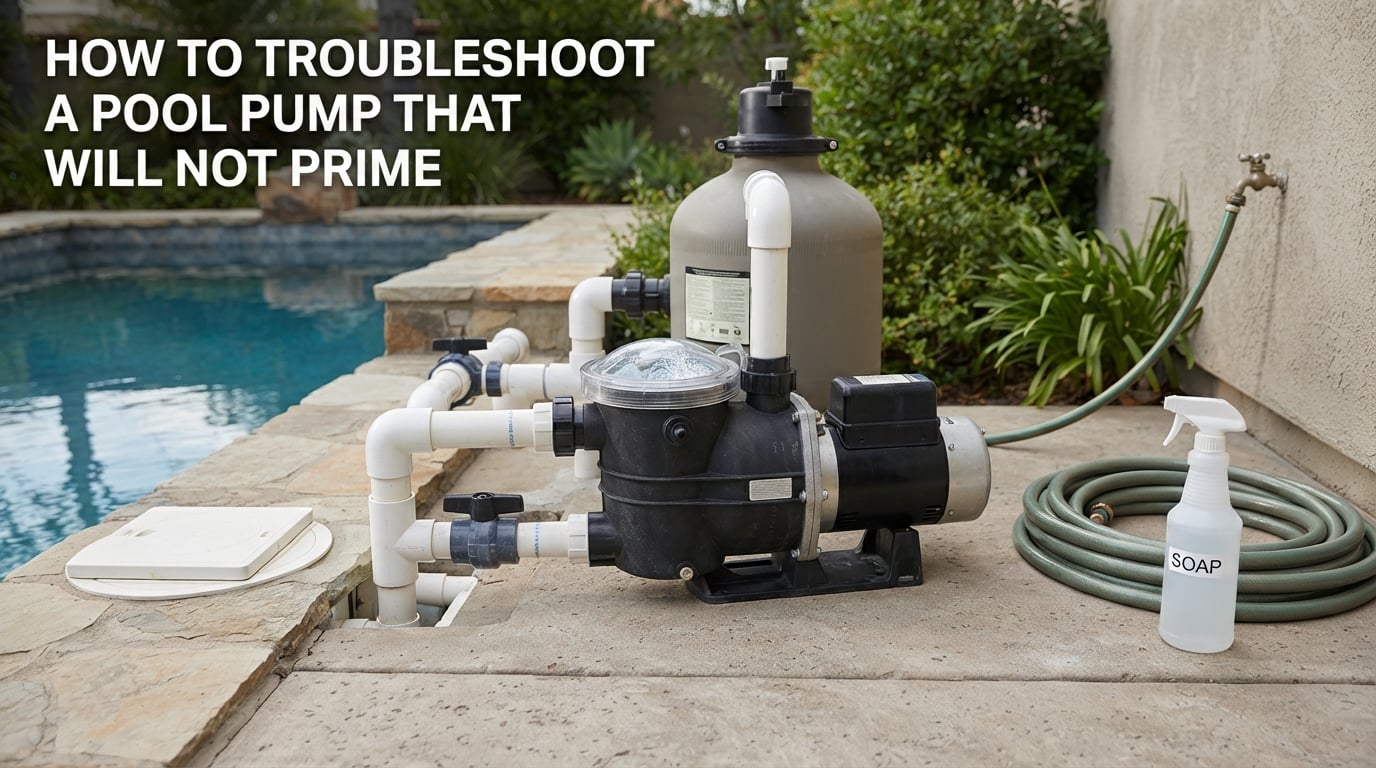
A pool pump that will not prime is one of the most frustrating problems a pool owner can face. You flip the switch, the motor hums, but no water moves through the system. I have helped dozens of pool owners work through this exact issue, and in nearly every case, the fix takes less than 30 minutes once you know where to look.
Learning how to troubleshoot a pool pump that will not prime saves you service call fees and gets your pool back to normal fast. The problem almost always comes down to one of a handful of common causes: low water level, a dirty basket, a worn O-ring, an air leak, or a clogged impeller.
This guide walks you through every step in order, starting with the simplest fixes first. You do not need any special tools for most of these checks. A few minutes of systematic troubleshooting will solve the vast majority of priming problems.
Quick Diagnostic Checklist: 5 Most Common Causes
If your pool pump will not prime, work through this checklist before doing anything else. These five issues account for roughly 90% of all priming failures I see:
Low pool water level – Water must reach at least the midpoint of the skimmer opening for the pump to draw properly.
Dirty or clogged baskets – A full skimmer basket or pump strainer basket chokes off water flow to the pump.
Worn pump lid O-ring – Even a tiny gap in the O-ring seal lets air into the system and prevents priming.
Stuck skimmer weir door – A weir door that is stuck closed or open blocks the flow of water from the pool to the pump.
Suction-side air leak – Air entering through plumbing joints, threaded fittings, or valve stems breaks the vacuum the pump needs to pull water.
Work through these in order. Most pool owners find their answer within the first three items.
What “Priming” Actually Means
Priming a pool pump means removing all the air from the pump housing and suction lines so the pump can fill completely with water. A centrifugal pool pump needs water inside the housing to create the suction that pulls more water from the pool. When air fills the system instead, the pump spins but moves nothing.
Think of it like a drinking straw. If the straw is full of air, sipping does nothing until you get liquid flowing. Once the straw fills with water, the suction works as intended. Your pool pump works the same way.
There is also a difference between catching prime and maintaining prime. Catching prime means the pump successfully fills with water when first turned on. Maintaining prime means the pump holds that water and keeps circulating even after running for hours. A pump that catches prime but then loses it after a few minutes usually has a different problem than one that never primes at all.
When a pump runs dry without prime, it can damage the mechanical shaft seal, warp the impeller, or even burn out the motor. That is why addressing priming issues quickly matters so much.
How To Troubleshoot A Pool Pump That Will Not Prime: Step-by-Step
Follow these nine steps in order. Each one builds on the last, moving from the simplest and most common fixes to more complex issues. Stop at the step that solves your problem.
Step 1: Check the Pool Water Level
This is the single most common reason a pool pump will not prime, and it is also the easiest to fix. Your pool water level needs to sit at least at the midpoint of the skimmer opening, ideally around two-thirds up. If the water drops below the skimmer throat, the skimmer pulls in air instead of water.
Grab your garden hose and fill the pool to the proper level. Then wait a few minutes for the water to settle before trying to prime the pump again. If the water level was the problem, your pump should prime normally once the skimmer is fully submerged.
This issue comes up most often during hot summer weeks when evaporation rates spike. It also happens after backwashing, which removes pool water along with the debris from your filter.
Step 2: Inspect and Clean the Skimmer and Pump Baskets
A clogged skimmer basket or pump strainer basket restricts water flow and can stop the pump from priming entirely. Leaves, grass, hair, and debris accumulate quickly during peak swimming season.
Turn off the pump before doing anything. Remove the skimmer lid at the poolside and pull out the basket. Empty it completely and rinse it with a hose. Check for cracks in the basket itself, since a cracked basket lets debris through to the pump.
Next, open the pump lid and remove the strainer basket inside the pump housing. Clean it the same way. While you have the basket out, feel inside the pump housing for any debris that slipped past the basket. Even a small handful of leaves in the housing can block the impeller intake.
Step 3: Check the Skimmer Weir Door
The weir door is the small flap at the front of your skimmer that floats on the water surface. It prevents debris from floating back into the pool when the pump shuts off and helps maintain a steady flow of water to the pump when it runs.
If the weir door sticks shut, the skimmer cannot draw water. If it sticks open, the skimmer pulls air along with the water. Either situation prevents the pump from priming.
Reach into the skimmer and manually move the weir door back and forth. It should swing freely. If it feels stuck, debris is likely trapped in the hinge. Remove the weir (most pop out with a firm tug) and clean the hinge area. If the weir is warped or broken, replace it. A new weir door costs only a few dollars and solves a surprisingly common priming problem.
Step 4: Inspect the Pump Lid and O-Ring
The pump lid O-ring is the seal that keeps air out of the pump housing. Even a tiny imperfection in this seal will prevent the pump from priming. This is one of the most common causes of priming failure, and it is easy to overlook because the O-ring may look fine at a glance.
Remove the pump lid and pull out the O-ring. Run it between your fingers and feel for flat spots, cracks, or stretches. If black rubber rubs off on your fingers, the O-ring is deteriorating and needs replacement. Even if it looks intact, age and heat cause the rubber to lose its flexibility and seal poorly.
Clean the O-ring with a damp cloth and inspect the groove where it sits in the lid. Wipe out any sand, dirt, or debris. Apply a thin coat of silicone lubricant (never petroleum-based products, which degrade rubber) and reinstall the O-ring.
Check the pump lid itself for cracks, especially if you have a clear acrylic lid. Hairline cracks let air in but are nearly invisible. If you suspect a cracked lid, the soapy water test in Step 6 will confirm it.
When you reinstall the lid, hand-tighten only. Over-tightening distorts the O-ring and actually makes the seal worse.
Step 5: Check Valve Settings
If your pool has a diverter valve in front of the pump, incorrect settings can prevent water from reaching the pump. The diverter valve controls how much water comes from the skimmer versus the main drain.
If the valve is fully closed on the skimmer side, the pump has no water source from the skimmer. If it is set to pull entirely from a main drain that is blocked or partially buried, the pump may struggle to prime.
Open all suction valves fully and try priming the pump. Once the pump primes and runs normally, you can adjust the valve settings to your preferred balance. If your pump only primes when pulling from one suction source, you likely have a problem with the other suction line.
Also check that any valve stems are tight. A loose valve stem can draw air into the suction side of the system.
Step 6: Test for Suction-Side Air Leaks
Air leaks on the suction side of the pump are the most common cause of persistent priming problems. The suction side is everything between the pool and the pump inlet, including skimmer lines, main drain lines, valves, and fittings.
Here is the most effective way to find an air leak using the dish soap method:
Turn on the pump with the lid off and the pump pot filled with water.
Mix a few drops of dish soap with water in a spray bottle.
Spray the soapy solution generously around the pump lid, O-ring groove, valve stems, and all visible fittings on the suction side.
Watch closely for bubbles forming or being sucked inward at any point.
Any spot where the soap gets sucked in or bubbles form is a leak point.
You can also run a garden hose around the pump lid and fittings while the pump runs. If the pump suddenly catches prime when water flows over a particular joint, you have found your leak.
Common leak points include the pump lid O-ring (already covered in Step 4), threaded fittings on the intake side, valve stem packing nuts, and union O-rings. Tighten threaded fittings or apply thread sealant where needed. Replace any union O-rings that look worn.
Step 7: Inspect Plumbing Joints and Threaded Fittings
If the soap test did not reveal an air leak at the pump, the problem may be in the plumbing between the pool and the pump. This is harder to diagnose without professional equipment, but you can still check the visible portions.
Inspect all glued PVC joints for hairline cracks, especially at elbows and connection points. Look for wet spots or mineral deposits around joints, which indicate slow leaks that can also draw air when the pump runs.
Check threaded fittings at the pump inlet and outlet. Threaded connections need Teflon tape or thread sealant to create an airtight seal. If a fitting was installed without sealant or the sealant has degraded, air will enter the system.
Drain plugs on the pump housing are another common leak point. Remove each drain plug, apply Teflon tape to the threads, and reinstall firmly. These plugs are often overlooked during seasonal maintenance.
Step 8: Check for a Clogged Impeller
If you have worked through Steps 1 through 7 and the pump still will not prime, the impeller may be clogged. The impeller is the spinning component inside the volute housing that actually moves the water through the pump.
Debris that gets past the baskets, such as small twigs, pine needles, or hair, can wrap around the impeller vanes and block water flow. When this happens, the pump may sound normal but move very little or no water.
Turn off power to the pump at the breaker. Remove the pump lid and basket. Reach your fingers into the hole at the back of the pump housing (the impeller intake). You should feel smooth vanes. If you feel debris, carefully pull it out with needle-nose pliers or a bent wire.
Try spinning the impeller by reaching in and turning it. It should spin freely. If it feels stuck or grinds, the impeller may be damaged and need replacement. Some pumps have an access screw on the back of the motor housing that lets you reach the impeller from the motor side. Check your pump manual for specific instructions.
Step 9: Check Variable Speed Pump Settings
Variable speed pumps have become increasingly popular, and they introduce a unique priming challenge. These pumps need to run at a higher speed to initially prime the system before dropping to a lower, more efficient speed for normal operation.
If your variable speed pump is programmed to start at a low speed, it may not generate enough suction to pull water through the system and push air out. Check your pump programming and set the priming speed to the highest setting for the first few minutes of operation.
Most variable speed pumps have a priming mode in their settings menu. Set the priming speed to around 2,500 to 3,000 RPM for 2 to 5 minutes, then let the pump ramp down to your normal operating speed. This gives the pump the power it needs to clear air from the lines.
If your pump is installed above the pool water level, priming becomes even more dependent on having the correct startup speed. The higher the pump sits above the water, the harder it has to work to pull water uphill during the priming cycle.
How To Prime a Pool Pump the Right Way
Once you have addressed the underlying issue, you need to manually prime the pump to get water flowing again. Here is the process that works for almost every pool pump:
Turn off the pump at the breaker.
Remove the pump lid and take out the strainer basket.
Clean the basket and reinstall it.
Fill the pump pot (the housing where the basket sits) with water from a garden hose until it reaches the top.
Reinstall the pump lid and hand-tighten it securely.
Open the air relief valve on top of your filter.
Turn the pump on at the breaker.
Watch through the clear pump lid. Within 30 to 60 seconds, water should replace the air in the housing.
Close the air relief valve on the filter once water starts spraying out instead of air.
If the pump does not prime after two attempts, go back to the troubleshooting steps. Repeating the fill-and-start cycle without fixing the root cause will not solve the problem.
When To Call a Pool Professional
Most priming issues are fixable with the steps above. However, some problems require professional tools and expertise. Call a pool service technician if you encounter any of the following:
An underground suction line leak requires pressure testing equipment to locate and professional repair to fix. If you have checked everything visible and the pump still loses prime within minutes of starting, the leak may be underground.
A cracked pump housing needs professional replacement. Hairline cracks in the volute or strainer housing can be nearly impossible to see but let in enough air to prevent priming. A technician can pressure-test the housing to confirm.
Electrical issues, while less common, can also cause priming problems. If the pump hums but does not reach full speed, you may have a failing capacitor, a bad centrifugal switch, or a motor winding problem. These require electrical diagnosis and are best left to a qualified technician.
Seasonal Priming Tips
At pool opening time in spring, your pump has been sitting idle for months. The system is full of air, and seals may have dried out over the winter. Plan to replace the pump lid O-ring at the start of each season as preventative maintenance. It costs a few dollars and prevents hours of frustration.
After backwashing your filter, the system can lose prime if air enters through the multiport valve. Always turn off the pump before changing valve positions and re-prime the pump after backwashing if needed.
During peak summer months, check your baskets twice a week. Heavy debris loads from trees, storms, and increased swimming activity clog baskets faster than you might expect.
How To Troubleshoot A Pool Pump That Will Not Prime: FAQs
How to prime a stubborn pool pump?
Fill the pump pot with water from a garden hose, reinstall the lid securely, open the filter air relief valve, and turn on the pump. If it does not catch prime within 60 seconds, turn it off and repeat. Check the O-ring, baskets, and water level first. For stubborn cases, use the garden hose trick: run water over the pump lid and fittings while the pump runs to temporarily seal small air leaks and help the pump catch prime.
How to fix a pool pump that won’t prime?
Work through these steps in order: check the pool water level, clean the skimmer and pump baskets, inspect the pump lid O-ring for wear, check the weir door, test for air leaks with soapy water, inspect plumbing fittings, and check the impeller for debris. Roughly 90% of priming problems come from low water level, dirty baskets, or a worn O-ring.
How do I get an airlock out of my pool pump?
Turn off the pump, remove the lid, fill the pump pot completely with water, reinstall the lid, open the filter air relief valve, and restart the pump. The water you add displaces the trapped air. If air keeps returning, you have a suction-side air leak that needs to be located and sealed before the airlock will stay cleared.
What would cause a pool pump to lose prime?
The most common causes are a low pool water level, clogged skimmer or pump baskets, a worn or dry pump lid O-ring, a stuck weir door, suction-side air leaks at threaded fittings or valve stems, a clogged impeller, or incorrect valve settings. Variable speed pumps set to start at too low a speed can also lose prime.
Why is my pool pump not pulling water?
Your pump is likely not pulling water because of air in the system, a clog blocking flow, or the pump running dry. Check the water level first, then clean both baskets. Inspect the pump lid O-ring for wear. Look for air bubbles in the pump pot through the clear lid. If the pump sounds like it is running but no water moves, the impeller may be clogged with debris.
Conclusion
Knowing how to troubleshoot a pool pump that will not prime comes down to working through a simple checklist. Start with the water level, move to the baskets, inspect the O-ring, check the weir door, and then test for air leaks. In the vast majority of cases, one of these steps will reveal the problem.
The dish soap method for detecting air leaks is a technique every pool owner should keep in their back pocket. Combined with a fresh O-ring and clean baskets, it solves nearly all priming issues without a service call.
Replace your pump lid O-ring at the start of each pool season as cheap insurance against priming headaches. Keep your baskets clean, maintain proper water level, and your pump should prime reliably all season long. If you have worked through every step and the pump still will not hold prime, it is time to call in a professional to check for underground leaks or housing cracks.