
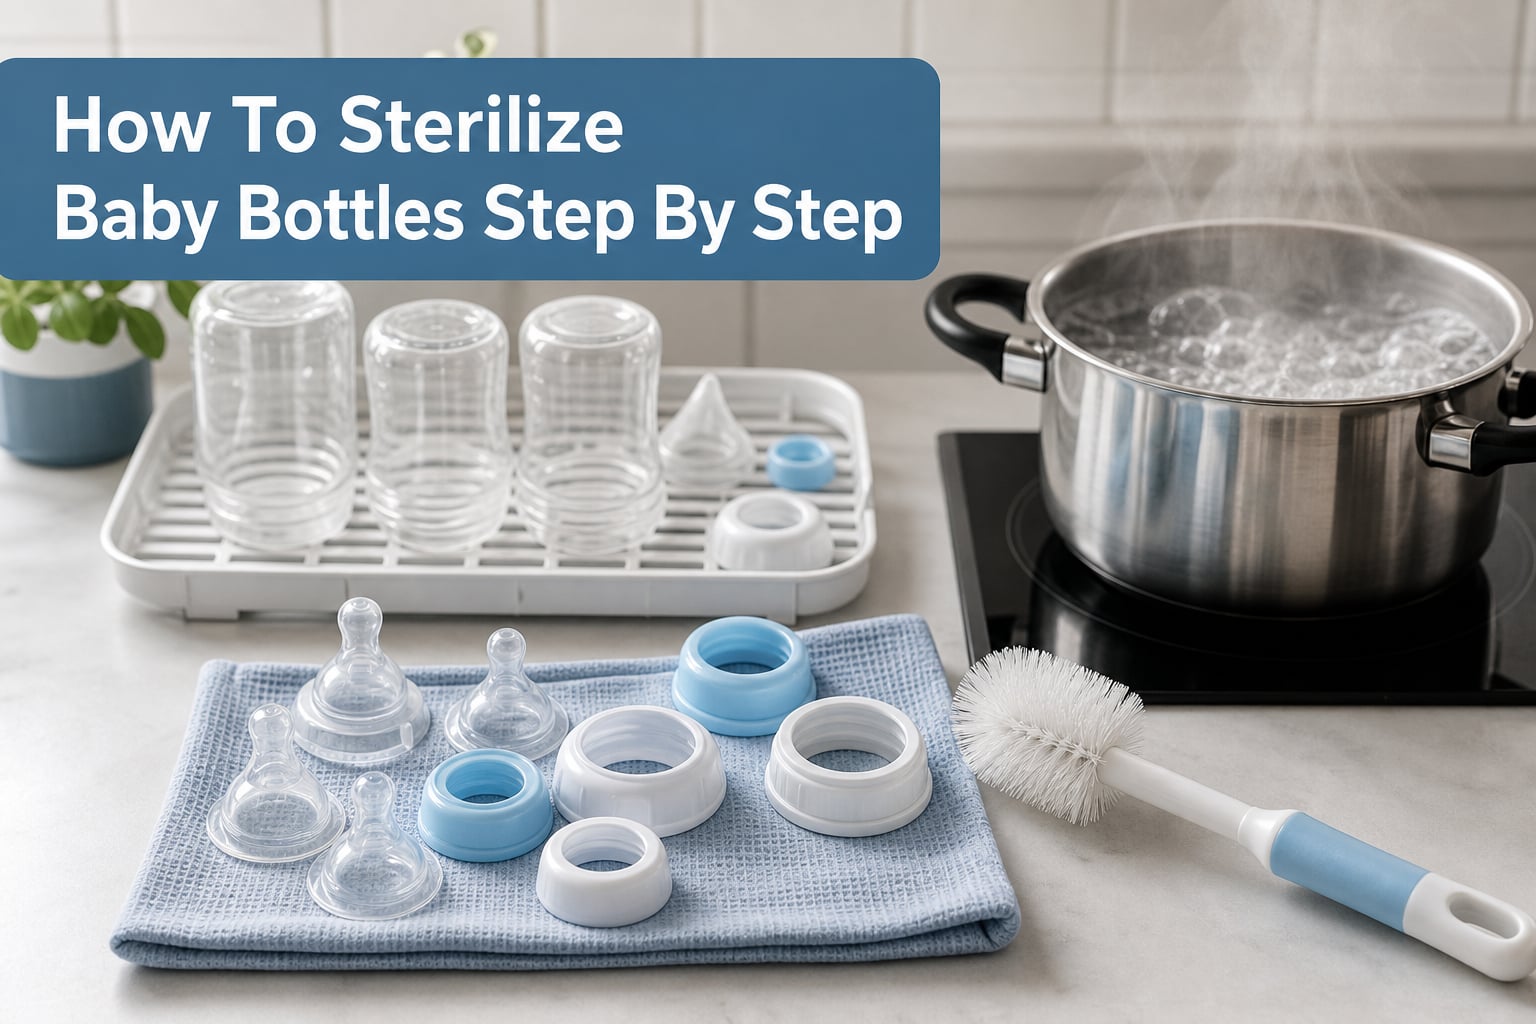
Bringing a new baby home means mastering dozens of new skills, and knowing how to sterilize baby bottles step by step ranks high on that list. Whether you are a first-time parent or refreshing your knowledge, this guide walks you through every sterilization method with clear instructions. I have broken down three proven techniques, from simple boiling to convenient steam options, plus the bleach solution method recommended by the CDC for situations where heat is not available.
Proper bottle sterilization protects your baby from harmful bacteria that can grow quickly in leftover milk or formula. Newborns under 3 months, premature infants, and babies with weakened immune systems face the highest risks from contaminated feeding equipment. This article covers exactly when sterilization matters most, which method works best for your situation, and how to maintain clean bottles between uses.
Why You Need to Sterilize Baby Bottles
Sterilizing baby bottles eliminates harmful bacteria, viruses, and fungi that regular washing leaves behind. Even after a thorough wash with hot water and soap, microscopic germs can linger in hard-to-reach places like nipple holes and bottle threads. These pathogens multiply rapidly when milk residue remains, creating a real health hazard for infants.
Bacteria called Cronobacter pose a particular threat to newborns. This germ thrives in dried formula powder and can survive on improperly cleaned bottle surfaces. According to CDC guidance, Cronobacter infections can cause severe illness in babies under 12 months, with the highest risk for infants under 2 months old. Symptoms include fever, poor feeding, irritability, and in serious cases, blood infections or meningitis.
Your baby’s immune system needs time to mature. During the first few months, infants have limited ability to fight infections that would barely affect an adult. Premature babies and those with health conditions face even greater vulnerability. Sterilization provides that extra layer of protection when their immune defenses are still developing.
Think of sterilization as different from regular cleaning. Washing removes visible milk and formula residue. Sterilizing kills the invisible germs that washing misses. Both steps matter, and skipping either one puts your baby at unnecessary risk.
Sanitize vs Sterilize: Understanding the Difference
Many parents use these terms interchangeably, but they mean different things. Sanitizing reduces bacteria to a safe level, typically removing 99.9 percent of germs. Sterilizing goes further, eliminating virtually all microorganisms including bacteria, viruses, and fungal spores.
For baby bottles, this distinction matters because infants have immature immune systems. What counts as a “safe level” of bacteria for adults might still overwhelm a newborn’s defenses. Sterilization provides complete germ elimination rather than just reduction.
Dishwashers with sanitizing cycles can sanitize bottles effectively, but true sterilization requires either boiling water, steam heat, or chemical disinfection. The methods below achieve proper sterilization for maximum protection.
What You Need Before You Start
Gather your supplies before beginning the sterilization process. You will need:
Clean bottle brush and nipple brush
Hot water and dish soap
Wash basin dedicated to baby items (optional but recommended)
Clean tongs for handling hot bottles
Pot large enough to fully submerge bottles (for boiling method)
Clean drying rack or paper towels
Start by thoroughly washing your hands with soap and water for at least 20 seconds. Clean your workspace and any brushes or basins you will use. A contaminated brush can reintroduce germs to bottles you just sterilized.
Disassemble every bottle completely. Separate the bottle, nipple, ring, cap, and any valves or vents. Milk trapped in assembled parts creates a breeding ground for bacteria. Pull nipples through their rings so the entire surface gets cleaned and sterilized. This step applies to all three sterilization methods.
How to Sterilize Baby Bottles Step by Step: Boiling Water Method
The boiling water method remains the most accessible option for most families. It requires no special equipment beyond a large pot and works for virtually all bottle materials. Here is exactly how to sterilize baby bottles step by step using boiling water:
Step 1: Wash bottles thoroughly. Use hot water and dish soap to clean all disassembled parts. Scrub inside bottles with a bottle brush, paying special attention to the bottom corners where milk collects. Use a nipple brush to clean inside nipples, squeezing soapy water through the holes. Rinse everything completely under running water.
Step 2: Fill a large pot with water. Choose a pot large enough to hold all bottles and parts with at least 2 inches of water covering everything. The bottles should float freely without touching each other. Fill with tap water and bring to a boil.
Step 3: Submerge bottles carefully. Once the water reaches a rolling boil, use clean tongs to place bottles, nipples, rings, and caps into the water. Position bottles upside down so water fills them completely. Make sure no air bubbles remain trapped inside.
Step 4: Boil for exactly 5 minutes. Maintain a rolling boil and set a timer. Five minutes at boiling temperature kills virtually all harmful microorganisms. The CDC confirms this duration provides complete sterilization.
Step 5: Remove with clean tongs. Turn off the heat and carefully remove each item with sterilized tongs. Place bottles and parts on a clean drying rack or a paper towel. Avoid touching surfaces that will contact milk or your baby’s mouth.
Step 6: Air dry completely. Let everything dry thoroughly before assembly. Do not use a dish towel, which can transfer bacteria back onto sterilized surfaces. Once dry, assemble bottles and store in a clean, covered container.
This method works for glass and most plastic bottles marked as safe for boiling. Check manufacturer instructions if you are unsure. Silicone nipples and plastic rings typically handle boiling well, but inspect them regularly for wear.
First-Time Bottle Sterilization
Brand new bottles require sterilization before their first use, even straight from the package. Manufacturing facilities are clean environments, but bottles pass through many hands and packaging materials before reaching your home. Follow the boiling method above, or use any of the other sterilization techniques described next.
How to Sterilize Baby Bottles Step by Step: Steam Sterilization Method
Steam sterilization offers convenience and speed compared to boiling. Electric steam sterilizers and microwave steam bags both use high-temperature steam to kill germs without the monitoring required for stovetop boiling.
Electric Steam Sterilizer Method
Step 1: Clean bottles first. Wash all disassembled parts with hot water and soap, scrubbing thoroughly and rinsing completely.
Step 2: Add water to the sterilizer. Pour the amount specified by your sterilizer’s instructions, typically between 3 and 6 ounces. Follow manufacturer guidelines exactly for best results.
Step 3: Load bottles and parts. Place bottles upside down on the sterilizer rack. Arrange nipples, rings, and caps in designated slots. Avoid overcrowding so steam reaches every surface.
Step 4: Run the sterilization cycle. Close the lid and activate the sterilizer. Most units complete their cycle in 6 to 15 minutes depending on the model.
Step 5: Use immediately or store properly. Most electric sterilizers keep contents sterile for up to 24 hours if the lid remains closed. Remove bottles with clean hands and use within that window, or transfer to a clean, covered container for storage.
Electric steam sterilizers range from compact 4-bottle units to larger models holding 6 to 8 bottles. They work well for daily use and many include auto-shutoff features for safety.
Microwave Steam Sterilizer Method
Step 1: Wash bottles thoroughly. Clean all parts with soap and hot water, scrubbing and rinsing completely.
Step 2: Add water to the sterilizer container. Pour approximately 7 ounces (200 ml) of clean water into the microwave sterilizer base. Check your specific product instructions for exact measurements.
Step 3: Arrange bottles in the container. Place disassembled bottles, nipples, rings, and caps inside. Position bottles upside down so steam fills them.
Step 4: Microwave for the recommended time. Microwave wattage varies, so follow your sterilizer’s guidelines. Typical times range from 2 minutes for high-wattage microwaves to 6 minutes for lower-wattage models.
Step 5: Let steam dissipate before opening. Wait 2 to 3 minutes after the microwave stops before opening the lid. Steam inside is extremely hot and can cause burns.
Step 6: Remove and air dry. Take bottles out with clean hands and let them air dry on a clean surface before assembly.
Microwave sterilizers cost less than electric models and travel well. They work in any microwave, making them convenient for parents on the go.
Microwave Steam Bags for Travel
Steam sterilizer bags offer the ultimate portability for travel. These disposable or reusable bags hold a few bottles at a time and sterilize in the microwave in minutes.
Fill the bag with about 2 ounces (60 ml) of water, add washed bottles and parts, seal tightly, and microwave for 90 seconds to 3 minutes depending on your microwave. Let the bag sit for a minute before carefully opening. These bags work well for hotel rooms and vacations when you cannot bring a full sterilizer.
How to Sterilize Baby Bottles Step by Step: Cold Water Bleach Method
When boiling or steam options are not available, the CDC recommends a bleach solution for effective sterilization. This method works during travel, power outages, or for families without stovetop or microwave access.
Step 1: Wash bottles thoroughly. Clean all disassembled parts with hot water and soap as you would for any sterilization method.
Step 2: Prepare the bleach solution. Mix exactly 2 teaspoons of unscented liquid bleach with 1 gallon of water in a clean container. Use regular unscented household bleach, not splashless or scented varieties. The CDC specifies this ratio for effective disinfection without leaving harmful residue.
Step 3: Submerge all items completely. Place bottles, nipples, rings, and caps into the solution. Push items under the surface, squeezing the solution through nipple holes to eliminate air pockets. Make sure every surface contacts the bleach water.
Step 4: Soak for at least 2 minutes. The CDC confirms that 2 minutes of soaking in the proper bleach solution kills virtually all harmful microorganisms. Some sources recommend longer soaking for extra safety.
Step 5: Remove and rinse thoroughly. Take items out with clean hands and rinse under running water for at least 15 seconds each. The bleach solution is safe after proper rinsing, and no bleach taste should remain.
Step 6: Air dry on a clean surface. Place bottles and parts on a clean paper towel or drying rack. Let them dry completely before use. Do not use a dish towel for drying.
This method works for all bottle materials and requires no heat source. The bleach solution should be prepared fresh each time and discarded after use. Never mix bleach with other cleaners, and ensure adequate ventilation when working with bleach products.
How Often Should You Sterilize Baby Bottles
The frequency of sterilization depends on your baby’s age and health status. Guidelines from health organizations provide clear direction:
For newborns under 3 months: Sterilize bottles after every use. Daily sterilization provides maximum protection during the period when babies are most vulnerable to infections.
For premature infants or immunocompromised babies: Continue daily sterilization regardless of age until your pediatrician advises otherwise. These babies face higher risks from contaminated bottles.
For babies 3 to 12 months: Sterilization remains beneficial but may not be required after every use. Many healthcare providers recommend sterilizing daily or several times per week, combined with thorough washing after each feeding.
For babies over 12 months: Sterilization becomes optional for healthy infants with mature immune systems. Thorough washing with hot water and soap, or dishwasher cleaning, typically provides adequate protection.
Always sterilize: First-use bottles, bottles after illness in the household, bottles used for breast milk storage, and any bottles that have been stored unwashed for more than a few hours.
Consult your pediatrician for personalized guidance based on your baby’s specific health needs. Local water quality and household conditions may also influence their recommendations.
Post-Sterilization: Handling and Storage
Proper handling after sterilization keeps bottles germ-free until their next use. Follow these guidelines to maintain cleanliness:
Air dry completely: Let bottles and parts dry thoroughly on a clean drying rack or paper towel. Do not use dish towels, which can transfer bacteria onto sterilized surfaces. Wet bottles can trap moisture that encourages bacterial growth.
Store in a clean, covered container: Once dry, assemble bottles and place them in a designated clean container with a lid. Some sterilizers include storage lids that keep contents sterile for up to 24 hours.
Use within 24 hours: Re-sterilize bottles that have been stored for more than 24 hours before use. Germs from the air and environment gradually re-contaminate sterile surfaces over time.
Handle with clean hands: Always wash your hands before touching sterilized bottles. The care you take with sterilization gets undermined if you transfer germs during assembly.
Address condensation inside bottles: If moisture accumulates inside stored bottles, pour it out and rinse with boiled, cooled water before use. Condensation itself is not harmful, but standing water can harbor bacteria over time.
When to Stop Sterilizing Baby Bottles
Most pediatricians consider 12 months a reasonable time to stop sterilizing bottles for healthy babies. By their first birthday, infants have more mature immune systems that can handle normal household germs. However, this timeline varies based on individual circumstances.
Continue sterilizing longer if your baby has a weakened immune system, was born prematurely, or has recurring infections. Your pediatrician can assess your baby’s specific risk factors and provide tailored advice.
Many parents transition gradually. You might sterilize bottles weekly rather than daily, or focus sterilization on nipples while washing bottles in the dishwasher. This approach maintains hygiene while reducing workload.
Even after stopping regular sterilization, continue washing bottles thoroughly after each use. Hot water and soap, or a dishwasher with a heated dry cycle, provide effective cleaning for older babies.
Signs Your Baby Bottles Need Replacing
Bottles and nipples do not last indefinitely. Regular sterilization and daily use eventually wear them down, creating potential safety issues. Watch for these signs that bottles need replacing:
Cracks or splits: Any visible cracks in plastic or glass bottles indicate replacement time. Cracks harbor bacteria and can break during use.
Cloudy or discolored plastic: Clear plastic that turns cloudy has undergone chemical changes from repeated heating. This cloudy appearance means the material is degrading.
Stretched or sticky nipples: Nipples that feel sticky, stretchy, or too soft may have deteriorated. Proper nipples should spring back when squeezed.
Cracked nipple holes: Inspect nipple openings for cracks or tears. Damaged holes affect milk flow and can trap bacteria.
Faded measurements or markings: If ounce markings on bottles have faded from repeated sterilization, consider replacement. Clear measurements help you track feeding amounts accurately.
Odors that persist after washing: Bottles that retain a smell even after thorough cleaning may have absorbed residue that cannot be removed.
Inspect bottles and nipples weekly during regular cleaning. Replace items immediately when you notice any of these warning signs. Most manufacturers recommend replacing nipples every 1 to 2 months with daily use.
Common Mistakes to Avoid
Even well-intentioned parents make errors that reduce sterilization effectiveness. Avoid these common pitfalls:
Skipping the pre-wash: Sterilization works on clean surfaces, not dirty ones. Always wash bottles thoroughly with soap and hot water before sterilizing. Milk residue protects germs from heat and steam.
Using dish towels to dry: Dish towels carry bacteria from previous uses. Air drying on a clean surface eliminates this contamination risk entirely.
Over-sterilizing: Excessive boiling can warp plastic bottles and degrade nipples faster than normal. Follow the recommended time limits rather than sterilizing “extra long.”
Not replacing cold water solution: If using the bleach or sterilizing solution method, change the solution every 24 hours. Old solution loses effectiveness and can actually grow bacteria.
Leaving bottles assembled: Germs hide between bottle parts. Disassemble completely before washing and sterilizing to reach every surface.
Touching sterilized surfaces: Handle bottles by their exterior after sterilizing. Avoid touching nipples, bottle interiors, or any surface that contacts milk.
Travel Tips: How to Sterilize Baby Bottles on the Go
Traveling with a baby does not mean sacrificing bottle hygiene. These strategies help you maintain sterilization away from home:
Pack microwave sterilizer bags: These compact bags work in any microwave and sterilize bottles in minutes. Most hotels and vacation rentals have microwaves available.
Use cold water sterilizing tablets: Milton and similar tablets dissolve in water to create a sterilizing solution. Soak bottles for 30 minutes in a clean container. This method requires no electricity.
Pre-sterilize bottles at home: If your trip is short, sterilize bottles before leaving and transport them in a clean, sealed container. Use them within 24 hours.
Consider disposable bottle liners: Some bottle systems offer disposable liners that eliminate the need for sterilization during travel.
Use ready-to-feed formula: Single-serve formula bottles eliminate the need for mixing and sterilizing during short trips.
Plan ahead based on your destination’s resources. A little preparation keeps bottle feeding safe and convenient wherever you travel.
FAQs
How do you sterilize baby bottles for the first time?
To sterilize baby bottles for the first time, wash all parts thoroughly with hot water and soap, then either boil them for 5 minutes in a large pot, use an electric or microwave steam sterilizer, or soak in a bleach solution for 2 minutes. Always sterilize new bottles before their first use, even straight from the package.
What is the safest way to sterilize baby bottles?
All three methods are safe when done correctly. Boiling water for 5 minutes is the most accessible method requiring no special equipment. Steam sterilizers offer convenience and consistent results. The bleach solution method provides a safe alternative when heat is not available. Choose based on your available resources and baby’s specific needs.
Can you just wash baby bottles or do you have to sterilize them?
For newborns under 3 months, premature infants, and immunocompromised babies, sterilization is strongly recommended because their immune systems cannot handle germs that adults easily fight off. For healthy babies over 12 months, thorough washing with hot water and soap typically provides adequate protection. Consult your pediatrician for guidance specific to your baby’s age and health.
Is it better to wash baby bottles in the dishwasher or sterilizer?
A dishwasher with a sanitizing cycle can effectively sanitize bottles, but does not achieve true sterilization. For newborns and high-risk babies, use a sterilizer after dishwasher cleaning. For older babies, dishwasher washing may be sufficient. Sterilizers offer convenience for daily use, while dishwashers handle multiple items at once with minimal effort.
Conclusion
Learning how to sterilize baby bottles step by step gives you confidence that every feeding protects rather than risks your baby’s health. Whether you choose the accessible boiling method, the convenient steam approach, or the bleach solution for situations without heat, proper technique matters. Remember to wash thoroughly before sterilizing, air dry completely, and store bottles in clean containers. As your baby grows and their immune system matures, you can adjust your sterilization routine accordingly. Start with the method that fits your lifestyle best, and establish a consistent routine that becomes second nature.