
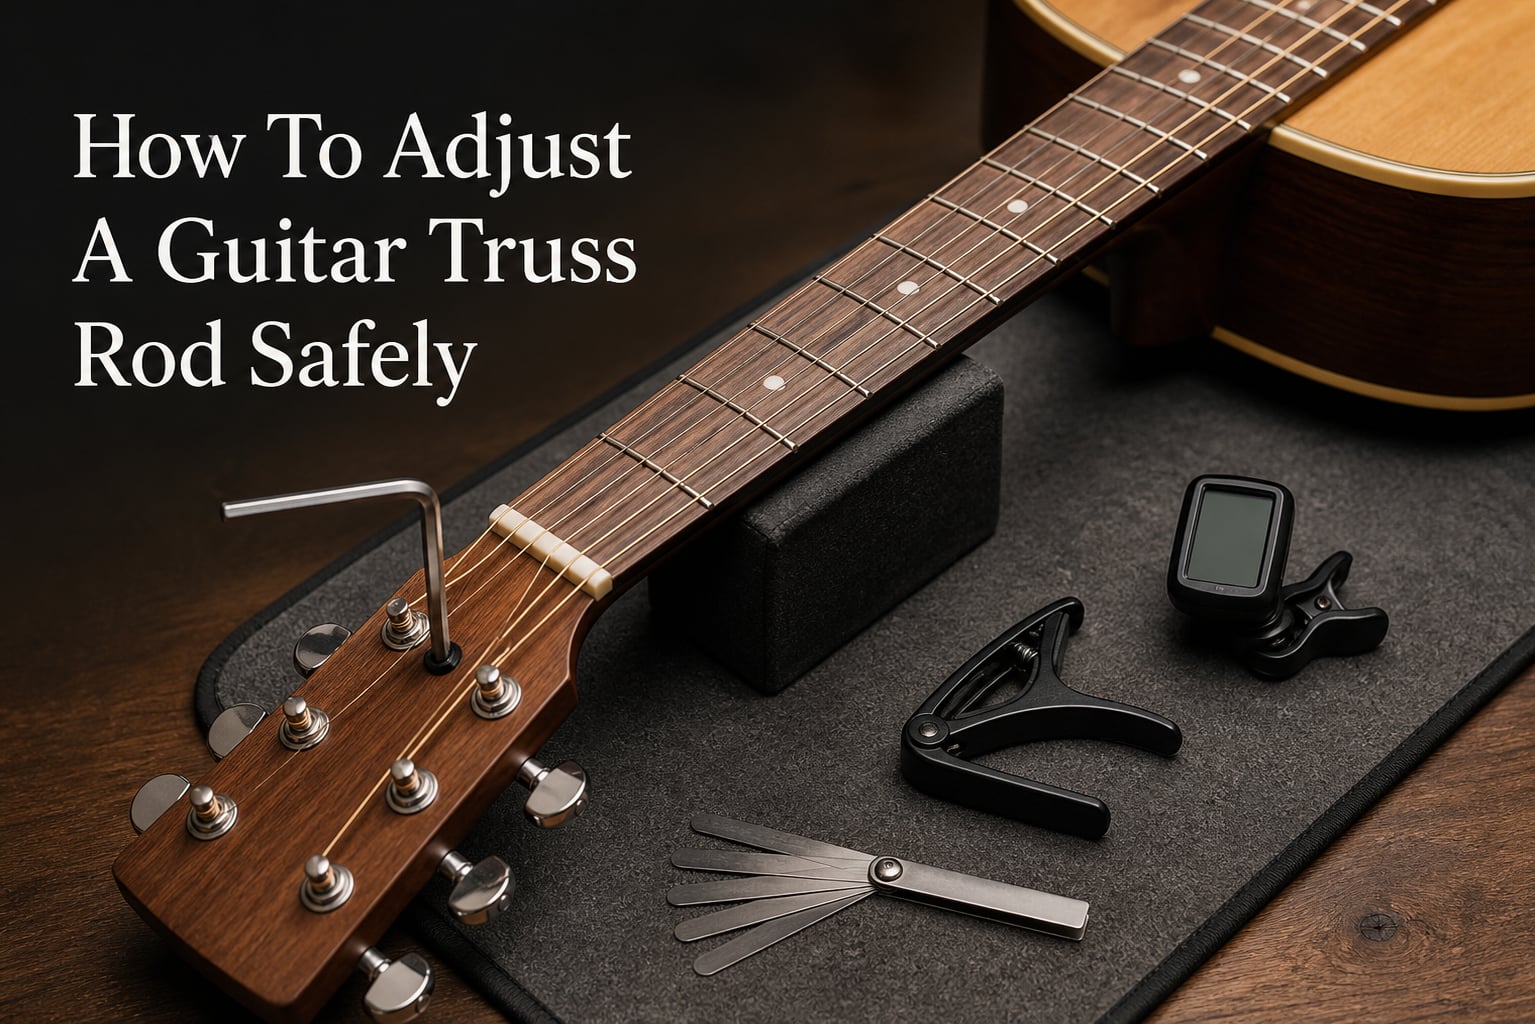
You can adjust a guitar truss rod safely when you diagnose neck relief first, use the exact fitting tool, and make very small turns. The job is not a shortcut for every high-action or buzzing problem, but it is a normal part of guitar setup when string tension and the neck are out of balance.
This guide explains how to adjust a guitar truss rod safely on acoustic and electric guitars, what clockwise and counter-clockwise turns do, and when the right move is to stop. Read the whole process before putting a wrench on the truss rod nut.
Safety warning: Never force a truss rod nut. If the correct tool will not seat fully, the nut feels seized, or a small turn takes unusual effort, stop and take the guitar to a qualified repair technician. Damage from a forced nut or wrong-size wrench can be costly and difficult to repair.
A truss rod controls the curve of your guitar neck
A truss rod is a metal bar inside the neck that counteracts the pull of the strings. Adjusting it changes neck relief, the slight forward curve intentionally left in a neck so vibrating strings have room to move.
Relief is not the same thing as action. Action is the string height above the frets; relief is the neck’s lengthwise curve, which affects action but does not replace a nut, saddle, bridge, or fret adjustment.
A forward bow means the middle of the neck has too much relief
A forward bow, also called an upbow, puts the middle frets farther from a straight string line. It can make the action feel higher around the middle of the fingerboard and may call for a small tightening adjustment.
A backbow means the neck is too straight or curves backward
A backbow puts the middle frets too close to the strings. It often creates fret buzz around the first few frets, especially with normal picking, and it may call for a small loosening adjustment.
A correct adjustment leaves a small, playable amount of clearance
There is no universal gap that fits every guitar, string gauge, player, and fret condition. The useful result is a neck with modest relief, comfortable action, and no objectionable buzz during your normal style of playing.
Quick direction rule: Looking at the adjustment nut, clockwise usually tightens the rod and reduces relief, which straightens a forward-bowed neck. Counter-clockwise usually loosens the rod and adds relief, which helps a backbow; confirm the access point and manufacturer guidance when available.
You need the correct tool and a stable work area before adjusting
Find out where your guitar’s truss rod nut is before selecting a tool. It may sit under a small cover at the headstock, at the heel of the neck, or inside an acoustic guitar through the soundhole.
Use the tool that fully matches the nut: a manufacturer-supplied wrench, correctly sized Allen key, socket, or thin-wall nut driver. A loose-fitting wrench can round the nut even if the adjustment itself would have been easy.
A correctly sized truss rod wrench, hex key, socket, or nut driver
A tuner
A capo or a spare hand to fret a string
A feeler gauge if you have one, or a light touch and a clear sight line
A soft support for the guitar neck and a well-lit, uncluttered surface
Optional: a straightedge made for guitars and the maker’s setup specifications
Put the guitar on a padded bench or table where the neck is supported but not clamped. Keep the headstock from hanging in the air, and place the tool straight into the nut rather than approaching it at an angle.
The best safety rule is to make the smallest useful turn
Start with an eighth turn, not a large correction. Many community discussions center on quarter-turn adjustments, but an eighth turn is a cautious first move when you are learning or when the neck’s response is unknown.
Mark the tool’s starting position in your mind, or take a close photo of the nut and wrench before the turn. That gives you a record of direction and amount instead of leaving you to guess after several checks.
You can tell whether the truss rod needs adjustment by checking relief first
Do not begin with the assumption that any buzz means a truss rod adjustment. Low nut slots, uneven frets, a low saddle, loose hardware, or a local high fret can buzz even when neck relief is appropriate.
Sighting the neck gives you a fast first impression
Hold the guitar in playing position and look down the edge of the fingerboard from the headstock toward the body. Use the strings and fretboard edge as reference lines, looking for an obvious forward bow, backbow, twist, or uneven section.
This is a screening tool, not a measurement. A subtle curve is hard to judge by eye, so follow it with a string-clearance check before deciding which way to turn.
The fretted-string check shows the relief gap directly
Tune the guitar to normal pitch. Fret the lowest string at the first fret and at the fret where the neck meets the body, or use a capo at the first fret while you fret the other end.
Now tap the string over a middle fret around the seventh to ninth area. A very small click or visible gap indicates relief; no movement can point to a too-straight neck, while a clearly large gap suggests excess forward bow.
A feeler gauge and the guitar maker’s specification provide a repeatable reading. Without a stated specification, use this check alongside how the guitar feels and sounds rather than chasing a measurement copied from another instrument.
The play test helps separate neck relief from other faults
Play every fret on each string with your usual attack. Buzz concentrated near frets one through five can fit a backbow or too little relief, while high action that is most apparent through the middle of the neck can fit excess relief.
Buzz only at one or two neighboring frets is less likely to be a general relief issue. Note the locations before adjusting, because that pattern gives a repair technician useful information if the problem remains.
Patience beats speed: Guitar players repeatedly report better results from a small adjustment, a retune, and a recheck than from chasing the final setting in one session. Wood reacts to string tension and humidity, so judge the result after the neck has had time to settle.
How To Adjust A Guitar Truss Rod Safely: use small, measured turns
The safest process keeps normal string tension on the neck for measurement and uses a controlled adjustment at the nut. Some makers give model-specific instructions about detuning or access; follow those instructions when they differ from this general method.
Step 1: Tune the guitar and record the starting symptoms
Tune to the pitch and string gauge you actually use. Check the relief with the fretted-string method, then play the low, middle, and high areas of the neck so you can compare the result after the adjustment.
Write down what you found: for example, “large middle gap and high action around frets seven through twelve” or “no gap and buzz around frets two through four.” A simple record prevents an adjustment based on memory.
Step 2: Fit the adjustment tool completely into the truss rod nut
Remove a truss rod cover only if your guitar has one, keeping its screws in a safe spot. Seat the tool fully and squarely before applying pressure; if it rocks, slips, or seems too small, stop and identify the correct tool.
On some heel-adjust guitars, access is awkward and may require loosening the pickguard, removing a neck, or using a specialized tool. Do not improvise with pliers, a worn key, or a tool that reaches the nut only partway.
Step 3: Turn clockwise only when you need less relief
Turn the nut clockwise by about one eighth turn when the neck has excess forward bow and you want to reduce relief. This tightens the rod against string tension and usually brings the middle of the neck closer to straight.
Do not interpret “tighten” as “make the action low.” Too little relief can cause widespread low-fret buzz, and action at the upper frets also depends on the bridge or saddle.
Step 4: Turn counter-clockwise only when you need more relief
Turn the nut counter-clockwise by about one eighth turn when the neck is too straight or has a backbow. This relaxes the rod’s opposing force and lets normal string tension pull the neck into a little more forward relief.
If you are unsure which way you turned, do not add another turn. Remove the tool, recheck the neck, and use your starting photo or note before continuing.
Step 5: Retune, let the neck settle, and measure again
Return the guitar to pitch after every small move. Recheck the clearance and play test immediately, then give the neck additional time before making another correction when the result is close.
Some guitars show most of the change quickly, while others continue to move gradually. A reasonable approach is to reassess after several minutes and, if needed, revisit it later the same day or the next day rather than stacking turns.
Step 6: Stop when the relief supports clean, comfortable playing
You are finished when the clearance is small but present as appropriate for the instrument, the action feels right, and normal playing does not produce unacceptable buzz. A light buzz that is audible acoustically but not through an amplifier may be acceptable to some electric players, while acoustic players may prefer a cleaner acoustic sound.
Check tuning and intonation after the neck has settled. A truss rod adjustment can change how the guitar plays, but it does not directly set intonation; make bridge-saddle changes only after relief and action are established.
Stop immediately if resistance is excessive: A truss rod should not need a hard, forceful shove for a tiny turn. Stop if the nut will not move with normal controlled pressure, if the tool starts to slip, if you hear cracking, or if the neck shows a twist, separation, or sudden irregularity.
Acoustic and electric guitars use the same relief principle but differ in access
An electric guitar truss rod often adjusts at the headstock under a cover, although heel access is also common. The basic measurement and small-turn method remain the same, but electric guitars can make it easier to isolate relief from bridge-saddle height because their bridge adjustment range is often greater.
An acoustic guitar truss rod may adjust at the headstock or through the soundhole. Soundhole access can be harder to see and reach, so good lighting and the exact tool matter even more; avoid scraping the finish or forcing a driver at an angle.
A single-action rod mainly counteracts string tension in one direction
A traditional single-action truss rod generally tightens to counteract a forward bow caused by string tension. Its behavior and available range can be limited in the loosening direction, especially if the neck already has little relief.
A dual-action rod can correct in both directions but still needs small moves
A dual-action truss rod can apply force in either direction around its neutral point, helping correct either a forward bow or a backbow. Its adjustment direction can be less intuitive than a single-action rod, so the guitar maker’s documentation is especially useful when the response does not match the usual rule.
You do not need to identify the rod type before every normal adjustment if the guitar responds predictably and its manual gives direction guidance. If it is unfamiliar, vintage, damaged, or behaving unexpectedly, treat that uncertainty as a reason for professional help.
You should troubleshoot other setup causes before making repeated truss rod turns
A truss rod corrects a broad neck-curvature issue, not every playability issue. Repeatedly turning it when the underlying problem is elsewhere can leave the neck poorly adjusted without fixing the buzz or high action.
Buzz at open strings only: the nut slot may be too low, or the string may not be seated correctly.
Buzz at one isolated fret: a high fret, loose fret, or local unevenness is more likely than overall relief.
High action mostly above the twelfth fret: saddle or bridge height, neck angle, or fret condition may be involved.
Sudden change after weather shifts: humidity can move wood; let the guitar acclimate in a stable indoor space before making a major correction.
Change after heavier or lighter strings: new string tension can change relief and may justify a small, measured truss rod adjustment.
You need a repair technician when a normal adjustment does not behave normally
Seek professional help if the nut is frozen, near the end of its travel, stripped, or difficult to access. Also stop if a small turn produces no logical response after settling, the neck is twisted, the fingerboard is separating, or the guitar needs major action correction after reasonable relief is set.
A technician can measure relief, nut height, fret level, saddle height, and neck angle as one setup instead of treating symptoms separately. That is particularly helpful for acoustic guitars with very high action, older instruments, and guitars with structural damage.
Regular checks after string or weather changes keep adjustments small
You do not need to adjust a truss rod on a schedule. Check it when playability changes, after a meaningful string-gauge change, or when seasonal humidity changes have clearly altered the neck.
Keep the guitar in a reasonably stable environment and tune it to the tension you normally play. A familiar relief check and a short play test are more reliable than changing the rod just because the calendar has changed in 2026.
The safe result is a small relief correction, not the straightest possible neck
To adjust a guitar truss rod safely, diagnose the neck first, use the exact tool, turn only about an eighth at a time, and retune and recheck after every move. Clockwise usually reduces relief and counter-clockwise usually adds it, but the guitar’s actual response is the result that matters.
When resistance is unusual or symptoms point to frets, the nut, saddle, or neck structure, stop rather than forcing another adjustment. A patient setup protects the instrument and gives you a repeatable way to keep it playing well.
FAQs
Is it safe to adjust a guitar truss rod?
Yes, a truss rod adjustment is normally safe when you use the exact fitting tool, make very small turns, and stop if the nut resists or the tool slips. Measure neck relief first so you are correcting a real neck-curvature issue rather than another setup problem.
How do I tell if a truss rod is adjusted correctly?
Fret the lowest string at the first fret and where the neck meets the body, then check for a small gap over the middle frets. The adjustment is correct when the guitar has suitable relief, comfortable action, stable tuning, and no objectionable buzz during your normal playing.
Can you adjust a truss rod without removing strings?
Yes. Relief must be checked with the guitar tuned to normal pitch, and many guitars can be adjusted with strings installed. Follow the guitar maker’s instructions if its access design calls for loosening strings or removing a cover or pickguard.
Can you break your guitar by adjusting the truss rod?
You can damage a truss rod nut, rod, or neck by using the wrong tool, forcing a seized nut, or making large repeated turns without checking the result. Use an eighth-turn approach and stop at any sign of excessive resistance, cracking, slipping, or structural damage.