
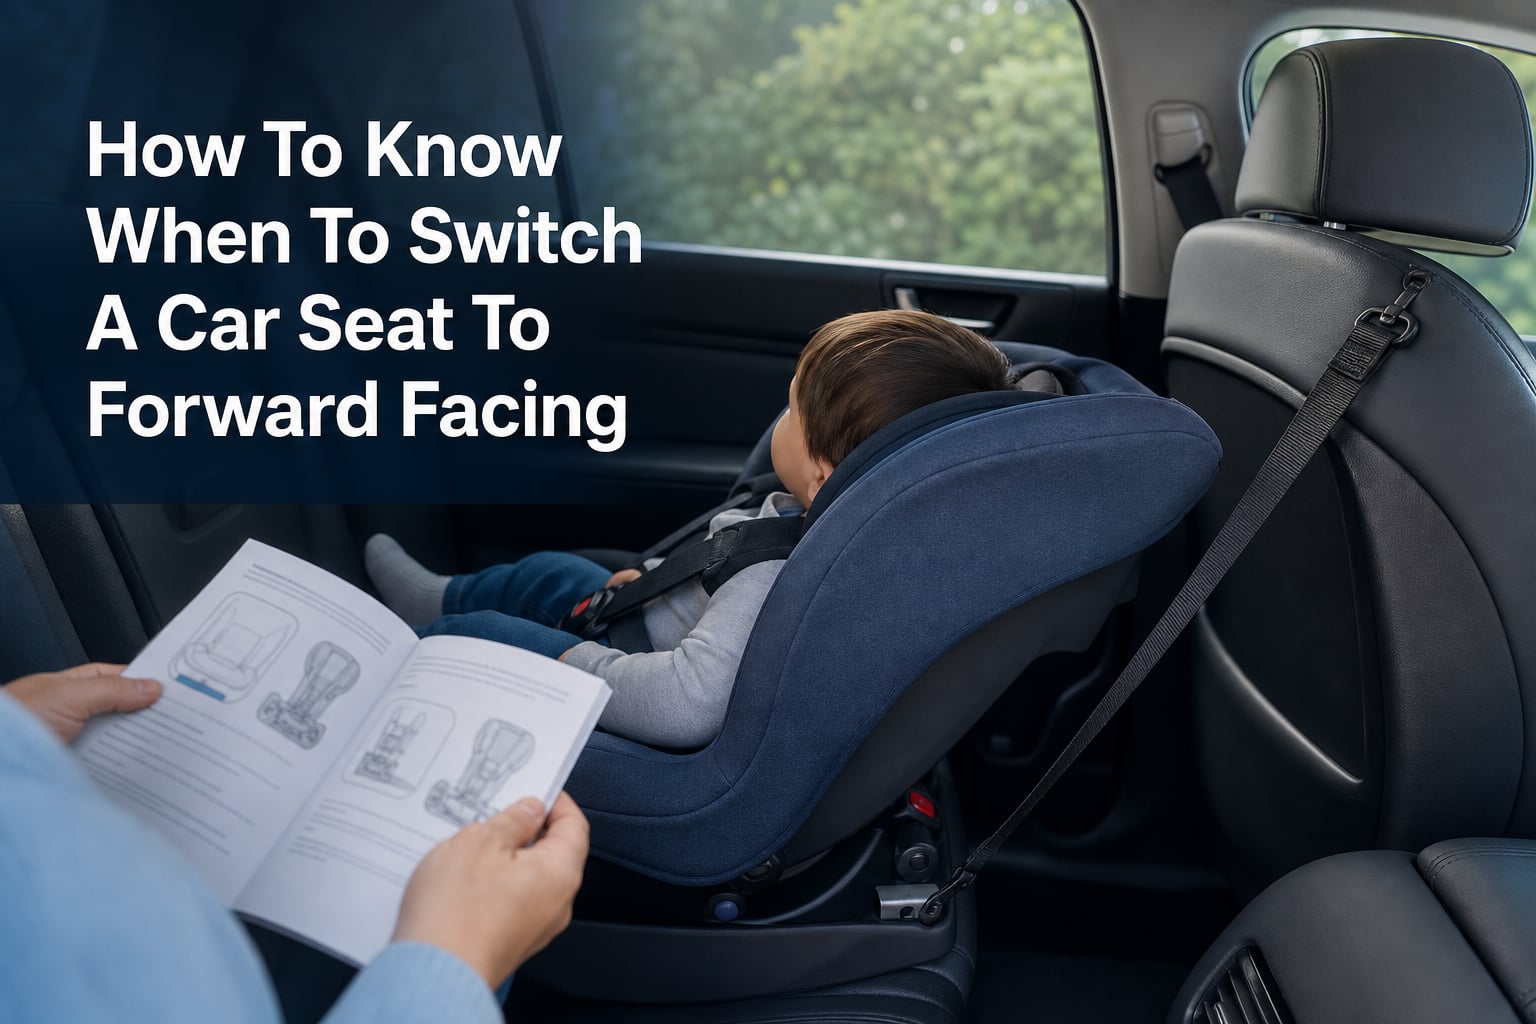
Knowing when to switch car seat to forward facing comes down to two things: your child must be at least 2 years old, and they must have reached the rear-facing height or weight limit printed for their specific seat. Age alone is not the signal to turn a seat around.
Keep a child rear-facing for as long as their car seat allows. The American Academy of Pediatrics (AAP) and the National Highway Traffic Safety Administration (NHTSA) support rear-facing until a child reaches the seat maker’s maximum rear-facing limit because this position offers stronger protection for a young child’s head, neck, and spine.
This distinction takes pressure off a decision that many parents find stressful. A child with bent legs, a child who dislikes the ride, or a birthday does not by itself mean the rear-facing car seat has been outgrown.
Quick answer: Turn a car seat forward-facing only after your child is at least 2 and has reached the maximum rear-facing weight or height stated in the seat manual and labels. Many convertible car seats allow rear-facing to 40-50 pounds and roughly 43-49 inches, but your own seat’s limits are the rule that matters.
When to Switch a Car Seat to Forward Facing
The most useful answer is simple: check both the rear-facing car seat weight limit and car seat height limit, then act when your child reaches the first applicable limit. Do not wait for both limits, and do not use a generic number from another family’s seat.
Most children are at least 2 years old before forward-facing is appropriate. That is a minimum age, not a finish line or a reason to turn a still-fitting seat around.
A convertible car seat may allow rear-facing to 40-50 pounds, while its standing-height limit may fall around 43-49 inches. Those ranges are common examples, not a substitute for the manual because models have different limits and different rules for head clearance.
Your child is ready only when the seat’s label confirms it
Look at the labels on the seat shell and read the rear-facing section of the instruction manual. Some seats use a standing-height maximum, while others say the top of the child’s head must stay at least a stated distance below the top of the shell.
Measure and weigh your child in ordinary clothes, then compare those results with the rear-facing limits. If either measurement meets or exceeds the stated rear-facing maximum, stop using that mode and follow the manual’s next-stage instructions.
- Your child is at least 2 years old.
- Your child has reached the seat’s rear-facing maximum weight or height, whichever comes first.
- The manual identifies forward-facing as the next permitted mode for that seat.
- You can install the seat and fit the harness as the forward-facing instructions require.
If one of these points is missing, keep the seat rear-facing or get individual help before changing modes. A certified Child Passenger Safety Technician, often called a CPST, can review the seat, vehicle, and child together.
Warning: Do not turn a seat forward simply because a child’s feet touch the vehicle seat, their knees bend, or they have reached 2 years old. Those are common worries, but none overrides the rear-facing limits in the seat manual.
Rear-facing Protects a Young Child’s Head, Neck, and Spine Better
In a frontal crash, a rear-facing car seat supports the child’s head, neck, and back across the shell of the seat. That support spreads crash forces over a larger area rather than asking a young neck to manage the force of a forward-moving head.
A forward-facing car seat is still a protective next stage when a child has outgrown rear-facing. It uses a 5-point harness and, in most cases, a tether to hold the child and limit forward movement, but it does not provide the same rear-facing support for the head and spine.
This is why the goal is not to turn a child around at the earliest legal or age-based point. The safety goal is to use rear-facing mode to its stated maximum, then move to forward-facing with the harness and tether set correctly.
Bent Legs Are Normal When a Child Rides Rear-Facing
Parents often see feet pressing on the vehicle seat or legs folded at the knees and assume the position must be uncomfortable or unsafe. Children commonly sit cross-legged, prop their feet on the vehicle seat, or bend their knees, and these positions do not show that they have outgrown rear-facing.
Head clearance and the seat’s listed height and weight limits matter far more than legroom. We see this concern repeatedly in parent discussions, which is understandable, but the manual – not a child’s leg position – sets the transition point.
Your Car Seat Type Determines What Happens Before and After the Switch
An infant car seat is a rear-facing-only seat, usually with a removable carrier. A baby may outgrow it by height before weight, which is why many families move to a rear-facing convertible seat during the first year without moving to forward-facing at all.
A convertible car seat can be used rear-facing first and then forward-facing after the rear-facing limits are reached. This is the common path for a child who has outgrown an infant car seat but is still too young or too small to turn around.
An all-in-one seat typically offers rear-facing, forward-facing with a harness, and a later booster mode. The sequence is still important: a seat having a forward-facing mode does not mean that mode is right for a child who still fits rear-facing.
The Next Stage Is Usually a Rear-Facing Convertible Seat, Not Forward-Facing
If your baby has outgrown an infant car seat, check whether they fit within the rear-facing limits of a convertible or all-in-one seat. The change from infant seat to convertible seat and the change from rear-facing to forward-facing are separate car seat transitions.
That distinction answers a frequent parent question: “How do I know when baby outgrew the infant car seat?” The answer is when the infant seat’s rear-facing limits or head-clearance rule are met; it does not automatically answer when can baby face forward.
Tip: Keep the manual with the car seat or save the manufacturer’s official digital copy. Before every mode change, read the full section for that mode rather than relying on memory from the last installation.
You Can Make the Transition Safely by Following This Checklist
Once your child meets the age and rear-facing-limit criteria, treat the move as a fresh installation. Forward-facing setup has different belt paths, recline instructions, harness positions, and tether requirements than rear-facing setup.
Step 1: Confirm That the Seat Permits Forward-Facing Use
Read the forward-facing weight, height, and age requirements in the manual and labels. Confirm that the seat has not expired, has no unresolved recall instructions, and has all required parts.
Also check your vehicle owner’s manual for child-restraint instructions. It identifies the approved seating positions, LATCH system locations, and tether anchor locations for your vehicle.
Step 2: Move the Seat to the Correct Forward-Facing Belt Path
Car seats have separate belt paths for rear-facing and forward-facing installation. Route the vehicle belt or lower-anchor strap through the path marked for forward-facing only, following the color coding and instructions for your specific model.
Use either the lower anchors or the vehicle seat belt as the installation method the manuals permit; do not use both unless both manuals expressly allow it. The vehicle and car seat manuals also specify lower-anchor weight limits, so change to a seat-belt installation when that limit requires it.
Step 3: Set the Recline Position Listed for Forward-Facing Mode
Do not assume the rear-facing recline setting carries over. Select the forward-facing recline position shown in the seat manual, because the allowed angle can affect how the seat fits against the vehicle seat and how the child’s head rests.
Place the car seat on an approved vehicle seat position and remove bulky accessories that are not approved by the manufacturer. The base of the seat should sit as the manual illustrates, not on an improvised cushion or extra mat.
Step 4: Attach and Tighten the Tether
Use the car seat tether whenever the forward-facing instructions call for it. Attach the tether hook to the vehicle’s designated tether anchor – not a cargo hook, headrest post, or another point that merely looks convenient – and remove slack according to the manual.
The tether is a central part of forward-facing child car seat safety because it helps reduce how far the head moves forward in a crash. Many parents feel unsure about this step, so it is a good reason to request a CPST check rather than guessing.
Step 5: Adjust the Harness for Forward-Facing Use
For most forward-facing seats, harness straps are positioned at or just above the child’s shoulders, but follow your seat’s instructions because designs vary. Buckle the harness, tighten it until there is no excess webbing to pinch at the shoulder, and place the chest clip at armpit level if your seat uses one.
Take off puffy coats before buckling a child in. A thin clothing layer and a blanket over the tightened harness can keep a child warm without changing harness fit.
Step 6: Check the Installation Before Every Trip
Hold the seat at the belt path and test for movement as the manual directs. A properly installed seat should not shift more than 1 inch side-to-side or front-to-back at that belt path.
Recheck the harness, buckle, tether, and recline after another caregiver installs the seat or after the seat has been removed. Small changes in routing or strap tension can make a major difference, which is why a quick repeat check is worthwhile.
Warning: Never use a forward-facing car seat without following the tether instructions when the seat and vehicle provide a tether anchor. Also, never move a child to a booster just because they are forward-facing; booster readiness is a separate later decision.
You Can Address Legroom, Carsickness, and Legal Questions Without Rushing the Switch
Carsickness is frustrating, and some parents hope forward-facing will fix it. Reports from parents are mixed, so it is better to discuss persistent vomiting or discomfort with a pediatrician than to treat turning the seat around as the first solution.
For a child who gets nauseated, try a light meal before travel, fresh air when practical, regular breaks on longer trips, and a calm, forward view when the rear-facing seat’s position allows it. Do not add mirrors, positioning products, or accessories unless the car seat manufacturer approves them.
State laws can set minimum requirements that vary by location. They are not necessarily the same as best-practice guidance, so follow your state law and continue rear-facing until the seat’s maximum rear-facing limit when possible.
A CPST Check Gives You a Practical Second Set of Eyes
A certified Child Passenger Safety Technician can inspect your installation, explain your seat’s labels, and show you how to use the tether and harness. Look for a local inspection station or technician through a child-passenger-safety program, and bring the car seat manual plus the vehicle manual to the appointment.
Write down your child’s current height and weight before you go. That turns an anxious “Are we doing this right?” into a specific fit-and-installation check.
These Common Questions Have Direct Forward-Facing Answers
Can a 22 pound baby face forward in a car seat?
Usually no. A 22-pound baby should remain rear-facing unless the child is at least 2 years old and has reached the specific car seat’s rear-facing height or weight limit. Weight alone does not make a baby ready to face forward.
Can I turn my 2.5 year old forward facing?
You may turn a 2.5-year-old forward-facing only if they have also reached the maximum rear-facing height or weight allowed by their specific car seat. If they still fit rear-facing, keeping that position longer provides added head, neck, and spine support.
Can I wear my 3 month old front facing?
No. A 3-month-old must ride rear-facing in an appropriate car seat. Forward-facing is not suitable for an infant because babies need the support a rear-facing seat provides for the head, neck, and spine.
Can a 4 month old sit forward facing?
No. A 4-month-old should ride rear-facing in an appropriate infant or convertible car seat. Keep the baby rear-facing until at least age 2 and until the seat’s rear-facing height or weight limit is reached.
You Should Use the Seat’s Rear-Facing Limits as the Final Decision Point
When to switch car seat to forward facing is not decided by a child’s birthday, legroom, or a general online chart. Keep your child rear-facing until at least age 2 and until the exact seat’s rear-facing height or weight limit is met, then follow the forward-facing manual from start to finish.
Before the first drive, check the belt path, recline setting, harness, and car seat tether. If any part feels unclear, a CPST inspection can give your family a confident, seat-specific answer.