
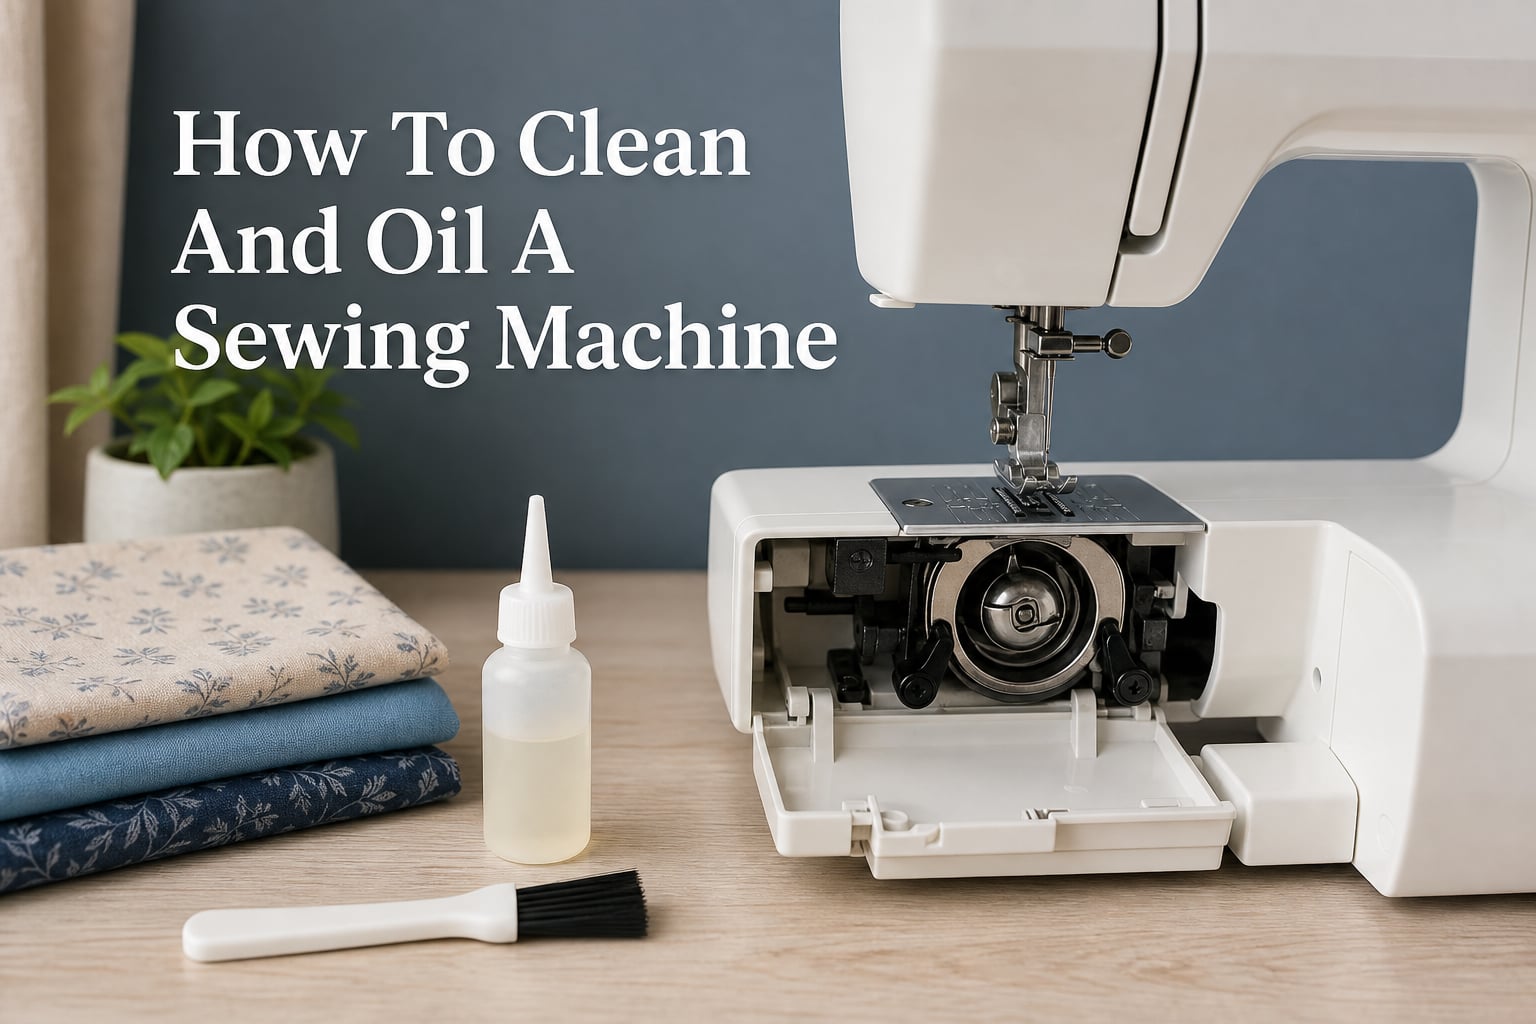
Knowing how to clean and oil a sewing machine keeps lint from interfering with the bobbin area and helps approved moving parts run smoothly. The safe order is simple: unplug the machine, remove thread and removable parts, brush out lint, oil only the points named in the manual, then test on scrap fabric.
This is basic sewing machine maintenance, but it is also where many owners feel nervous. Our rule is to let the machine manual decide what comes off and where oil belongs; models differ more than a quick online tip can show.
Cleaning is not a substitute for repair, and oil is not a cure for every stitch problem. Still, routine lint removal can prevent the common situation sewing groups describe: a machine that seems broken until a packed bobbin compartment is cleaned.
How to clean and oil a sewing machine: begin with a safe six-step routine
Start by disconnecting power, removing the needle and thread, and opening the bobbin area. Brush lint from accessible parts, add one small drop of sewing machine oil only at manual-approved metal-on-metal points, wipe excess, reassemble, and sew a test scrap.
- Unplug and clear the machine. Remove the thread spool, upper thread, bobbin, needle, and presser foot.
- Open the approved access points. Remove the needle plate or bobbin cover only as the manual directs.
- Brush out lint. Clean the bobbin case, hook area, feed dogs, and underside of the needle plate with a small dry brush.
- Oil only specified points. Put one small drop of sewing machine oil on each point listed in the manual.
- Reassemble and wipe. Refit each part, turn the handwheel by hand, and wipe any visible oil.
- Test on scrap fabric. Stitch a short line on folded scrap fabric before returning to a project.
That order protects both you and the machine. It also keeps oil away from fabric and makes it easier to notice a misplaced part before a project is under the needle.
Gather these supplies before you start cleaning
A soft lint brush, a clean lint-free cloth, the machine manual, a fresh needle, and manufacturer-approved sewing machine oil cover most home maintenance. Keep a screwdriver nearby only if the manual says a cover or needle plate should be removed.
- A small dry brush or the brush supplied with the machine
- A soft cloth for the exterior and for catching excess oil
- Genuine sewing machine oil approved for the specific machine
- A new needle matched to the fabric and thread you sew
- The manual, printed or on a screen away from the work area
Do not improvise with household lubricants or cleaners. A machine may need no user-added oil at all, and only its manual can tell you that with confidence.
Prepare the machine by unplugging it and removing loose thread
Turn the machine off and unplug it before touching the needle area, bobbin compartment, or handwheel. Raise the needle to its highest position first if the machine is threaded, then cut and remove the upper thread rather than pulling it backward through the tension path.
Remove the bobbin and presser foot, then take out the needle. A dull or bent needle can cause skipped stitches, so cleaning time is a practical moment to replace a needle that has seen a full project, struck a pin, or begun making uneven stitches.
Put small screws and parts in a shallow dish so they cannot roll away. If your manual does not tell you to remove the needle plate or hook cover, leave it in place and clean only the accessible areas.
Clean the bobbin area by brushing lint out, not pushing it farther in
Open the bobbin cover or remove the needle plate following the manual. The bobbin case, shuttle hook, rotary hook, and feed dog teeth are common places for lint removal because thread fibers collect there with every seam.
Use a dry brush to lift lint outward from the bobbin area. Work slowly around the hook race and the feed dogs, which are the small toothed bars that move fabric under the presser foot.
Turn the handwheel toward you by hand to reveal different parts of the hook mechanism, but stop if anything resists. Never force the handwheel, and never use the foot control while the area is open.
Brush the needle plate and feed dogs until the teeth are clear
Hold the removed needle plate over a cloth and brush away lint from its underside and slot. Use the brush between the feed dog teeth, where packed fibers can reduce their grip on fabric.
Wipe the surrounding area with a dry, soft cloth. Avoid wet cloths, sprays, and solvents inside the machine unless the manufacturer specifically instructs otherwise.
Clean the bobbin case according to its style
For a removable front-loading bobbin case, lift it out only if your manual shows that procedure and brush the exterior and its compartment. For a top-loading, drop-in bobbin system, remove the bobbin and follow the manual for the hook cover and any removable guide.
Do not scrape metal with pins, knives, or hard tools. A small burr on the bobbin case or hook can snag thread and calls for a sewing machine service rather than a home fix.
Oil the machine with one small drop at each manual-approved point
Only oil after the lint is gone and the manual identifies user-serviceable oil points. Sewing machine oil is a light lubricant made for this purpose; it is not interchangeable with WD-40, cooking oil, motor oil, or general household oil.
Use the oil bottle’s narrow tip to place one small drop at each approved metal-on-metal moving point. Common points on some mechanical machines include the hook area, needle bar mechanism, or moving bars, but those locations are not universal.
Let the manual identify the correct oiling points
Look for an oiling diagram, maintenance page, or a note that says the machine is self-lubricating or should not be oiled by the owner. If the manual says no oil is needed, clean the accessible lint and arrange professional help if the machine becomes noisy or stiff.
Computerized machines are not all the same. Some still have specific user-maintenance points, while others are designed to be cleaned without routine owner oiling, so the brand name alone is not enough to decide.
Remove excess oil before you sew a project
After oiling, turn the handwheel toward you several times to distribute the oil. Wipe visible oil from the hook area, needle bar area, and bed of the machine before reattaching the needle plate, bobbin, needle, and presser foot.
Thread the machine and stitch on a folded scrap of light-colored fabric. Continue until the stitching is smooth and the scrap shows no oil marks, then move to your project fabric.
Avoid WD-40, cooking oil, and unapproved cleaning methods
Do not use WD-40 instead of sewing machine oil. It is not the specified long-term lubricant for sewing-machine mechanisms, and it can leave residue or affect existing lubrication.
Do not use cooking oils, hair oil, motor oil, or thick multipurpose lubricants. They can gum up, attract lint, stain fabric, or simply fail to protect the parts the machine manual identifies.
Do not pour oil into the bobbin area or coat every moving part because a vintage-machine saying suggests oiling “everything that moves.” Older mechanical machines often do need regular oiling, but even then the correct locations and amount come from that machine’s manual or a qualified technician.
Clean old, dried oil with professional help when parts are stiff
A machine that has been stored for a long time may have dried lubricant, dust, or old oil mixed with lint. Brush accessible lint away, but do not add more oil to force a frozen mechanism free.
If the handwheel is stiff, the motor hums without movement, or the machine has a thick gummy residue, book service. Deep cleaning methods discussed online can damage finishes, plastics, wiring, or lubricated areas when applied to the wrong machine.
Clean and oil on a schedule that matches how much you sew
Clean lint from the bobbin area after every project or about every two to three bobbins if you sew frequently. Sewing fleece, flannel, denim, batting, faux fur, or other high-lint materials calls for more frequent checks.
Oil only at the interval and locations your manual lists. A useful starting point is to inspect the machine after each major project, clean it whenever lint is visible, and schedule professional maintenance when the manufacturer recommends it or when performance changes.
- Occasional sewing
- Brush the bobbin area before starting a new project and after a long storage period; check the manual before any oiling.
- Weekly sewing
- Brush lint after projects, inspect the needle regularly, and follow the manual’s oiling interval.
- Heavy or linty sewing
- Check the bobbin area every few bobbins and clean it as soon as fibers gather around the hook or feed dogs.
- Any usage level
- Arrange service when the machine becomes unusually noisy, stiff, or inconsistent despite correct threading, a new needle, and cleaning.
Keep four routine-care habits between cleanings
- Cover the machine or store it in a clean, dry place when it is not in use.
- Change the needle after a major project, after a pin strike, or when stitching quality drops.
- Use thread that runs smoothly and discard thread that is brittle, fuzzy, or visibly deteriorated.
- Recheck threading and bobbin insertion before changing tension settings when a stitch issue appears.
Quality thread is not a guarantee against lint, but very fuzzy thread can leave more debris in the thread path and bobbin area. A cover also limits dust settling into the machine while it sits.
Test and troubleshoot the machine after cleaning before you change settings
Start with a new needle, correctly threaded upper path, correctly inserted bobbin, and a scrap fabric test. Those checks solve many post-cleaning issues without adjusting tension or taking the machine apart again.
Check these causes when stitches skip or thread breaks
Confirm the needle is inserted fully and facing the direction specified by the manual. Then rethread with the presser foot raised, verify the bobbin is seated correctly, and check that no lint is trapped near the hook or under the needle plate.
If the problem began immediately after reassembly, reopen only the area you worked on and compare each part with the manual. Stop and seek service if you see a damaged hook, a bent plate, or a part that will not seat normally.
Remove excess oil when fabric shows spots
Oil spots usually mean too much oil was applied or oil has reached a surface near the needle. Wipe accessible oil away, stitch on scrap fabric until no marks appear, and do not return to a project until the scrap stays clean.
Never compensate by adding more oil. If fresh spots continue after careful wiping and testing, a technician can inspect hidden oil paths and old residue.
Get professional service when cleaning does not restore smooth operation
Home cleaning handles routine lint and approved oil points; professional sewing machine service handles internal adjustment, timing, electrical checks, and problems that need deeper disassembly. It is a sensible next step for a machine with persistent noise, grinding, a stiff handwheel, broken parts, or recurring stitch faults.
Bring the model number, the manual if you have it, a sample of the problem stitch, and the thread and fabric involved. That information gives the technician a clearer starting point than a general report that the machine “will not sew.”
FAQs answer the most common cleaning and oiling questions
Can I use WD40 instead of sewing machine oil?
No. Use only sewing machine oil approved by your machine manufacturer. WD-40 and other household lubricants are not a substitute and may leave residue, attract lint, or conflict with existing lubrication.
Do I really need to oil my sewing machine?
Some machines need owner-applied oil at specific points, while others are designed without routine owner oiling. Check the manual for your exact model; cleaning lint is still routine maintenance even when owner oiling is not recommended.
What will you do before oiling, cleaning, and adjusting a sewing machine?
Turn the machine off, unplug it, remove the upper thread, bobbin, needle, and presser foot, then consult the manual. Keep screws and removable parts together, and do not remove covers or adjust settings that the manual does not identify for owner maintenance.
What are four tips for routine care of a sewing machine?
Brush lint from the bobbin area after projects, replace worn or bent needles, keep the machine covered in a dry place, and follow the manual for oiling and service intervals. Test threading and bobbin placement before changing tension settings when stitching changes.
Should I clean the oil inside my sewing machine?
Do not try to flush or remove internal oil unless your machine manual specifically directs it. Wipe accessible excess oil and have a technician assess gummy residue, a stiff mechanism, or continuing oil marks.
How often should a sewing machine be oiled?
Oil only as often as the manual for your exact machine recommends. Inspect and remove lint after projects or every two to three bobbins during frequent sewing, especially when using fabrics or threads that shed heavily.
Keep the routine simple: clean lint, oil only approved points, and test first
How to clean and oil a sewing machine comes down to careful lint removal, the right oil in the right place, and a short test on scrap fabric. Unplug first, keep the manual close, and stop rather than force a part that does not move as expected.
Put a reminder near your sewing space to inspect the bobbin area after projects. A few calm minutes of care can make the next sewing session smoother and can show you when a professional service is the better answer.