
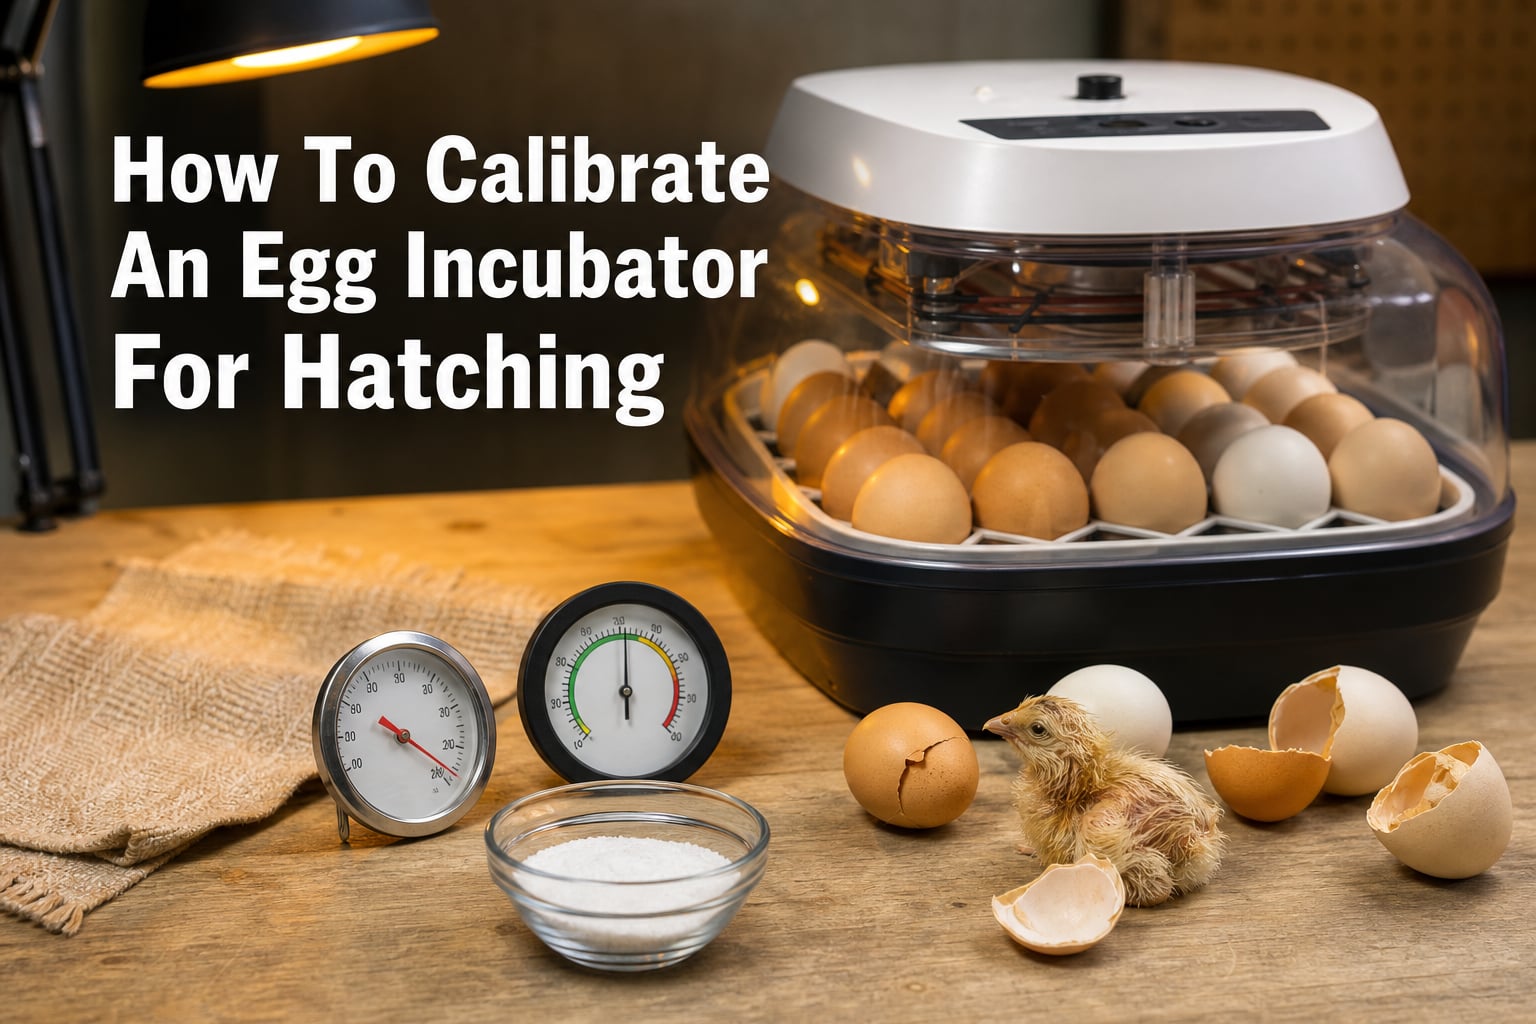
To calibrate an egg incubator for hatching, compare its display with a trusted reference thermometer and hygrometer placed at embryo height, then correct the display or settings for any difference. The point is not to make the screen look right; it is to make the air surrounding the eggs match the temperature and humidity you intend to run.
Egg incubator calibration matters because a small reading error can change embryo development, egg weight loss, and hatchability. Forum reports repeatedly describe units that were 2 to 3 degrees away from their factory display, so I would treat every new setup as unverified until it has been checked.
This guide separates temperature calibration from humidity calibration, since one cannot prove the other. You will also find the salt-and-water hygrometer check, the 99F and 51% reference settings found in the research, and a low-disturbance way to check egg temperature.
Calibrate an egg incubator for hatching with a reference reading first
Calibrate egg incubator temperature by letting the unit stabilize, putting a trusted thermometer beside the eggs at embryo height, comparing it to the built-in display, and then applying the difference. Keep the reference sensor and the incubator sensor at the same height; readings from the lid, floor, or outside wall do not describe the conditions at the egg.
A mercury thermometer is often treated as a dependable reference in hatchery discussions, while a digital thermometer can work if you already know it reads accurately. The useful comparison is between two readings at the same place and time, not between a warm room reading and an incubator display.
Step 1: Let the empty incubator settle before you measure
Run the incubator empty with its normal water arrangement and close the lid or door. Wait until the displayed temperature no longer keeps climbing or falling before deciding that any number is wrong.
Calibration during warm-up creates a false problem because the air, interior surfaces, water, and sensor have not settled to the same operating condition. Do this before eggs go in whenever possible, so adjustments do not interrupt incubation.
Step 2: Place the reference thermometer at embryo height
Put the reference thermometer where the middle of the eggs will sit, not directly against a heating element, wall, or water reservoir. Positioning it beside the incubator’s digital sensor, at the same height, is the cleanest way to test a digital incubator sensor.
If the chamber has noticeably different areas, take a reading where the eggs are actually placed and check more than one position. Temperature uniformity matters because a correct display at one point does not prove that the whole egg tray is receiving the same conditions.
Step 3: Compare both readings after they are stable
Read the display and the reference thermometer without repeatedly opening the unit. Write down the two values and the direction of the difference: for example, whether the display reads higher or lower than the reference.
Do not adjust based on a single glance just after moving a sensor. Let the instruments share the same air for long enough to give a settled comparison, then repeat the observation if the result surprises you.
Step 4: Correct the thermostat setting or record the offset
Adjust the incubator thermostat if its instructions permit a calibration correction. If the unit cannot be recalibrated internally, leave the control setting offset by the measured amount and keep a note beside the incubator stating which reading you follow.
For example, a display that is consistently above the reference needs a lower indicated setting to reach the actual target temperature. Change one variable at a time and give the incubator time to settle after each adjustment.
Step 5: Recheck the temperature before loading eggs
Confirm the correction with the reference thermometer after the adjustment has settled. This final check is what turns a guess into incubator thermostat calibration.
Keep the reference thermometer available through the hatch, especially if the unit has been moved, the room temperature changes sharply, or the display begins to disagree with earlier observations. A repeatable record is more useful than trusting a factory number without a comparison.
Calibrate incubator humidity with the salt-and-water hygrometer method
Calibrate humidity by testing the hygrometer in a sealed space with a small cup containing salt and water, then using the difference between its reading and the reference condition as an offset. This hygrometer calibration salt method checks the humidity instrument itself; it does not directly change the incubator’s humidity.
Humidity deserves its own test because a temperature display can be correct while the humidity display is not. The research also flags humidity control as a common pain point, and a wrong percentage can lead to egg weight loss that is either too fast or too slow.
Step 1: Make a damp salt mixture rather than saltwater
Put about one-half cup of table salt in a small cup and add about one-quarter cup of water, as described in the search research. The goal is wet, slushy salt with some undissolved crystals, not a cup of salt dissolved completely in water.
Use a small container that cannot spill onto the hygrometer. Keep the sensor above or beside the cup rather than letting it touch the mixture.
Step 2: Seal the cup and hygrometer together
Place the cup and hygrometer in a sealed bag or other closed container. Keep the hygrometer away from direct contact with the wet salt so you are measuring the air in the container rather than moisture on the sensor.
Leave the container closed until the reading has stabilized. Opening it to check repeatedly brings in room air and makes the result less useful.
Step 3: Record the hygrometer’s error and apply it consistently
Compare the stable reading with the salt-method reference you are using, then note the difference as a plus or minus correction. If a hygrometer reads lower than its reference condition, add that difference to later incubator readings; if it reads higher, subtract it.
Some hygrometers allow a calibration adjustment in their settings, while others need a handwritten correction note. Either approach works when you apply the same correction every time and avoid switching between corrected and uncorrected readings.
Run the incubator at actual 99F and 51% humidity after calibration
Set the incubator so the conditions at embryo height measure 99F and 51% humidity, the reference values identified in the content research. The corrected reference reading takes priority over a display number that you have found to be inaccurate.
Those values are a starting point for the hatching context in this guide, not a reason to ignore the requirements for a particular egg type or incubation stage. Chicken egg hatching, pheasant egg incubation, and other game bird breeding can have different schedules, so consult the guidance for the eggs you are actually incubating.
The main calibration lesson stays the same across types: target actual conditions, not the number printed by an untested control panel. A stable reading also matters more than chasing small, momentary display shifts.
Use 75% humidity cautiously rather than as a default
Humidity of 75% is higher than the 51% reference setting in this research, so it should not be adopted as a general setting without species- and stage-specific guidance. Very high or very low incubation humidity can disrupt egg weight loss, which forum users identify as a meaningful signal of whether conditions are too wet or too dry.
When humidity seems wrong, verify the hygrometer first and then look at the incubator’s water arrangement and ventilation. Raising or lowering the setting before you know whether the sensor is accurate can compound the original error.
Check egg temperature with minimal cooling and a quick reading
Check egg temperature by preparing the thermometer first, opening the incubator briefly, taking a prompt reading at the egg shell, and closing the unit immediately. Forum discussions highlight rapid cooling during checks as a real concern, which is why the setup should be ready before the lid opens.
The competitor research mentions infrared thermometer use and lists an egg shell temperature range of 100 to 101 degrees. Treat an egg-temperature check as a confirmation of conditions, not an excuse for frequent handling or prolonged opening.
A thermometer at embryo height remains the ordinary way to monitor the air around the eggs. A shell reading can add context, but it does not replace the temperature and humidity calibration that keeps the chamber steady over the incubation period.
Avoid these common mistakes that ruin egg incubation
The most common mistakes are trusting the factory display, locating the reference thermometer in the wrong place, changing settings too fast, and ignoring humidity accuracy. Each one can make the incubator look controlled while the eggs experience something different.
- Trusting an untested digital display: A display may be off by 2 to 3 degrees according to user reports, so compare it with a known reference before a hatch.
- Measuring at the wrong height: Put the reference at embryo height and beside the operational sensor rather than at the lid, floor, or a wall.
- Changing temperature and humidity together: Correct one issue, let it settle, and then assess the next reading.
- Treating the salt test as an incubator treatment: Use it to find the hygrometer’s offset, not as a substitute for proper humidity control.
- Opening the incubator repeatedly: Prepare checks in advance so eggs do not cool unnecessarily.
- Using one target for every egg: Confirm the incubation requirements for the species and stage rather than assuming a chicken-egg setting fits every hatch.
There is also a record-keeping mistake that causes trouble: forgetting the correction after you discover it. Write down the thermometer reading, hygrometer offset, water arrangement, and final indicated control setting for each hatch.
Recalibrate before every hatching cycle and after meaningful changes
Recalibrate before each hatching cycle, because calibration is a pre-hatch check rather than a once-only task. Repeat it after moving the incubator, replacing a sensor, seeing an unexplained result, or noticing that the operating environment has changed.
A short check is especially sensible when a unit arrives new, since forum users report inaccurate factory settings. Consistent results across several hatches are encouraging, but they do not remove the value of checking the instruments before the next cycle.
Keep a simple log with the date, reference temperature, displayed temperature, corrected humidity, and any adjustment made. This gives you usable data when embryo development or hatch rates differ from expectations.
Answer common egg-incubator calibration questions directly
What common mistakes ruin egg incubation?
Common mistakes include trusting an untested display, measuring away from embryo height, changing settings before readings stabilize, using an uncalibrated hygrometer, and opening the incubator too often. Check temperature and humidity instruments before the hatch, make one correction at a time, and keep a written offset record.
What should the incubator be set at for hatching eggs?
For the hatching context covered here, target actual conditions of 99F and 51% humidity at embryo height after calibration. Follow the incubation guidance for your specific egg type and stage, because chicken, pheasant, and other eggs may not share identical requirements.
Do incubators need to be calibrated?
Yes. Calibration checks whether the incubator display matches the actual temperature and humidity around the eggs. Even a small temperature error or an inaccurate humidity reading can affect embryo development, egg weight loss, and hatchability.
Is 75% humidity too high for hatching eggs?
75% is higher than the 51% reference setting in this guide, so do not use it as a general default. Confirm the correct humidity for the species and incubation stage, and first verify that your hygrometer is calibrated before changing the incubator setting.
Calibrate an egg incubator for hatching before the eggs go in
To calibrate an egg incubator for hatching, verify temperature at embryo height, test the hygrometer with the salt-and-water method, and use the corrected readings to set the machine. That process is more reliable than assuming the display is right.
Start the next hatch by stabilizing the empty unit, recording its temperature and humidity offsets, and confirming the conditions once more before loading eggs. A few deliberate checks before incubation can prevent days of uncertainty later.