
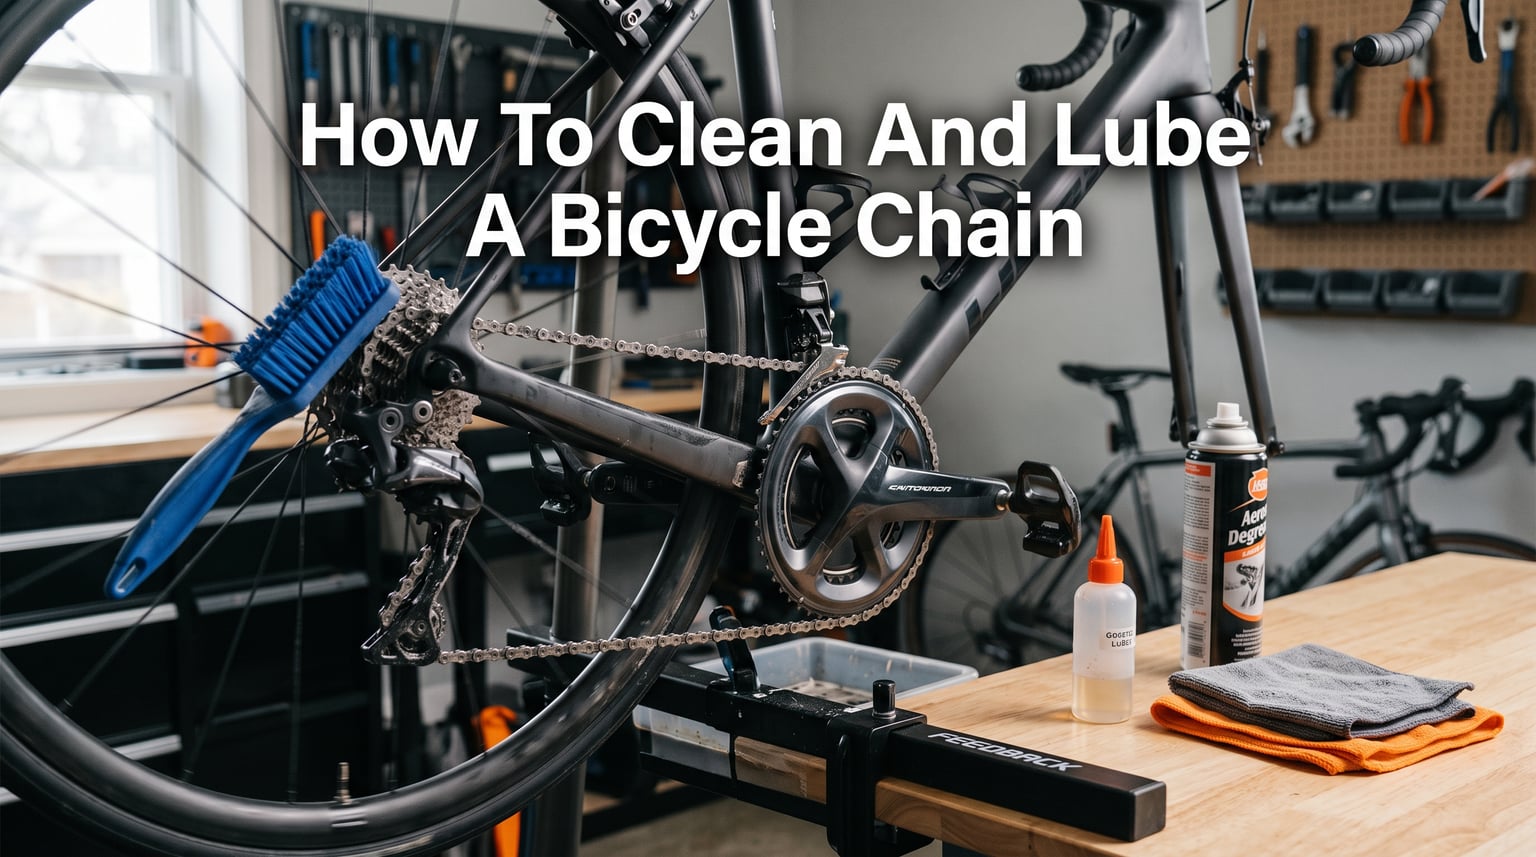
Your bike chain is the hardest-working component on your bicycle. Every pedal stroke sends it through the chainring, across the cassette, and around the rear derailleur pulleys. All that metal-on-metal contact generates friction, and friction creates wear. Learning how to clean and lube a bicycle chain is the single most important maintenance skill any cyclist can master.
I have spent years maintaining my own fleet of road, mountain, and commuter bikes. In that time, I have seen firsthand how a neglected chain can destroy an entire drivetrain in a single season. The good news is that chain maintenance is simple, fast, and requires only a handful of inexpensive tools.
In this guide, we will walk through the entire process from start to finish. You will learn which lubricant is right for your riding conditions, how to clean a chain on and off the bike, how to apply lube correctly, and how to troubleshoot common problems like tight links and chain stretch. By the end, you will have a repeatable routine that takes 15 minutes and adds thousands of miles to your drivetrain’s lifespan.
Why Chain Maintenance Matters
A clean, well-lubricated chain does three things: it reduces friction, prevents rust, and keeps your drivetrain running smoothly. When you skip maintenance, dirt and grime mix with old lubricant to form a black paste that acts like sandpaper on every moving part it touches.
That abrasive paste accelerates wear on the chain, cassette, chainring, and derailleur pulleys. A replacement chain costs a fraction of what a full drivetrain replacement runs. I learned this lesson the expensive way years ago when I let a chain go too long and ended up needing a new cassette, chainring, and chain all at once.
Beyond cost savings, a properly lubed chain makes your bike faster and quieter. Pedaling feels smoother, shifting snaps with precision, and that annoying squeak every rotation disappears. You also burn less energy overcoming mechanical drag, which means more speed for the same effort.
Tools and Supplies You Need
You do not need a full workshop to maintain a chain. Here is what I keep in my standard maintenance kit for cleaning and lubing.
Essential supplies:
Bike-specific degreaser is the foundation of any chain cleaning routine. I recommend a citrus-based or biodegradable degreaser because they cut through grime effectively without being overly harsh on components or the environment. You also need chain lubricant, which we will discuss in detail in the next section.
A supply of clean rags or microfiber cloths is critical. I go through at least two or three per cleaning session. Old t-shirts work great for this. You will also want a stiff-bristled brush or a dedicated chain scrubber tool that clips onto the chain and scrubs multiple sides at once.
Optional but helpful tools:
A chain wear indicator tool (also called a chain checker) measures how stretched your chain has become. This small investment pays for itself many times over by catching wear before it damages your cassette. A chain quick-link pliers tool makes removing and reinstalling the chain much easier for deep cleaning off the bike. A repair stand holds the bike at a comfortable working height, though it is not strictly necessary.
A shallow pan or container catches dirty degreaser runoff. Disposable nitrile gloves keep your hands clean and protect your skin from solvents. Having everything ready before you start makes the whole process smoother and faster.
Types of Bike Chain Lubricants
Choosing the right lubricant is just as important as applying it correctly. The three main categories are wet lube, dry lube, and wax lube. Each is formulated for specific riding conditions, and picking the wrong one leads to poor performance and excessive grime buildup.
Wet Lube: Best for Rain and Muddy Conditions
Wet lube has a thicker, oilier consistency that clings to the chain and resists washing off in rain and mud. It is the go-to choice for riders in wet climates, off-road cyclists who encounter stream crossings, and winter commuters who deal with slush and road salt.
The trade-off is that wet lube attracts dirt and dust. In dry conditions, a chain treated with wet lube will turn black with grime quickly. If you ride in mixed conditions, wet lube gives you the durability to go longer between applications, but you will need to clean the chain more often to remove the accumulated dirt.
I use wet lube from late fall through early spring when roads in my area are wet and gritty. A single application typically lasts 150 to 200 miles in those conditions before I notice any drivetrain noise returning.
Dry Lube: Best for Dry and Dusty Conditions
Dry lube goes on wet but dries to a thin film that leaves minimal residue on the chain surface. It is ideal for summer road riding, dry climate mountain biking, and any condition where dust and grit are the primary contaminants rather than water.
The advantage of dry lube is that it keeps the chain remarkably clean. You will see far less black gunk buildup compared to wet lube, and your drivetrain components stay looking newer longer. The trade-off is that dry lube washes off easily in rain and needs more frequent reapplication.
For dry summer road rides, I typically get 100 to 150 miles between applications. Mountain biking in dusty conditions shortens that to about 75 miles because dust absorbs the lubricant faster.
Wax Lube: The Clean Option
Wax-based lubricants deposit a layer of wax onto the chain rather than oil. The result is an extremely clean drivetrain that repels dirt almost entirely. Many road cyclists and time trial riders prefer wax because the chain stays so clean you can touch it without getting black fingers.
Wax lube requires a break-in period of about 10 miles of riding before the drivetrain quiets down. It also needs more frequent application than wet or dry lube, typically every 50 to 100 miles depending on conditions. Some riders go the extra mile by removing the chain entirely and submerging it in hot melted wax, which provides the longest-lasting and cleanest results but requires more effort.
The main downside of wax is that it can flake off in wet conditions and requires a perfectly clean chain before application. Any existing oil-based lube on the chain will prevent wax from adhering properly.
Why You Should Never Use Standard WD-40 on Your Bike Chain
This is one of the most common questions I hear from new cyclists. Standard WD-40 is a solvent and water displacer, not a lubricant. Spraying it on your bike chain will dissolve whatever lubricant remains, strip away corrosion protection, and leave the chain drier than before you started.
The original blue-can WD-40 penetrates the chain rollers, washes out the factory or applied lubricant, and then evaporates. What you are left with is bare metal rubbing against bare metal, which accelerates wear dramatically. Some riders notice an initial improvement because the solvent removes grime, but within a few rides the chain squeaks worse than before.
WD-40 does make a dedicated line of bike products that includes proper chain lubricants. Those are fine to use. But the standard blue can should stay in the garage for what it does best: freeing stuck bolts and displacing moisture from lock cylinders.
Signs Your Chain Needs Cleaning and Lubing
Your bike will tell you when it needs attention if you know what to listen and look for. Here are the most common signals that your chain is due for maintenance.
Squeaking or chirping while pedaling is the most obvious sign. That noise means metal is rubbing against metal without enough lubricant between the surfaces. The longer you let it squeak, the more damage you accumulate.
Visible black grime on the chain, chainring teeth, and cassette cogs is a sign that old lubricant has mixed with dirt and formed that abrasive paste we discussed earlier. If you can write your name on the chain with your finger, it is past due for cleaning.
Rough or gritty pedaling feel through the cranks indicates that the chain rollers are grinding on contaminated surfaces. A well-maintained chain feels buttery smooth when you backpedal by hand.
Slow or inconsistent shifting can also point to a dirty chain. When the chain is caked with grime, it does not engage and release from cassette cogs as smoothly, leading to hesitation or chain skip under load.
How to Clean a Bike Chain Step by Step
There are two approaches to cleaning a chain. The quick on-bike method handles routine maintenance in about 10 minutes. The deep off-bike cleaning is for chains that have been neglected or are switching between lube types. Let me walk you through both.
On-Bike Cleaning (Quick Method)
This is my standard weekly routine during riding season. You will need degreaser, rags, and a brush or chain scrubber.
Step 1: Shift your bike into the middle or small chainring and a middle cog on the cassette. This positions the chain where you can access it easily.
Step 2: Apply degreaser generously to the chain while backpedaling the cranks. You want the entire chain to be wet with degreaser. Hold a rag underneath to catch drips.
Step 3: Grip the chain with a clean rag in your hand and backpedal the cranks several rotations. The rag will pull away black with grime. Shift the rag to a clean section and repeat until the rag comes away mostly clean.
Step 4: Use your brush or chain scrubber tool on the chain, chainring teeth, and cassette cogs while continuing to backpedal. Focus on the gaps between cassette cogs where grime packs densely.
Step 5: Wipe the chain down again with a fresh rag to remove loosened grime and excess degreaser. Backpedal through the rag several more times.
Step 6: Let the chain air dry for 5 to 10 minutes before applying lubricant. Applying lube to a chain still wet with degreaser will dilute the lubricant and reduce its effectiveness.
Off-Bike Deep Cleaning (Thorough Method)
For this method you will need a chain tool or quick-link pliers to remove the chain from the bike. This is worth doing two or three times per season, or when switching from oil-based lube to wax.
Step 1: Remove the chain using a quick-link pliers or chain tool. If your chain uses a quick-link (most modern chains do), this takes seconds.
Step 2: Place the chain in a sealed container like an empty jar or water bottle. Pour in enough degreaser to cover the chain completely.
Step 3: Agitate the container vigorously for 2 to 3 minutes. Let it soak for 15 to 30 minutes if the chain is heavily soiled.
Step 4: Remove the chain and scrub it with a stiff brush under warm running water. The warm water helps dissolve remaining degreaser and grime.
Step 5: Rinse thoroughly until the water runs clear. Shake off excess water and dry the chain with a rag, then hang it to air dry completely for at least an hour.
Step 6: Reinstall the chain on the bike, route it through the derailleur correctly, and close the quick-link before applying fresh lubricant.
How to Lube a Bike Chain Step by Step
Applying lubricant correctly is just as important as cleaning properly. Too much lube attracts grime, and too little leaves the chain unprotected. Here is the technique I use every time.
Step 1: Make sure the chain is clean and dry. Applying lube over a dirty chain seals in contaminants and accelerates wear.
Step 2: Shift to the middle chainring and a middle cog for easy access to the entire chain loop.
Step 3: Hold the lubricant bottle nozzle against the chain at the roller level. Apply one drop of lube to each roller while backpedaling slowly. You do not need to flood the chain; a single drop per roller is sufficient.
Step 4: Once you have lubed the entire chain, backpedal for 30 to 60 seconds. This works the lubricant into the spaces between the rollers, pins, and bushings where it actually does its job.
Step 5: Take a clean rag and firmly wipe the entire outside of the chain while backpedaling. Remove every trace of excess lube from the side plates and outer surfaces. The lubricant that matters is inside the rollers, not coating the outside.
Step 6: If you are using dry or wax lube, let it set for 15 to 30 minutes before riding. This allows the carrier solvent to evaporate and the lube film to bond with the chain surfaces.
This last step is the most common mistake I see riders make. Leaving excess lube on the outside of the chain turns it into a dirt magnet and undoes all the cleaning work you just completed. A properly lubed chain should look almost dry on the outside.
How Often to Maintain Your Chain
Frequency depends on your riding conditions, mileage, and the type of lube you use. Here are the guidelines I follow and recommend.
For road cycling in dry conditions, clean and re-lube every 100 to 150 miles. A quick wipe-down with a rag every 50 miles extends the time between full cleanings.
For mountain biking, plan on cleaning and lubing every 50 to 75 miles. Dust and mud accelerate contamination dramatically compared to road riding.
For wet weather or winter commuting, aim for every 75 to 100 miles. Wet conditions wash lube off the chain faster and road salt accelerates corrosion.
Regardless of mileage, clean and lube your chain immediately after any wet ride. Letting a chain dry with moisture on it invites rust, which starts a wear cascade that is hard to stop once it begins.
Troubleshooting Common Chain Problems
Sometimes cleaning and lubing are not enough. Here is how to handle the two most common chain issues that cyclists encounter.
How to Fix Tight or Stiff Links
A tight link is a section of chain that does not bend freely at its pin joint. You will feel it as a skip or hesitation once per pedal revolution. Tight links usually develop after a chain is reinstalled with a chain tool that pushes the pin slightly crooked.
To find a tight link, backpedal slowly and watch the chain as it passes through the rear derailleur pulleys. A stiff link will cause the chain to hop or hesitate at that point. Once you locate it, flex the chain side to side at that link by hand to free it up. Work the joint back and forth until it bends as smoothly as the surrounding links.
If hand flexing does not fix it, place a screwdriver tip between the tight rollers and gently twist to spread the side plates slightly. This resets the pin to its correct position. Be careful not to spread the plates too far or the link will come apart.
How to Check for Chain Stretch
Chain stretch is not actually the chain elongating. It is the pins and bushings wearing down, which increases the distance between rollers. As the chain pitch grows, it no longer meshes perfectly with the cassette and chainring teeth, causing accelerated wear on those more expensive components.
Use a chain wear indicator tool to measure stretch. Insert the hooked end into the chain rollers. If the 0.5% gauge slot drops in, your chain is half-worn and should be replaced soon. If the 0.75% gauge fits, replace the chain immediately to avoid cassette damage. At 1.0% stretch, you will likely need a new cassette along with the chain.
A new chain on a worn cassette will skip under load. If you replace chains before they reach 0.75% stretch, a single cassette will typically survive through three or four chain replacements. I track my chain wear monthly during riding season and it has saved me hundreds of dollars in premature component wear.
Tips for Best Results
Here are the field-tested tips I have gathered over years of maintaining my own bikes and those of riding friends.
Wipe the chain after every ride. A 30-second wipe with a dry rag after each ride removes fresh grime before it bonds. This single habit can double the time between full cleaning sessions.
Keep your drivetrain dry. After washing your bike or riding in the rain, bounce the bike a few times to shake off water, then wipe the chain dry. A quick spray of lube the next morning prevents flash rust.
Avoid over-lubricating. More lube is not better. Excess lubricant on the chain exterior collects dirt and forms that black abrasive paste. The goal is lube inside the rollers and nothing on the outside.
Store lube properly. Keep your lubricant bottles capped and away from direct sunlight. UV exposure and temperature swings degrade the formula over time.
Consider the environment. Biodegradable degreasers and wax-based lubes are easier on the planet than petroleum-based options. Whatever runoff leaves your chain ends up on trails and roads, so choosing eco-friendly products makes a real difference.
Label your quick-link. If you remove your chain for deep cleaning, note whether it is 10-speed, 11-speed, or 12-speed. Quick-links are speed-specific and are not interchangeable.
FAQs
How often should I lube my bike chain?
Lube your bike chain every 100 to 150 miles for road cycling in dry conditions, every 50 to 75 miles for mountain biking, and every 75 to 100 miles for wet weather riding. Always re-lube immediately after riding in rain to prevent rust.
Can I use WD-40 on my bike chain?
No, standard WD-40 is a solvent and water displacer, not a lubricant. It will strip existing lubricant from the chain and leave bare metal unprotected, accelerating wear. Use a dedicated bike chain lubricant instead. WD-40 does make a separate bike-specific lube line that is safe to use.
What is the best lubricant for a bike chain?
The best lubricant depends on your riding conditions. Wet lube is best for rain, mud, and winter riding because it resists washing off. Dry lube is ideal for dusty and dry conditions because it stays clean. Wax lube provides the cleanest drivetrain but requires more frequent application and a spotless chain before use.
How do I know if my bike chain needs lubrication?
Signs your chain needs lubrication include squeaking or chirping while pedaling, visible black grime buildup, a rough or gritty feeling through the pedals, and slow or inconsistent shifting. A well-lubricated chain should look nearly dry on the outside and feel smooth when you backpedal by hand.
What happens if I don’t lube my bike chain?
An unlubricated chain develops excessive friction, accelerates wear on the chain, cassette, and chainring, shifts poorly, and can eventually snap under load. Replacing a chain is inexpensive, but replacing an entire drivetrain damaged by a neglected chain costs significantly more. Regular lubrication extends drivetrain life by thousands of miles.
Conclusion
Knowing how to clean and lube a bicycle chain is the foundation of bike maintenance. It takes less than 15 minutes, requires only a few basic supplies, and saves you from expensive component replacements down the road. The process is always the same: clean the chain thoroughly, let it dry, apply the right lubricant for your conditions, work it into the rollers, and wipe away every trace of excess.
Pick up a biodegradable degreaser, a quality chain lubricant matched to your riding conditions, and a stack of clean rags. Start with a 15-minute session this week and build the habit. Your drivetrain, your wallet, and your riding experience will all thank you for it.