
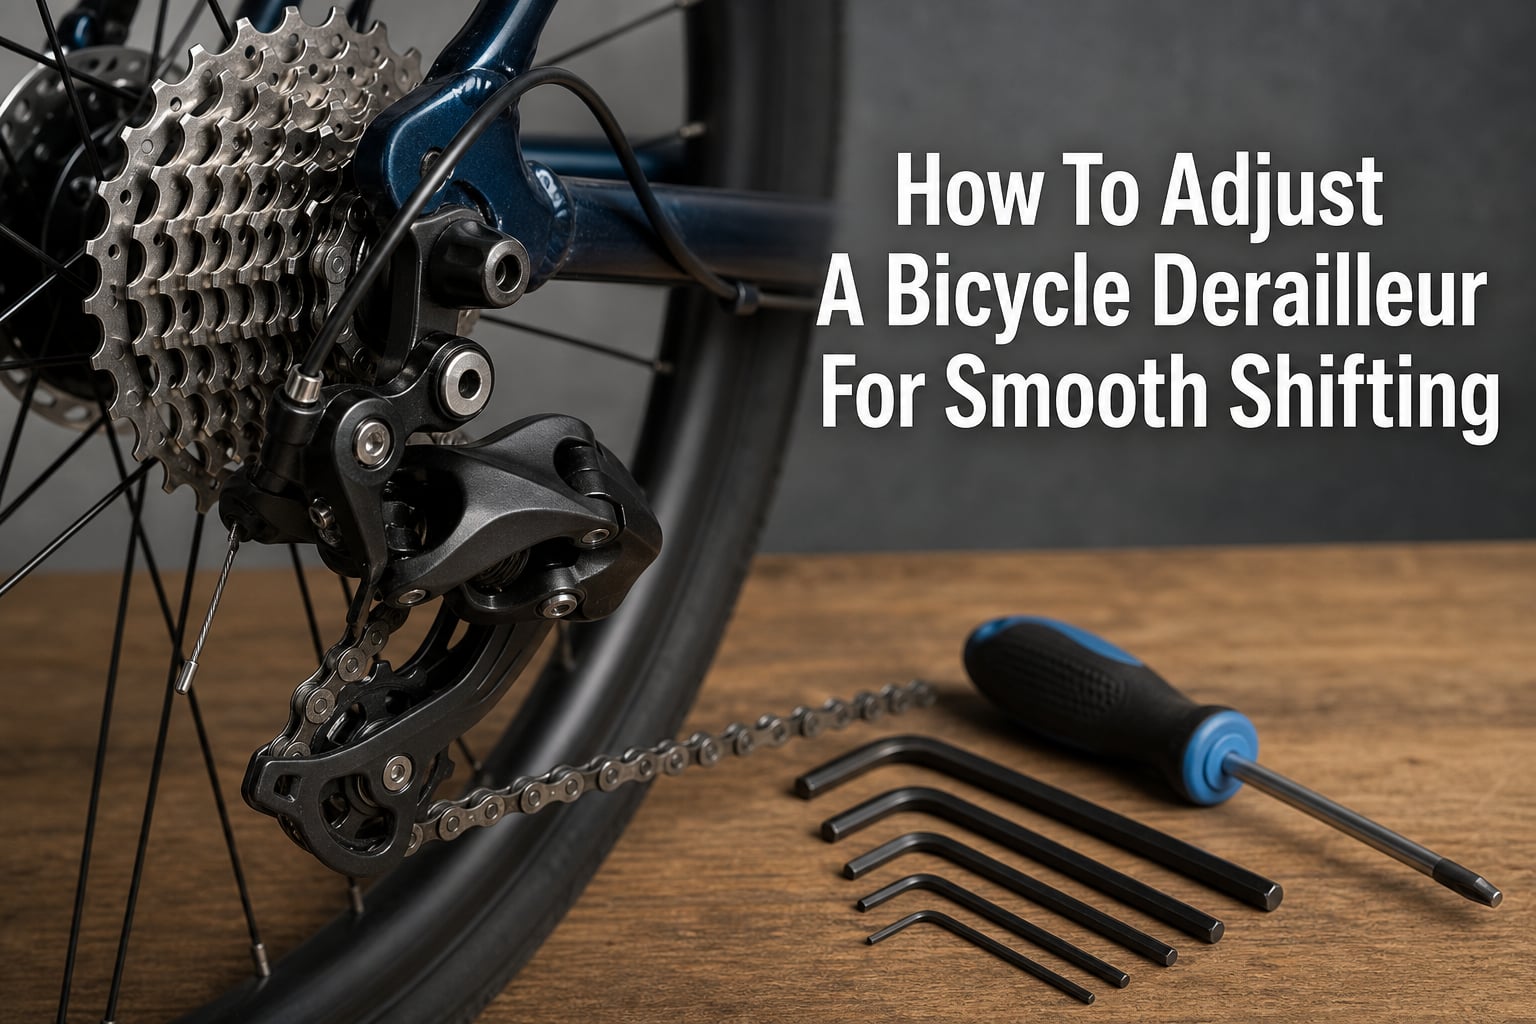
Nothing kills a ride faster than gears that skip, grind, or refuse to shift. I spent years fighting with balky drivetrains before learning the proper derailleur adjustment sequence. Once you understand how to adjust a bicycle derailleur correctly, you can achieve smooth shifting in under 30 minutes with just a few basic tools.
There are three basic adjustments that control how your rear derailleur performs: limit screw settings, B-tension or B-gap position, and cable tension or indexing. Each adjustment serves a specific purpose, and following the right order prevents hours of frustration. This guide walks you through every step, explains what each screw actually does, and helps you troubleshoot common problems.
Whether you ride a road bike, mountain bike, or gravel grinder, the principles remain the same. I learned these techniques from professional mechanics and refined them through countless adjustments on my own bikes and friends’ rides. By the end, you’ll know exactly how to dial in crisp, reliable shifts every time.
Tools Required for Derailleur Adjustment
You don’t need a full workshop to adjust your derailleur properly. I keep a small pouch of tools in my riding bag for trailside adjustments, and the same kit works for complete setup at home. Here’s what you need:
Allen keys (hex wrenches) – Most derailleurs use 4mm or 5mm bolts for cable attachment and clamp bolts. Some older models require a small screwdriver instead.
Phillips head screwdriver – The limit screws and B-tension screw typically use Phillips heads. A quality screwdriver prevents stripping these soft adjustment screws.
Cable cutters – Only needed if you’re replacing cables. Good cutters prevent frayed cable ends that cause poor shifting.
Bike stand (optional but helpful) – A stand lets you pedal and shift while watching the derailleur move. I managed years without one by flipping my bike upside down, but a stand makes the job easier.
Clean rag and lubricant – Wipe down the derailleur pulleys and apply a drop of lube to the cable housing ends. Dirty cables cause shifting problems that mimic adjustment issues.
That’s it. No special tools, no expensive gauges. Park Tool makes excellent purpose-built derailleur alignment tools, but for basic adjustment you can skip them. What matters most is understanding the process and making small, patient adjustments.
Understanding Rear Derailleur Components
Before diving into adjustment steps, let me explain what each part does. This knowledge helps you diagnose problems instead of blindly turning screws. When I first started adjusting derailleurs, I wasted hours because I didn’t understand the relationship between components.
The derailleur body houses the pivot mechanism and spring that moves the cage back and forth. This spring pulls the cage toward the smallest cog (highest gear) by default. When you shift to easier gears, the cable pulls against this spring tension.
Jockey wheels (also called pulley wheels) are the two small wheels the chain runs through. The upper wheel is the guide pulley, which actually moves the chain between cassette cogs. The lower wheel is the tension pulley, which keeps chain tension consistent across all gears. Worn pulleys cause noise and skipping even when adjustment is perfect.
Limit screws control how far the derailleur can travel in either direction. The H-limit screw (High) prevents the cage from moving past the smallest cog. The L-limit screw (Low) prevents movement past the largest cog. These screws exist to keep your chain from falling into your spokes or frame.
The barrel adjuster is the knurled knob where the cable enters the derailleur. Turning this adjuster changes cable tension without tools. Quarter turns make meaningful differences here. I’ve watched riders crank full turns and overshoot perfect adjustment repeatedly.
The B-tension screw (also called B-gap screw or body-angle screw) controls the distance between the guide pulley and the largest cassette cog. This distance affects shifting quality in the easiest gears. Too close, and the chain can’t cleanly climb onto the big cog. Too far, and shifts become sluggish and noisy.
Finally, the cable anchor bolt (pinch bolt) secures the shift cable to the derailleur. Proper cable routing and bolt torque matter for consistent shifting. A loose bolt causes gradual adjustment drift, while overtightening can damage the cable.
How to Adjust a Bicycle Derailleur for Smooth Shifting
The adjustment sequence matters more than you might think. I learned this the hard way after years of random tweaking. Start with limit screws before touching cable tension, because limit screws set the boundaries that indexing operates within. If limits are wrong, no amount of barrel adjuster twisting will fix your shifting.
Here’s the correct order for derailleur adjustment:
Set the H-limit screw (smallest cog position)
Set the L-limit screw (largest cog position)
Connect and tension the cable
Adjust indexing using the barrel adjuster
Fine-tune B-tension for optimal guide pulley gap
This sequence works because each step builds on the previous one. Setting limits first ensures the derailleur can reach but not overshoot the gear range. Cable tension then positions the derailleur precisely at each gear. B-tension is last because it only affects the largest cog shifting.
Step 1: H-Limit Screw Adjustment
The H-limit screw controls how far outward the derailleur cage can move. Its job is to position the guide pulley directly below the smallest cassette cog when the shifter is in the highest gear (hardest to pedal). Setting this correctly prevents the chain from falling off toward the frame.
Locate the H-limit screw on your derailleur. It’s usually marked with an “H” and positioned closest to the frame when viewed from behind. Some derailleurs have limit screws stacked vertically, others horizontally. When in doubt, shift to the smallest cog and watch which screw the derailleur moves toward.
Procedure for H-Limit Screw Adjustment
Follow these steps to set the H-limit screw correctly:
Shift to the smallest rear cog – Use your shifter to move the chain to the hardest gear. Pedal by hand to ensure the chain fully seats on the cog.
Disconnect the shift cable – Loosen the cable anchor bolt and unhook the cable. This lets the derailleur spring pull the cage to its natural position.
Pedal and observe – Turn the pedals and watch the chain. The guide pulley should sit directly below the smallest cog, with the chain running straight down from cog to pulley.
Adjust the H-limit screw – If the derailleur sits too far inward (toward the wheel), turn the H-limit screw clockwise to limit outward travel. If it sits too far outward, turn the screw counterclockwise.
Check for rubbing – The cage should not rub against the smallest cog. A tiny gap is acceptable, but the chain should run silently without sideways pressure.
Test with the cable – Pull the cable by hand to simulate tension and shift to a larger cog. Release the cable and verify the derailleur returns smoothly to the smallest cog.
Quarter turns on limit screws make noticeable differences. I work in quarter-turn increments, checking the result each time. Patience here prevents overshooting and having to backtrack.
Common H-Limit Problems
If the H-limit is set too tight (clockwise), the derailleur can’t reach the smallest cog. You’ll feel resistance when shifting to the highest gear, and the chain may grind against the second cog. If set too loose (counterclockwise), the chain can drop off the cassette toward the frame when shifting down. Neither situation is ideal.
For full-suspension mountain bikes, remember that suspension compression changes the effective chainstay length. Set H-limit with the suspension at sag (partially compressed), not fully extended. This prevents the chain from dropping when you hit bumps.
Step 2: L-Limit Screw Adjustment
The L-limit screw controls how far inward the derailleur can travel. It positions the guide pulley below the largest cassette cog (easiest gear) when the shifter is in the lowest gear. Correct L-limit prevents the chain from overshooting into your spokes or jamming between the cassette and wheel.
Locate the L-limit screw. It’s typically marked with an “L” and positioned farther from the frame than the H-limit screw. The relationship between screw position and function confuses many riders, but here’s a simple way to remember: the screw closer to the smallest cog controls H-limit, the screw closer to the largest cog controls L-limit.
Procedure for L-Limit Screw Adjustment
Set the L-limit screw with this sequence:
Shift to the largest rear cog – If the cable is still disconnected, push the derailleur cage inward by hand while pedaling. The chain should climb onto the largest cog.
Observe guide pulley position – The center of the guide pulley should align directly below the center of the largest cog. The chain should run straight up from pulley to cog.
Adjust the L-limit screw – If the derailleur stops short of the largest cog, turn the L-limit screw counterclockwise to allow more inward travel. If it overshoots, turn clockwise to restrict travel.
Check for spoke interference – The cage should not touch the spokes when in the largest cog. Spin the wheel and listen for contact. Any rubbing means the L-limit needs tightening.
Test the shift – Shift down to smaller cogs and back up to the largest. The chain should climb smoothly without hesitation or overshoot.
I check L-limit adjustment by listening carefully while pedaling in the easiest gear. Any ticking or scraping means the cage is too close to the spokes. That ticking quickly becomes expensive spoke damage if ignored.
Warning About Spoke Damage
Setting the L-limit too loose creates a serious risk. The chain can jam between the cassette and spokes, destroying your wheel and potentially causing a crash. I always err slightly toward a tighter L-limit when setting up customer bikes. It’s better to occasionally miss a shift into the largest cog than to risk spoke contact.
Check for bent derailleur hangers before adjusting L-limit. A bent hanger causes the derailleur to sit at an angle, making proper adjustment impossible. If the chain rubs on the largest cog even with L-limit fully tight, suspect a bent hanger.
Step 3: Indexing and Cable Tension Adjustment
With limit screws set, you’re ready to connect the cable and adjust indexing. Indexing refers to how precisely the derailleur aligns with each cassette cog when you click the shifter. Modern shifters pull a specific amount of cable per click, and the derailleur must move exactly that distance to line up with each gear.
This is where most riders spend their time adjusting, but it’s actually the easiest part when limits are correct. The barrel adjuster fine-tunes cable tension to align the derailleur perfectly with each cog.
Cable Connection
Connect the shift cable properly before adjusting indexing:
Set the barrel adjuster to neutral – Turn the barrel adjuster clockwise until it stops, then back it out 1-2 turns. This gives you adjustment range in both directions.
Shift to the smallest cog – Use the shifter paddle to release all cable tension.
Route the cable correctly – Follow the cable path through any housing stops and under the cable anchor bolt. The cable should have a smooth path without sharp bends.
Tension the cable by hand – Pull the cable taut with your fingers (pliers help for tight pulls). The derailleur should stay at the smallest cog.
Tighten the anchor bolt – Secure the cable with the bolt, using firm but not excessive torque. The cable shouldn’t slip, but overtightening can crush the cable.
Indexing Adjustment Procedure
Fine-tune cable tension with these steps:
Pedal and shift through all gears – Work up and down the cassette, noting any hesitation, noise, or missed shifts.
Start with the middle gears – Shift to a middle cog and adjust the barrel adjuster until the chain runs quietly and smoothly.
Test shifting up (to larger cogs) – Shift from small to large cogs one gear at a time. Each shift should be quick and positive. If shifts are slow, turn the barrel adjuster counterclockwise to increase tension.
Test shifting down (to smaller cogs) – Shift from large to small cogs. Each shift should release cleanly. If the chain hesitates or doesn’t release, turn the barrel adjuster clockwise to decrease tension.
Find the sweet spot – Adjust until shifts work equally well in both directions. This typically means setting tension slightly toward the upshift side.
Quarter turns on the barrel adjuster are your best friend here. I make a quarter turn, test shifting, and repeat. Full turns almost always overshoot the target. The adjustment window is narrower than you’d expect.
Troubleshooting Indexing Issues
If you can’t achieve smooth shifting across all gears, check these common problems:
Cable stretch: New cables stretch during the first few rides. Expect to readjust after 50-100 miles. I tell customers to come back after a week for a quick tension touch-up.
Cable friction: Dirty or corroded cables don’t slide smoothly through housing. This causes inconsistent shifting and makes adjustment impossible. Replace cables and housing if adjustment feels notchy.
Mismatched components: Mixing shifters and derailleurs from different speeds or brands causes indexing problems. Shimano 11-speed shifters work with Shimano 11-speed derailleurs, but not with SRAM or 10-speed components.
Step 4: B-Tension Screw (B-Gap) Adjustment
The B-tension screw controls the distance between the guide pulley and the cassette cogs. This distance affects shifting into the largest cog and overall chain retention. Setting B-gap correctly improves shifts into the easiest gear and prevents chain slap on rough terrain.
You’ll find the B-tension screw on the back of the derailleur body, usually facing toward the rear axle. Some derailleurs use a screw that pushes against a tab on the derailleur hanger. Others use a screw that threads into the derailleur body itself.
Procedure for B-Tension Adjustment
Set the B-gap with this sequence:
Shift to the largest rear cog – The B-gap primarily affects this gear position.
Observe the gap – Look at the distance between the top of the guide pulley teeth and the bottom of the largest cog teeth. Most manufacturers recommend 5-6mm gap.
Adjust the B-tension screw – Turning clockwise moves the pulley away from the cassette. Turning counterclockwise moves it closer.
Test shifting – Shift down from the largest cog and back up. The chain should climb onto the largest cog smoothly without excessive noise.
Check chain wrap – Shift to the smallest cog while watching the chain. The chain should maintain tension in all gears without excessive slack.
Modern Shimano derailleurs use a specific B-gap tool, but you can estimate by eye. The gap should be close enough that a penny barely fits between the pulley teeth and cog teeth. Too close causes chain rub and difficult shifting. Too far causes slow shifts and chain slap.
B-Gap for Full-Suspension Bikes
Full-suspension mountain bikes require special attention. The rear triangle moves relative to the bottom bracket, which changes the effective chain length throughout the suspension travel. Set B-gap with the suspension at sag, then check through the full travel range.
Some full-suspension designs work better with slightly tighter B-gap settings. The chain can’t fall off the pulley during compression if the gap is minimized. I’ve found that setting B-gap on the tight side of normal works well for most suspension designs.
Front Derailleur Quick-Adjust Guide
While this guide focuses on rear derailleurs, front derailleur adjustment follows similar principles. The front derailleur also has limit screws and cable tension, plus a vertical position adjustment.
Set the front derailleur height so the outer cage sits 1-2mm above the largest chainring teeth. Angle the cage so it’s parallel to the chainring. Then adjust H and L limit screws to allow the chain to reach but not overshift past each chainring. Cable tension fine-tunes shifting just like with the rear.
Front derailleur adjustment often requires more finesse than rear. Small changes make big differences. I recommend adjusting the rear derailleur first if you’re troubleshooting shifting issues. Many apparent front derailleur problems actually stem from rear adjustment issues.
Troubleshooting Common Derailleur Problems
Even with perfect adjustment, problems can persist. Here’s how to diagnose and fix common shifting issues:
Chain Skips Under Load
If the chain skips when you pedal hard, the problem usually isn’t adjustment. Check for worn chain and cassette teeth. A stretched chain wears the cassette to match its elongated pitch. When you install a new chain, it skips on the worn cassette.
Use a chain checker tool to measure chain wear. If the chain is past 0.5% stretch (0.75% for some systems), replace it. If the cassette is worn, you’ll need to replace both chain and cassette together.
Chain Won’t Shift to Smallest Cog
If the derailleur won’t move the chain to the smallest cog, check the H-limit screw. It may be too tight, preventing outward travel. Also check cable tension. The barrel adjuster may need to be turned clockwise to release tension. If the cable is physically stuck, replace it and the housing.
Chain Won’t Shift to Largest Cog
Similar logic applies here. Check L-limit screw adjustment and cable tension. The L-limit may be too tight. If the cable is slack, turn the barrel adjuster counterclockwise to add tension. A bent derailleur hanger can also prevent shifts to the largest cog.
Ghost Shifting
Ghost shifting happens when the chain changes gears without input from the shifter. This usually indicates cable tension drift or a bent hanger. Check for loose cable anchor bolts and bent derailleur hangers. Suspension pivot wear can cause similar issues on full-suspension bikes.
Noise in All Gears
Constant grinding noise usually indicates worn jockey wheels, a dry chain, or misaligned derailleur hanger. Inspect the pulley wheels for side play and wear. Clean and lubricate the chain. Check hanger alignment with a proper alignment tool.
How to Check for Bent Derailleur Hanger
A bent hanger makes proper adjustment impossible. The derailleur cage sits at an angle to the cassette, causing noise and shifting problems. Check hanger alignment by sight from behind the bike. The derailleur should be parallel to the wheel.
For a more accurate check, shift to a middle cog and look at the chain line from behind. The chain should run straight from cog to pulley without sideways angle. If the chain angles significantly, the hanger is bent.
Minor hanger bends can be straightened with a hanger alignment tool. Park Tool and others make tools that thread into the hanger and let you bend it back to true. Severe bends require hanger replacement. Most modern bikes use replaceable hangers designed to bend before the frame sustains damage.
When to Seek Professional Help
Some problems exceed basic adjustment. Consider visiting a bike shop if:
The derailleur hanger is severely bent or cracked
The derailleur body itself is damaged or bent
You suspect internal shifter problems
Components are mismatched and incompatible
Adjustment seems correct but shifting remains poor
Professional mechanics have tools and experience that make quick work of stubborn problems. A $50 adjustment often saves hours of frustration and prevents expensive mistakes.
FAQs
How do I make my bike gears shift smoothly?
Make your bike gears shift smoothly by adjusting three key derailleur settings in order: set limit screws so the derailleur reaches but doesn’t overshoot the cassette range, adjust cable tension using the barrel adjuster until shifts are crisp in both directions, and set B-tension to position the guide pulley 5-6mm from the largest cog. Clean, lubricated cables and chain also improve shift quality.
How to adjust H and L screws on derailleur?
Adjust H and L limit screws by first disconnecting the cable, then pedaling while watching the derailleur position. Set H-limit so the guide pulley sits directly below the smallest cog when the cage springs outward. Set L-limit so the pulley sits below the largest cog when you push the cage inward. Turn screws clockwise to restrict travel, counterclockwise to allow more movement.
Can I adjust the derailleur myself?
Yes, you can adjust a derailleur yourself with basic tools and patience. Most adjustments require only Allen keys and a Phillips screwdriver. Follow the correct sequence: limit screws first, then cable tension, then B-gap. Work in small increments and test frequently. Professional adjustment costs $30-50, but doing it yourself saves money and helps you understand your bike.
Which derailleur should I adjust first?
Adjust the rear derailleur first, starting with limit screws before touching cable tension. Set H-limit for the smallest cog, then L-limit for the largest cog. After limits are correct, adjust cable tension for indexing. Finally, set B-tension. The front derailleur can be adjusted after the rear is working properly. Many apparent front derailleur problems stem from rear adjustment issues.
Conclusion
Learning how to adjust a bicycle derailleur for smooth shifting transforms your riding experience. Crisp, reliable shifts make every ride more enjoyable, and the adjustment process becomes second nature after a few practice runs. Remember the four-step sequence: H-limit first, L-limit second, indexing third, and B-tension last.
Work slowly and check your results frequently. Quarter turns on adjustment screws make bigger differences than you expect. If something feels wrong, stop and assess before making more changes. The patience you invest now prevents hours of troubleshooting later.
Here’s a quick reference checklist for derailleur adjustment:
Shift to smallest cog and disconnect cable
Set H-limit so pulley sits below smallest cog
Set L-limit so pulley sits below largest cog
Reconnect cable with proper tension
Adjust barrel adjuster for crisp shifts in both directions
Set B-gap to 5-6mm from largest cog
Test all gears and fine-tune as needed
With practice, this entire process takes 15-30 minutes. Your drivetrain will shift quietly and precisely, and you’ll catch small problems before they become expensive repairs. Keep your cables clean and lubricated, check chain wear regularly, and your bike will reward you with thousands of miles of smooth shifting.