
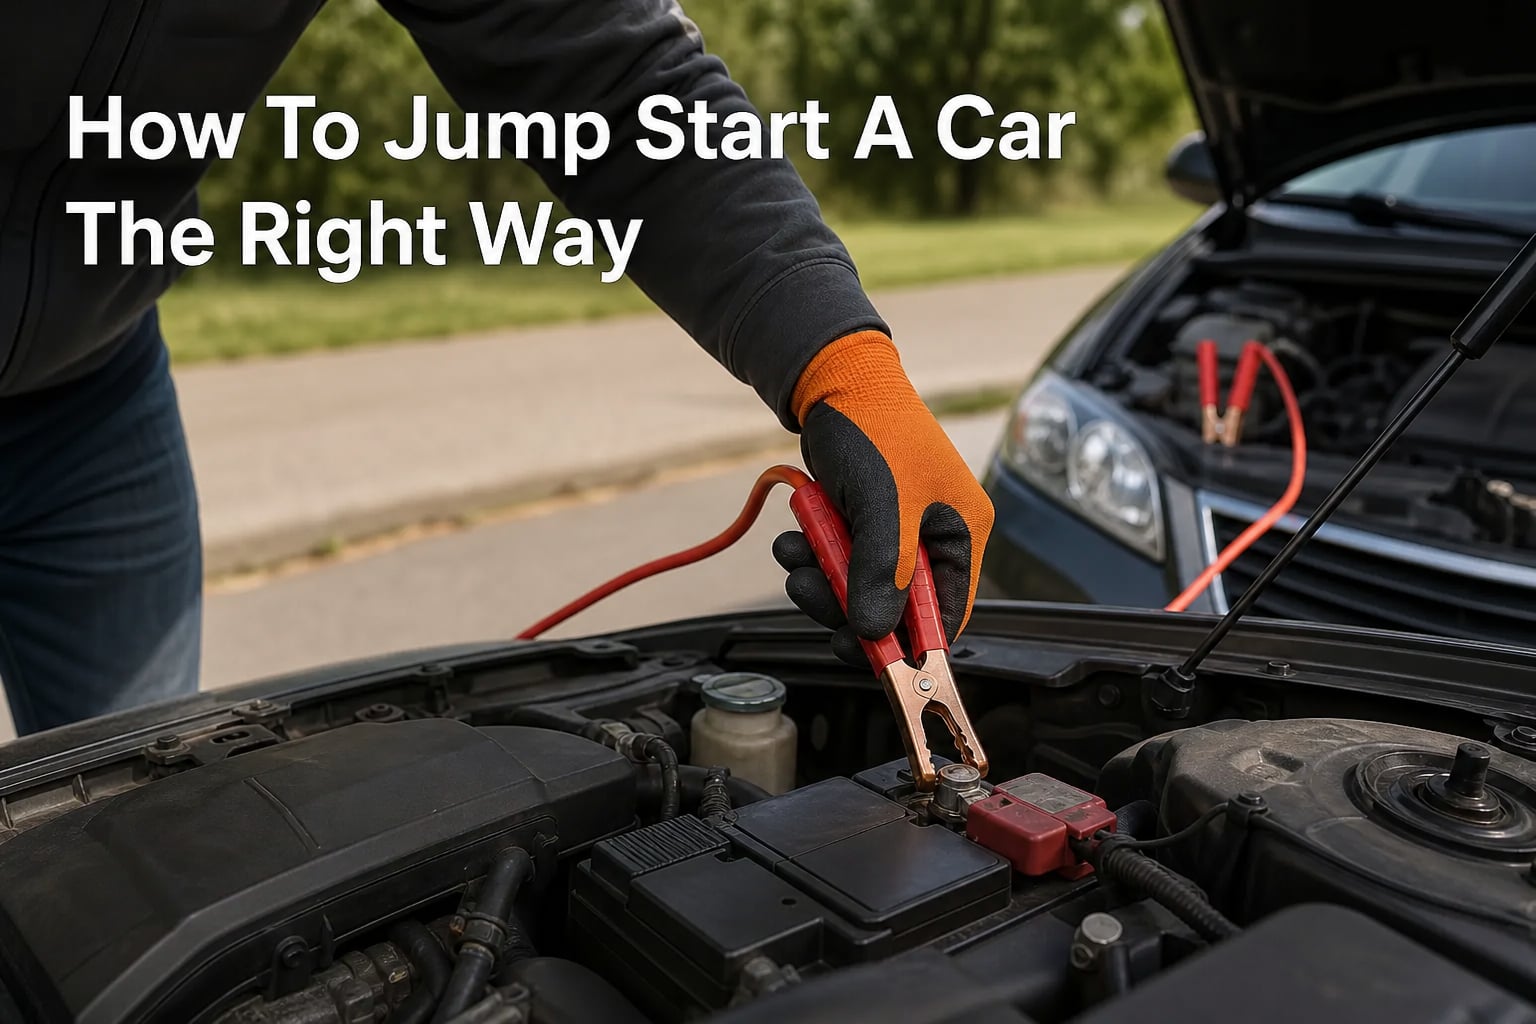
There you are, turning the key or pressing the start button, and nothing happens. No crank, no dashboard lights, just the sinking feeling of a dead battery. Every driver faces this moment eventually, and knowing exactly how to jump start a car can save you hours of waiting, a tow truck bill, and a whole lot of frustration.
I have jump-started more vehicles than I can count over the years, from sedans left in airport parking lots to trucks that sat through a brutal winter. The process is straightforward once you understand the logic behind it. The key is following the connection order precisely and treating the battery with respect.
This guide walks you through every step of the process, from gathering the right gear to safely disconnecting the cables. I will also cover what to do when things go wrong, how to handle hybrids and EVs, and when you should skip the jump entirely and call a professional. Let us get your car back on the road.
What You Need Before You Start
Before you even pop the hood, gather the right equipment and take a moment to assess the situation. Having everything on hand makes the process smoother and safer.
Here is what you need:
A set of jumper cables — Look for cables that are at least 4 to 6 gauge and 12 to 20 feet long. Thinner cables (8 gauge or higher) may not carry enough current for larger vehicles and can overheat.
A donor vehicle with a healthy 12-volt battery, or a portable jump starter (also called a jump box or battery pack) if you are doing this solo.
Safety gloves and eye protection — Batteries contain sulfuric acid and can release flammable hydrogen gas. Basic protection goes a long way.
Your vehicle owner’s manual — Some cars have specific jump-start terminals located elsewhere in the engine bay rather than directly on the battery. The manual will tell you where.
One thing I always check: if the battery is visibly swollen, cracked, or leaking fluid, do not attempt a jump start. A damaged battery can explode when current flows through it. Call roadside assistance or a tow truck instead.
Take a look at the battery terminals too. If you see thick white, green, or blue crust on the posts, that is corrosion. It blocks electrical contact and needs to be cleaned off with a wire brush or a baking soda and water solution before you connect anything.
How To Jump Start A Car: Step-by-Step Connection Procedure
This is the part where the order matters more than anything else. Connecting cables in the wrong sequence can short out your electrical system, fry a computer module, or even cause a battery to explode. Follow these steps exactly.
Here is the quick summary of the connection order before I break it down step by step:
Red clamp to dead battery positive terminal
Red clamp to good battery positive terminal
Black clamp to good battery negative terminal
Black clamp to unpainted metal ground on the dead car
Now let me walk you through each step in detail.
Step 1: Position the Vehicles
Park the donor vehicle close enough that the jumper cables can easily reach both batteries but make sure the two vehicles are not touching each other. Nose-to-nose or side-by-side both work fine, depending on where each battery sits in the engine bay.
Put both vehicles in park (or neutral for manuals), engage the parking brake on both, and turn off the ignition, lights, radio, and any accessories in both cars. You want a clean electrical environment with no current draw.
Step 2: Identify the Terminals
Open both hoods and locate the battery in each vehicle. Look for two terminals on each battery:
The positive terminal is marked with a plus sign (+) and usually has a red plastic cover.
The negative terminal is marked with a minus sign (-) and may have a black cover or no cover at all.
If the terminal markings are hard to read, remember that the positive terminal is typically slightly larger in diameter than the negative one. When in doubt, check the red and black wires running from the battery, red always connects to positive.
Step 3: Connect the First Red Clamp
Take one end of the red jumper cable and clamp it firmly onto the positive terminal of the dead battery. Make sure the metal jaws of the clamp are biting into bare metal, not paint or corrosion. A loose connection here means the whole process fails.
Double-check that the other three clamps are not touching each other or any metal surface as you work. Lay them on plastic or cloth if needed.
Step 4: Connect the Second Red Clamp
Now take the other red clamp and connect it to the positive terminal of the good battery. Same rule applies: solid metal-to-metal contact on the positive post.
At this point, you have a positive-to-positive connection linking both batteries. No current flows yet because the circuit is not complete.
Step 5: Connect the First Black Clamp
Take one end of the black cable and connect it to the negative terminal of the good battery. This is where current will flow from as the circuit comes alive.
Step 6: Connect the Ground Clamp (Critical Step)
This is the step where many people make a dangerous mistake. Take the remaining black clamp and connect it to an unpainted metal surface on the engine block or chassis of the dead vehicle, well away from the battery. A bare metal bracket, a bolt on the engine block, or a designated grounding point all work.
Do not connect this clamp to the negative terminal of the dead battery. Here is why: when you make the final connection, it can produce a spark. Batteries release hydrogen gas as they charge and discharge. A spark near the battery can ignite that gas and cause an explosion. By grounding away from the battery, you move the spark to a safe location where no gas has accumulated.
This is the single most important safety step in the entire process. Reddit users on r/MechanicAdvice frequently emphasize this point, and every major automotive authority, from KBB to AAA, recommends grounding to the engine block rather than the negative terminal.
If you cannot find a good ground point, look for a bare metal bracket bolted to the engine. Avoid painted surfaces, aluminum components, and anything near fuel lines or moving belts.
Starting Both Vehicles
With all four clamps connected in the correct order, you are ready to bring the dead battery back to life. This part requires some patience.
Start the donor vehicle first. Let the engine run for three to five minutes while revving it slightly above idle (around 1,500 to 2,000 RPM). This gives the alternator time to push current through the cables and begin charging the dead battery.
After a few minutes of charging, try starting the dead vehicle. Turn the key or press the button just as you normally would. If the engine cranks and starts, let it idle for a moment before doing anything else.
If the engine does not start on the first try, wait another two to three minutes and try again. The dead battery may need more charge time before it can deliver enough cranking amps to turn the starter motor. Avoid cranking for more than five seconds at a time, as this can overheat and damage the starter.
If the vehicle still will not start after three or four attempts, stop trying. Repeated failed starts usually point to a problem beyond a simple dead battery. The starter may be failing, there could be a fuel delivery issue, or the battery may be internally damaged and unable to hold a charge. At this point, you likely need professional help.
One scenario I have seen catch people off guard: the dead vehicle starts briefly but then dies immediately when you disconnect the cables. This almost always means the alternator is not producing enough current to keep the engine running on its own. The car needs more than a jump, it needs alternator diagnosis and repair.
How To Disconnect Jumper Cables Safely
Once the dead vehicle is running, you need to remove the jumper cables in the exact reverse order of how you connected them. This keeps the circuit stable and minimizes the risk of sparking near the battery.
Follow this disconnect sequence:
Remove the black clamp from the ground point on the dead vehicle’s engine block. Set it aside carefully so it does not touch any metal.
Remove the black clamp from the negative terminal of the good battery.
Remove the red clamp from the positive terminal of the good battery.
Remove the red clamp from the positive terminal of the previously dead battery.
As you remove each clamp, be careful not to let the metal jaws touch each other or any vehicle surface while the other ends are still connected. A dangling clamp that touches metal can create a short circuit instantly.
I like to coil the cables loosely as I remove them rather than letting them drag on the ground. This keeps the clamps from accidentally touching and prevents dirt and grit from building up on the contact points.
Keep the jumped vehicle running the entire time you disconnect the cables. Do not turn it off until the jumper cables are completely removed and safely stored away.
After the Jump: Charging and Driving
A successful jump start does not mean your battery is fully charged. It just means the battery has enough energy to start the engine once. Now the alternator needs time to do its job.
Drive the vehicle for at least 20 to 30 minutes at speeds above 1,500 RPM. Highway driving is ideal because the engine runs at a steady, higher RPM that lets the alternator pump maximum current back into the battery. City driving with frequent stops works too, but it takes longer to achieve the same charge level.
Avoid turning the engine off too soon. If you shut the car down after just a five-minute drive, the battery may not have recovered enough charge to start the vehicle again. You will be right back where you started with a dead battery.
If you have a battery charger at home, hooking it up after your drive ensures a full, deep charge overnight. This is especially important if the battery died from being drained by leaving lights on, rather than from old age.
Jumper Cables vs Portable Jump Starter
Both tools get the job done, but they serve different needs depending on your situation. Understanding the trade-offs helps you pick the right approach.
Jumper cables are inexpensive, never need charging themselves, and can handle unlimited jump starts in succession. The downside is that they require a second vehicle. If you are stranded alone in a parking lot at night, cables alone will not help you.
A portable jump starter (jump box) is a self-contained lithium-ion battery pack with built-in clamps. It lets you jump start your car without another vehicle, which is invaluable for solo drivers. Many models also include USB ports for charging phones and built-in flashlights for nighttime use. The catch is that you must remember to keep the unit charged, and lithium batteries degrade over time.
My recommendation: keep both in your trunk. Cables as a backup for when a good Samaritan stops to help, and a portable jump starter for when nobody is around. The peace of mind is worth the modest investment.
How To Choose the Right Jumper Cables
Not all jumper cables are created equal, and buying cheap cables can turn a simple jump start into a frustrating ordeal. Here is what to look for when shopping for a set.
Wire gauge: Lower numbers mean thicker wire and more current-carrying capacity. For most passenger cars, 6 gauge is acceptable. For trucks, SUVs, and cold-weather use, go with 4 gauge or even 2 gauge. Avoid 8 gauge or 10 gauge cables for anything larger than a compact car.
Cable length: Twelve feet is the practical minimum. Twenty feet gives you flexibility when vehicles cannot be parked nose-to-nose, which happens in tight parking spaces or when one vehicle is in a garage. Longer cables mean more resistance, so do not go overboard, but 16 to 20 feet hits the sweet spot.
Material: Pure copper cables conduct better than copper-clad aluminum (CCA). Copper cables cost more but deliver more cranking amps and last longer. CCA cables work in a pinch but may struggle with larger engines or very cold conditions.
Clamp quality: Look for clamps with strong springs and serrated jaws that grip terminals firmly. Insulated handles protect your hands, and copper or copper-plated contact surfaces conduct better than steel.
Safety Warnings and What To Avoid
Jump-starting a car is safe when done correctly, but batteries carry real risks. Keep these warnings in mind every single time.
Never let the clamp ends touch each other while they are connected to a battery. This creates a direct short circuit that can melt cables, damage batteries, and cause serious injury from flying sparks.
Never connect the final negative clamp to the dead battery’s negative terminal. Always use a ground point away from the battery. The spark at the moment of connection can ignite hydrogen gas that naturally accumulates around charging batteries.
Do not jump-start a battery that is visibly damaged. Cracks in the case, bulging sides, or leaking fluid mean the battery is structurally compromised. Applying current to a damaged battery risks explosion and acid spray.
Keep open flames and cigarettes away from the battery area at all times. This includes during the entire connection, charging, and disconnection process.
Is it safe to jump start a car in the rain? Yes, with reasonable caution. The 12-volt system in a car is low enough voltage that rain does not create a dangerous electrocution risk. However, keep the battery area as dry as possible, stand on a dry surface if you can, and avoid letting the cable connections sit in standing water. If the rain is heavy enough that you cannot see what you are doing, wait it out.
Remove metal jewelry before working around batteries. A ring or watch band that bridges between the positive terminal and any grounded metal surface can cause severe burns in an instant.
Troubleshooting: When the Jump Does Not Work
Sometimes you do everything right and the car still will not start. Before you call for a tow, run through this troubleshooting checklist.
Check the connections: Are all four clamps making solid metal-to-metal contact? A loose or corroded connection is the most common reason a jump fails. Wiggle each clamp and look for tight contact on bare metal.
Give it more time: A deeply discharged battery may need five to ten minutes of charging from the donor vehicle before it can deliver enough cranking amps. Rev the donor engine slightly and wait longer before trying again.
Listen to the starter: If you hear a rapid clicking sound, the starter solenoid is engaging but the battery cannot deliver enough current to spin the motor. This points to a weak connection or a deeply dead battery. If you hear a single loud clunk and then silence, the starter may be seized.
Consider the alternator: If the car starts but dies as soon as you remove the cables, the alternator is not producing power. The battery alone cannot sustain the engine’s electrical needs. This requires professional diagnosis.
Signs your battery needs replacement, not just a jump: If your battery is more than four to five years old, has needed multiple jumps recently, or struggles in cold weather even after a full charge, it is probably at the end of its life. Most auto parts stores will test your battery for free and tell you its cold cranking amps and overall health.
If the vehicle makes no sound at all when you turn the key, no click, no crank, nothing, the problem may not be the battery at all. Check for a blown fusible link, a faulty ignition switch, or a neutral safety switch that is not engaging.
How To Jump Start a Car Without Another Car
If you have a portable jump starter, you can handle a dead battery entirely on your own. The process is simpler than using cables because you only deal with one vehicle.
First, make sure the jump starter is charged. Most units have indicator lights or a digital display showing battery level. If it is below 50 percent, it may not deliver enough power for a successful jump.
Connect the red clamp to the positive terminal of the dead battery. Then connect the black clamp to a ground point on the engine block, exactly as you would with traditional cables. Turn on the jump starter unit.
Wait about 30 seconds to a minute for the unit to deliver its charge to the dead battery. Then attempt to start the vehicle. Once the engine is running, disconnect the black clamp from the ground point first, then the red clamp from the positive terminal. Turn off the jump starter and store it.
The beauty of a portable jump starter is that it eliminates the need for a second vehicle, reduces the risk of incorrect connections, and works in almost any location. Just remember to recharge the unit after each use.
Special Cases: Hybrids, EVs, and Motorcycles
Not every vehicle follows the same jump-start rules. Hybrid and electric vehicles have specific requirements, and motorcycles need special care.
Hybrid vehicles like the Toyota Prius have two battery systems: a high-voltage traction battery for driving and a standard 12-volt auxiliary battery that powers the electronics, lights, and computer. When the 12-volt battery dies, the car cannot power on even though the main hybrid battery may have plenty of charge. To jump-start a Prius or similar hybrid, locate the 12-volt battery or the designated jump-start terminal under the hood. The procedure is identical to a conventional car once you find the correct terminals. Check your owner’s manual for the exact location, as it varies by model.
Electric vehicles also use a 12-volt auxiliary battery for their electronics. The jump-start procedure is the same as a hybrid: find the 12-volt battery or terminal, connect in the standard order, and start the vehicle. Never attempt to connect jumper cables to the high-voltage battery pack under any circumstances.
Dead key fob workaround: If your car has push-button start and the 12-volt battery is dead, the keyless entry system may not recognize your fob. Many manufacturers hide a mechanical key inside the fob that you can use to unlock the door manually. Once inside, hold the fob against the start button (or place it in a designated slot) while pressing the brake and start button. Consult your manual for the specific procedure for your vehicle.
Motorcycles can be jump-started from a car battery, but with caution. Never start the car’s engine while connected to a motorcycle battery. The car’s alternator can deliver too much current and fry the motorcycle’s electrical system. Connect the cables, leave the car’s engine off, and start the motorcycle directly from the battery charge alone. Disconnect immediately after the bike starts.
FAQs
What is the correct order to jump start a car?
Connect the red clamp to the positive terminal of the dead battery, then the red clamp to the positive terminal of the good battery, then the black clamp to the negative terminal of the good battery, and finally the black clamp to an unpainted metal ground point on the dead car’s engine block. Disconnect in exact reverse order.
Do you connect red or black first when jumping a car?
Always connect the red (positive) cable first. Connect the red clamp to the dead battery’s positive terminal first, then to the good battery’s positive terminal. Connect the black (negative) cable second, starting with the good battery and finishing with a ground point on the dead vehicle.
How long should I let my car run after a jump start?
Drive the vehicle for at least 20 to 30 minutes at speeds above 1,500 RPM so the alternator can recharge the battery. Highway driving charges the battery faster than city driving. Avoid turning the engine off too soon, as the battery may not have enough charge to restart the car.
Is it safe to jump start a car in the rain?
Yes, jump-starting in the rain is generally safe because car batteries operate at 12 volts, which is not enough to cause electrocution. Keep connections as dry as possible, avoid standing in puddles, and do not let cable connections sit in standing water. If visibility is too poor to work safely, wait for the rain to ease.
Can I jump start a Prius or hybrid car?
Yes, you can jump-start a hybrid vehicle. Hybrids have a 12-volt auxiliary battery separate from the high-voltage traction battery. Locate the 12-volt battery or the designated jump-start terminal under the hood (check your manual for location) and follow the same connection procedure as a conventional car. Never connect cables to the high-voltage battery system.
Why won’t my car start even after a jump?
If your car will not start after a proper jump, the battery may be completely dead and unable to hold a charge. Other causes include a faulty starter motor, a bad alternator, corroded or loose cable connections, a blown fusible link, or a problem with the ignition switch. Try cleaning the connections and charging longer before calling a professional.
Conclusion
Knowing how to jump start a car the right way is one of the most practical skills any driver can have. The process comes down to four connections in the correct order: red to dead positive, red to good positive, black to good negative, and black to a ground point away from the dead battery. Disconnect in reverse, drive for 20 to 30 minutes to let the alternator recharge, and you are back on the road.
Keep a quality set of jumper cables or a portable jump starter in your trunk at all times. You never know when you will need them, and being prepared turns a potential roadside emergency into a minor delay. Stay safe, follow the connection order every time, and treat every battery with the respect it deserves.