
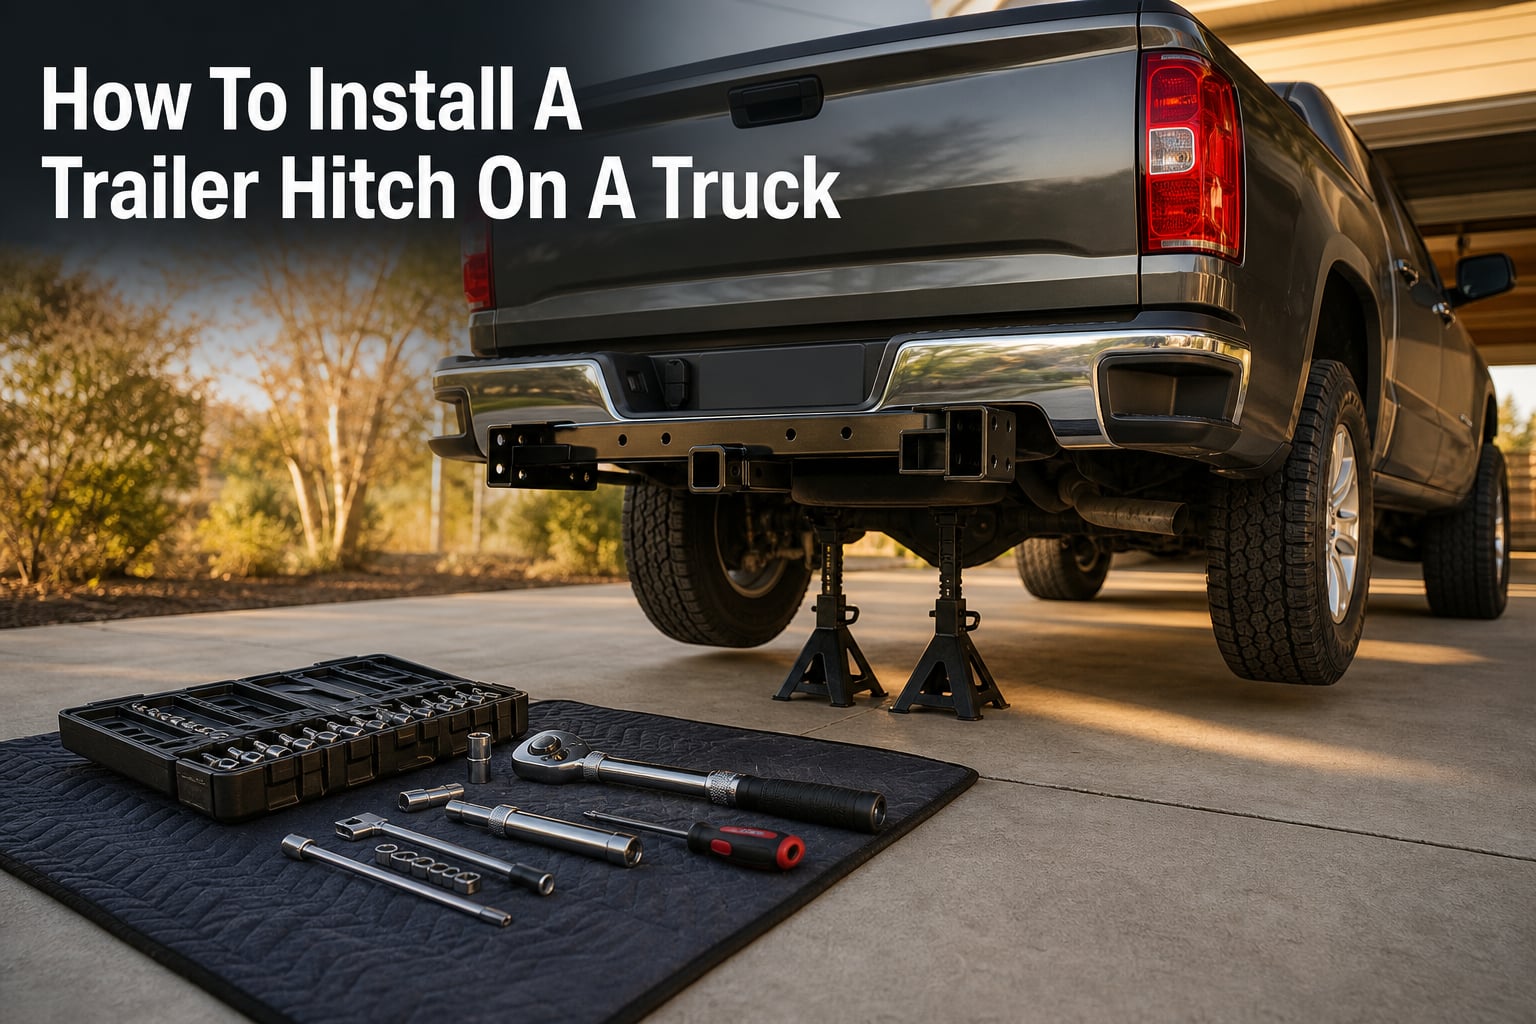
Installing a trailer hitch on a truck is a manageable DIY project that most truck owners can complete in about two hours with basic hand tools. The process involves positioning the hitch receiver against your truck’s frame rails, securing it with bolts or the fish wire technique, and torquing all hardware to specification. Learning how to install a trailer hitch on a truck yourself saves significant money compared to professional installation and gives you confidence in your towing setup for years to come.
In this guide, I’ll walk you through the complete installation process step by step, from gathering tools to final torque verification. You’ll learn what tools you need, which hitch class suits your truck, safety precautions, and pro tips that manufacturers like CURT and Reese recommend. I’ve drawn on community experiences from forums like r/towing and r/Crosstrek to address real-world challenges like rusty weldnuts, exhaust lowering, and bumper trimming that many guides gloss over.
Whether you’re adding a hitch for towing a boat to the lake, hauling a utility trailer for home projects, or mounting a bike rack for weekend adventures, this guide covers everything from start to finish. By the end, you’ll know exactly what to expect, how to avoid common pitfalls, and how to tackle the job with confidence on your own schedule.
Can You Install a Trailer Hitch on a Truck Yourself?
Yes, most truck owners can install a trailer hitch themselves without any special mechanical training or professional tools. Truck frames are designed with pre-existing mounting holes or weldnuts specifically engineered for hitch installation by the manufacturer. This means the job is essentially bolting on a heavy-duty metal component using standard hand tools that many truck owners already have in their garages.
The main requirement is physical capability to crawl under your truck and hold the hitch in place while attaching hardware. A second pair of hands makes the job much easier, especially when positioning a 30 to 60 pound hitch receiver against the frame rails while threading the first bolts. Many Reddit users on r/towing report completing the job solo in 2 to 3 hours, though having a helper cuts that time significantly and reduces frustration.
However, some trucks may require additional steps like lowering the exhaust or trimming plastic fascia panels beneath the rear bumper. These are not deal-breakers, but they do add complexity and require additional tools like a utility knife or trim tool. If your installation requires drilling new holes in the frame, you should seriously consider professional installation to avoid structural damage that could compromise your truck’s integrity.
The bottom line is that if you can change your own oil, rotate tires, or handle basic repairs with a socket set, you can absolutely handle receiver hitch installation on a truck. The instructions that come with quality hitches from brands like CURT, Reese, Draw-Tite, and Hidden Valley are detailed and walk you through vehicle-specific steps that account for exhaust routing, spare tire clearance, and bumper configuration.
What Tools You Need to Install a Trailer Hitch on a Truck
Having the right tools ready before you start saves you from making frustrating trips to the hardware store mid-installation. Here is a complete checklist based on what professional installers and experienced DIYers recommend for a smooth, safe installation process.
Essential Hand Tools
The core tools you need are a torque wrench capable of at least 150 foot-pounds, a socket set (typically 17mm, 19mm, or 21mm depending on bolt sizes), combination wrenches, a ratchet with extensions, and pliers. A torque wrench is non-negotiable because improper torque is one of the leading causes of hitch failure and dangerous trailer separations on the highway.
You’ll also need a jack and jack stands rated for your truck’s weight, plus wheel chocks for the front wheels. Never rely on a hydraulic jack alone to support a vehicle while you’re working underneath it. A work light or headlamp is essential since you’ll be working underneath the vehicle where visibility is poor, especially if you’re installing in a garage or driveway at dusk.
A creeper or thick piece of cardboard makes the job more comfortable if you don’t have a lift available. Some installers prefer a mechanics creeper with wheels, while others find that a moving blanket or thick cardboard works just as well for occasional jobs like this.
Specialty Tools and Hardware
Many hitch kits include a fish wire tool (a flexible wire used to thread bolts through frame rails). If yours does not, you can fashion one from a stiff piece of wire or a coat hanger. A wire brush is critical for cleaning out rusty or painted-over weldnuts before threading bolts into them, as debris and corrosion cause bolts to seize or cross-thread.
A thread tap that matches your bolt size can save the day if the weldnuts are corroded. Run the tap through each weldnut to clean and restore the threads before attempting to install bolts. A step drill bit or die grinder is needed if your installation requires enlarging access holes or drilling pilot holes for custom applications.
Silicone spray or penetrating oil like PB Blaster helps loosen stubborn exhaust hangers. The rubber isolators that hold exhaust components can become stiff and brittle over time, especially in older trucks. A few minutes of penetrating oil application before attempting removal can prevent tearing or damaging the isolators.
Optional But Helpful Items
A second set of hands is the most helpful optional resource you can have for this project. Even if you can do the job solo, a helper makes positioning the hitch significantly easier and can hand you tools while you’re under the truck. Safety glasses, mechanic’s gloves, and a creeper or thick piece of cardboard for lying on the ground all improve comfort and safety during the job.
A torque angle gauge may be needed if your hitch specifies torque-plus-angle tightening sequences for certain bolts. Some manufacturers specify initial torque followed by a specific rotation angle for proper bolt stretch and clamping force. Keep a shop rag or paper towels handy for cleaning dirt and undercoating from the mounting areas before positioning the hitch.
Some installers also recommend anti-seize compound for the bolts to prevent future corrosion, though you should only use it if your hitch manufacturer specifically calls for it in the instructions. Using anti-seize on torque-critical fasteners without proper adjustment can lead to over-torquing.
What Hitch Class Is Right for Your Truck?
Choosing the correct hitch class ensures safe towing and prevents damage to your truck or trailer. Trailer hitches are categorized into five classes based on their receiver tube size and towing capacity rating. Most trucks use Class 3, Class 4, or Class 5 hitches depending on their size and intended towing loads.
A Class 1 hitch has a 1.25-inch receiver and is rated for up to 2,000 pounds gross trailer weight with a 200-pound tongue weight capacity. This class is common on small cars and compact SUVs used primarily for bike racks and small cargo carriers. Class 2 hitches also use a 1.25-inch receiver but handle up to 3,500 pounds gross trailer weight, making them suitable for small crossovers towing light utility trailers.
Class 3 is the most popular hitch category for light-duty trucks and full-size SUVs. It features a 2-inch receiver and typically handles 3,500 to 8,000 pounds depending on the specific model, vehicle rating, and whether weight distribution is used. If you drive a Ford F-150, Chevy Silverado 1500, Ram 1500, GMC Sierra 1500, Toyota Tundra, or Nissan Titan, a Class 3 hitch is likely your best choice for most recreational towing needs.
Class 4 hitches use a 2-inch receiver but are built heavier for towing up to 10,000 pounds or more with higher tongue weight capacities. These are common on three-quarter-ton trucks like the F-250, Silverado 2500, and Ram 2500. The receiver looks identical to a Class 3, but the mounting structure and hardware are significantly stronger to handle heavier loads.
Class 5 hitches feature a 2.5-inch receiver and can handle 14,000 pounds or more, making them ideal for heavy-duty one-ton trucks like the F-350, Silverado 3500, and Ram 3500. Some Class 5 hitches use a 2-inch receiver but maintain the heavy-duty rating. These are designed for serious towing applications including large travel trailers, equipment trailers, and livestock haulers.
Always check your truck’s towing capacity rating in the owner’s manual or door jamb sticker before selecting a hitch. Your hitch rating should never exceed your vehicle’s towing capacity. Using a Class 5 hitch on a half-ton truck does not magically increase what you can safely tow. The truck’s frame, suspension, brakes, and cooling system ultimately limit your safe towing capacity.
If you plan to use a weight distribution hitch for heavier loads, make sure your receiver hitch is rated for weight distribution use. Not all Class 3 hitches support this feature, so verify the specifications before purchasing. Weight distribution hitches transfer tongue weight more evenly across the truck and trailer axles, improving stability and control.
How to Install a Trailer Hitch on a Truck: 8 Steps
Follow these eight steps to install a receiver hitch on your truck. The process assumes a no-drill installation using existing frame holes, which covers the vast majority of modern half-ton and three-quarter-ton trucks sold in 2026.
Step 1: Read the Instructions for Your Specific Hitch
Every hitch model and truck combination has unique installation requirements that vary by manufacturer, vehicle year, and trim level. Read the manufacturer’s instructions cover to cover before touching a single tool. CURT, Reese, Draw-Tite, Hidden Valley, and other quality brands all provide detailed vehicle-specific instructions with their hitches.
The instructions will tell you whether you need to lower the exhaust, remove the spare tire, lower the rear bumper, or trim any plastic panels. They also specify the exact torque values for each bolt size, which you must follow precisely for safe installation. Skipping this step is the most common mistake DIYers make, leading to missed requirements and unsafe installations.
Take photos of the instructions on your phone so you can reference them while working under the truck without worrying about getting grease on paper pages. Pay special attention to any notes about vehicle-specific variations based on trim level, bed length, or engine configuration.
Step 2: Gather All Tools and Hardware
Lay out every tool and piece of hardware listed in the instructions on a clean surface near your work area. Check that all bolts, washers, spacers, fish wires, and lock washers are present in the hardware kit before beginning. Nothing is more frustrating than getting halfway through the job only to realize a critical bolt or spacer is missing from the package.
Organize the hardware by size and placement location. Many kits include different length bolts for different frame positions, so keeping them sorted in small containers or on a magnetic tray prevents confusion during installation. Count the bolts against the instruction sheet to verify you have everything needed.
Inspect the hitch receiver itself for any shipping damage or manufacturing defects before starting. Look for bent mounting plates, damaged threads on built-in hardware, or cracks in welds. Address any issues before installation rather than discovering them halfway through the job.
Step 3: Chock Wheels and Raise the Rear of the Truck
Place wheel chocks in front of and behind both front wheels to prevent any possibility of the truck rolling while you’re working underneath it. Raise the rear of the truck using a floor jack positioned under the rear differential housing or a suitable frame jacking point specified in your owner’s manual. Support the truck securely with jack stands rated for your vehicle’s weight.
Never work under a vehicle supported only by a hydraulic jack. Jacks can fail, leak down, or slip off jacking points without warning. Jack stands are mandatory for your safety. Place stands under the frame rails or axle housing, not on suspension components or the differential itself. Give the truck a firm shake before crawling underneath to confirm it is stable on the stands.
If your truck has air suspension or self-leveling shocks, consult your owner’s manual before jacking. Some systems need to be disabled or placed in a service mode to prevent damage to air bags, lines, or sensors. Forgetting this step can result in expensive suspension component damage.
Raising the truck gives you more room to work underneath and makes positioning the hitch against the frame rails significantly easier. You don’t need to raise it very high. Just enough to comfortably slide underneath with room to maneuver.
Step 4: Lower the Exhaust If Required
Many truck installations require lowering the exhaust to access mounting points or provide clearance for hitch positioning. The exhaust is typically held in place by rubber isolators that hook onto metal hangers welded to the exhaust pipes. These isolators can be removed by hand or with a pry tool. Spray the isolators with silicone lubricant or penetrating oil if they are stubborn from years of heat cycling and road debris.
Support the exhaust with a strap, bungee cord, or have a helper hold it while you work. Do not let the exhaust hang freely from the front section, as the weight can damage the remaining exhaust hangers or bend the piping itself. You may also need to disconnect oxygen sensor wires to give yourself enough slack if your truck has sensors near the rear of the exhaust system.
Not all trucks require exhaust lowering. Your hitch instructions will specify this for your particular make, model, and year. If lowering is not mentioned in the instructions, you can skip this step entirely and move on to positioning the hitch. Many newer trucks have exhaust routing that provides adequate clearance without removal.
Step 5: Clean Mounting Holes and Weldnuts
Inspect the frame rail mounting holes and remove any dirt, undercoating, road grime, or debris before attempting to thread bolts. If your truck has weldnuts (welded-in nuts inside the frame rail), clean the threads thoroughly with a wire brush. This is one of the most important preparation steps that determines whether installation goes smoothly or becomes a frustrating struggle.
Rusty weldnuts are a common pain point reported across forums like r/towing and r/Crosstrek. If the threads are corroded or filled with undercoating, run a thread tap through them to clean and restore the threads before attempting to install bolts. Forcing a bolt into a dirty or rusty weldnut can cross-thread and ruin the threads, creating a much bigger problem that requires drilling out the weldnut or using alternative mounting methods.
Test-fit each bolt by hand before positioning the hitch to verify the threads are clean and properly sized. A bolt should thread in smoothly with moderate finger resistance. If it binds, catches, or requires force, stop and clean the threads further with a tap or wire brush. Never force a bolt that doesn’t thread smoothly by hand.
Some trucks have exposed frame holes without weldnuts. In these applications, the hitch kit includes carriage bolts with square shoulders that fit into square holes in the hitch mounting plate. These are generally easier to work with than weldnuts since you don’t need to clean internal threads.
Step 6: Position the Hitch and Start the Hardware
Lift the hitch into position against the frame rails. This is where a second person is invaluable, as typical truck hitches weigh between 30 and 60 pounds and must be held precisely while starting the first bolts. Align the hitch mounting plates with the frame holes, making sure the receiver tube is centered and level.
If your kit uses fish wiring, thread the fish wire through the frame hole from the outside, attach the bolt and spacer block to the end of the wire, and pull them through into position inside the frame rail. The fish wire technique allows you to position hardware in enclosed frame sections where you cannot reach by hand. This technique is especially common on newer trucks with fully enclosed frame rails.
Start all bolts by hand to avoid cross-threading. Finger-start each bolt until it’s fully engaged in the threads before using any tools. Do not fully tighten any bolt yet. Get every bolt started and loosely threaded in so the hitch is held in place by friction alone, allowing you to make minor adjustments to positioning.
For hitches that use carriage bolts in square holes, position the carriage head in the square hole first, then push the bolt through. The square shoulder prevents the bolt from turning while you tighten the nut on the outside of the frame.
Step 7: Remove Fish Wires and Snug All Bolts
Once all hardware is started by hand, remove the fish wires following the manufacturer’s instructions. Most fish wires are designed to snap off at a scored section when pulled firmly, or they pull free from the bolt leaving it engaged in the weldnut. Save the fish wires in case you ever need to reinstall the hitch.
Use a ratchet to snug all bolts evenly, working in a star or crisscross pattern like tightening lug nuts on a wheel. This ensures the hitch sits flush against the frame rails without warping or binding. Start with the center bolts if your hitch has multiple mounting points per side, then work outward to the ends.
Check that the receiver tube is level and centered before proceeding to final torque. Use a small level across the receiver tube opening to verify it’s parallel to the ground. Visually inspect the installation from multiple angles including from behind the truck. The hitch should sit parallel to the ground, and the receiver tube opening should face directly rearward without any tilt up or down. Adjust positioning now while the bolts are still only snug.
Step 8: Torque All Bolts to Specification
This is the final and most safety-critical step in the installation process. Using a calibrated torque wrench, tighten each bolt to the exact torque value specified in your hitch instructions. Typical truck hitch torque values range from 110 to 150 foot-pounds for standard 1/2-inch hardware, but always use the specific value for your kit. Different bolt sizes require different torque values.
Tighten in a star pattern, going around all bolts two or three times to ensure even torque distribution. After the initial torque pass, go back and verify each bolt a second time with the torque wrench. Bolts can settle and relax as the hitch mates to the frame surface, so a verification pass catches any that loosened during the first tightening sequence.
Do not exceed the specified torque. Over-torquing can stretch bolts beyond their yield point, reducing clamping force and potentially causing bolt failure. Under-torquing leaves the hitch vulnerable to loosening from vibration and road shock. Both conditions are dangerous and can lead to trailer separation.
Reinstall the exhaust if you lowered it, making sure all isolators are properly seated on their hangers. Remove the jack stands and lower the truck to the ground. Do a final torque check after 50 miles of driving, as vibration can cause bolts to settle into their final position. Recheck torque periodically as part of your regular maintenance routine.
How Much Does It Cost to Install a Hitch on a Truck?
DIY hitch installation costs between $130 and $350 for the hitch itself, depending on class, brand, and features. That is your total out-of-pocket expense since you are providing the labor at no cost. Class 3 hitches for half-ton trucks typically run $150 to $250, while Class 4 and Class 5 hitches for heavier trucks can exceed $300 for the hardware alone.
Professional installation adds $100 to $300 in labor charges on top of the hitch cost. U-Haul is a popular professional installation option, typically charging $100 to $150 for labor when you purchase the hitch from them. They have locations nationwide and can often schedule same-day or next-day appointments. Dedicated hitch shops and dealerships charge more, often $200 to $400 total including the hitch.
Online retailers like etrailer.com are frequently recommended by forum users for competitive hitch pricing, often 20 to 30 percent less than local retail prices. You can purchase the hitch online and either install it yourself or take it to a local shop for installation. Some shops will install customer-provided hitches for a flat labor rate.
Wiring for trailer lights adds cost if your truck does not already have a factory tow package. A simple plug-and-play wiring harness costs $40 to $80 for DIY installation, or $150 to $300 installed professionally. These T-connector harnesses tap into your truck’s existing taillight wiring without cutting or splicing. Trucks with factory tow packages only need the hitch hardware since the wiring is already present under the rear bumper.
The cost difference between DIY and professional installation is significant. If you already own the basic tools like a torque wrench, socket set, and jack stands, doing it yourself can save $200 or more compared to professional installation. That savings grows if you also need wiring, since you can handle both jobs in one afternoon.
Common Mistakes to Avoid When Installing a Truck Hitch
Avoiding common installation mistakes protects your truck, your hitch, and everything you tow down the road. Here are the issues that come up most frequently based on forum discussions, manufacturer feedback, and professional installer experiences.
Skipping the Torque Wrench
The single most dangerous mistake is guessing at bolt tightness without a torque wrench. Many DIYers assume that tighter is better, but over-tightened bolts can stretch, yield, or snap under load. Under-tightened bolts can back out during driving from vibration and road shock. Either scenario can lead to hitch failure and a catastrophic trailer separation at highway speeds. Always use a calibrated torque wrench and follow the manufacturer’s specifications exactly.
Ignoring Rusty Weldnuts
Rusty weldnuts cause bolts to seize or cross-thread, which can destroy the threads entirely and require expensive repairs. Take the time to clean weldnuts with a wire brush and thread tap before installation. Forum users on r/towing and r/Crosstrek consistently report that this preparation step saves enormous headaches and prevents bolt damage. A few minutes of cleaning prevents hours of extracting broken bolts.
Forgetting to Lower the Exhaust
On trucks that require exhaust lowering, failing to do so means you cannot access critical mounting points or the exhaust blocks proper hitch positioning. Do not try to force bolts in at bad angles or bend the hitch around exhaust components. Follow the instructions and lower the exhaust properly so you can work with straight bolt access and proper hitch alignment.
Not Trimming Plastic Fascia When Required
Some truck models require trimming a small section of plastic bumper fascia or lower valance for the hitch to fit properly. This sounds intimidating, but the instructions include precise measurements for where to cut. Use a utility knife with a fresh blade and cut conservatively, then test-fit and trim more if needed. Paint the cut edge with matching touch-up paint to prevent fraying and moisture intrusion.
Using Power Tools to Start Bolts
When starting bolts, always thread them in by hand until they are fully seated in the threads. Using a ratchet or power tool to start bolts dramatically increases the risk of cross-threading, especially in weldnuts where you cannot see the threads. Once all bolts are hand-tight, switch to tools for snugging and final torquing. The extra minute per bolt to hand-start prevents stripped threads and ruined weldnuts.
Skipping the Wiring Step
If you plan to tow a trailer with lights, you need a wiring connection. Many DIYers install the hitch but forget the wiring harness, then realize they cannot legally or safely tow when it’s time to hit the road. Check whether your truck has a factory tow package connection under the rear bumper. If not, install a plug-and-play T-connector harness that taps into your taillight wiring before you need to tow.
When Should You Get Professional Help?
Most truck hitch installations are straightforward DIY projects, but some situations call for professional expertise beyond average DIY skills. If your truck requires drilling new holes in the frame because no factory mounting points exist, a professional shop has the right tools, templates, and experience to do it safely without compromising frame integrity.
Gooseneck and fifth-wheel hitch installations are significantly more complex than receiver hitches. These typically require drilling through the truck bed floor and mounting a subframe to the chassis underneath. The installation requires precise measurements, proper sealing against water intrusion, and often setting gooseneck ball location to industry standards. Most experts recommend professional installation for these heavy-duty towing setups.
If you encounter seized bolts that will not come free with normal hand tools, a shop can use torches, air hammers, or specialized extraction tools. Forcing a stuck bolt can snap it off inside the frame, creating a serious problem that is expensive to fix and may require drilling out the broken fastener.
Warranty concerns are another reason to consider professional installation. If your truck is still under factory warranty, check with your dealer whether DIY hitch installation affects coverage. Some manufacturers prefer or require professional installation documentation for warranty compliance on towing components. Professional installation also provides recourse if something goes wrong.
Frequently Asked Questions
Can I install a hitch on my truck myself?
Yes, most truck owners can install a receiver hitch themselves using basic hand tools and the manufacturer’s instructions. No-drill installations that use existing frame holes typically take 1 to 3 hours and require a socket set, torque wrench, jack stands, and wheel chocks.
How much does it cost to install a hitch on your truck?
DIY installation costs $130 to $350 for the hitch hardware alone. Professional installation adds $100 to $300 in labor, bringing the total to $230 to $650 or more. U-Haul typically offers the most affordable professional installation at around $100 to $150 for labor.
How long does it take to install a trailer hitch?
A typical truck receiver hitch installation takes 1 to 3 hours for a DIYer with basic mechanical skills. Professional shops usually complete the job in under an hour. Gooseneck and fifth-wheel installations take longer due to the need for truck bed drilling and subframe mounting.
What tools do I need to install a trailer hitch?
You need a torque wrench, socket set (typically 17mm to 21mm), combination wrenches, ratchet with extensions, pliers, jack, jack stands, wheel chocks, work light, and a wire brush. A fish wire tool and thread tap are included or helpful for cleaning weldnuts.
Do I need to lower the exhaust to install a hitch?
Some trucks require lowering the exhaust to access frame mounting points. Your hitch instructions will specify this for your make and model. The exhaust is held by rubber isolators that can be removed by hand or with a pry tool, and silicone spray helps with stubborn hangers.
Final Thoughts on How to Install a Trailer Hitch on a Truck
Installing a trailer hitch on a truck is a rewarding DIY project that saves money and builds confidence in your towing setup. The key is proper preparation: reading the instructions thoroughly, gathering the right tools before starting, cleaning mounting surfaces carefully, and using a calibrated torque wrench for final tightening.
Remember that safety comes first throughout the process. Always use jack stands to support the truck, chock your wheels to prevent rolling, and torque every bolt to the exact specification. If you encounter situations beyond your comfort level such as drilling requirements or seized hardware, professional installation is a smart investment in your truck and your safety on the road.
Once your hitch is installed and torqued properly, you are ready for towing trailers, hauling boats, or mounting bike racks and cargo carriers. Check your state’s requirements for safety chains, trailer lights, and breakaway switches before hitting the road with your new setup. A properly installed hitch will serve you reliably for the life of your truck.