
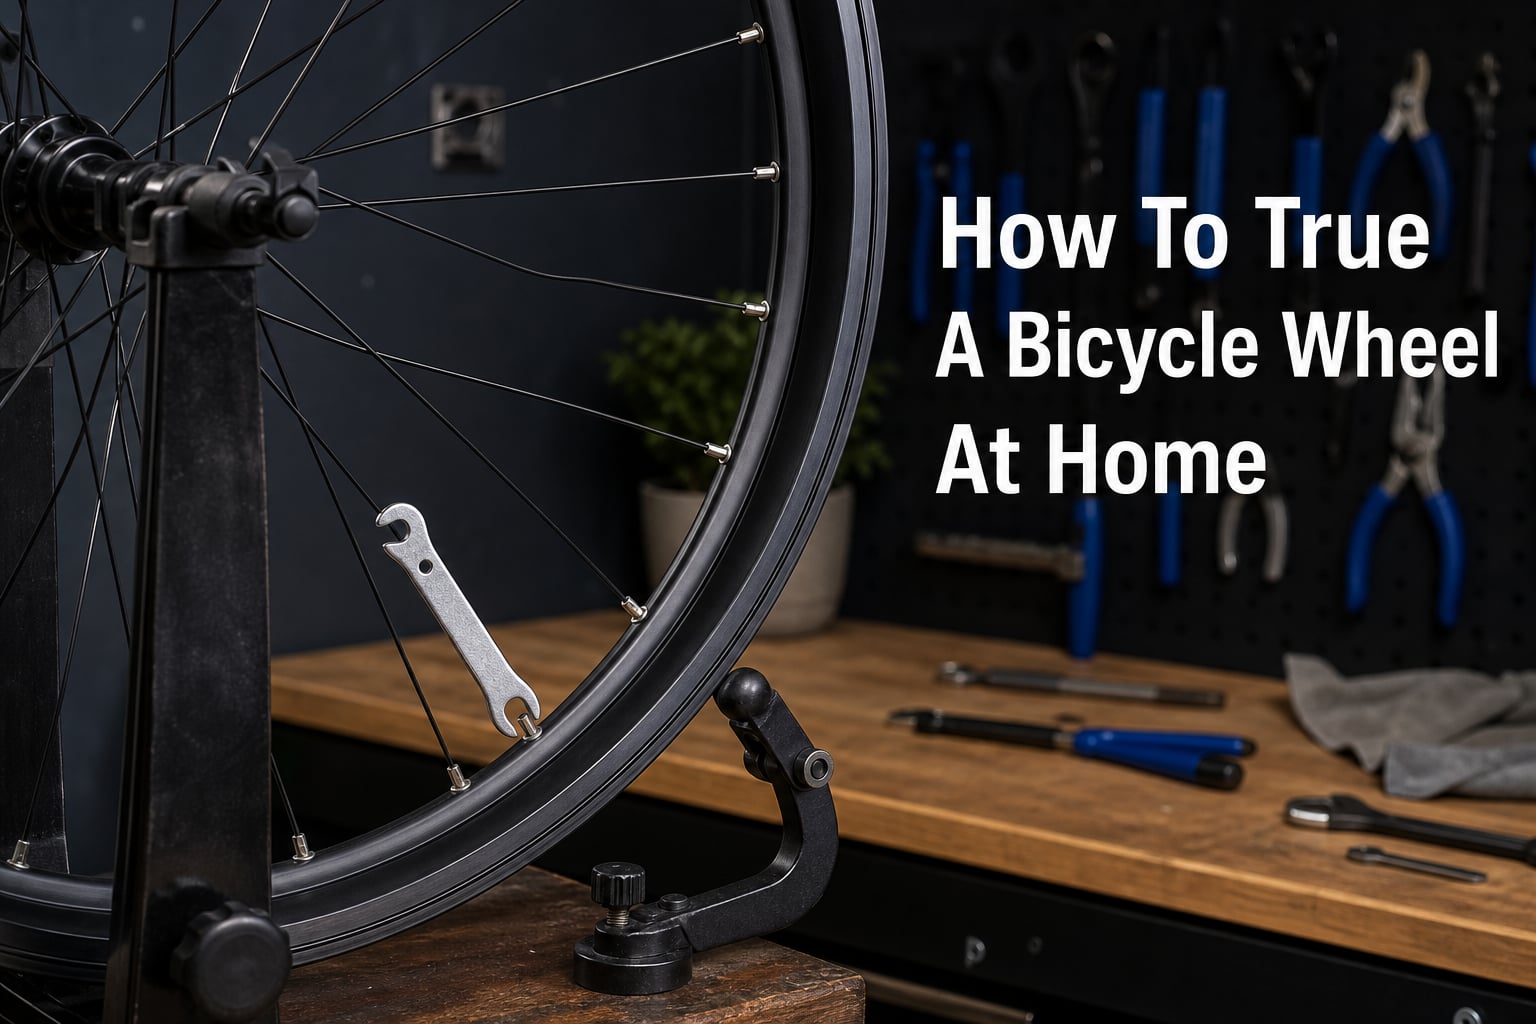
Learning how to true a bicycle wheel at home saved me hundreds of dollars over the years. When I first noticed my brake pads rubbing on every ride, I figured it was time for a shop visit. But after watching a few tutorials and spending 30 minutes with a spoke wrench, I realized this is one of the most satisfying DIY bike repairs you can do yourself.
Yes, you can true a bike wheel yourself. The process requires one essential tool (a spoke wrench), patience, and a basic understanding of how spokes work together. You do not need a professional truing stand or years of mechanic experience.
When a wheel develops side-to-side wobble, brake pads start rubbing unevenly, and handling feels off. The fix involves turning spoke nipples to adjust tension. Tighten spokes on one side and the rim moves toward that side. Loosen them and it moves away. That is the entire concept, though the execution takes practice.
In this guide, I will walk you through the complete process of truing a bicycle wheel at home. I will cover the tools you need, the step-by-step method for fixing lateral wobble, how to true a wheel without a truing stand using the zip tie method, acceptable tolerances, and clear warning signs that tell you when a wheel is beyond repair.
Whether you ride a road bike, mountain bike, or commuter, keeping your wheels true prevents uneven brake wear, reduces fatigue on spokes, and gives you a smoother, safer ride. Most importantly, once you learn this skill, you will never need to pay a shop for a basic truing job again.
What Is Wheel Truing
Wheel truing is the process of adjusting spoke tension to straighten a bicycle wheel that has developed wobbles or deviations from its ideal shape. Spokes pull the rim toward the hub from multiple angles. By tightening or loosening individual spokes, you shift the rim left, right, inward, or outward until it spins straight and round.
Every wheel has three aspects of trueness that mechanics evaluate. Lateral trueness refers to side-to-side movement, which is the most common issue riders encounter. Radial trueness describes up-and-down roundness, where the rim stays a consistent distance from the center hub. Dish refers to the rim being centered over the hub between the two locknuts, ensuring the wheel sits properly in the frame.
Wheels go out of true for several reasons. Potholes, curbs, and trail impacts knock rims sideways. Regular riding gradually loosens spoke nipples as vibration works them loose over hundreds of miles. Temperature changes can cause subtle shifts in spoke tension. Even brand new wheels sometimes need truing after the first few rides as spokes settle into their final tension.
You will know your wheel needs truing when you hear brake pads dragging intermittently during rides, see the rim wobble as it spins past your brake pads, or feel a slight pulsing sensation through the handlebars. On disc brake bikes, you may not hear the rubbing, but a badly out-of-true wheel still affects handling and accelerates spoke fatigue.
Checking is simple. Lift the wheel off the ground and spin it slowly while watching the gap between the rim and your brake pad or a fixed reference point. If the gap narrows and widens as the wheel rotates, you have lateral deviation that needs attention.
Tools Required to True a Bicycle Wheel at Home
The single essential tool for wheel truing is a spoke wrench. This small, notched wrench fits over the square or splined spoke nipples at the rim end of each spoke. Spoke wrenches come in different sizes, and using the wrong size will round off the nipple flats, making future adjustments difficult or impossible.
The most common sizes are identified by color coding across manufacturers. Park Tool uses SW-0 (3.23mm, red) for smaller nipples found on many road wheels, SW-1 (3.3mm, green) for standard gauge, and SW-2 (3.45mm, black) for heavier gauge nipples. If you only own one bike, check your spoke size before ordering a wrench. Many modern wheels use bladed spokes or internal nipples that require specific proprietary tools from the wheel manufacturer.
Beyond a spoke wrench, the ideal setup includes a truing stand. A truing stand holds the wheel by its axle and provides adjustable calipers or gauges that sit millimeters from the rim. These calipers give you a precise visual reference for spotting deviations. Quality stands from Park Tool or Minoura cost between $60 and $200.
However, a truing stand is not strictly necessary. You can true a wheel using your bike frame as the stand. Your brake pads, a zip tie attached to the chainstay or fork, or even your thumb resting against the frame near the rim all work as reference points. I have trued dozens of wheels with nothing more than a spoke wrench and a zip tie.
Optional but helpful tools include a tensiometer (for measuring actual spoke tension, useful for complete wheel builds), a dishing tool (for checking rim centering), and light machine oil (for lubricating seized nipple threads). For most home mechanics tackling occasional truing, a spoke wrench and some creativity are all you need.
One note on spoke wrench quality. Cheap stamped metal wrenches flex and slip, which damages nipples. Invest in a hardened steel wrench from a reputable brand like Park Tool, Hozan, or Wheelsmith. A good wrench costs under $15 and lasts a lifetime. That single investment lets you true a bicycle wheel at home indefinitely.
How To True a Bicycle Wheel at Home: Step-by-Step Process
This is the core process for fixing lateral wobble, the most common truing issue. Follow these steps in order, and remember the guiding principle throughout: to pull the rim toward one side, tighten spokes on that side. To move the rim away from one side, you can either loosen spokes on that side or tighten spokes on the opposite side.
The Golden Rule of Wheel Truing
Before touching any spoke, memorize this principle. The rim always moves toward the side of the spoke you tighten. If the rim wobbles to the right, you need to tighten left-side spokes at that point to pull it back toward center. This is the number one source of confusion for beginners, so take a moment to visualize it.
Another useful memory aid is righty-tighty, lefty-loosey. Turning a spoke nipple clockwise tightens it, while counterclockwise loosens it. This applies when you are looking at the nipple from outside the rim, which is how you will approach most spoke adjustments. Remember that each spoke on the wheel connects to one specific side of the hub flange, and adjusting it only pulls the rim toward that hub flange side.
When correcting a wobble, you almost always work with spokes on both sides of the wheel at the same location. If the rim deviates to the right at a specific point, tighten the left-side spokes in that area slightly and optionally loosen the right-side spokes slightly. This balanced approach prevents over-tensioning any single spoke.
Step 1: Mount the Wheel and Set Up Your Reference Point
Remove the wheel and mount it in your truing stand if you have one. Adjust the stand calipers so they sit about 1mm away from the rim on both sides. If you do not have a truing stand, re-install the wheel in your bike frame. For rim brakes, your brake pads serve as a built-in reference. For disc brakes, attach a zip tie to the chainstay or seatstay, positioning the end about 1mm from the rim’s braking surface.
If you are working on the rear wheel, make sure it sits fully seated in the dropouts with the axle properly tightened. A wheel that shifts during truing will make all your adjustments meaningless. Spin the wheel to confirm it rotates freely without catching on the caliper or zip tie.
Step 2: Spin the Wheel and Locate the Deviation
Slowly rotate the wheel by hand while watching the gap between the rim and your reference point (caliper, brake pad, or zip tie). Move the wheel through at least three full rotations to identify the worst deviation. The rim will rub or come closest to the reference point at the spot where it wobbles most.
Mark this area mentally or place a small piece of tape on the rim at the deviation. You want to identify the center of the wobble and note which direction the rim has moved. For example, if the rim rubs on the right-side caliper at the 2 o’clock position, the wobble is pushing to the right at that point.
Step 3: Identify Which Spokes Need Adjustment
Now determine which spokes to adjust. Since the rim is rubbing on the right side at the deviation, it has moved to the right. To pull it back to center, you need to tighten the left-side spokes in that area. Find the spokes that originate from the left hub flange and end at the rim near your marked deviation.
Typically, one to three spokes are involved in a given wobble. For a small deviation, you might adjust a single spoke. For a wider wobble spreading across several inches of rim, you will work with multiple spokes, adjusting the center spoke the most and the surrounding spokes less. Think of it as a gradient of tension.
Also check the right-side spokes at that same location. If they feel noticeably looser than surrounding spokes, you may want to tighten the left-side spokes rather than loosening the right-side ones. The goal is balanced tension across all spokes in the corrected area.
Step 4: Make Small Adjustments (1/4 Turn Maximum)
This is where beginners get into trouble. Make no more than a quarter turn of the spoke wrench at a time. A quarter turn of the nipple produces a visible change in rim position. Any more than that and you risk overshooting, creating a new deviation in the opposite direction.
Place your spoke wrench on the identified left-side spoke nipple. Turn clockwise (righty-tighty) by one quarter turn. If the wobble involves multiple spokes, apply smaller adjustments distributed across all of them. For instance, give the center spoke a quarter turn and each adjacent spoke one-eighth of a turn.
If you need to loosen a spoke instead, turn counterclockwise (lefty-loosey). A common mistake is overtightening, which builds excessive tension and can eventually pull the rim past center. If you tighten a spoke and the wobble switches direction, you have gone too far. Back off the adjustment by loosening the same spoke slightly.
After each set of adjustments, squeeze the spokes together with your hand in pairs to check for grossly uneven tension. A spoke that feels dramatically tighter or looser than its neighbors will create problems. Aim for gradual, smooth tension changes across the wheel.
Step 5: Spin, Check, and Repeat
After making your adjustments, spin the wheel again. Watch the rim pass your reference point. Has the deviation improved? If the gap is more consistent, you are on the right track. If the wobble moved to a different spot or reversed direction, note the new location and repeat steps 2 through 4.
Truing is an iterative process. You will move around the wheel, correcting one deviation after another, gradually reducing the total runout. Expect to make three to five passes around the wheel before achieving acceptable results. Each pass should focus on the largest remaining deviation.
As deviations get smaller, reduce your adjustment size. Once the worst wobble is under 1mm, switch to one-eighth turn adjustments or less. The closer you get to perfect true, the more dramatic each small adjustment becomes relative to the remaining deviation.
Test constantly while working. Spin the wheel between every adjustment, not just after a full set. This prevents cumulative errors and helps you understand exactly how each adjustment affects the rim. Experienced mechanics develop a feel for how much correction each spoke turn produces, but beginners should verify after every single adjustment.
Step 6: De-Stress the Wheel
Once the wheel spins true, the final step is de-stressing. Spoke adjustments build up tension unevenly along the spoke length. Without de-stressing, the wheel may go back out of true after the first few rides as spokes settle.
To de-stress, grasp parallel pairs of spokes on each side of the wheel and squeeze them firmly together. Work your way around the entire wheel, squeezing every pair. You will hear pinging sounds as the spokes settle into their final positions. This is normal and expected.
After squeezing all spoke pairs, spin the wheel one final time to check that it is still true. Minor shifts may occur from the de-stressing. If so, make tiny corrections using one-eighth turn adjustments. The wheel is done when it passes your reference point with a consistent gap and no spoke pairs feel dramatically tighter or looser than the others.
How to True a Bike Wheel Without a Truing Stand
Not having a truing stand is the most common barrier preventing people from truing wheels at home. The good news is that you can achieve excellent results without one. The zip tie method is a proven, effective technique used by home mechanics and even professional mechanics working on the trail.
The Zip Tie Method
To true a wheel without a truing stand, use your bike frame as the fixture. Remove the tire or deflate it so the rim is exposed, then re-install the wheel in the frame. Attach a zip tie to the chainstay (for rear wheels) or fork blade (for front wheels), positioning the free end of the zip tie so it extends about 1mm from the rim’s side surface.
Cut the excess zip tie tail off so it does not catch on anything. Spin the wheel slowly. The zip tie end acts exactly like a truing stand caliper. Where the rim touches the zip tie, you have found your deviation. Adjust spokes following the same process described above, using the zip tie as your reference gauge.
You can fine-tune the zip tie distance by sliding it closer to the rim as the wheel gets truer. Start with a 2mm gap to identify major deviations, then move to 1mm as you refine. Some mechanics use two zip ties, one on each side, to monitor both directions of wobble simultaneously.
Using Your Brake Pads as a Reference
If you have rim brakes, your brake pads are already positioned as a truing reference. Loosen the brake cable so the pads sit just barely away from the rim. Spin the wheel and watch for spots where the rim contacts the pad. This method is especially convenient because you do not need to attach anything.
For single-pivot or dual-pivot caliper brakes, you may need to squeeze the brake arms together lightly to set the right gap. For V-brakes, adjust the pad position so the rim nearly touches one pad while spinning. The limitation of this method is that brake pad spacing is wider than a truing stand caliper, so you are working with less precision.
What You Can and Cannot Achieve Without a Stand
The zip tie and brake pad methods work well for lateral truing, which accounts for 90 percent of the truing most riders need. You can get a wheel to within 0.5mm of lateral true using these methods, which is perfectly acceptable for road, mountain, and commuter riding.
Where a truing stand excels is radial truing (up-and-down roundness) and dish checking. Without a stand’s radial caliper positioned above the rim, measuring radial deviation is harder. You can improvise by taping a straightedge across the chainstays above the rim, but this setup is less stable and precise. For most riders, lateral truing at home handles the vast majority of wheel issues, and radial problems usually indicate a damaged rim that needs professional attention.
Understanding Radial Truing and Dish
Radial Truing: Fixing Up-and-Down Movement
While lateral truing corrects side-to-side wobble, radial truing addresses the wheel’s roundness. A wheel with radial deviation has a hop or flat spot where the rim moves closer to or farther from the hub center as it rotates. You feel this as a slight bounce while riding, and severe radial deviation causes brake pulsing even on disc brake bikes.
Checking for radial deviation requires a reference point above the rim. On a truing stand, this is the radial caliper positioned directly over the outer edge of the rim. To check without a stand, tape a pencil or straightedge to your frame above the rim and spin the wheel slowly while watching the gap.
To fix a hop (where the rim bulges outward), tighten spokes evenly around that section. Both left and right side spokes get tightened by equal amounts so the rim moves toward the hub without shifting laterally. To fix a dip (where the rim is too close to the hub), loosen spokes evenly in that area.
Radial truing is more advanced than lateral truing because adjustments affect spoke tension across a wider area. Small one-eighth turn adjustments are the maximum you should make. If the wheel has a significant radial deviation from an impact, the rim may be permanently bent and truing will not fully correct it.
What Is Wheel Dish
Dish refers to the rim being centered between the hub locknuts. A properly dished wheel sits in the frame equidistant from both sides. On rear wheels with multispeed hubs, the freewheel or freehub body takes up space on the right side, so the left-side spokes use different angles or tensions to center the rim.
If the dish is off, the wheel sits crooked in the frame. The tire may rub the chainstay, or the wheel appears tilted when viewed from behind. Poor dish causes handling problems, accelerated drivetrain wear, and frame damage over time.
Checking dish requires either a dishing tool (a simple $25 gauge that spans the wheel) or the frame flip test. For the flip test, remove the wheel, flip it around, and re-install it in the same dropout. If the rim now sits closer to the opposite chainstay, your dish is off. Correcting dish involves tightening all spokes on one side of the wheel by equal amounts, which shifts the rim’s center point.
For most home mechanics, checking dish is a useful diagnostic step but correcting it is an advanced procedure. If your wheel has good dish and only needs lateral truing, stick with the lateral truing process described earlier. Adjusting dish changes overall spoke tension and should be done carefully to avoid building excessive stress.
Acceptable Tolerances and When to Stop
One of the most common questions I hear from beginners is how they know when they are done truing. The answer is more forgiving than most people expect. For general riding, a lateral deviation of 0.5mm or less is perfectly acceptable. You do not need to chase perfection, and trying to eliminate the last fraction of a millimeter often makes the wheel worse rather than better.
For context, a typical business card is about 0.25mm thick. If you can slip a business card between the rim and your reference point at the worst spot and still see light passing through, you are in good shape. This paper feeler gauge method is a practical way to check tolerance without specialized measuring tools.
For competitive road cycling or time trialing, tighter tolerances of 0.2mm to 0.3mm may be worthwhile. These tighter tolerances reduce aerodynamic drag slightly and provide marginally smoother braking. However, for commuting, mountain biking, recreational road riding, and touring, 0.5mm lateral runout is more than adequate.
Here is how to know you have reached a good stopping point. When you spin the wheel and the gap between the rim and reference point appears visually consistent all the way around, stop adjusting. Your eye cannot reliably detect differences below about 0.3mm, so if the gap looks uniform, you are there.
Over-truing is a real risk. Every adjustment changes spoke tension, and chasing absolute perfection can leave some spokes dramatically tighter than others. Uneven spoke tension leads to premature spoke failure, as the tightest spokes bear disproportionate load. When in doubt, stop early. A wheel that is slightly out of true but has even spoke tension will serve you better than a visually perfect wheel with wildly uneven tension.
After finishing, do a final squeeze test. Press all spoke pairs together firmly. No single spoke should feel dramatically tighter than its neighbors. If you find one that does, loosen it slightly and check the true again. Balance is the goal, not just visual straightness.
Limitations and When Your Wheel Cannot Be Saved
Wheel truing fixes tension-related wobbles, but it cannot repair structural damage. Recognizing when a wheel is beyond truing saves you from wasting hours on an impossible task and, more importantly, prevents riding on a dangerous wheel.
Signs Your Rim Is Beyond Repair
Flat spots are the most common sign of a damaged rim. If a section of the rim has been permanently deformed inward from an impact (like hitting a pothole or casing a jump), no amount of spoke adjustment will push it back out. The metal has yielded past its elastic limit, and the only fix is replacing the rim.
Cracks in the rim are an immediate stop. Inspect the rim around the spoke holes and along the braking surface. Hairline cracks indicate metal fatigue, and continuing to tension spokes on a cracked rim risks catastrophic failure. If you see any cracking, stop truing immediately and replace the wheel.
Bent rims from major impacts, like a car door opening into your bike or a crash into a curb, often cannot be trued. The rim itself has taken a set in the wrong shape. You may partially improve it, but the underlying bend will create constant spoke tension imbalances and the wheel will not stay true for long.
When Loose Spokes Signal Bigger Problems
If you find spokes that keep loosening after every adjustment, the nipple threads may be stripped or the spoke may be fatigue-failing. Check whether the nipple turns freely with no resistance, which indicates stripped threads. Replace individual stripped nipples before continuing to true.
Multiple loose spokes in one area suggest the rim has shifted or the hub flange is damaged. This pattern means the wheel is losing structural integrity, and you should have a professional mechanic assess whether the wheel is salvageable. Continuing to tighten loose spokes on a compromised wheel wastes effort and delays necessary repairs.
When to Take Your Wheel to a Professional Shop
If you have made several truing attempts and the wheel keeps going back out of true after a few rides, take it to a shop. This recurring problem indicates an underlying tension issue or rim damage that requires a tension meter and professional diagnosis.
Complete wheel building, major dish corrections, and fixing severe radial deviations are also best left to professionals unless you have extensive experience. A professional truing job typically costs $25 to $40 per wheel, and many shops include tension balancing and de-stressing in that price.
Consider the cost of tools versus the cost of shop service. A quality spoke wrench costs about $15. If you ride regularly and true your wheels a few times per year, the wrench pays for itself after one use. But if you rarely need truing and your wheel has complex issues, paying for professional service is more practical and safer than attempting advanced procedures without experience.
FAQs
Can I true a bike wheel myself?
Yes, you can true a bike wheel yourself with a spoke wrench and some patience. The basic process involves identifying where the rim wobbles, tightening spokes on the opposite side to pull the rim back to center, and making small quarter-turn adjustments. Most beginners achieve acceptable results on their first or second attempt.
Can you true a bike wheel without a truing stand?
Yes, you can true a wheel without a truing stand using the zip tie method. Attach a zip tie to your frame near the rim, position the end about 1mm from the rim surface, and use it as your reference point. Your brake pads also work as a built-in reference for spotting lateral deviations.
How to fix a wheel that is out of true?
To fix a wheel that is out of true, mount it in a stand or your bike frame, spin it to locate the wobble, tighten spokes on the opposite side of the deviation by a quarter turn, then spin and check again. Repeat with small adjustments until the gap between the rim and your reference point is consistent all the way around. Finish by squeezing spoke pairs to de-stress the wheel.
How to align a bicycle wheel at home?
To align a bicycle wheel at home, use a spoke wrench to adjust spoke nipples at the rim. The rim always moves toward the side of the spoke you tighten, so tighten spokes on the opposite side of any wobble to pull the rim back to center. Make adjustments in small increments and test frequently by spinning the wheel.
Conclusion
Learning how to true a bicycle wheel at home is one of the most practical bike maintenance skills you can develop. The process comes down to one guiding principle: tighten spokes on the opposite side of the wobble to pull the rim back toward center. Make small adjustments, test frequently, and stop when the deviation is under 0.5mm.
You do not need a truing stand or expensive equipment. A $15 spoke wrench and a zip tie are enough to handle the vast majority of wheel truing tasks. The zip tie method works nearly as well as a professional stand for lateral truing, which is what most riders need.
Start with the worst deviation, work your way around the wheel, and de-stress the spokes when you are done. Expect to spend 20 to 30 minutes per wheel on your first few attempts. With practice, the process becomes faster and more intuitive. Once you build confidence, you will catch and fix minor wobbles before they become major problems.
Remember the limitations. Truing fixes tension-related issues, not structural damage. If your rim has flat spots, cracks, or keeps going out of true after adjustment, take it to a professional shop. Knowing when a wheel is beyond your ability to fix is just as important as knowing how to fix the ones you can.