
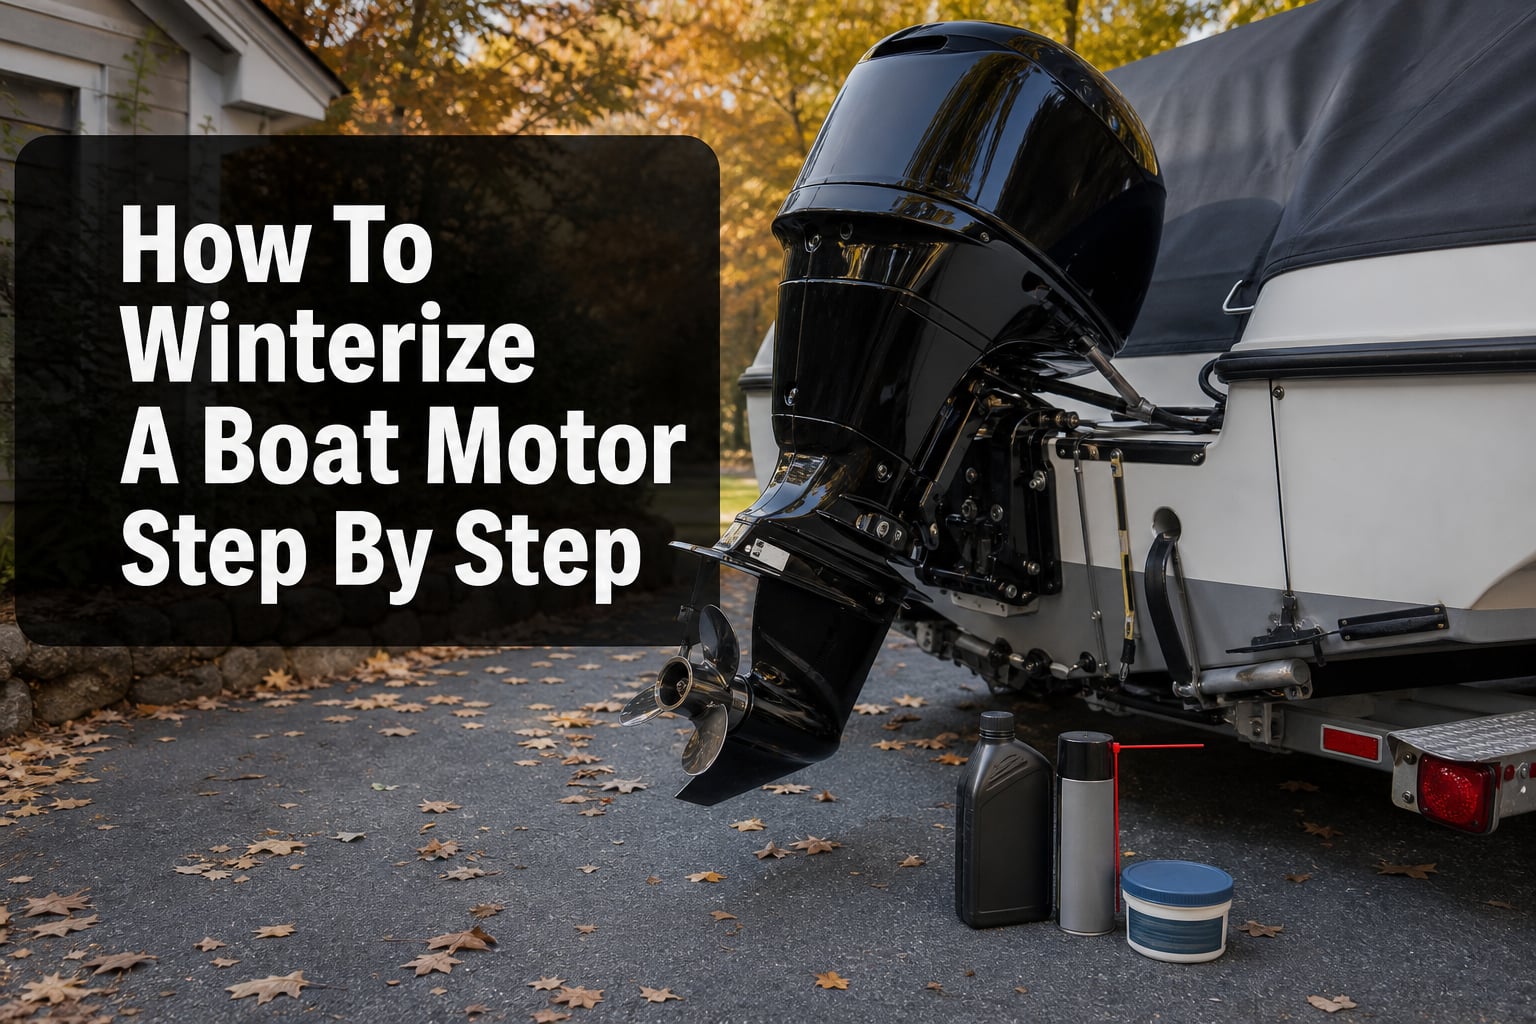
When the boating season winds down and temperatures start dropping, knowing how to winterize a boat motor step by step can save you thousands of dollars in repairs. I have seen firsthand what happens when boaters skip this process. Frozen engine blocks, cracked cylinder heads, corroded fuel systems, and dead batteries are just the beginning of what winter can do to an unprotected motor.
This guide walks you through every step of boat motor winterization for 2026. Whether you are running a 2-stroke outboard, a 4-stroke outboard, or an inboard motor, the process follows the same core principles. I will cover the complete supplies checklist, fuel system preparation, engine oil changes, fogging procedures, gear lube replacement, battery storage, and final engine positioning.
You will also find a DIY vs professional cost breakdown that no competitor covers, common mistakes to avoid, and a spring de-winterization checklist to get you back on the water fast. Let me walk you through the entire process so you can do it right the first time.
Tools and Supplies You Need to Winterize a Boat Motor
Before you start, gather everything you need. Running to the marine store mid-process is frustrating, especially when you have fuel lines disconnected and oil draining. Here is the complete checklist I use every fall.
Fuel system supplies:
Fuel stabilizer (Sta-Bil, Sea Foam, or Yamaha Fuel Stabilizer)
Fresh fuel if your tank is low
Manufacturer-approved fogging oil
Oil and lubrication supplies:
Marine-grade engine oil (check your manual for weight and capacity)
New oil filter matched to your engine model
Lower unit gear lube (HPF Pro, Quicksilver, or your manufacturer equivalent)
Marine grease for zerk fittings
Corrosion inhibitor spray (CRC Marine, Boeshield T-9, or similar)
Cooling and water system supplies:
Engine flusher attachment (muffs) or garden hose with flush port
Marine antifreeze (non-toxic propylene glycol, -100 degrees F rated) for inboard engines
Catch pan for draining water and fluids
Additional maintenance items:
Sacrificial anodes if current ones are more than half eroded
Replacement spark plugs (optional but recommended)
Battery tender or trickle charger
Shop rags, gloves, and safety glasses
Socket set, screwdrivers, and pliers
Touch-up paint for nicks and scratches
One critical point from the boating community: always use marine-specific products. Automotive oil, automotive antifreeze, and hardware-store lubricants do not hold up in marine environments. Using the wrong products can cause more damage than skipping a step entirely.
Step 1: Stabilize the Fuel System
The fuel system is where I always start. Gasoline starts breaking down in as little as 30 days. Over a full winter, untreated fuel turns into a gummy varnish that clogs carburetors, fuel injectors, and filters. Ethanol-blended fuel makes this problem worse because it absorbs moisture from the air.
Add a high-quality fuel stabilizer to your gas tank before you do anything else. The exact ratio depends on the product, but most call for one ounce of stabilizer per gallon of fuel. Pour it into a tank that is at least half full so it mixes thoroughly.
After adding the stabilizer, run the engine for 10 to 15 minutes. This circulates the treated fuel through the entire system. Every carburetor bowl, fuel line, injector, and fuel pump gets coated with stabilized fuel. Without this step, the stabilizer sits in the tank and never reaches the engine.
Many boaters ask whether they should run the engine completely out of gas instead. For carbureted 2-stroke engines, draining the carburetor bowls is a good idea. But for fuel-injected and 4-stroke engines, stabilizing a partially full tank is the better approach. Running these engines dry can damage fuel pumps that rely on fuel for lubrication and cooling.
For ethanol-blended fuel, try to fill the tank to about 95 percent capacity before storage. A full tank leaves less room for air, which means less condensation and moisture buildup over the winter months.
Step 2: Flush the Engine and Drain the Cooling System
Water left inside your engine block is the number one cause of winter freeze damage. When water freezes, it expands by about 9 percent. That expansion will crack engine blocks, burst cooling passages, and destroy cylinder heads. This is the single most expensive repair a boat owner can face.
For outboard motors, start by flushing the engine with freshwater. Attach a set of muffs to the lower unit water intakes or connect a garden hose to the built-in flush port if your engine has one. Run the engine on freshwater for 5 to 10 minutes to clear out any salt, debris, or mineral deposits.
After flushing, tilt the outboard motor fully down so all water drains from the powerhead and cooling passages. Most modern outboards are designed to self-drain when stored in the vertical or trimmed-down position. If water can drain freely, freezing is much less likely to cause damage.
For inboard motors, the process is different. You must drain the engine block, manifolds, and all water hoses manually. Open all drain plugs and petcocks to let water escape. Then, run non-toxic marine antifreeze (propylene glycol) through the system to displace any remaining water. Even small pockets of trapped water can freeze and crack cast iron components.
One forum insight I found valuable: experienced boaters on iboats.com and jetboaters.net recommend always doing an antifreeze flush even on outboards stored in cold climates. It provides extra insurance against trapped water. Use only marine-grade, non-toxic propylene glycol antifreeze. Never use automotive ethylene glycol antifreeze, which is toxic and illegal to discharge into waterways.
Step 3: Change the Engine Oil and Filter
Old engine oil contains acids, moisture, and combustion byproducts that corrode internal engine components during long storage periods. Changing the oil before winter removes these contaminants and coats your engine internals with clean, protective oil.
Warm the engine first by running it during the fuel stabilization step. Warm oil flows freely and suspends contaminants, so you drain out more of the bad stuff. Shut off the engine and locate the oil drain plug or use an oil extraction pump through the dipstick tube.
Drain the old oil completely into a catch pan. While the oil is draining, remove and replace the oil filter. Apply a thin film of clean oil to the new filter gasket before installing it. Tighten the filter by hand until the gasket contacts the mounting surface, then turn it another three-quarters of a turn.
Refill with the correct marine-grade engine oil. Your owner’s manual specifies the exact weight and capacity. Overfilling causes foaming and pressure issues, so measure carefully. Run the engine briefly to circulate the new oil and check for leaks.
For 4-stroke outboards and inboard engines, this step is mandatory every year. For 2-stroke outboards, the oil is mixed with fuel or injected separately, so this step applies to the lower unit gear case rather than the crankcase. Always dispose of used oil at a recycling facility.
Step 4: Fog the Engine Cylinders
Fogging oil is a heavy, protective lubricant sprayed into the engine cylinders to coat internal components. During months of storage, bare metal surfaces inside the engine are vulnerable to rust and corrosion. Fogging creates a barrier that prevents moisture from reaching those surfaces.
While the engine is still warm and running on stabilized fuel, spray fogging oil into the air intake or carburetor. On carbureted engines, remove the flame arrestor and spray directly into the carburetor throat. On fuel-injected engines, locate the intake silencer or air box and spray through the designated port.
Spray steadily for about 5 to 10 seconds per cylinder. The engine will smoke heavily, which is normal. Let the engine run for another 30 seconds to distribute the fogging oil thoroughly, then shut it off. The heavy smoke tells you the oil has coated the cylinders, pistons, rings, and valve surfaces.
For 2-stroke oil-injected engines, fogging is still important. The oil injection system lubricates while running, but it does not protect during storage. Spray fogging oil through the intake the same way you would for any other engine.
Remove the spark plugs and spray a small amount of fogging oil directly into each cylinder. Turn the engine over a few times by hand or with the starter to distribute the oil on the cylinder walls. Reinstall the spark plugs or install new ones while you have them out.
This is one step I never skip. The cost of a can of fogging oil is minimal compared to replacing rusted pistons and rings in the spring.
Step 5: Change the Gear Lube in the Lower Unit
The lower unit gear case contains gear lube that lubricates the drive gears, bearings, and shift mechanism. Over the season, this oil collects water through worn seals and degrades from heat and friction. Water-contaminated gear lube turns milky and freezes in cold weather, destroying the gear case.
Position a catch pan under the lower unit. Remove the bottom drain plug first, then the top vent plug. The gear lube will flow out through the bottom hole. If the oil looks milky or has water droplets mixed in, you have a seal leak that needs attention before next season.
Once the old lube has drained completely, refill from the bottom. Use a gear lube pump or squeeze tube to push new lube into the bottom drain hole. Continue filling until lube flows out of the top vent hole. This method ensures no air pockets remain trapped inside the gear case.
Replace the top vent plug first, then quickly replace the bottom drain plug to prevent lube from running back out. Use new gaskets or washers on both plugs to prevent leaks. Check your manual for the correct gear lube type, as different manufacturers specify different formulations.
While you have the lower unit accessible, pull the propeller and inspect the prop shaft. Forum users across multiple boating communities stress checking the prop shaft for wrapped fishing line. Fishing line that works its way behind the propeller can cut into the prop shaft seal, allowing water to enter the gear case. Remove any debris you find and inspect the seal area carefully.
Step 6: Inspect and Replace Sacrificial Anodes
Sacrificial anodes are small metal pieces attached to your lower unit, transom, and sometimes the engine block. They are made of zinc, aluminum, or magnesium, and they corrode instead of your engine components. That is why they are called sacrificial. They sacrifice themselves to protect your motor.
During winterization, inspect every anode on your motor. If an anode is more than half dissolved, replace it. If it is covered in paint or protective coating, clean it so it makes proper metal-to-metal contact with the water. Painted anodes cannot do their job.
The type of anode material matters. Zinc anodes work best in saltwater. Aluminum anodes are good for both saltwater and brackish water. Magnesium anodes are designed for freshwater only. Using the wrong type in the wrong environment either causes the anode to dissolve too fast or not work at all.
This is a quick inspection but an important one. Replacing anodes costs a few dollars. Replacing a corroded engine housing costs thousands.
Step 7: Lubricate Moving Parts and Apply Corrosion Protection
Every grease fitting on your motor needs attention before storage. Locate all zerk fittings on the engine, steering system, and tilt tube. Pump marine grease into each fitting until you see clean grease pushing out around the fitting. This pushes out old, water-contaminated grease and replaces it with fresh lubricant.
Check the power trim fluid level if your motor has power trim and tilt. Remove the trim reservoir cap and check that the fluid is at the proper level. Top it off with the manufacturer-specified trim fluid if needed. Low trim fluid causes sluggish operation and can damage the trim pump.
After greasing everything, apply a corrosion inhibitor spray to the entire powerhead. CRC Marine, Boeshield T-9, and similar products coat exposed metal with a waxy protective film. Pay special attention to electrical connections, bolt heads, and any areas where the finish is chipped or scratched.
Touch up any paint nicks on the engine cowl and lower unit. Bare aluminum and steel corrode rapidly when exposed to moisture and air. Use marine-grade touch-up paint matched to your engine color. This small step keeps your motor looking good and prevents surface corrosion from spreading.
Step 8: Remove and Store the Battery
A battery left in a boat over winter will slowly discharge and can freeze. A discharged battery freezes at a higher temperature than a fully charged one, and a frozen battery is usually destroyed. Remove the battery from the boat for proper storage.
Disconnect the negative cable first, then the positive cable. Clean the terminals with a wire brush and baking soda solution to remove corrosion. Apply a light coat of dielectric grease or petroleum jelly to the terminals to prevent new corrosion from forming during storage.
Store the battery in a cool, dry place away from freezing temperatures. A basement or heated garage works well. Connect a battery tender or trickle charger to maintain the charge throughout the winter. A maintenance charger keeps the battery at full charge without overcharging.
Check the battery every few months during storage. If you are not using a maintenance charger, charge it manually once a month. A fully charged battery lasts longer and starts reliably when spring arrives.
Step 9: Store the Engine in the Correct Position
How you position the engine during storage matters more than most people realize. Outboard motors should be stored vertically or trimmed fully down so all water drains from the powerhead and cooling passages. Storing an outboard tilted up traps water inside the midsection, which can freeze and cause damage.
If you must store the motor tilted, make absolutely certain all water has been drained. Use an engine cover that breathes to prevent moisture buildup underneath. Avoid plastic tarps, which trap condensation and promote corrosion and mold.
Here is a tip from experienced boaters on Reddit and iboats: place dryer sheets inside the engine cowl and around the boat to repel mice and other rodents. Rodents love building nests in boat engines during winter, and they chew wiring harnesses. Dryer sheets are a cheap, effective deterrent.
For the boat itself, cover it with a proper-fitting boat cover or shrink wrap. Ensure the cover allows for some ventilation to prevent moisture buildup. Check on the boat periodically through the winter, especially after heavy snow or ice storms.
DIY vs Professional Winterization: Cost Breakdown for 2026
No competitor I found publishes a cost comparison between doing it yourself and hiring a professional. I want to fix that gap because it is one of the most common questions boaters have. Here is what you can expect to spend either way.
DIY winterization cost estimate:
Fuel stabilizer: $10 to $15
Fogging oil: $10 to $15
Engine oil and filter: $40 to $70
Lower unit gear lube: $15 to $25
Marine grease and corrosion spray: $15 to $25
Sacrificial anodes (if needed): $10 to $30
Antifreeze for inboard systems: $15 to $25
The total DIY cost runs roughly $80 to $150 in supplies for an outboard motor. Inboard engines cost a bit more due to antifreeze requirements. You also need your own time, which is typically 2 to 4 hours for someone familiar with the process.
Professional winterization cost estimate:
Outboard motor at a dealership: $200 to $400
Inboard motor at a dealership: $300 to $500
Full boat winterization (engine plus water systems): $400 to $800
Shrink wrapping (additional): $15 to $35 per foot
When to choose professional service:
If your engine is still under warranty, some manufacturers require professional service to maintain coverage. If you are uncomfortable with any step or lack the tools, a professional guarantees the work. New boat owners often benefit from watching a professional do the first winterization and learning the process.
When DIY makes sense:
If you are mechanically inclined and own an outboard motor, DIY winterization saves you $150 to $300 per year. Once you buy the supplies and learn the process, it becomes a straightforward routine. Many boaters find the work satisfying and use it as an opportunity to inspect their engine thoroughly.
Common Winterization Mistakes to Avoid
Boating forums are full of cautionary tales from people who skipped steps and paid for it. I want to share the most common mistakes so you do not repeat them. Each one comes with a real-world cost that makes the few minutes of prevention worth it.
Mistake 1: Skipping fuel stabilizer. Without stabilizer, fuel degrades and forms varnish in your carburetor or injectors. Spring startup reveals a engine that will not idle or run properly. Carburetor rebuilds cost $150 to $400 per carb. Injectors cost even more.
Mistake 2: Not changing the oil before storage. Old oil contains acids that eat away at bearing surfaces and cylinder walls over months of sitting. The damage is invisible until the engine starts burning oil or losing compression the next season.
Mistake 3: Skipping the fogging step. Without fogging oil, cylinder walls rust during storage. When you start the engine in spring, rust particles score the cylinder walls and destroy the ring seal. This leads to loss of compression and eventual engine failure.
Mistake 4: Using automotive products instead of marine products. Automotive oil lacks the corrosion inhibitors needed for marine engines. Automotive antifreeze is toxic and illegal to discharge into waterways. Automotive grease washes out faster in wet environments. Always buy marine-specific products.
Mistake 5: Leaving water in the engine. This is the most expensive mistake. A cracked engine block from frozen water costs $3,000 to $8,000 to repair. Some boats are totaled by this damage. Always drain or flush with antifreeze.
Mistake 6: Storing the battery in the boat. A discharged battery freezes and cracks internally. Even if it survives, it may not hold a charge in spring. Remove it, store it properly, and use a maintenance charger.
Mistake 7: Forgetting to check the prop shaft for fishing line. Wrapped fishing line cuts into the prop shaft seal, allowing water into the gear case. Over winter, that water freezes and cracks the gear housing. Always pull the prop and inspect.
How to De-Winterize Your Boat Motor in Spring
No competitor covers de-winterization, but it is just as important as winterization. When spring arrives, you need to reverse the process carefully. Here is what to check before your first launch.
Reinstall the battery after checking its charge. A battery stored on a maintenance charger should be ready to go. If not, charge it fully before installation. Reconnect the positive cable first, then the negative.
Check all fluid levels. Verify the engine oil is at the correct level and that no oil leaked out during storage. Check the gear lube level in the lower unit. Inspect the power trim fluid reservoir.
Inspect the propeller and prop shaft area. Make sure no nesting material from rodents is present. Check all visible wiring for chew marks. Remove dryer sheets if you used them for pest prevention.
Prime the fuel system and start the engine on a set of muffs. Let it run for several minutes to burn off any fogging oil residue. Watch for smoke, which is normal at first. Listen for unusual noises and check for leaks.
Check the tell-tale water stream to confirm the water pump is functioning. If the stream is weak or absent, the impeller may need replacement. Spring is a good time to replace the water pump impeller if it is due.
Take the boat for a short test run before heading out for a full day. This confirms everything works properly and gives you a chance to catch any issues near the dock.
FAQs
Do you leave antifreeze in boat engine over winter?
For inboard engines, yes. Non-toxic marine antifreeze should remain in the cooling system to prevent any trapped water from freezing. For outboard motors, antifreeze is typically not left in the engine because outboards are designed to self-drain when stored vertically. If you flush an outboard with antifreeze as extra insurance, draining it afterward is fine as long as the motor is stored in the trimmed-down position.
Do you need to do anything to winterize an outboard motor?
Yes. Even though outboards self-drain water, you still need to stabilize the fuel, change the engine oil on 4-stroke models, fog the cylinders, change the gear lube, inspect anodes, grease fittings, apply corrosion protection, and remove the battery. Skipping these steps leads to fuel system clogs, internal corrosion, and gear case damage.
Should I run my outboard out of gas for winter?
For carbureted 2-stroke outboards, draining the carburetor bowls is recommended to prevent varnish buildup. For fuel-injected and 4-stroke engines, add fuel stabilizer and run the engine to circulate it rather than running it dry. Running fuel-injected engines dry can damage the fuel pump, which relies on fuel for lubrication and cooling.
What is the best antifreeze for winterizing boat engines?
Use non-toxic propylene glycol marine antifreeze rated for at least -100 degrees Fahrenheit. Brands like Camco, Star brite, and Splash make marine-grade antifreeze specifically for boat engines. Never use automotive ethylene glycol antifreeze, which is toxic to humans and wildlife and illegal to discharge into waterways.
Should I run antifreeze through my outboard motor?
It is not strictly necessary for outboards stored vertically because they self-drain. However, many experienced boaters in cold climates flush their outboards with marine antifreeze as extra insurance against trapped water pockets. If you choose to do this, use non-toxic propylene glycol and run it through the flushing port or muffs until it flows from the tell-tale.
How long can you run a boat on muffs?
You can run a boat motor on muffs for 10 to 15 minutes safely. This is enough time to circulate fuel stabilizer, flush the cooling system, and distribute fogging oil. Avoid running longer than necessary, as the water pump impeller can wear from extended operation without the load and cooling of being in the water. Monitor the tell-tale stream throughout to confirm water flow.
Will a boat motor freeze at 32?
Yes. Water freezes at 32 degrees Fahrenheit, and any water remaining inside an engine block, cooling passages, or gear case can freeze and cause cracks. The damage is not limited to engines that sit at exactly 32 degrees. Repeated freeze-thaw cycles at temperatures near freezing are particularly dangerous because water can seep into small passages and then expand when it drops below freezing. Proper winterization removes or replaces all water to prevent this damage.
Wrapping Up: Protect Your Investment Every Winter
Learning how to winterize a boat motor step by step is one of the most valuable skills any boat owner can develop. The process takes a few hours on a Saturday afternoon and protects an investment worth thousands of dollars. Every step in this guide addresses a specific threat that winter poses to your engine.
Fuel stabilizer prevents varnish and gum buildup. Oil changes remove corrosive contaminants. Fogging oil protects cylinder walls from rust. Gear lube changes protect your lower unit from water damage. Battery storage prevents freeze damage and extends battery life. Corrosion inhibitors keep metal surfaces protected through months of inactivity.
Start gathering your supplies in early fall so you are ready before the first hard freeze. Follow each step in order, and use the checklist to make sure nothing gets missed. When spring arrives, your engine will start reliably and run strong all season.
If this is your first time winterizing, consider having a professional do it once while you watch and ask questions. The investment in learning pays off every year after. Your motor will thank you with years of reliable service.