
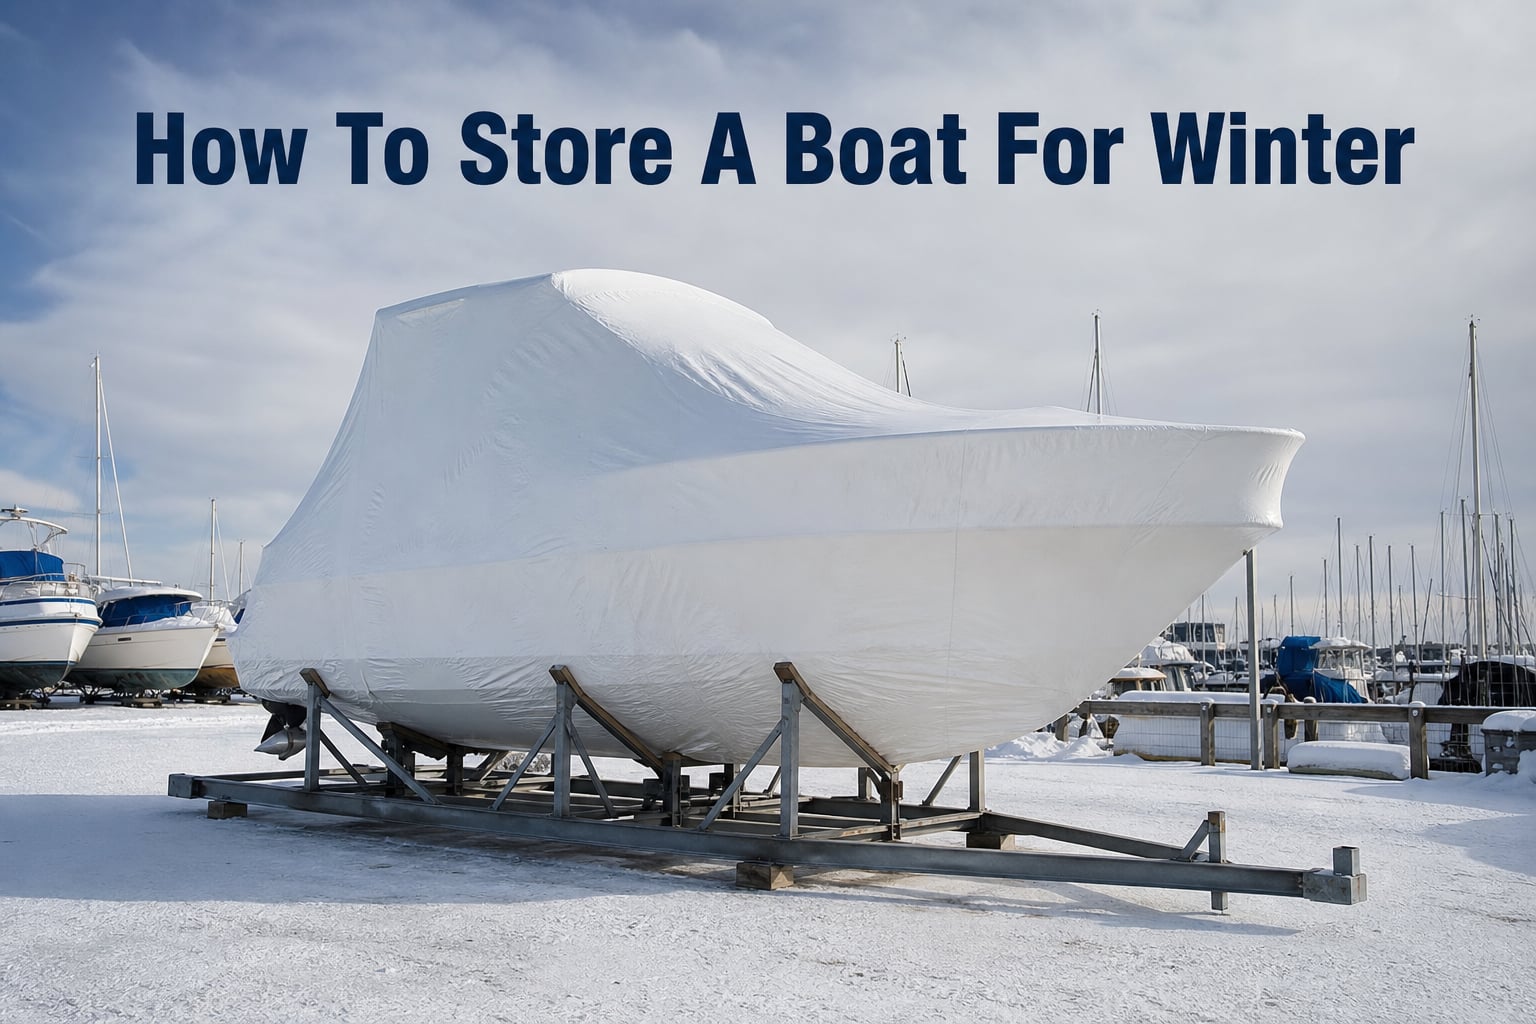
When the temperatures start dropping, knowing how to store a boat for winter can save you thousands of dollars in freeze damage, cracked engine blocks, and mold remediation. I have seen too many boat owners skip critical winterization steps only to face massive repair bills when spring arrives. One Reddit user I came across paid over $1,200 total for professional winter storage, and even then, the peace of mind was worth every penny compared to the alternative.
Proper winter boat storage involves draining water systems, treating fuel, protecting the engine, removing batteries and soft goods, and choosing the right cover. Whether you own a small fishing boat, a family bowrider, or a sailboat, the fundamentals remain the same. The difference between a boat that starts right up in April and one that needs a rebuilt engine comes down to about 6 hours of preparation work.
This guide walks through every step in plain language. I will cover engine winterization, fuel system protection, water system drainage, battery storage, cleaning, covering options, storage facility choices, and the most common mistakes owners make. I will also break down costs from real forum data and share boat-type-specific tips that no other guide covers.
If you live anywhere temperatures drop below freezing, or if you plan to store your vessel for more than 60 days without use, this guide applies to you.
How To Store A Boat For Winter: Step-By-Step Winterization Guide
Learning how to store a boat for winter starts with following a systematic process. I recommend tackling these steps in order, since some tasks build on others. Skipping ahead or doing things out of sequence can lead to missed components and costly oversights.
Here is the complete winterization checklist broken down into manageable steps.
Step 1: Clean The Boat Inside And Out
Start by giving your boat a thorough cleaning before anything else. Dirt, salt, algae, and organic matter left on the hull or interior will stain and corrode surfaces over the winter months. Once those stains set in for months, they become far harder to remove.
Wash the hull with marine soap and remove any algae or barnacles from the bottom. A pressure washer on a low setting works well for hull cleaning, but keep it away from decals and gel coat seams. Pay special attention to the waterline where scum builds up.
For the interior, vacuum all compartments, wipe down vinyl seats with a marine-grade cleaner, and apply a UV protectant to prevent cracking. Many boaters swear by a baking soda paste for stubborn stains on fiberglass, and it also helps neutralize odors. Remove any trash, fishing tackle, food crumbs, and organic debris that could attract pests.
Clean the bilge area thoroughly. Oil and fuel residue in the bilge can degrade hoses and fittings over time. Spray a degreaser, scrub, and rinse completely.
Step 2: Drain All Water Systems
This is the single most important step in winter boat storage. Any water left inside the engine, plumbing lines, or bilge can freeze and expand, cracking engine blocks, bursting pipes, and destroying water pumps. Freeze damage is the number one cause of catastrophic winter boat damage.
Start with the engine. For outboard motors, tilt the motor down fully and let all raw water drain out. Most modern outboards are self-draining when in the vertical down position. For sterndrive and inboard engines, locate and open all drain plugs on the engine block, exhaust manifolds, and raw water cooling system. Remove the raw water pump impeller if your manufacturer recommends it.
Next, drain all freshwater plumbing. Open every faucet, shower head, and transom shower. Remove the drain plug from the freshwater tank and let it empty completely. Blow out the lines using compressed air at 30 PSI to push out residual water that draining alone will not remove.
Drain the livewell, baitwell, and washdown systems. Disconnect hoses at their lowest points to ensure complete drainage. Remove the bilge drain plug and keep it out for the entire storage period. I store my drain plug in the glovebox so I never forget to reinstall it in spring.
For sanitation systems, pump out the holding tank completely at a facility. Add propylene glycol antifreeze to the head and holding tank to prevent any residual moisture from freezing. Never use ethylene glycol (automotive antifreeze) in sanitation systems, as it is toxic and illegal to discharge in waterways.
Step 3: Winterize The Engine
Engine winterization goes beyond just draining water. You need to protect internal components from corrosion during months of inactivity. The specific process varies by engine type, but the core tasks remain consistent.
Change the engine oil and oil filter before storage. Used oil contains acids and contaminants that can etch bearings and cylinder walls over months of sitting. Run the engine briefly with the new oil to circulate it before final shutdown.
Replace the fuel filter and water separator. Old fuel filters trap moisture that can corrode from the inside out during storage.
Change the gear lube in the lower unit. Drain the old lube completely and look for signs of water intrusion, indicated by a milky or coffee-colored appearance. If you see water, the gear case seals need replacement before next season. Refill with fresh gear lube specified for your drive type.
Apply fogging oil to the cylinders. With the engine running and the fuel supply disconnected (or for fuel-injected engines, following the manufacturer procedure), spray fogging oil into the air intake until the engine stalls. This coats the cylinder walls, piston rings, and valves with a protective oil film that prevents surface rust. For four-stroke engines, remove the spark plugs and spray fogging oil directly into each cylinder, then turn the engine over by hand to distribute it.
Grease all fittings on the engine, steering system, and drive. Use a marine-grade grease and hit every zerk fitting. This pushes out water-contaminated grease and replaces it with fresh lubricant.
Step 4: Protect The Fuel System
Is it okay to leave gas in a boat over winter? Yes, but only if you treat it properly. Untreated fuel degrades over time, forming gum and varnish deposits that clog carburetors, fuel injectors, and fuel lines.
Fill the fuel tank to 95% capacity before storage. A full tank leaves minimal room for air, which reduces condensation that introduces water into the fuel. Add a high-quality fuel stabilizer like Sta-Bil, Star Tron, or Sea Foam to the tank before filling, so the stabilizer mixes thoroughly as fuel flows in.
Run the engine for 10 to 15 minutes after adding stabilizer to ensure treated fuel reaches the carburetor, fuel injectors, fuel rails, and lines. This protects the entire fuel system, not just the tank. For boats with multiple tanks, treat each one.
For ethanol-blend fuels (E10), fuel stabilizer is even more critical. Ethanol absorbs moisture over time, and in sufficient quantities, phase separation occurs. This pulls the ethanol and water out of the gasoline and drops it to the bottom of the tank where it can destroy your fuel system from the inside.
Step 5: Remove And Store The Battery
Always remove the battery for winter storage. A battery left in a boat over winter will discharge from parasitic draw and cold temperatures. A fully discharged battery can freeze and crack, leaking acid and destroying the battery tray and surrounding components.
Disconnect the negative terminal first, then the positive. Clean the terminals with a wire brush and baking soda solution to remove corrosion. Apply a thin coat of dielectric grease to prevent new corrosion during storage.
Store the battery in a cool, dry place above freezing. A basement or heated garage works well. Connect the battery to a trickle charger or battery tender designed for marine batteries. This maintains the charge at an optimal level without overcharging. I check my battery every 4 to 6 weeks during winter to confirm the charger is functioning.
For boats with multiple batteries (house and starting banks), repeat the process for each one. Label each battery with its location and connection points so reinstallation goes smoothly in spring.
Step 6: Remove Soft Goods And Valuables
Take out everything that can hold moisture, attract pests, or degrade in cold temperatures. This includes seat cushions, canvas tops, bimini frames, curtains, carpets, life jackets, throwable cushions, ropes, fenders, electronics, and anything fabric.
Store cushions standing on edge in a dry, climate-controlled area rather than stacked flat. Stacking cushions traps moisture between them and promotes mold and mildew. If you must leave cushions aboard, stand them on edge and open all storage compartments to maximize airflow.
Remove all food, beverages, sunscreen, cleaning products, and toiletries. Food attracts rodents, and liquids can freeze and burst their containers, creating a mess that damages interior surfaces.
Take electronics like fish finders, GPS units, and VHF radios inside. Extreme cold and condensation cycles can damage screens and internal components. Store them in a dry location with desiccant packets.
Step 7: Interior Protection And Pest Prevention
With soft goods removed, turn your attention to protecting the interior environment. Place moisture absorbers like DampRid or reusable dehumidifier tubs throughout the cabin, cockpit, and storage compartments. These products pull excess moisture from the air and prevent condensation that leads to mold and mildew.
Open all cabinets, lockers, and compartments to improve air circulation. Prop up cushions to allow airflow underneath. Consider running a small solar-powered ventilation fan if you are storing outdoors.
Pest prevention deserves serious attention. Mice and rodents love nesting in stored boats, where they chew wiring, build nests in engine compartments, and leave droppings everywhere. Place mothballs, peppermint oil-soaked cotton balls, or commercial rodent repellent throughout the boat. Some owners swear by bounce dryer sheets placed in every compartment. Block exhaust outlets and intake openings with wire mesh to physically exclude rodents.
Check the boat every 2 to 3 weeks during the storage period. Look for signs of pest activity, water intrusion, or cover damage. Catching a problem early prevents it from becoming a disaster.
Step 8: Cover The Boat
Your final step is choosing and installing the right cover. The cover is the barrier between your boat and snow, ice, rain, UV radiation, and debris for months on end.
Shrink wrap provides the most secure protection for outdoor storage. A professional shrink wrap job creates a tight, form-fitting barrier that sheds snow and rain. Expect to pay $15 to $25 per foot for professional shrink wrapping. Install support poles or a frame underneath the shrink wrap to prevent snow accumulation from sagging the cover into the cockpit. Always install vents in the shrink wrap to allow moisture to escape.
Canvas covers work well for boats stored indoors or under a roof. A high-quality, breathable canvas cover allows moisture to escape while blocking dust and debris. Make sure the cover fits snugly and is supported to prevent water pooling.
Avoid using blue poly tarps as a primary cover. Forum users consistently report that tarps flap in the wind, chafe gel coat, tear prematurely, and trap moisture underneath. If budget is a concern, invest in a fitted universal boat cover rather than a tarp.
Regardless of cover type, build a support structure underneath to prevent snow and water from pooling in low spots. Accumulated snow weight can collapse seats, crack fiberglass, and rip covers. Use support poles, strapping systems, or even PVC frames to create a peak that sheds precipitation.
Boat Storage Options: Indoor vs Outdoor vs Covered
Choosing where to store your boat is almost as important as how you winterize it. Each storage option offers different levels of protection at different price points. I have broken down the three main categories below.
Indoor Heated Storage
Indoor heated storage is the gold standard for winter boat storage. Your boat sits in a climate-controlled building where temperature and humidity remain constant. This eliminates freeze risk, condensation, UV exposure, and pest problems almost entirely.
The trade-off is cost. Indoor heated storage typically runs $50 to $100 per foot for the season, which means a 22-foot boat costs $1,100 to $2,200. Many facilities book up by early fall, so reserve early. As one Reddit user put it, indoor heated storage is the best option for boat preservation, period.
Indoor Unheated Storage
Indoor unheated storage (dry stack or warehouse) keeps your boat out of the weather without temperature control. It protects against snow, ice, rain, and UV, but the interior can still experience condensation from temperature swings. Cost typically runs $30 to $50 per foot for the season.
This is a good middle ground for moderate climates. You still need to drain all water systems, but the risk of pest and weather damage drops significantly compared to outdoor storage.
Outdoor Covered Storage
Outdoor covered storage provides a roof over your boat but leaves the sides open. Carports and open-walled buildings fall into this category. Your boat gets protection from direct snow and rain but is still exposed to wind-driven moisture, temperature swings, and pests.
Cost is typically $15 to $30 per foot. This option works well in milder climates or when combined with a good shrink wrap cover. Ensure the cover is well supported and vented.
Outdoor Uncovered Storage
Storing your boat outside with no overhead protection is the cheapest option but carries the most risk. You are relying entirely on your cover and winterization to protect the boat through months of snow, ice, and freezing temperatures.
Trailer storage in your driveway falls here, and it is what many budget-conscious owners choose. Cost may be free if you have the space, but factor in the cost of a quality shrink wrap or cover ($15 to $25 per foot) and the potential for weather damage if the cover fails.
Can you leave a boat outside in winter? Yes, but only with thorough winterization and a properly supported, vented cover. Check on it regularly after snowstorms.
Boat-Type-Specific Winter Storage Tips
Different boat types require slightly different winterization approaches. No competitor guide covers these distinctions, but they matter for getting the process right.
Outboard Boats
Outboard motors are the easiest to winterize because they are largely self-draining. Tilt the motor fully down and all raw water drains from the powerhead and lower unit. You still need to fog the cylinders, change gear lube, and treat the fuel. Store the motor in the vertical down position so water does not collect in the exhaust housing.
Sterndrive Boats
Sterndrives require more attention because raw water passages in the engine block and exhaust manifolds do not drain completely on their own. You must locate and remove every drain plug on the block, manifolds, oil cooler, and power steering cooler. Run the engine on a flusher with fresh water before draining to push out salt or debris.
Inboard Boats
Inboard engines with raw water cooling need the most thorough drainage. For closed-cooled (freshwater cooled) inboards, check the coolant concentration in the closed loop and drain only the raw water side. For raw-water-cooled inboards, drain every passage and consider running propylene glycol antifreeze through the system for added protection.
Sailboats
Sailboats add the complexity of standing rigging, sails, and potentially inboard diesel engines. Remove all sails, running rigging lines, and canvas. Inspect chainplates for corrosion before covering. For the diesel engine, follow the inboard winterization steps and also service the fuel injectors. Ensure the keel and hull are clean before storage to prevent staining.
Pontoons
Pontoons have minimal plumbing and no enclosed cabin in most cases, which simplifies winterization. Focus on the outboard motor, battery removal, seat cleaning, and covering. Remove all furniture and carpets. Check the pontoons themselves for water intrusion at the welds, as trapped water inside the tubes can freeze and expand.
Common Mistakes To Avoid When Storing A Boat For Winter
After reading hundreds of forum threads and seeing what goes wrong, here are the most common mistakes boat owners make during winter storage. Each one of these errors has cost owners hundreds or thousands of dollars in preventable damage.
Using Automotive Antifreeze Instead Of Marine Antifreeze
Automotive antifreeze (ethylene glycol) is toxic to humans, pets, and wildlife. It is illegal to discharge in most waterways. Always use propylene glycol antifreeze for marine applications. It is non-toxic, environmentally safe, and available in various freeze protection levels. Pink propylene glycol rated for -50 degrees F or -100 degrees F is the standard choice.
Leaving The Battery On Board
Batteries left in boats over winter discharge, freeze, and crack. Even if they survive, the deep discharge cycle permanently reduces their capacity. Remove every battery, clean the terminals, and store them on a trickle charger.
Skipping The Fuel Stabilizer
Untreated fuel is a time bomb. Over 3 to 6 months, gasoline forms gums and varnishes that clog fuel systems. The repair cost for cleaning a fuel system far exceeds the $10 to $20 a bottle of stabilizer costs. Always add stabilizer and run the engine to circulate it.
Using A Blue Poly Tarp As A Cover
Boaters on forums consistently warn against poly tarps. They flap in the wind, abrade gel coat, tear easily, and trap moisture. One user reported gel coat damage on both gunwales from a single winter of tarp abrasion. Invest in a fitted canvas cover or shrink wrap instead.
Not Supporting The Cover
A cover without internal support will sag under snow load. Pooled water and snow weight can crack windshields, crush seats, and rip the cover itself. Always build a support structure with poles or a frame before installing the cover.
Forgetting The Drain Plug
This sounds obvious, but I have seen it happen. Rain and snow melt will fill the bilge if the drain plug is left in. Remove the plug and store it somewhere memorable. Water in the bilge leads to freeze damage, corrosion, and mold.
Ignoring Pests
Mice cause thousands of dollars in wiring damage every winter. One forum user reported a mouse nest in their engine air intake that required an entire harness replacement. Use deterrents and check the boat regularly.
Not Checking On The Boat
Storage is not a set-it-and-forget-it process. Visit your boat every 2 to 3 weeks. Check for water intrusion, cover damage, pest activity, and moisture buildup. Early detection prevents minor issues from becoming major repairs.
FAQs
How long can a boat sit without being used?
A boat can sit for 2 to 3 months without issue if properly winterized. Beyond that, fuel degrades, seals dry out, and batteries lose charge. For storage longer than 6 months, additional steps like fogging oil, fuel stabilizer, and battery maintenance become essential. Always run the engine periodically if storing in mild conditions.
Is it okay to leave gas in a boat over winter?
Yes, you can leave gas in a boat over winter, but you must add a fuel stabilizer first. Fill the tank to 95% capacity to reduce condensation, add stabilizer like Sta-Bil or Star Tron, and run the engine for 10 minutes to circulate treated fuel through the system. Never leave untreated fuel sitting for months.
Should I store a boat with the motor up or down?
Store an outboard motor in the full down (vertical) position for winter. This allows all water to drain completely from the powerhead and lower unit. Storing with the motor tilted up traps water inside the exhaust housing, which can freeze and crack the housing. For sterndrives, follow the manufacturer’s specific storage position recommendation.
Do you winterize a boat with antifreeze or drain?
You should do both. Start by draining all water from the engine block, manifolds, and plumbing lines. Then, for sterndrive and inboard engines, run propylene glycol antifreeze through the system as a backup in case residual water remains in low spots. Outboards are typically self-draining and may not need antifreeze. Always use non-toxic marine antifreeze, never automotive antifreeze.
What is the best antifreeze for boat winterization?
Propylene glycol antifreeze (often sold as marine or RV antifreeze) is the best choice for boat winterization. It is non-toxic, environmentally safe, and will not harm plumbing seals. Choose a rating of -50 degrees F for most climates or -100 degrees F for extreme cold. Never use ethylene glycol (automotive) antifreeze in marine applications.
Is it okay to store a boat outside in winter?
Yes, a boat can be stored outside in winter if it is properly winterized and covered. Use shrink wrap or a high-quality fitted canvas cover with internal support poles to shed snow and rain. Install vents to prevent moisture buildup. Check the boat every 2 to 3 weeks after storms to clear snow and inspect the cover. Outdoor storage carries more risk than indoor, so thorough preparation is essential.
How cold is too cold for boating?
Boating becomes dangerous when water temperatures drop below 60 degrees F without proper cold weather gear. Below 50 degrees F, immersion can cause cold shock and hypothermia within minutes. Most recreational boaters stop boating when daytime temperatures consistently fall below 50 degrees F, which is when winterization becomes necessary.
Where do people store their boats in winter?
Common winter storage options include indoor heated storage facilities, indoor unheated warehouses or dry stack buildings, outdoor covered structures like carports, outdoor uncovered storage at marinas or storage yards, and private driveways with trailer storage. Indoor heated is the best option for protection but costs $50 to $100 per foot. Many owners choose outdoor storage with shrink wrap as a budget-friendly alternative.
Conclusion
Knowing how to store a boat for winter comes down to a systematic approach: clean everything, drain every water system, winterize the engine, treat the fuel, remove the battery and soft goods, protect against pests, and cover properly. Each step matters, and skipping any one of them can lead to expensive repairs that far exceed the time and cost of doing the job right.
The biggest differentiators between a trouble-free spring launch and a costly one are attention to detail and consistency. Visit your boat regularly during storage, address issues promptly, and follow a checklist every single year. Bookmark this guide and work through each step in order. When spring arrives, your boat will be ready to hit the water with nothing more than an oil change, battery reinstall, and a safety check.