
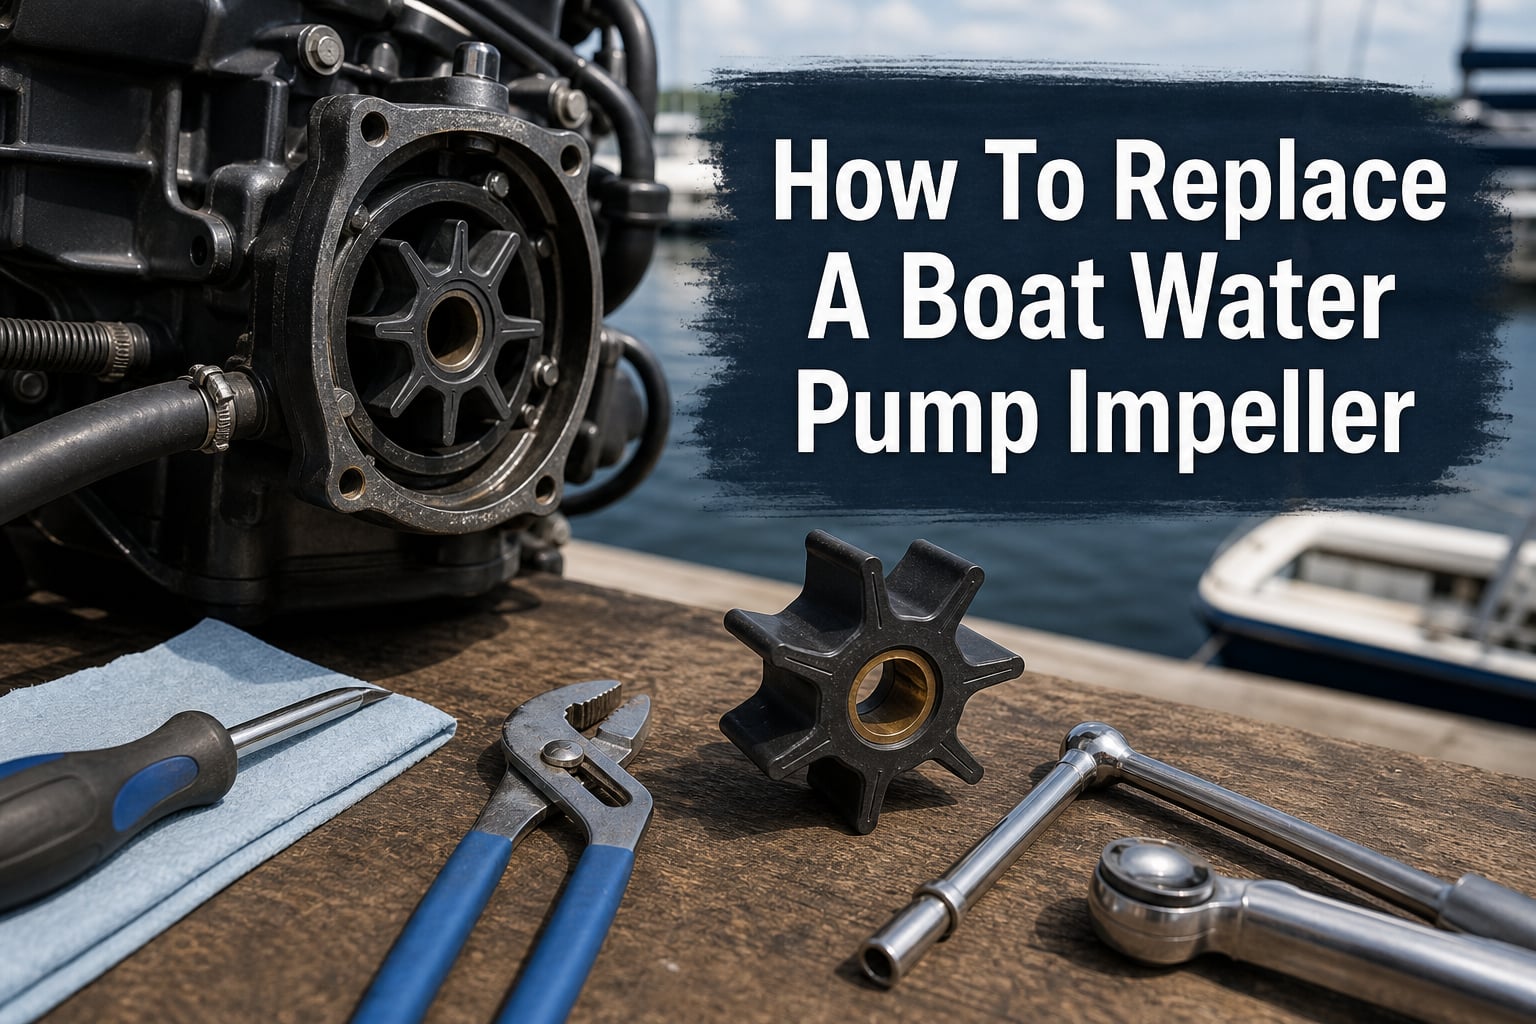
Picture this: you are ten miles offshore, the sun is blazing, and your temperature gauge starts climbing into the red. For most boaters, a failing raw water pump impeller is the culprit. Learning how to replace a boat water pump impeller is one of the most valuable skills any boat owner can develop, and it is far more approachable than most people think.
A boat water pump impeller replacement takes about 30 to 60 minutes for most inboard engines. Outboard motors require a bit more effort since you need to drop the lower unit, but the actual impeller swap is straightforward. Most DIYers with basic hand tools can handle this job without professional help.
The cost difference is significant. Forum research shows professional impeller replacement runs anywhere from $350 to $715 for parts and labor combined. Doing it yourself costs between $25 and $80 for an impeller kit, depending on your engine brand. That is a savings of hundreds of dollars per service interval.
In this guide, our team walks you through every step of the process. We cover safety preparation, tool selection, the complete removal and installation process, gasket handling, testing, troubleshooting, and real cost breakdowns. By the end, you will have the confidence to tackle this maintenance task yourself.
What Is a Boat Water Pump Impeller?
A boat water pump impeller is a flexible rubber or neoprene component shaped like a small wheel with curved vanes. It sits inside the raw water pump housing on your engine and acts as the heart of your cooling system. As the engine spins the impeller, those flexible vanes draw seawater in and push it through the engine block and heat exchanger.
This design is called a positive displacement pump. The vanes compress as they pass over an offset cam inside the housing, creating suction on one side and pressure on the other. This self-priming action works reliably even when the pump sits above the waterline, which is exactly why nearly every marine engine uses this setup.
Without a functioning impeller, your engine loses its ability to shed heat. Within minutes of impeller failure, cylinder head temperatures can spike high enough to warp metal, blow gaskets, and destroy the engine. This is why impellers are classified as wear items, not lifetime parts.
Most impellers are made from neoprene rubber, which handles normal operating temperatures well. Some aftermarket manufacturers offer Globe impellers made from a tougher compound designed for higher durability. Globe impellers resist dry-running damage better than standard neoprene, but they cost more and some boaters report fitment issues with certain pump housings.
Signs Your Boat Water Pump Impeller Is Bad
Catching a failing impeller early can save you thousands of dollars in engine repairs. Here are the warning signs to watch for:
Engine overheating is the most obvious symptom. If your temperature gauge climbs above normal operating range, shut down immediately and investigate. Running an overheating engine, even for a short time, causes rapid damage.
Reduced water flow from the exhaust is an early indicator. A healthy impeller pushes a strong stream of water out with the exhaust. If that stream weakens to a trickle or disappears entirely, your impeller may be worn or damaged.
Visible vane damage shows up during inspection. Remove the pump cover plate and examine the impeller. Look for cracks, missing vanes, or vanes that have taken a permanent set and will not flex back. If any vane is missing, you need to find where it went, because broken pieces can lodge in the cooling system.
Unusual noise from the pump can signal trouble. A squealing or grinding sound from the raw water pump area often means the impeller is running dry or has seized partially against the housing.
Age and hours matter even without symptoms. An impeller that has been in service beyond its recommended interval can fail without warning. Rubber degrades over time, especially in hot engine compartments. Do not wait for symptoms to replace an aging impeller.
Tools and Materials Needed
Having the right tools on hand before you start makes this job much smoother. Here is what our team recommends gathering:
Essential tools:
Impeller puller or needle-nose pliers (Vise Grips work well)
Screwdrivers (Phillips and flathead in multiple sizes)
Socket set with extensions (for outboard lower unit bolts)
Torque wrench (for reassembly to factory specs)
Scraper or gasket removal tool
Scotch-Brite pad or fine sandpaper
Shop rags and a small container for hardware
Flashlight or headlamp
Parts and materials:
New impeller (matched to your engine model)
Cover plate gasket (paper or O-ring type depending on your pump)
Glycerin or impeller lubricant (never use petroleum grease)
Gasket sealant (HondaBond 4, YamaBond, or ThreeBond 1104 work well)
Replacement screws if originals are corroded
One important note: always use glycerin or a dedicated impeller lubricant when installing a new impeller. Petroleum-based greases and oils can degrade neoprene rubber and shorten the impeller’s lifespan. Glycerin provides lubrication during startup without damaging the rubber.
Buy the correct impeller kit for your specific engine. Yanmar, Westerbeke, Mercury, Honda, and Yamaha all use different impeller sizes and vane counts. Check your engine manual for the exact part number. OEM impellers typically cost more, around $35 to $60, while aftermarket equivalents run $16 to $30. Both work fine, but some boaters prefer OEM for the warranty coverage.
How to Replace a Boat Water Pump Impeller: Step-by-Step Guide
This is the core of the process. Follow these steps carefully, and take your time. Rushing leads to dropped screws, damaged gaskets, and extra headaches. Our team has broken this down into clear, sequential steps that work for most inboard and sterndrive engines. Outboard owners should read the special notes at the end of each relevant step.
Step 1: Close the Seacock and Prepare the Area
Before you touch anything, close the raw water intake seacock completely. This prevents seawater from flooding the boat when you open the pump housing. This single step is the most important safety precaution in the entire process.
If your engine has a raw water strainer between the seacock and the pump, close that too if it has a valve. Double-check that no water can enter the system while the pump is open. Take a moment to lay out your tools and parts within easy reach.
Place a small bucket or absorbent pad under the pump area. Even with the seacock closed, residual water in the housing will spill out when you remove the cover plate. Having a container ready keeps your bilge clean and prevents hardware from disappearing into the water below.
Step 2: Remove the Cover Plate
Loosen and remove the screws holding the pump cover plate in place. Most pumps have two to four screws. Work slowly and apply steady pressure to avoid stripping screw heads, especially if they have corroded over time.
Once the screws are loose, carefully pry the cover plate off. A thin putty knife or gasket scraper works well for this. The old gasket may stick, so take care not to gouge the pump housing surface.
As you remove each screw, place it in a small container. Murphy’s Law applies here: any screw you drop will find its way into the bilge. Many experienced mechanics recommend keeping a magnetic parts tray handy specifically for this reason.
For outboard motors, this step is more involved. You need to remove the lower unit to access the water pump. Disconnect the shift rod, remove the bolts securing the lower unit, and lower it carefully. This is why outboard impeller replacement takes longer than inboard jobs.
Step 3: Remove the Old Impeller
With the cover plate off, you can see the old impeller sitting inside the pump housing. Use an impeller puller tool or needle-nose pliers to grip the impeller hub and pull it straight out. Twist gently as you pull if the impeller is stubborn.
If the impeller has been in service too long, the vanes may have taken a permanent set and the rubber may be brittle. Handle it carefully to avoid leaving broken vane pieces inside the housing.
If the impeller breaks apart during removal, fish out every single piece. Broken impeller fragments can travel through the cooling system and cause blockages that lead to overheating. Use a pick tool or small needle-nose pliers to extract any stuck pieces. Shine a flashlight into the housing and verify that nothing remains.
Inspect the old impeller after removal. Count the vanes to make sure they are all present. If any are missing, you need to trace the cooling system downstream to find the missing pieces. Check the heat exchanger, oil cooler, and any inline strainers for impeller fragments.
Step 4: Inspect the Pump Body
Before installing the new impeller, thoroughly inspect the inside of the pump housing. Look for scoring, pitting, or corrosion on the walls where the impeller rides. Deep grooves in the housing reduce pump efficiency and mean you need to replace or rebuild the entire pump body.
Check the cam insert inside the housing. This is the offset piece that compresses the impeller vanes to create pumping action. If the cam is worn, loose, or corroded, it needs replacement. A worn cam prevents the pump from generating adequate pressure.
Clean the cover plate mating surface completely. Use a gasket scraper and Scotch-Brite pad to remove all traces of the old gasket material. The surface needs to be smooth and flat for the new gasket to seal properly. Avoid using power tools for this step, as they can damage the machined surface.
Check the pump shaft for play or wobble. Grab the shaft and try to move it side to side. Excessive play means the shaft seal or bearings are worn, and you need to address that before installing a new impeller. A worn shaft will chew through a new impeller quickly.
Step 5: Install the New Impeller
Apply a generous coat of glycerin or impeller lubricant to the inside of the pump housing and the new impeller vanes. This lubrication helps the impeller slide in and prevents dry-start damage during the first few seconds of engine operation.
Here is where we need to address a common myth about vane direction. Many boaters worry about which direction the impeller vanes should face when installed. The reality is that it does not matter for the long term. When the engine starts, the pump will spin the impeller and the vanes will take the correct set within the first revolution. The cam inside the housing forces the vanes into the right orientation.
That said, for easier installation and to minimize stress on the vanes during the first startup, you can push the vanes in the direction the pump will rotate. Check your engine manual to determine the pump rotation direction. Twist the vanes gently in that direction as you slide the impeller into the housing.
Push the impeller in slowly, using a twisting motion. If you meet significant resistance, add more lubricant. Never force the impeller with a screwdriver or pry tool, as this can damage the vanes before the impeller even starts working. Some mechanics use a large socket that fits over the shaft to press the impeller in evenly.
Make sure the impeller seats fully against the back of the housing. The hub should align with the shaft keyway or drive flat. An improperly seated impeller will not pump efficiently and can damage the shaft.
Step 6: Install the Gasket and Cover Plate
Selecting the right gasket is more important than many boaters realize. Most raw water pumps use a paper gasket between the cover plate and the housing. Some use an O-ring seal instead. Check your engine manual for the correct type.
If your pump uses a paper gasket, apply a thin layer of gasket sealant to both sides. HondaBond 4, YamaBond, and ThreeBond 1104 are popular choices among marine mechanics. Spread the sealant evenly with a small brush or your finger, covering the entire gasket surface without gaps.
Place the gasket carefully on the housing, aligning all bolt holes. Then position the cover plate over the gasket. Start all screws by hand to avoid cross-threading. Once all screws are started, tighten them in a crisscross pattern, working from the center outward.
Tighten the cover plate screws to the manufacturer’s torque specification. Over-tightening can warp the cover plate and cause leaks. Under-tightening allows water to escape under pressure. If you do not have a torque spec, tighten firmly but do not crank down with maximum force.
For pumps with O-ring seals, inspect the O-ring for cracks or deformation. Replace it if there is any doubt about its condition. Lightly lubricate the O-ring with glycerin before installation to help it seat properly.
Step 7: Reassemble and Test
Open the seacock before starting the engine. This step is critical, and forgetting it is one of the most common mistakes DIYers make. Running the engine with the seacock closed means the new impeller runs dry, which can destroy it in seconds.
Start the engine and immediately watch the water discharge from the exhaust outlet. You should see a steady stream of water within 10 to 15 seconds. If no water appears after 30 seconds, shut the engine down and investigate.
Check for leaks around the cover plate and pump housing while the engine runs. Small drips may stop as the gasket seats, but steady streams indicate a problem. If leaks persist, shut down and recheck your gasket installation.
Let the engine reach operating temperature while monitoring the temperature gauge. Normal operating temperature varies by engine but typically falls between 160 and 195 degrees Fahrenheit. If the temperature climbs above normal, shut down immediately and recheck the impeller installation.
For outboard motors, reassemble the lower unit following your engine manual’s torque sequence for all bolts. Reconnect the shift rod and verify that the shifting works properly before launching. Run the engine on a flusher attachment or in a test tank to confirm water flow before heading out.
Maintenance Schedule: How Often to Replace Your Impeller
Most marine engine manufacturers recommend replacing the raw water pump impeller annually or every 100 hours of operation, whichever comes first. This schedule assumes normal operating conditions in relatively clean water.
Boats operating in silty, sandy, or debris-heavy waters may need more frequent replacement. Sand and grit act as abrasives inside the pump housing, accelerating vane wear. If you boat in shallow rivers or areas with heavy seaweed, inspect the impeller mid-season and replace it if you see significant wear.
Diesel engines with high-hour operations, such as commercial vessels or long-distance cruisers, should follow a stricter schedule. Yanmar and Westerbeke engines typically specify 500-hour or annual impeller intervals. Check your specific engine manual for exact guidance.
Winterizing provides a perfect opportunity to replace the impeller. Installing a fresh impeller before layup means you start the next season with a clean bill of health on the cooling system. Store the spare impeller kit aboard the boat so you are prepared for unexpected failures on the water.
Keep at least one spare impeller, a gasket, and a tube of glycerin in your onboard toolkit. Many experienced boaters carry two spares for extended trips. The storage footprint is minimal, and having a spare can save an entire weekend on the water.
Troubleshooting Common Issues
Even careful DIYers run into problems. Here are the most common issues and how to handle them:
Stripped or Stuck Screws
Corroded screws are the number one frustration during impeller replacement. If a screw head strips, stop immediately before making it worse. Use a screw extractor designed for small fasteners to remove the damaged screw. Apply penetrating oil and let it soak for 15 minutes before attempting extraction.
For prevention, always use the correct size screwdriver bit that fits snugly in the screw head. Apply downward pressure while turning. If the screw does not budge, try tightening slightly first to break the corrosion bond before backing it out.
Broken Impeller Pieces in the Cooling System
If the old impeller shed vanes inside the housing, those pieces likely traveled downstream. Check every component in the cooling path: the heat exchanger tubes, oil cooler, thermostat housing, and any inline strainers. Use a flashlight and pick tool to extract fragments.
In stubborn cases, backflush the cooling system by connecting a garden hose to the discharge side of the pump and running water backward through the system. This can push lodged fragments out through the intake side. Collect and count all recovered pieces to ensure you found them all.
No Water Flow After Replacement
If the engine runs but no water exits the exhaust, several things could be wrong. First, verify the seacock is open. Second, check that the impeller is installed correctly and seated fully. Third, inspect for air locks in the system by loosening a hose clamp at the highest point in the cooling loop to bleed trapped air.
A blocked raw water strainer is another common cause. Clean the strainer basket and verify unrestricted flow from the seacock. If the intake hose is old, it may have collapsed internally. Squeeze the hose along its length to check for soft spots or kinks.
When to Call a Professional
If you encounter a severely corroded pump housing, a seized impeller that will not come out, or stripped bolts in the lower unit of an outboard, consider calling a marine mechanic. These situations require specialized tools and experience that most DIYers do not have.
There is no shame in hiring help for difficult cases. The goal is a properly functioning cooling system, not proving you can do everything yourself. A botched repair can cost far more than professional labor.
DIY vs Professional: Cost Comparison
The financial argument for DIY impeller replacement is compelling. Based on forum research and real-world examples, here is how the costs break down:
DIY costs (parts only):
Aftermarket impeller kit: $16 to $30
OEM impeller kit: $35 to $60
Gasket and sealant: $5 to $12
Glycerin lubricant: $8 to $15 (one tube lasts years)
Tools (if starting from scratch): $40 to $80
Professional service costs:
Inboard engine impeller replacement: $350 to $500 (parts plus 2 to 3 hours labor)
Outboard motor impeller replacement: $400 to $715 (parts plus 3 to 4 hours labor)
Additional charges for corroded fasteners or seized parts: $50 to $200
The math speaks for itself. A single DIY impeller replacement saves $300 to $650 compared to professional service. Over five years of boat ownership, that adds up to $1,500 or more in savings. The tools pay for themselves on the very first job.
DIY makes the most sense for inboard engines where the pump is easily accessible. Outboard motors require more mechanical comfort since you need to drop the lower unit. If you have never done that before, consider having a mechanic handle the first replacement while you watch and learn the process.
FAQs
How hard is it to replace an impeller on a boat?
Replacing an impeller on an inboard boat engine is a straightforward job that takes 30 to 60 minutes with basic hand tools. Most DIYers with mechanical confidence can handle it. Outboard motors are more involved because you need to remove the lower unit, adding about an hour to the job. The actual impeller swap inside the pump is simple once you have access.
How do I know if my boat water pump impeller is bad?
The main signs of a bad impeller are engine overheating, reduced or no water flow from the exhaust, visible vane damage or missing vanes, unusual noise from the pump area, and an impeller that has exceeded its recommended service interval. If you notice any of these symptoms, inspect the impeller immediately and replace it if needed.
How much does it cost to replace an impeller on a boat?
DIY replacement costs $16 to $60 for an impeller kit plus $5 to $15 for gaskets and lubricant. Professional replacement at a marine shop runs $350 to $715 depending on engine type and labor rates. Inboard engines are typically cheaper to service than outboards because the pump is easier to access.
How often should an impeller be replaced on a boat?
Most manufacturers recommend replacing the raw water pump impeller annually or every 100 hours of operation, whichever comes first. Boats operating in sandy or debris-heavy waters may need more frequent replacement. Replacing the impeller during winterization is a popular approach that ensures a fresh start each season.
Conclusion
Learning how to replace a boat water pump impeller is one of the highest-value maintenance skills you can develop as a boat owner. The process comes down to seven steps: close the seacock, remove the cover plate, extract the old impeller, inspect the pump body, install the new impeller with glycerin lubricant, reseal with a fresh gasket, and test for proper water flow. Each step is straightforward when you take your time and use the right tools.
The savings are real. Doing this job yourself keeps $300 to $650 in your pocket every season compared to professional service. More importantly, understanding your cooling system means you can diagnose and fix problems on the water instead of waiting for a tow. Grab your engine manual, order the correct impeller kit, and give it a try on your next maintenance day.