
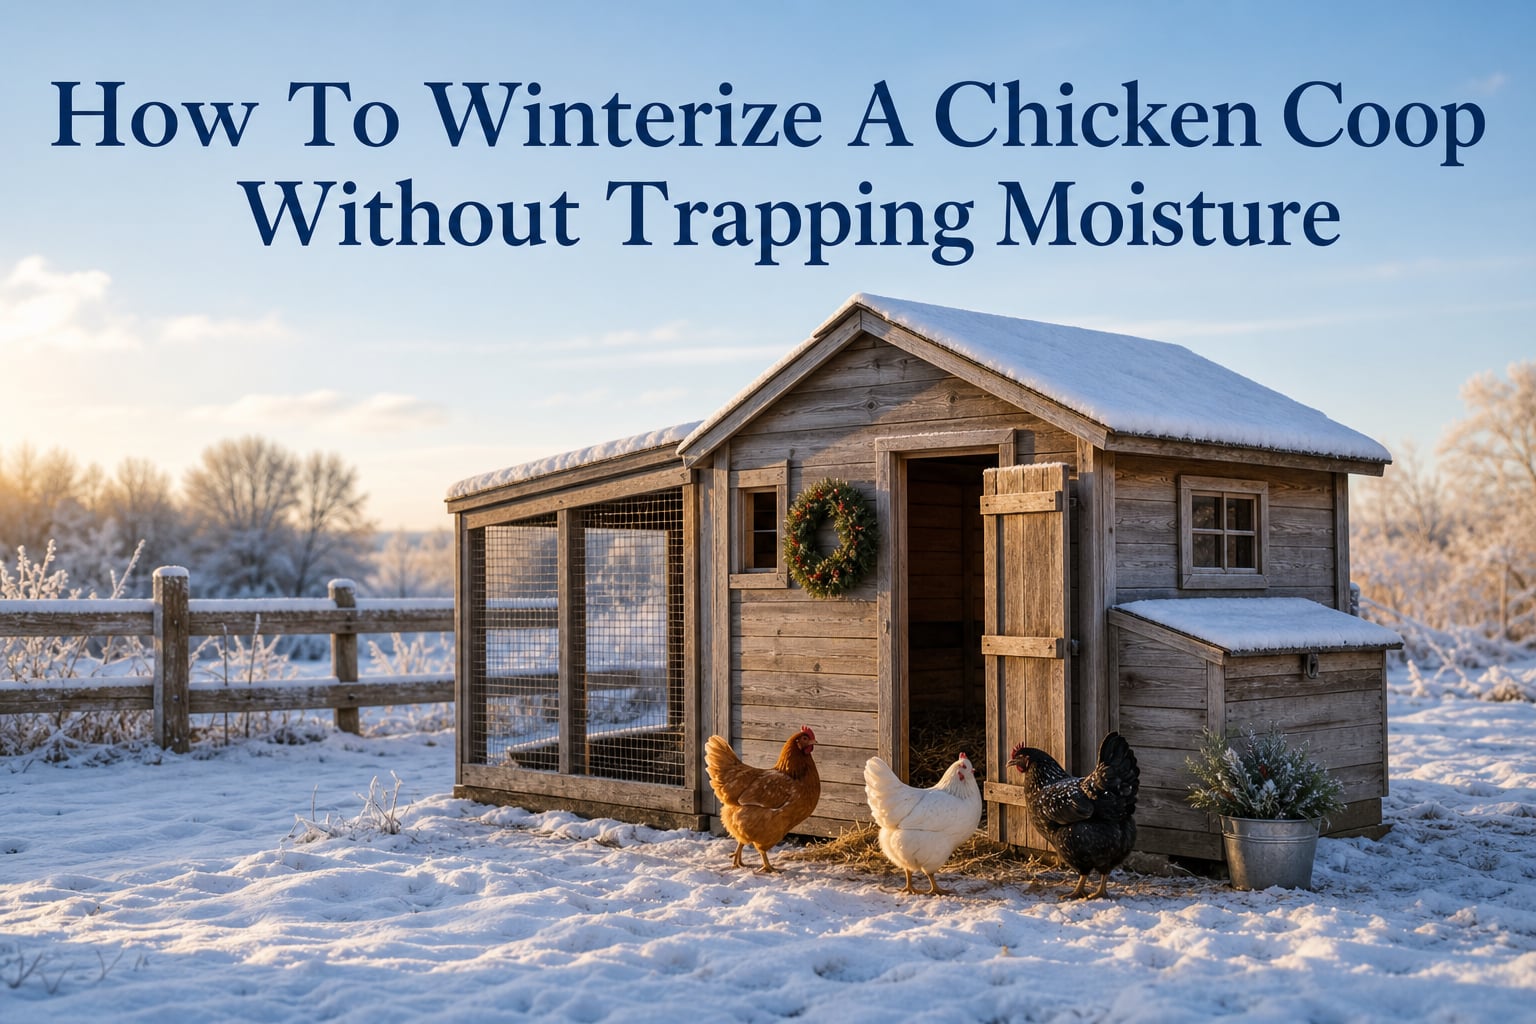
Learning how to winterize a chicken coop without trapping moisture is one of the most important skills for any backyard flock owner. After keeping chickens through three New England winters, I can tell you the biggest mistake I see is the instinct to seal everything up tight. The coop feels cold, so we button it up, and by morning the windows are fogged and the straw is damp.
That damp air is far more dangerous than the cold itself. In this guide, I’ll walk you through the exact method I use on my own coops to keep birds dry, draft-free, and frostbite-free all winter.
Why Moisture Is More Dangerous Than Cold in a Chicken Coop
Here’s the part most guides skip: cold alone rarely kills chickens. Moisture does. A wet chicken in freezing temperatures loses body heat 25 times faster than a dry chicken, which is why frostbite almost always shows up first on combs, wattles, and feet in damp coops.
Chickens actually handle cold weather very well when conditions are dry. Their down layers trap warm air against the skin, and most healthy adult birds tolerate temps well below freezing. The problems start when warm breath hits cold walls and condenses, when droppings release ammonia in still air, and when wet bedding freezes into a cold mat.
Forum keepers I trust confirm this year after year. One chicken owner in Minnesota reported losing birds to frostbite in a tightly sealed coop at 20°F, while a friend with open vents and dry bedding had no frostbite at -15°F. The difference was moisture, not temperature.
How to Winterize a Chicken Coop Step by Step
The fastest way to winterize a chicken coop without trapping moisture is to follow a fixed order: assess, seal drafts low, open vents high, insulate, bed, then prep the run. Skipping steps or doing them out of order usually leads to either cold birds or damp air. Here’s the exact sequence I use every October.
- Assess your coop. Walk inside on a calm morning and look for light leaks at chicken level. Anything you can see daylight through is a draft.
- Seal drafts at chicken level. Block gaps under doors, around pop holes, and low wall seams with weather stripping or a canvas flap. Keep high vents untouched.
- Open or add high ventilation. Cut or uncover vents near the roofline. Aim for at least 1 square foot of vent opening per 10 square feet of floor space, all positioned above roost height.
- Insulate the roof and north wall. Foam board, straw bales, or wool batts work well. Never use spray foam that seals the entire wall.
- Build the deep litter base. Start with 4 to 6 inches of dry carbon material (pine shavings, straw, or dried leaves).
- Adjust roosts and water. Set roosts flat-side-up and move water outside or to the run to cut humidity.
- Winterize the run. Add wind blocks on the prevailing side and clear snow pathways so birds will venture out.
Ventilation Strategies That Prevent Moisture Trapping
The single biggest factor in how to winterize a chicken coop without trapping moisture is correct ventilation. Vents should sit high, near the roofline, so moist warm air rises and exits before it can condense on cold surfaces. Cold air entering low and warm air leaving high is the basic principle of cross ventilation.
A common rule of thumb is to provide ventilation equal to about one-quarter of the wall space of your coop, distributed in openings above the birds’ heads. For an 8×8 coop that is roughly 2 square feet of open vent area. Keep those openings covered only with hardware cloth so rain and predators stay out while air flows freely.
Watch for warning signs that moisture is getting trapped. Condensation on the inside of windows in the morning, a sharp ammonia smell when you open the door, or wet bedding that never fully dries are all red flags. If you see any of these, add another high vent rather than closing the one you have.
The trick is keeping air moving without creating wind on the roosting chickens. Vents placed above the highest roost allow moisture to escape without blowing cold air across sleeping birds.
Insulation Without Suffocating Your Coop
Insulation in a chicken coop is about retaining the heat birds already produce, not adding heat. A well-insulated coop with bad ventilation will still trap moisture, so always pair insulation with high vents.
Foam board is my top pick for walls and ceilings. It’s cheap, easy to cut, and resists moisture. Attach 1-inch rigid foam to the inside of exterior walls and the underside of the roof, then cover it with plywood or thin paneling to keep chickens from pecking it.
Straw bales stacked against the outside north wall are a low-effort option. They block wind and add an R-value of roughly R-2 per inch, plus you can compost them in spring. Hay looks similar but holds moisture and molds, so stick with straw for winter bedding and insulation.
Skip spray foam insulation that fully seals a wall. The off-gassing can bother birds and you cannot control where moisture ends up. Also avoid plastic sheeting wrapped around the entire coop, which is a classic moisture trap.
Bedding and the Deep Litter Method
Bedding is your coop’s moisture management system. The deep litter method is the most popular winter approach because it turns droppings into slow compost that generates a small but useful amount of heat, often 5 to 10 degrees above outside ambient.
To start, lay down 4 to 6 inches of dry carbon material. Pine shavings, chopped straw, and dry leaves all work. Every week or two, add another inch of fresh dry material on top and turn the top layer with a pitchfork to aerate. Never let the litter get so wet that you can squeeze water out of it.
The science is simple. Chicken droppings are high in nitrogen. Dry bedding is high in carbon. Combined with the birds scratching and breaking it up, beneficial microbes slowly compost the mix and produce gentle heat. By spring, you have rich compost ready for the garden.
Avoid the deep litter method if your coop has a dirt floor that floods, if you have fewer than three birds (not enough heat and manure), or if you cannot commit to weekly stirring. In those cases, clean bedding changed every two weeks is safer.
Frostbite Prevention and Roosting Bar Tips
Frostbite on chicken combs and wattles almost always traces back to one cause: moisture. Cold dry air causes far less damage than cold damp air, so every other section in this guide is also frostbite prevention.
Roost design matters more than people think. Use a 2×4 with the wide flat side facing up. This lets chickens cover their feet completely with feathers and reduces frostbite risk on toes. A thin round dowel exposes the toes to cold air.
Keep coop humidity below 60 percent when possible. A cheap hygrometer from a hardware store works perfectly. If humidity is creeping up, increase ventilation before adding heat. For vulnerable breeds like large-combed Leghorns or rose-comb breeds with tight feathering, a thin layer of petroleum jelly on the comb during cold snaps adds protection.
Winterizing the Chicken Run and Tractor
Chickens that stay cooped up all winter develop behavior problems and weaker immune systems. Encouraging them outside is part of winterization. The run needs to block wind on the prevailing side without becoming a still, humid box.
Polycarbonate sheets screwed to the run frame are the gold standard. They block wind and snow but let light through. Tarps and clear shower curtains work as budget alternatives. Whatever you use, leave the top open or add vents so moisture from droppings can escape.
Straw bales around the run perimeter add wind protection and double as insulation for the coop wall they touch. Clear snow from at least one path so birds will walk out. Some keepers toss scratch grain in the run to lure birds outside for activity.
For chicken tractors, winterization is trickier because the structure moves. Focus on ground preparation: park the tractor on well-drained soil or a gravel pad before the ground freezes. Stack straw bales around three sides, leave the south side open, and move the tractor only when weather permits. A mobile tractor in winter needs more bedding because the floor is the ground itself.
Common Mistakes When Winterizing a Coop
Most winter coop problems come from a few recurring mistakes. Cover your bases and you will avoid 90 percent of issues.
- Sealing every crack. Chickens need airflow. If you can feel no breeze inside the coop on a windy day, you have gone too far.
- Using heat lamps. They raise fire risk, increase humidity when combined with breath, and prevent birds from acclimating to cold.
- Wet bedding left in place. Soiled bedding freezes, holds ammonia, and defeats the deep litter method.
- Closing vents on cold nights. The exact night you close a vent is often the night moisture builds up and frostbite starts.
- Skipping morning checks. A quick look for condensation, frost on feathers, or odd smells catches problems early.
Frequently Asked Questions
How to keep moisture out of a chicken coop in winter?
The best way to keep moisture out of a chicken coop in winter is to maintain high ventilation openings above roost height. Warm moist air from breath and droppings rises and escapes through these vents, preventing condensation. Pair high vents with low-level draft blocking, dry bedding refreshed weekly, and a deep litter base that absorbs manure. Avoid sealing the coop tight, which traps humidity and causes frostbite.
What is the 90/10 rule for chickens?
The 90/10 rule for chickens refers to a feeding guideline where 90 percent of a chicken’s diet should come from a complete layer feed and the remaining 10 percent from treats like scratch grains, kitchen scraps, or vegetables. In winter, keepers sometimes adjust treats slightly higher to give birds extra energy for warmth, but layer feed should remain the foundation of nutrition.
Why put coffee grounds in your chicken coop?
Coffee grounds are sometimes added to chicken coop bedding because the caffeine and aromatic oils are thought to repel insects and may help mask ammonia smells. Used grounds are also a useful addition to compost, including deep litter systems. They should be added in moderation and fully dried to avoid adding extra moisture to the bedding.
What’s the best way to winterize a chicken coop?
The best way to winterize a chicken coop is to follow a layered approach: seal drafts at chicken level, keep high ventilation openings clear, add insulation to walls and ceiling, set up a deep litter base of 4 to 6 inches, use wide flat roosts, and add wind blocks to the run. Done in this order, the coop stays dry, draft-free, and warm from the birds’ own body heat.
Should I heat my chicken coop in winter?
Most healthy chicken breeds do not need a heated coop, and adding heat often causes more problems than it solves. Heaters raise humidity, increase fire risk, and prevent birds from acclimating to cold. Focus instead on dry conditions, draft blocking at chicken level, good ventilation up high, and plenty of dry bedding. Heat only specific cases such as sick birds, young chicks, or breeds that cannot handle your climate.
Final Thoughts on Winterizing Your Coop the Right Way
If you remember nothing else, remember this: how to winterize a chicken coop without trapping moisture comes down to ventilation first, insulation second, heat last. Chickens are remarkably cold-hardy when they are dry, and remarkably fragile when they are wet. Every decision should flow from that rule.
Start your winterization in early fall, before temperatures drop, so you can observe the coop in mild weather and adjust. Seal drafts at chicken level only, never block high vents, build the deep litter base to at least 6 inches, and add wind blocks to the run so birds still want to go outside. These five actions cover most situations in any climate.
For 2026 and beyond, the philosophy stays the same: dry air, moving air, draft-free roosts, and clean bedding. Master that, and your flock will reward you with healthy birds and steady eggs through the coldest months of the year.