
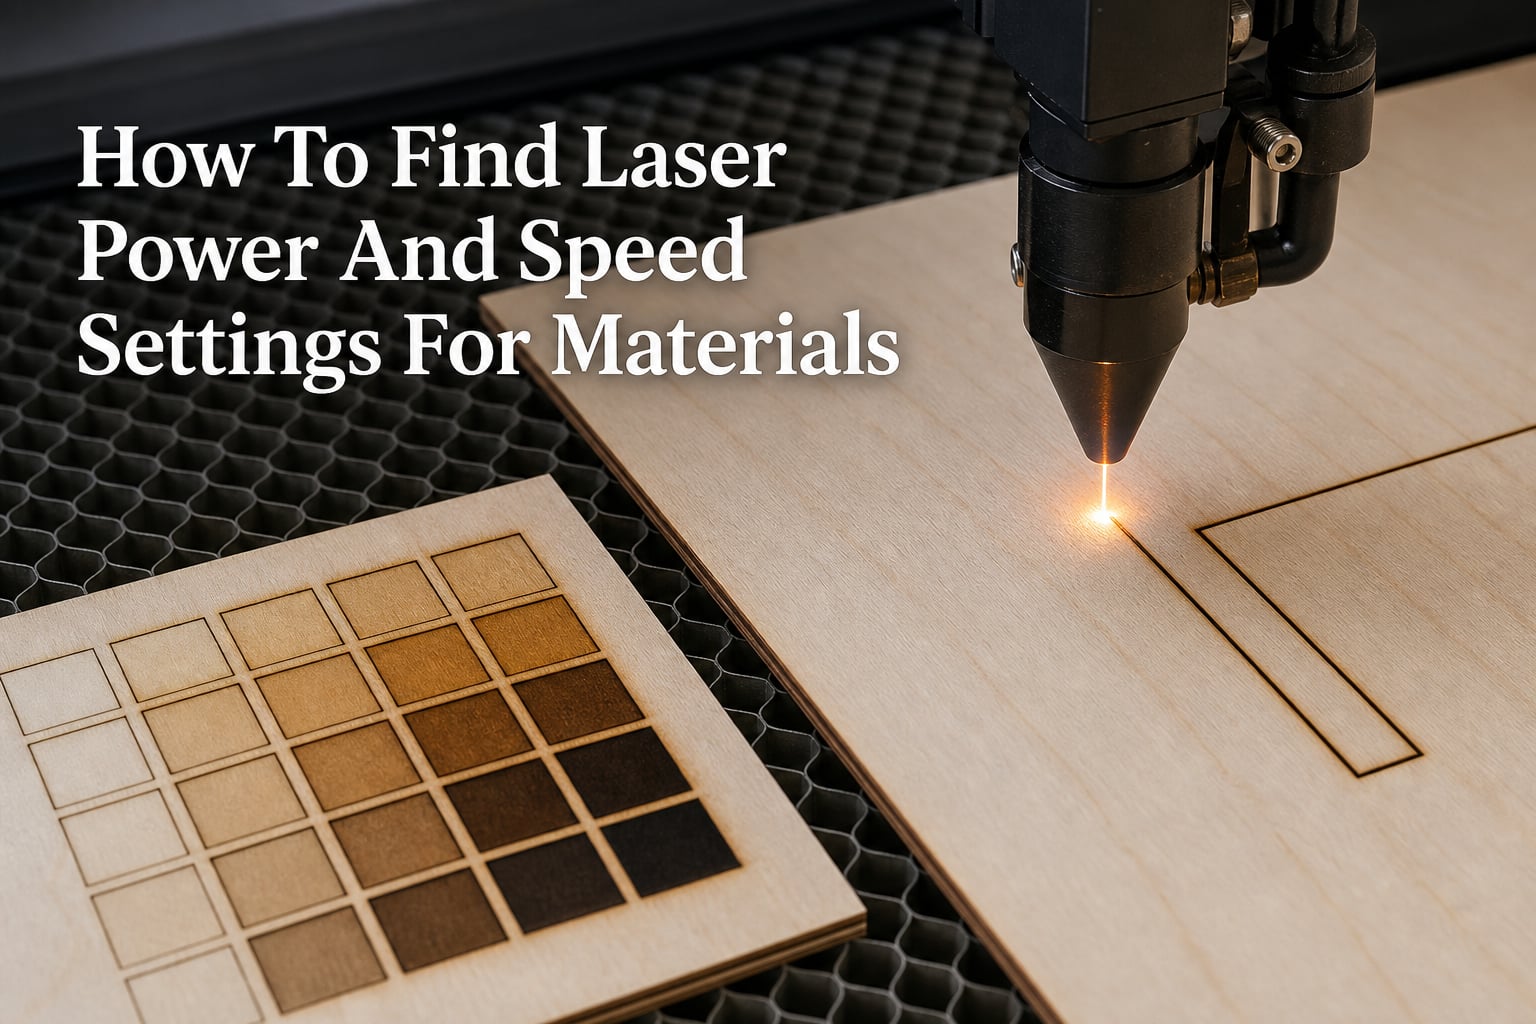
If you have ever stared at a test grid full of burnt squares and still could not tell which one was the “right” setting, you are not alone. Finding the right laser power and speed settings for materials is the single most common frustration I hear from new laser owners. I have burned through stacks of scrap plywood and wasted enough acrylic to fill a recycling bin, and I can tell you this: the settings are not magic numbers you copy from a forum post. They depend on your machine, your material, and your goal.
This guide walks you through how to find laser power and speed settings that work for your specific setup. I will show you the testing methods I use, the parameters that matter most, and the shortcuts that save hours of trial and error. By the end, you will have a repeatable workflow that works on any material you can fit on your laser bed.
What Are Laser Power and Speed Settings?
Laser power and speed settings are the two main controls that determine how your laser interacts with a material. Power controls how much energy the beam delivers, usually expressed as a percentage of maximum wattage. Speed controls how fast the laser head moves across the work area, measured in millimeters per second (mm/s) or inches per minute (ipm).
Think of power as the heat of a torch and speed as how fast you sweep it across the surface. More power at the same speed cuts deeper and chars more. Less power at the same speed leaves a lighter mark or fails to cut through. Faster movement at the same power reduces heat input per point. Slower movement concentrates heat and cuts deeper.
The relationship between power and speed is what creates every cutting and engraving result you see on your laser bed. A clean cut through 3 mm plywood might use 80 percent power at 8 mm/s. A light engraving on the same plywood might use 15 percent power at 300 mm/s. Same machine, same material, completely different outcome. Once you understand that relationship, you can predict results before you even press start.
Why Finding the Right Laser Power and Speed Settings Matters
Wrong settings cost you time, materials, and machine life. Too much power or too little speed chars the edges of your cuts, leaves yellow flame marks on acrylic, and turns wood into a smelly fire hazard. Too little power leaves you with parts that did not cut through and engravings so faint they disappear under finish.
I learned this the hard way on a batch of 4 mm bamboo plywood. I copied settings from a forum post, ran the job, and ended up with parts that were either half-cut or burnt black on top. Forty-five dollars of material in the bin because I skipped the testing step.
The good news is that once you understand how to test, you can dial in settings for any material in under 15 minutes. You stop guessing and start measuring. You save money on wasted material, you save time on re-cuts, and you get consistent results across multiple jobs. That consistency is what separates hobby laser owners from production shops.
The 5 Key Laser Parameters You Need to Understand
Speed and power get all the attention, but they are only two of the five laser parameters that control your results. Here is the complete list every laser operator should know.
- Speed – How fast the laser head moves across the material. Higher speed means less heat per point. Lower speed means more heat per point.
- Power – The percentage of maximum wattage delivered to the work surface. Higher power means more material removed or vaporized per pass.
- Frequency (Hz) – For pulsed lasers like fiber and some CO2 tubes, this controls how many pulses per second fire. Higher Hz spreads energy over more pulses. Lower Hz concentrates energy into fewer, stronger pulses.
- Passes – The number of times the laser traces the same path. Multiple passes at lower power often cut cleaner than one pass at high power.
- Air Assist – Compressed air blown through the nozzle that clears smoke and debris from the cut. It dramatically reduces charring on wood and prevents flame flashback.
For most hobby CO2 and diode lasers, you will only adjust speed, power, and air assist on a daily basis. Frequency matters more for fiber lasers marking metals. Passes are your secret weapon when one pass is not enough and you do not want to crank the power. Air assist is the one setting most beginners forget to adjust, and it has a bigger impact on cut quality than people realize.
Step 1: Find Your Focal Point First
Here is the step most beginners skip, and it is the biggest content gap I found in competing guides: you must find your focal point before you start tweaking power and speed. Your focal point is the precise distance between the laser nozzle and the material where the beam is smallest and most concentrated.
Even the perfect power and speed numbers will produce poor results if your focal point is off by a few millimeters. The beam will be wider than it should be, power density will drop, and you will end up increasing power to compensate. That is how people burn through their materials without ever figuring out why.
The Ramp Test Method
The fastest way to find your focal point is a ramp test. Cut a 45-degree ramp out of acrylic or thin plywood. Place it under your laser at an angle so the distance from the nozzle to the material changes along the length of the test. Run a single straight line across the ramp at moderate power.
Look at where the cut or engraving is narrowest and cleanest. That point is your optimal focal distance. Measure from the top of the material to the nozzle tip and record the number. Most 40 to 60 W CO2 lasers focus at about 50 mm. Diode lasers with fixed-focus modules usually focus at the module’s designed standoff distance, often around 20 to 40 mm depending on the lens.
I run a ramp test every time I change lens or module. It takes about 90 seconds and saves hours of frustration later. If you swap between thick material and thin material, your focal distance will change. Re-run the test whenever your material thickness changes by more than 5 mm.
Step 2: Test New Materials with a Power Scale
Once your focal point is dialed in, you can start hunting for the right power and speed. The fastest method I have found uses a power scale test pattern. This is the same approach the LightBurn Material Test generator uses, and it works on any laser software that lets you vary power across a single job.
Running the Power Scale Test
- Open your laser software and create a test grid with rows of identical squares.
- Set the first row to your fastest reasonable speed (for a CO2 laser, try 300 mm/s).
- Set each subsequent row 10 to 20 percent slower than the one above it.
- Within each row, vary the power from low to high in 5 to 10 percent increments.
- Engrave the grid on scrap of the exact same material and thickness you plan to use.
- Inspect the grid and find the cleanest cut or darkest engraving for your purpose.
For cutting, you want the lowest power at the fastest speed that still cuts all the way through. That setting gives you the least charring. For engraving, you want the lowest power that produces the darkness or depth you want without burning.
Always test on the exact material and thickness you will cut in production. Material from the same manufacturer in the same thickness can still vary between batches. Plywood especially has different glue contents and densities between runs.
Using LightBurn’s Material Test Feature
If you use LightBurn, the Material Test tool does this automatically. Open Tools, then Material Test. Choose your speed range, power range, and increments. LightBurn will generate the test pattern for you. After running the test, you can mark each cell with a number and LightBurn saves those settings under a named material in your library. Next time you load that exact material, your saved settings are one click away.
This is the workflow I recommend to anyone using LightBurn. The first time you test a material takes 10 minutes. Every future job using that same material takes 10 seconds. You can build a complete material library over a few months and never guess again.
Material-Specific Laser Power and Speed Settings
Settings vary by machine, but here are reasonable starting ranges for a 40 to 60 W CO2 laser with proper air assist. Use these as a starting point for your own tests. Every laser tube has slightly different output, and every material has slightly different density, so always verify with your own test grid before running a production job.
Wood and Plywood
For 3 mm birch plywood, start around 15 mm/s at 80 percent power for cutting. For 6 mm plywood, drop to 8 mm/s at 90 percent power or run two passes at 15 mm/s and 70 percent. Engraving on maple or birch typically works at 300 mm/s and 25 to 40 percent power.
Watch for charring on the cut edges. If edges are black and flaky, reduce power or increase speed in small steps. Different wood species behave very differently. MDF cuts cleanly but produces more smoke due to the resin binder. Bamboo plywood cuts beautifully but tends to char if your speed is too slow.
Acrylic
Cast acrylic cuts beautifully at 8 to 12 mm/s with 70 to 90 percent power on a 40 W CO2. The edges come out polished when settings are right. Engraving on acrylic works at 300 mm/s and 20 to 35 percent power.
Flame-polished edges come from the right combination of power and speed. Too slow and the edge melts and re-solidifies with waves. Too fast and the edge is rough. Cast acrylic gives better flame-polished edges than extruded acrylic. If you need clear polished edges, buy cast.
MDF
MDF cuts cleanly at 8 to 15 mm/s with 70 to 85 percent power. The resin content means more smoke, so air assist is essential. Engraving MDF produces good contrast at 300 mm/s and 30 to 50 percent power. Always run your exhaust fan at full speed when cutting MDF because the smoke smells awful and can irritate your lungs.
Leather
Vegetable-tanned leather cuts at 15 to 25 mm/s with 60 to 80 percent power. Lower speeds mean more burning and a stronger smell. Always test on a scrap piece from the same hide since leather varies a lot. Chrome-tanned leather produces toxic fumes when lasered, so stick to vegetable-tanned for safety.
Stainless Steel and Aluminum
These require a fiber laser, not a CO2 or diode. For marking stainless steel with a 20 to 30 W fiber, start at 200 mm/s and 80 percent power. Aluminum marking needs higher power or a marking compound to get visible results. Bare aluminum reflects most of the beam, so direct marking without a coating often produces poor contrast.
How Laser Type Changes Your Settings
Not all lasers behave the same. The three main types you will encounter have very different power and speed ranges.
Diode lasers in the 5 to 20 W range are limited by their gantry stiffness. I have tested diode lasers where speeds above 5000 mm/s caused visible vibration and ruined detail. Practical working speeds for engraving are 1500 to 3000 mm/s. For cutting 3 mm plywood with a 10 W diode, expect to use speeds around 10 to 20 mm/s at full power with multiple passes. Diode lasers also struggle with reflective materials like clear acrylic and bare metals.
CO2 lasers from 40 to 100 W are the workhorses of the hobby world. Engraving speeds of 200 to 400 mm/s are typical. Cutting speeds range from 5 to 25 mm/s depending on material thickness. The 200 to 300 mm/s range is the sweet spot for most engraving jobs on these machines. CO2 lasers cannot mark bare metal at all.
Fiber lasers run at much higher speeds because the beam quality and power density are higher. Marking speeds of 1000 to 5000 mm/s are common. Power settings often go much higher as a percentage, but the energy delivered per pulse is fundamentally different. Fiber lasers excel at marking metals and engraving hard plastics, but they cannot cut wood.
Troubleshooting: Signs Your Settings Are Wrong
Even with testing, things go wrong. Here is how to read the symptoms and fix them quickly. These are the most common problems I see in forums and on my own laser bed.
Edges Are Burning or Charring
You are delivering too much heat. Either reduce power by 5 to 10 percent or increase speed by 10 to 20 percent. Make sure air assist is actually flowing. I have seen many operators complain about burning only to discover their air assist tube was disconnected. Also check that your exhaust fan is pulling smoke away from the cut zone.
Cuts Are Not Going All the Way Through
You need more energy per point. Either reduce speed or increase power in small increments. You can also try multiple passes at lower power, which often produces cleaner cuts than one pass at high power. If you are already at maximum power and slowest speed, your material is probably too thick for your laser wattage.
Engravings Look Too Light
Increase power by 5 percent at a time until you reach the darkness you want. If you are at maximum power and still too light, reduce speed instead. Reducing DPI from 300 to 250 can also darken the result because each dot receives more energy. Some materials just do not engrave darkly no matter what you do. Test on a hidden area first.
Inconsistent Results Across the Bed
This usually means your focal point is off in some areas or your material is not perfectly flat. Check the bed for level and confirm your focal distance on different parts of the workpiece. Warped plywood is a common culprit. Clamp it flat or weight it down before cutting.
Wood Edges Have Dark Flame Marks
Reduce speed slightly and check air assist pressure. Flame marks happen when combustion byproducts sit on the cut edge too long. Higher air assist pressure usually clears them up. Taping the bottom of the material can also prevent flashback marks on the underside.
Acrylic Edges Are Cracked or Chipped
Your power is too high for the speed, or you are using extruded acrylic instead of cast. Lower power and try multiple passes. Cracked edges almost always mean the material cannot handle the thermal shock of the energy you are putting in.
Frequently Asked Questions
How do you determine laser power?
Start with the manufacturer’s recommended range for your material and run a power scale test. Engrave or cut a grid that varies power in 5 to 10 percent increments at a fixed speed. The correct power is the lowest setting that produces the result you want, whether that is a clean cut-through or a dark engraving.
How do you calculate laser cutting speed?
There is no universal formula, but a good rule is that cutting speed in mm/s roughly equals 200 divided by material thickness in mm for a 40 to 60 W CO2 laser. For example, 4 mm acrylic cuts at about 50 mm/s baseline. Always verify with a test grid on your actual machine.
What speed and power for laser engraving wood?
For a 40 to 60 W CO2 laser, start with 300 mm/s at 25 to 40 percent power for a light to medium burn on maple or birch. For darker results, increase power in 5 percent steps or reduce speed. Always run a test grid on the exact wood species and finish you plan to use.
What are the 5 parameters of a laser?
The five main laser parameters are speed, power, frequency (Hz), passes, and air assist. Speed controls how fast the head moves. Power controls how much energy is delivered. Frequency controls pulses per second for pulsed lasers. Passes control how many times the path repeats. Air assist clears debris and reduces charring.
Final Thoughts on Finding the Right Laser Power and Speed Settings
Finding the right laser power and speed settings for materials is a process, not a number. Start with your focal point. Run a power scale test on the exact material you plan to cut. Save those settings. The next job goes faster, and the one after that faster still.
If you take one thing from this guide, let it be this: skip the guessing and skip the copied forum posts. Test on scrap. Save what works. Your materials, your time, and your sanity will thank you.