
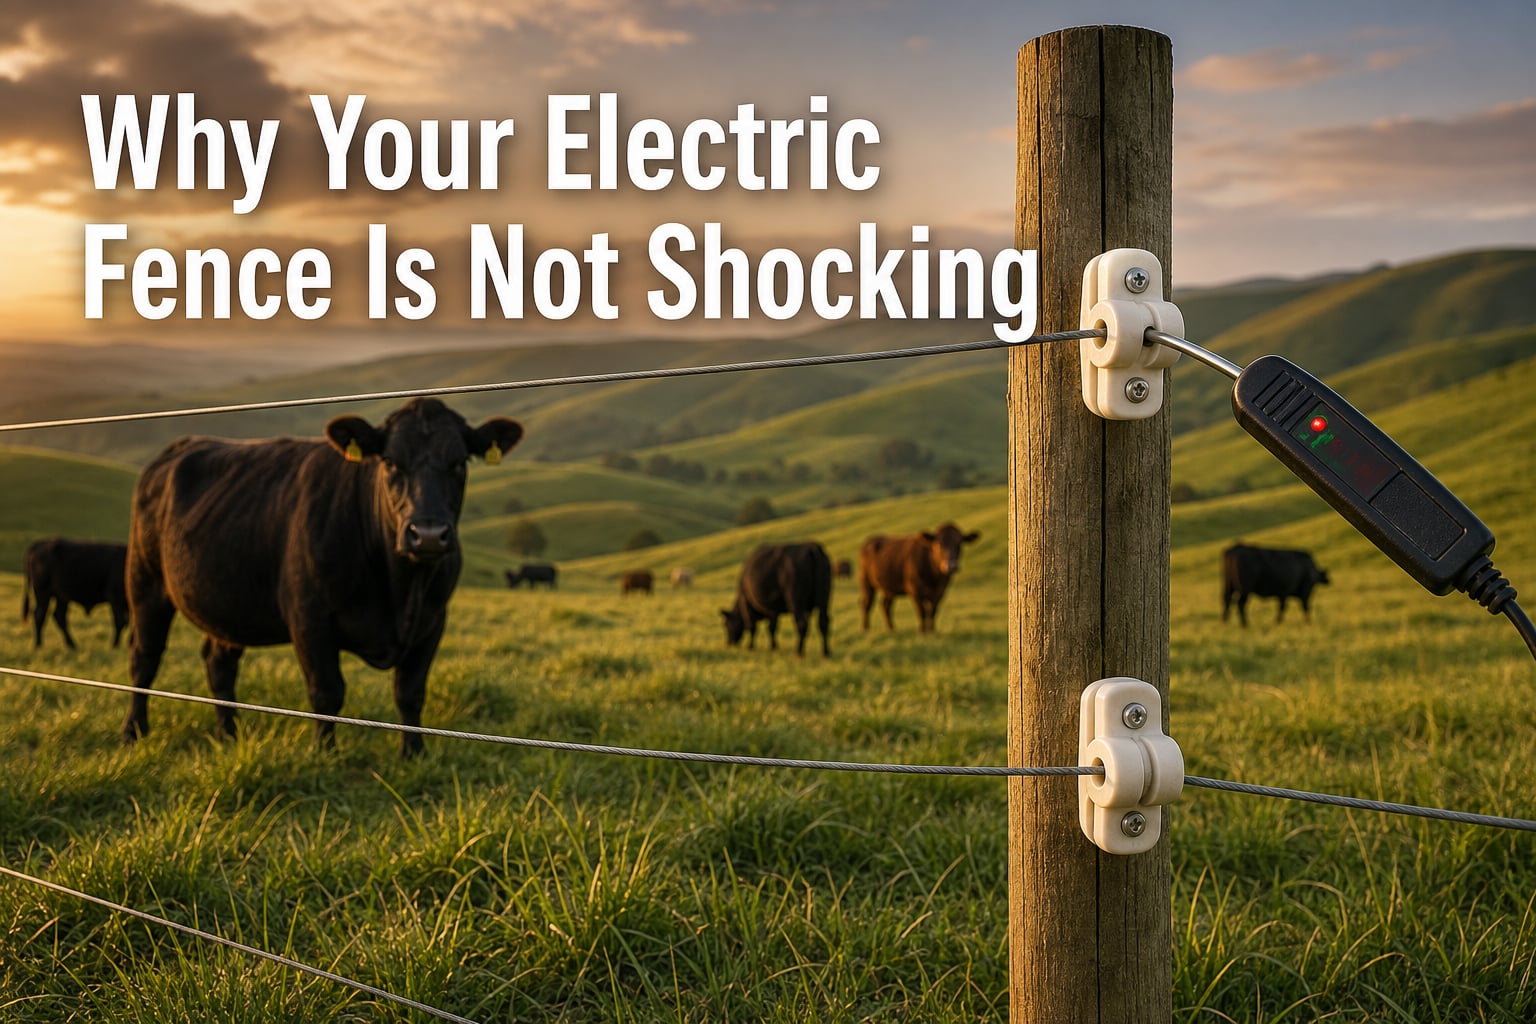
When your electric fence is not shocking, the circuit between the energizer, the hot wire, the animal, and the ground has broken somewhere along the line. The most common culprits are poor grounding, a dead or low battery, vegetation shorting out the wire, cracked insulators, or dry soil that cannot complete the electrical path back to the energizer.
I have spent years troubleshooting fence systems on rural properties, and I can tell you that almost every “dead fence” problem traces back to one of about seven causes. Once you understand how the circuit works, finding the break becomes a logical step-by-step process rather than a guessing game.
Here is the short version: an electric fence sends high-voltage pulses from the energizer’s positive terminal through the hot wire. When an animal touches that wire, the current travels through its body into the soil, then back through ground rods to the energizer’s negative terminal. If any link in that chain is broken or weakened, the shock disappears.
This guide walks through every common reason your electric fence is not shocking, how to diagnose each one, and exactly what to do about it. Whether you run cattle, horses, sheep, goats, or are protecting beehives from bears, these troubleshooting steps will get your fence back online.
Quick Diagnosis Checklist: 5 Signs Your Electric Fence Has a Problem
Before diving into detailed troubleshooting, run through this quick checklist. These five signs will point you toward the most likely cause in under five minutes.
- The energizer makes no sound or clicks slower than usual – This points to a power source issue (dead battery, tripped breaker, or failing solar panel).
- Voltage reads strong at the energizer but drops dramatically along the fence – You have a short somewhere along the fence line. Start walking.
- Voltage reads zero or very low right at the energizer terminals – The energizer itself or its power supply is the problem.
- The fence works fine in wet weather but fails during dry spells – Your grounding system cannot overcome dry soil resistance. You need more ground rods or a pos/neg fence setup.
- Animals are no longer respecting the fence even though it reads some voltage – Voltage is too low (under 2,000V for most livestock). The shock is too weak to register as a deterrent.
If you checked off one of these signs, jump to the matching section below. If none of them fit, work through the causes in order.
1. Battery and Power Source Problems
A dead or weak battery is one of the most common reasons an electric fence stops shocking. This is especially true for DC battery-powered and solar-powered fence chargers, where the battery is the sole power source.
For battery-operated energizers, the battery may simply need charging. A common mistake is letting a 12-volt battery drop below about 50% charge before recharging. Lead-acid batteries that are repeatedly discharged too deeply will sulfate and lose capacity over time. If your battery keeps dying faster than it should, it may need replacement rather than another charge cycle.
For AC plug-in energizers, check that the outlet is actually delivering power. I have seen cases where a GFCI outlet tripped during a storm and nobody noticed. Plug a lamp or phone charger into the same outlet to verify it works. Also inspect the power cord for damage from rodents or weathering.
Solar fence chargers add another layer of complexity. The solar panel must keep the battery charged, so a dirty panel, a panel that has shifted out of alignment, or a panel blocked by new tree growth can all cause the battery to slowly drain. Clean the panel surface, check its orientation toward the sun, and make sure no vegetation has grown up to shade it during peak hours.
After winter, solar fence batteries are particularly vulnerable. Short days, overcast skies, and cold temperatures all reduce charging efficiency. If your solar fence stopped working after winter, charge the battery fully with an external charger before putting the system back into service.
2. Testing the Energizer Output
The fastest way to determine whether your problem is the energizer or the fence is to test the energizer directly at its terminals. This isolates the power source from the fence line.
Disconnect both the hot wire and the ground wire from the energizer terminals. Then use a fence tester to measure voltage between the positive and negative terminals on the energizer itself. A healthy energizer should produce 5,000 to 9,000 volts depending on the model and its rated output.
If the energizer reads full voltage at the terminals, the problem is somewhere in your fence line or grounding system, not the charger itself. Reconnect and move on to checking the fence. If the energizer reads low or zero at its own terminals, the charger or its power source is the issue.
One important note: an energizer that reads full voltage with no load connected may still struggle under real fence conditions. A fence with heavy weed load or multiple shorts can pull the voltage down dramatically. Always test both at the energizer and at the far end of the fence to see the full picture.
Forum users on Reddit’s r/homestead frequently report the same pattern: the energizer clicks and seems to work, but the voltage at the end of the fence is a fraction of what it should be. This almost always means the energizer is undersized for the fence length or the weed load is creating excessive power drain.
3. Grounding System Failures (The #1 Cause)
Poor grounding is the single most common reason an electric fence is not shocking. Every expert and experienced forum user agrees on this. The grounding system is what completes the circuit when an animal touches the wire, and without a good ground, no shock is delivered regardless of how powerful your energizer is.
Here is how it works: when the current travels through the animal into the soil, it needs to find its way back to the energizer through the ground rods. If the soil is dry, sandy, or rocky, resistance is high and the current cannot make that return trip. The circuit stays broken.
The general rule is that you need at least 3 feet of ground rod per joule of energizer output. A 3-joule energizer needs a minimum of 9 feet of ground rod, which typically means three 3-foot rods or two 6-foot rods driven into moist soil. Many installations skimp on this, using a single short rod that cannot handle the load.
Ground rods should be driven into the ground near the energizer, spaced at least 10 feet apart, and connected in series using galvanized wire and brass or stainless steel clamps. The connection between rods is critical. A corroded clamp or loose connection adds resistance that can kill the entire system.
One often-overlooked problem is metal mixing, which causes electrolysis. If you connect a galvanized ground rod to a copper wire with an aluminum clamp, the dissimilar metals react with moisture in the soil and corrode rapidly. This corrosion creates a high-resistance connection that quietly degrades your grounding over weeks or months. Use matching metals throughout the ground bed: galvanized rods with galvanized clamps, or copper rods with copper clamps.
To test your ground system, short the fence out by laying a metal stake or piece of steel against the hot wire about 100 yards from the energizer. Then measure the voltage on the ground wire leading back to the energizer. If you read more than 200-300 volts on the ground wire, your ground system is inadequate and you need more rods.
4. Fence Line Shorts and How to Find Them
A short circuit along the fence line is the second most common cause of a fence that is not shocking. When the hot wire touches anything conductive that is connected to the ground (a metal post, wet grass, a fallen branch, or even a cracked insulator touching a T-post), the current flows directly to ground at that point instead of staying on the wire.
This drains power from everything downstream of the short. The closer the short is to the energizer, the more of the fence loses its charge. A single bad short can drop your entire fence voltage to near zero.
The most reliable way to find a short is to walk the fence line with a fault finder or voltage tester. Start at the energizer and check voltage at regular intervals. Where the voltage drops suddenly between two test points, the short is located between those points.
Common short sources include tall grass and weeds touching the wire, tree branches that have grown into the fence line, wire that has sagged and is touching a metal post, broken insulators allowing wire to contact the post, and debris piled against the fence. I have also seen plastic netting from temporary fencing get caught under metal posts and create an invisible short that took hours to find.
Vegetation is the most frequent culprit. Grass and weeds touching the hot wire create a continuous drain on the system. In humid weather, a heavy weed load can pull thousands of volts off the fence. Regular mowing or spraying along the fence line is not optional maintenance. It is essential for keeping your fence functional.
One homesteader on Reddit shared a story about a tiny break in the wire that was nearly invisible. The wire looked intact, but a hairline fracture was causing intermittent contact and an inconsistent shock. If your voltage readings fluctuate wildly between tests, look for hairline wire breaks or loose splices along the line.
5. Broken or Cracked Insulators
Insulators are the plastic or ceramic pieces that hold the hot wire away from metal posts. When they crack, break, or degrade, the wire can come into contact with the post, creating a direct short to ground.
Plastic insulators degrade from UV exposure over time. After several years of direct sunlight, the plastic becomes brittle and cracks easily under tension or impact. A horse forum user I came across recommended checking under every single insulator during troubleshooting, because a hairline crack can allow moisture in and create a path to ground that only shows up when it rains.
Walk the fence line and physically inspect each insulator. Look for cracks, missing pieces, or wire that has slipped off the insulator and is resting against the post. Pay special attention to corners and end posts, where wire tension is highest and insulators bear the most stress.
Replacing cracked insulators is cheap and takes minutes per post. The cost of not replacing them is a fence that shocks intermittently or not at all, along with the risk of animals learning that the fence is no longer a real threat.
6. Dry Soil and Drought Conditions
Dry soil is a silent killer of electric fence performance, and most troubleshooting guides barely mention it. When soil moisture drops, electrical resistance in the ground increases dramatically. The current that should travel from the animal through the soil back to the ground rods simply cannot make the trip.
This is why many fence owners report their system works fine in spring and fall but fails during summer droughts. The fix is not to buy a bigger energizer. The fix is to improve the grounding system so it can overcome higher soil resistance.
Start by adding more ground rods. If you have been running on one or two rods, install three or four more, spaced 10 feet apart, driven as deep as possible into whatever moist soil you can find. In extremely dry, sandy, or rocky conditions, you may need to install a pos/neg (positive/negative) fence system where the ground is carried as a separate wire alongside the hot wire. This eliminates dependence on soil conductivity entirely.
You can also water the ground bed around your rods during drought conditions. It sounds strange, but pouring a bucket of water on the soil around your ground rods during a dry spell can immediately improve performance. Some installers pack bentonite clay around ground rods to retain moisture long-term.
A beekeeper on Reddit’s r/Beekeeping forum summarized the problem perfectly: most non-obvious electric fence failures in dry regions come down to inadequate grounding caused by dry, sandy soil. If you live in an arid climate, plan for a more robust grounding system from day one.
7. Undersized Energizer for Your Fence Length
An energizer that is too small for the job will produce a weak or nonexistent shock, especially when the fence has any weed load or multiple wires. The problem is not a defect in the charger. It is a mismatch between the energizer’s output capacity and the demands of the fence.
Energizer output is rated in joules, which is a measure of energy per pulse. A common mistake is buying a 1-joule energizer for a 5-mile multi-wire fence loaded with grass contact. The energizer simply cannot push enough energy through that much resistance to maintain adequate voltage at the far end.
As a rough guide, allow 1 joule of output per mile of fence under clean conditions. If you have significant vegetation contact, double that. A fence with heavy weed load can consume 50% or more of the energizer’s output just overcoming the shorts from grass and brush.
Low-impedance energizers are the modern standard and are much better at handling weed load than older high-impedance models. A low-impedance charger maintains voltage even when there is some current leakage along the fence. If you are running an old fence charger from the 1990s or earlier, upgrading to a modern low-impedance unit can dramatically improve performance without changing anything else on the fence.
Check the specifications on your current energizer and compare the rated stored joules against the total length of your fence. If the numbers do not add up, replacing the charger with a larger unit is the solution, not fighting with grounding and shorts on an underpowered system.
How to Test an Electric Fence Without a Commercial Tester
Not everyone has a dedicated fence tester on hand. Fortunately, there are two reliable methods for testing your fence using tools you may already own. No competitor covers this in detail, so here is exactly how to do it.
Method 1: Using a Digital Multimeter
A standard digital multimeter can measure electric fence voltage, but you need to account for the fact that most multimeters max out at 600-1000 volts while fence energizers output 5,000-9,000 volts. Connecting directly will blow the meter.
To work around this, you can build a simple voltage divider using a series of resistors, but that is complex for most users. The more practical approach is to use the multimeter to test continuity and resistance along your fence line, which is often more useful for finding shorts than measuring voltage.
Set the multimeter to continuity mode and check connections at splices, gate handles, and terminal connections. High resistance at a splice means a poor connection that is eating your voltage. This method finds the problem even if you cannot measure the exact fence voltage.
Method 2: The Screwdriver or Grass Blade Trick
For a quick and dirty voltage check, hold a blade of tall grass against the hot wire while touching the other end to the soil. Start with the grass about 6 inches long. If you feel nothing, progressively shorten the grass blade until you feel a tingle or see it arc. The shorter the grass needs to be before you feel something, the lower your voltage.
This is not precise, but it tells you whether the fence is live and gives a rough sense of voltage strength. A fence that arcs through a 2-inch grass blade has decent voltage. A fence that cannot arc through a half-inch blade has almost no charge.
Alternatively, use a screwdriver with an insulated handle. Touch the metal shaft to the hot wire while holding the insulated handle, then bring the tip close to a grounded metal post. A strong fence will produce a visible and audible arc from a quarter inch away or more. Be careful not to touch the metal shaft with your bare hand.
Neither method replaces a proper fence tester, which costs under $30 and should be part of every fence owner’s toolkit. But in a pinch, these methods will tell you whether the fence is live and roughly how strong the charge is.
Seasonal Maintenance and Solar Fence Troubleshooting
Electric fences fail seasonally for predictable reasons. Knowing what to watch for during each season saves hours of troubleshooting.
In summer, vegetation growth is the main threat. Grass and weeds grow rapidly and can overwhelm a fence in weeks if left unchecked. Walk the fence line every two weeks during peak growing season and mow or spray along the wire. A fence that works perfectly in May may be dead by July if weeds have taken over.
In winter, battery drain is the primary concern for DC and solar systems. Cold temperatures reduce battery capacity, and shorter days mean less solar charging. Bring batteries indoors during extreme cold if possible, or at least insulate them. Check solar panels after snowstorms and clear accumulated snow off the panel surface.
For solar systems specifically, check the battery voltage with a multimeter at the start of each season. A healthy 12-volt battery should read above 12.6 volts when fully charged. If it reads below 12.0 volts after a day of sun, either the battery is failing or the panel is not producing enough power. A battery that reads 10.5 volts or lower may have a dead cell and needs replacement.
Frozen soil can also affect grounding in cold climates. When the ground freezes solid, resistance increases and grounding performance drops. This is temporary and resolves when the soil thaws, but it is worth knowing if your fence suddenly stops working during a hard freeze.
Safety Warnings
Electric fences deliver high-voltage, low-amperage pulses that are designed to be safe for livestock and humans under normal conditions. However, there are important safety considerations.
Pacemaker warning: The American Heart Association and pacemaker manufacturers advise that electric fences can potentially interfere with implanted cardiac devices. The high-voltage pulse creates an electromagnetic field that, in rare cases, could cause a pacemaker to misfire. If you have a pacemaker or implantable defibrillator, consult your cardiologist before working near electric fences, and avoid touching the wire directly. Use a tester on an insulated handle instead.
Children and pets: While the shock from a standard electric fence is not dangerous to healthy adults or children, it is unpleasant and can be frightening. Mark fence lines clearly and teach children to respect the boundary.
Never modify an energizer to increase its output beyond factory specifications. The pulse rate and duration are engineered to be safe. Modifying the circuitry can create a genuinely dangerous situation.
Frequently Asked Questions
Why is my electric fence not shocking me?
Your electric fence is not shocking because the electrical circuit is broken somewhere. The most common causes are poor grounding (the current cannot return through the soil to the energizer), a dead or weak battery, vegetation shorting the hot wire to ground, cracked insulators allowing wire to touch metal posts, or dry soil that creates too much resistance for the circuit to complete. Start by testing voltage at the energizer terminals, then walk the fence line to check for shorts.
How do I make my electric fence shock stronger?
To increase the shock strength from your electric fence, follow these steps: 1) Install additional ground rods (3 feet per joule of output minimum). 2) Clear all vegetation touching the fence wire. 3) Replace any cracked insulators. 4) Upgrade to a larger low-impedance energizer if your current one is undersized for the fence length. 5) Check and clean all wire connections and splices for corrosion. 6) In dry soil conditions, water the ground bed or switch to a pos/neg fence system.
How do I know if my electric fence is working properly?
A properly working electric fence should read between 3,000 and 9,000 volts depending on the energizer. Use a dedicated fence tester at the energizer terminals and at the far end of the fence line. Voltage should stay above 2,000V at the end of the line for cattle and horses, and above 3,000V for sheep, goats, and predator control. If you do not have a tester, use the grass blade trick: hold a blade of grass against the wire and progressively shorten it until you feel a tingle. A healthy fence will arc through 1-2 inches of grass.
Will an electric fence affect a pacemaker?
Electric fences can potentially interfere with implanted pacemakers and defibrillators. The high-voltage pulse creates an electromagnetic field that may cause some cardiac devices to misfire in rare cases. The American Heart Association recommends that pacemaker patients consult their cardiologist before working near electric fences. If you have a pacemaker, avoid touching the fence wire directly and use a fence tester with an insulated handle to check voltage.
Why is my electric fence clicking but not shocking?
A clicking sound means the energizer is pulsing, but clicking alone does not guarantee the fence is delivering a shock. The energizer is producing pulses internally, but the current may be draining to ground before reaching the end of the fence. Check for vegetation shorts, broken insulators, or a poor ground system. Also test the voltage at the energizer terminals: if the energizer clicks but produces little or no terminal voltage, the charger itself may be failing internally.
Can I test an electric fence with a regular multimeter?
You can use a multimeter for continuity and resistance testing along the fence line, but most multimeters max out at 600-1000 volts and will be damaged if connected directly to a fence producing 5,000-9,000 volts. For direct voltage measurement, use a dedicated fence tester (available for under $30). For finding shorts without a fence tester, use the multimeter in continuity mode to test connections at splices, gate handles, and terminal posts.
Conclusion: Get Your Electric Fence Back Online
When your electric fence is not shocking, the problem is almost always one of seven things: a dead battery, a failing energizer, poor grounding, vegetation shorts, broken insulators, dry soil, or an undersized charger. Work through them in order and you will find the culprit.
Start at the energizer and test outward. Check the power source first, then the energizer output, then the ground system, then walk the fence line. This systematic approach beats random troubleshooting every time.
If you have worked through every step and the fence still is not holding voltage, it may be time to replace the energizer entirely. A quality modern low-impedance charger paired with a properly designed ground bed will outperform an old unit that is past its service life. Sometimes the most cost-effective repair is a replacement.