
I have helped friends buckle in newborns, checked grandparents’ hand-me-down installs, and watched more than one seat come out of the box wobbling like a loose tooth. According to the National Highway Traffic Safety Administration (NHTSA), roughly 80% of child safety seats are installed incorrectly. That is a startling number when you think about how often our kids are in the car.
This guide walks through the car seat installation mistakes I see most often, the specific rules that fix them, and how to verify your own setup before the next drive. If you only have five minutes, scroll to the verification checklist near the end.
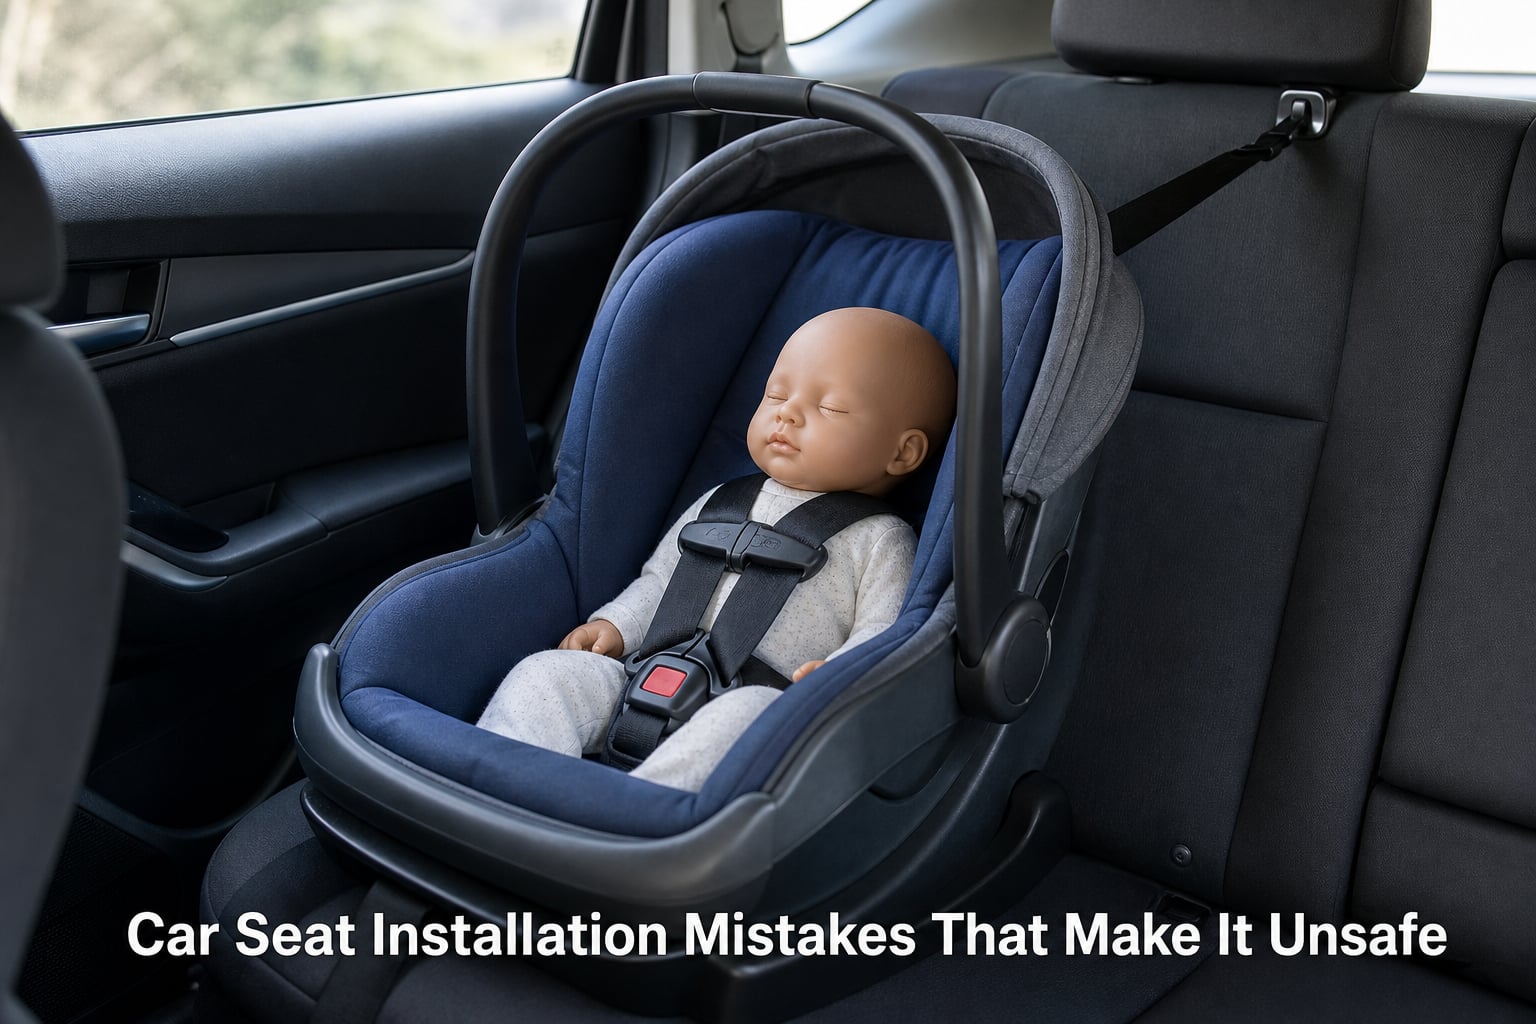
Car Seat Installation Mistakes That Make It Unsafe
The most dangerous car seat installation mistakes are the ones that look fine at a glance but fail in a crash. A seat that wiggles more than 1 inch, harness straps routed through the wrong slot, or a chest clip resting on the belly can turn a survivable accident into a serious one. The good news is that every one of these problems has a clear, measurable fix.
I have grouped the ten most common errors below in the order I usually check them during a car seat inspection: installation first, harness second, and then transition and seat-history issues.
1. Installing the Seat Too Loose (Beyond the 1-Inch Rule)
A properly installed car seat should not move more than 1 inch in any direction at the belt path. Grip the seat near where the seat belt or LATCH strap runs through it and give it a firm shake. If it shifts more than 1 inch side to side or front to back, it is not tight enough.
To tighten a loose install, kneel inside the seat or push your full weight down on it while you ratchet the seat belt or pull the LATCH strap. Many parents stop pulling the moment the buckle clicks, but you need to keep tension until the seat is fully locked.
2. Wrong Harness Strap Height
Harness straps must come out of the seat at the right slot for the direction the seat is facing. For rear-facing seats, the straps should be at or below the child’s shoulders. For forward-facing seats, they should be at or above the shoulders.
Most convertible seats have three or four harness slots. I have seen too many toddlers with straps coming out of a slot that is technically allowed by the manual but completely wrong for their height. Double-check both the slot choice and the harness height after every transition.
3. Chest Clip in the Wrong Place
The chest clip sits at armpit level, right where the harness crosses the child’s collarbone. It should never rest on the belly or up near the neck. A misplaced chest clip can ride up during a crash and allow the harness to slip off the shoulders.
Slide your finger under the clip after you buckle your child. If the clip touches your child’s armpit, it is in the right spot. If it sits lower, push it up before you start driving.
4. Skipping the Pinch Test
After buckling your child, pinch the harness webbing at the collarbone. If you can pinch any slack between your fingers, the harness is too loose. The strap should lie flat with no fold you can grab.
A snug harness means no slack, but it should still allow a flat finger to slide under the strap at the chest. Tight enough to protect, loose enough to breathe.
5. Wrong Belt Path Routing
Convertible car seats have two belt paths: one labeled for rear-facing and one for forward-facing. The seat belt or LATCH strap must run through the correct path for the direction your child is riding. Routing through the wrong path makes the seat work against itself in a crash.
The belt path is marked on the seat in bright blue for rear-facing and red for forward-facing. The car seat manual always shows the exact path for your model. Check both the color coding and the manual before you tighten anything.
6. Skipping the Top Tether
The top tether is the strap on the back of a forward-facing car seat that connects to an anchor behind the vehicle seat. It limits how far the child’s head moves forward in a crash, reducing the risk of head and spine injury.
Every forward-facing seat should use the top tether, even if the manual calls it optional. I have watched parents skip it because the anchor was hard to find or the strap looked like extra work. It is not extra work. It is the single most under-used safety feature on forward-facing seats.
7. Placing the Seat in the Wrong Spot
The back seat is the safest place for any child under 13. The front passenger seat with an active airbag is dangerous for rear-facing children and risky for everyone else. A deploying airbag can hit a child’s head with the force of a serious collision.
If you must place a child in the front, turn the airbag off according to the vehicle manual and push the seat as far back as possible. The middle of the back seat is generally the safest spot, but only if your vehicle allows a tight install there.
8. Switching to Forward-Facing Too Soon
The American Academy of Pediatrics recommends keeping children rear-facing as long as possible, until they reach the maximum weight or height limit of their rear-facing seat. For many kids, that means staying rear-facing well past age 2.
Rear-facing is safer because the seat cradles the head, neck, and spine in a frontal crash, which is the most common type of collision. Turning a toddler forward-facing at the first birthday is one of the most common car seat installation mistakes parents make.
9. Wrong Recline Angle
Infants and young toddlers need a more reclined angle to keep their airway open. Older kids in forward-facing seats need a more upright position. Every car seat has a recline indicator, usually a level line or a ball, that tells you whether the angle is correct.
Adjust the recline before you install the seat, not after. A newborn in a seat that is too upright can slump and struggle to breathe, especially on long rides. If your seat has an insert for newborns, use it until your baby outgrows it.
10. Using a Used Car Seat Without Checking
A used car seat can be safe, but only after you verify three things: it has not expired, it has not been in a crash, and it has not been recalled. Car seats expire after 6 to 10 years because the plastic weakens over time.
Check the expiration date stamped on the seat, ask the seller about any crash history, and run the model number through the NHTSA recall database. If you cannot verify all three, do not use the seat.
How to Verify Your Car Seat Is Installed Correctly
Once the seat is installed and your child is buckled in, run through this checklist before you leave the driveway.
- Shake the seat at the belt path. Less than 1 inch of movement in any direction.
- Check the harness height against your child’s shoulders. At or below for rear-facing, at or above for forward-facing.
- Position the chest clip at armpit level.
- Run the pinch test at the collarbone. No slack webbing you can grab.
- Confirm the belt path color matches the direction your seat is installed.
- Connect the top tether for every forward-facing seat.
- Confirm the seat is in the back seat, away from active airbags.
- Check that the recline indicator is in the correct range.
If anything on this list fails, fix it before you drive. If you are not sure, NHTSA runs free car seat inspection events across the country, and you can find a certified Child Passenger Safety Technician (CPST) through the NHTSA website. Many local fire stations and hospitals also offer free checks by appointment.
I have sat through two of these inspections with friends, and each time the technician found at least one mistake the parents had missed. It takes about 30 minutes and it is the best free safety check you can get.
Frequently Asked Questions
What are the most common mistakes when installing a car seat?
The most common car seat installation mistakes are loose installation beyond the 1-inch rule, wrong harness strap height, chest clip in the wrong spot, loose harness straps, wrong belt path routing, skipped top tether, and turning the child forward-facing too early.
What percentage of car seats are installed incorrectly?
According to NHTSA, roughly 80% of child safety seats are installed with at least one critical error. Common issues include loose installation, misrouted harness straps, and chest clips in the wrong position.
How do I know if my car seat is installed correctly?
Your car seat is installed correctly if it moves less than 1 inch at the belt path, the harness straps are at the right height for the direction your child is facing, the chest clip sits at armpit level, and the harness passes the pinch test at the collarbone.
What is the 2 hour rule for car seats?
The 2 hour rule applies to newborns and young infants. A baby should not spend more than 2 hours at a time in a car seat because semi-upright positioning can affect breathing and spinal development. For longer trips, plan regular breaks to take the baby out of the seat.
Can a car seat be installed too tightly?
No. A car seat cannot be installed too tightly. If you can still pinch slack in the seat belt or LATCH strap, it is not tight enough. Use your full body weight to compress the seat into the vehicle while you lock the belt or ratchet the LATCH strap.
Where should the chest clip be on a car seat?
The chest clip should sit at armpit level, where the harness strap crosses the child’s collarbone. It should never rest on the belly or near the neck, because it can ride up during a crash and allow the harness to slip off the shoulders.
Final Thoughts on Car Seat Installation Mistakes
Most car seat installation mistakes come down to a few specific, fixable errors: a loose seat, wrong harness height, misplaced chest clip, or a transition made too soon. Run the 8-step checklist above, and if anything feels off, book a free inspection with a CPST near you. A 30-minute check is the easiest way to make sure your child rides safely for 2026 and every year after.