
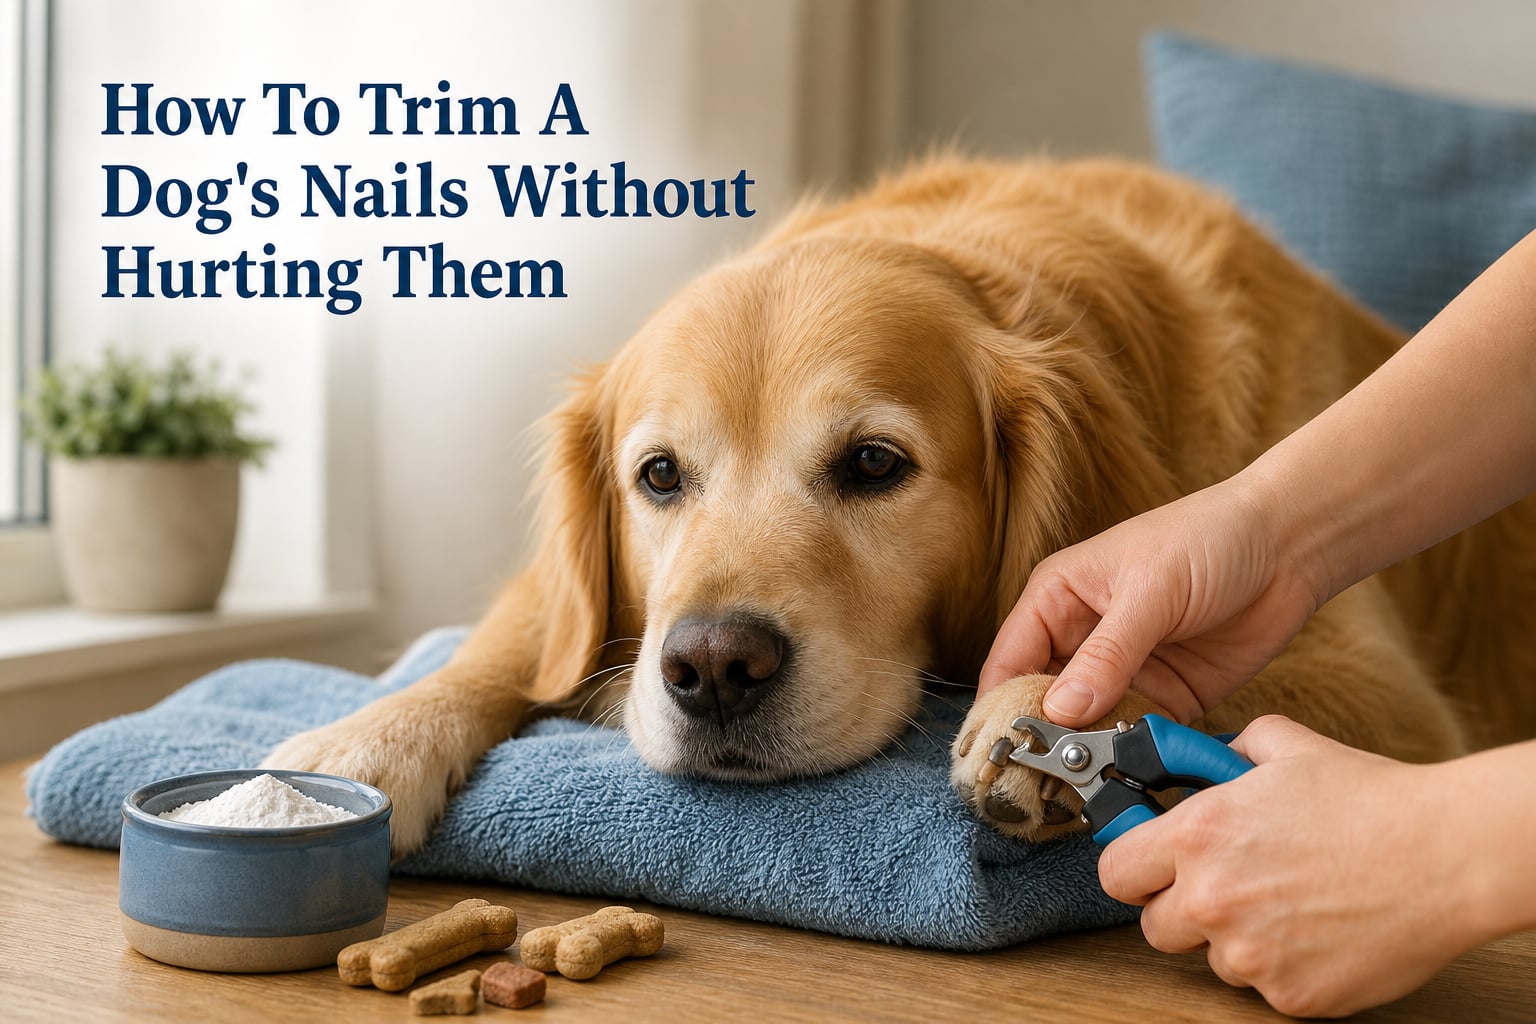
Trimming your dog’s nails at home is one of those tasks that looks harder than it really is. The key is to go slow, use the right tools, and learn exactly where the quick ends so you never cause bleeding or pain. Our team has helped hundreds of owners move from anxious first attempts to confident, stress-free nail care routines.
In this guide, you will learn how to trim dog nails without hurting them, what supplies to keep nearby, and how to handle dogs that hate having their paws touched. By the end, you will have a clear step-by-step process you can use on puppies, seniors, and even dogs with dark nails.
Why Regular Nail Trimming Matters
Overgrown nails do not just click on the floor. They change how your dog walks and can lead to long-term joint and posture problems.
When nails touch the ground, they push the toes upward and tilt the paw pads backward. That small shift adds stress to the wrists, elbows, shoulders, and hips. Over months, it can contribute to arthritis-like discomfort and muscle fatigue.
Long nails also catch on carpets, deck boards, and furniture. A single snag can tear the nail bed or rip the nail completely off, which is painful and often needs veterinary care. In extreme cases, nails curl back and grow into the paw pads, causing infection.
Most dogs feel better almost immediately after a proper trim. Their gait becomes more natural, they are less likely to slip on hard floors, and they stop that annoying clicking sound when they walk across tile.
Tools You Need for a Safe Nail Trim
You do not need a professional grooming station. A small kit kept in one place makes the whole process faster and calmer.
Choose the Right Clippers
Scissor-style clippers work like small scissors and give you good control for large or thick nails. Guillotine-style clippers have a hole you thread the nail through and a blade that slices from the bottom. Many owners find scissor-style easier for beginners because you can see exactly where the blade will cut.
A nail grinder is another safe option. It files the nail down slowly instead of cutting it in one motion. Grinders reduce the chance of hitting the quick, but some dogs dislike the sound and vibration, so introduce it gradually.
Keep Styptic Powder Within Reach
Styptic powder stops bleeding quickly if you nick the quick. If you do not have any, plain cornstarch or flour works in an emergency. Put a small container on the table before you start so you never have to leave your dog mid-trim.
Gather Treats and a Non-Slip Surface
High-value treats, a lick mat with peanut butter, or a frozen stuffed toy can turn nail trimming into a positive experience. A towel on a hard floor gives your dog traction and gives you something to wrap around small or wiggly dogs.
How to Identify the Quick in Light and Dark Nails
The quick is the pink area inside the nail that contains blood vessels and nerve endings. Cutting into it causes pain and bleeding, which is exactly what we want to avoid.
Light-Colored Nails Are Easier to Read
On white or tan nails, the quick usually looks like a pinkish core running up the center. Hold the paw up to a light source and look for where the pink stops. You want to cut only the clear or white hook at the tip, well below that pink line.
Dark Nails Require a Different Strategy
Black or dark brown nails hide the quick completely, so you cannot rely on color. Trim a tiny sliver at a time and look at the cut surface after each clip. The center will show a small white or gray ring at first. As you get closer to the quick, that center starts to look darker, softer, or slightly pinkish. That is your signal to stop.
When in doubt, cut less. It is better to trim a little every week than to take too much off at once.
How To Trim A Dog’s Nails Without Hurting Them
This is the safest method we have used with our own dogs and recommended to readers for years. Work in a quiet room, keep sessions short, and stop before either of you gets frustrated.
Step 1: Get Your Dog Comfortable
Have your dog lie down or stand on a non-slip surface. For small dogs, you can place them on a sturdy table covered with a towel. For large dogs, the floor is usually easier and safer for both of you.
Gently handle the paws for a minute before touching the clippers. Touch each toe, press the paw pad to extend the nail, and give a treat. This tells your dog that paw contact predicts good things.
Step 2: Position Yourself Correctly
Stand or sit beside your dog, not directly in front. Hold the paw firmly but gently, keeping your fingers away from the blade. Some owners like the “football hold,” where the dog stands on three legs while you lift the fourth between your arm and body.
For front paws, hold the paw so you can see the underside of the nail. For back paws, you may need to bend the leg slightly at the hock so the pad faces you.
Step 3: Cut at a 45-Degree Angle
Place the clipper blade at a 45-degree angle, matching the natural curve of the nail. Cut only the thin hook at the tip. On light nails, stop well before the pink quick. On dark nails, take off a sliver and inspect the cut surface.
Keep your hand steady. A quick, confident squeeze is better than slowly closing the blade, which can pinch or crack the nail.
Step 4: Reward and Release
After each successful nail, give a treat and praise. If your dog stays calm, do another nail. If they pull away, give them a short break and come back to that paw later.
Many owners do one paw per session when they are starting out. That is perfectly fine. Short, positive sessions build trust faster than one long stressful event.
Step 5: Do Not Forget the Dewclaws
Dewclaws are the small nails located higher on the inside of the front legs. They do not touch the ground, so they do not wear down naturally. These are often the first to curl or grow into the pad, so check them every time.
What to Do If You Cut the Quick
Even experienced groomers nick the quick occasionally. Stay calm so your dog does not panic.
Apply styptic powder or cornstarch directly to the bleeding tip and press gently for 20 to 30 seconds. The bleeding should slow or stop quickly. If you do not have powder, a clean bar of soap can also help seal the nail.
Comfort your dog and end the session on a positive note with a treat and some relaxed petting. Do not punish or scold them. One bad experience can undo weeks of trust-building.
If bleeding does not stop after several minutes of pressure, or if the nail is torn deeply, call your veterinarian.
Tips for Anxious or Uncooperative Dogs
Some dogs learn to hate nail trimming after a bad experience. Others simply do not like their feet touched. Either way, desensitization is the answer.
Practice Mock Trims Every Day
Touch your dog’s paws and nails without clipping anything. Hold the clippers nearby and reward calm behavior. Over days or weeks, move the clippers closer until your dog accepts them touching the nail. Many owners on forums report that 30 seconds of daily mock handling made a huge difference.
Use Distractions Wisely
A lick mat covered with peanut butter stuck to the fridge or floor keeps many dogs occupied while you trim. Some owners spread cream cheese on a silicone mat and let their dog lick while they work on the back feet. The key is giving the dog a job they enjoy.
Try a Different Position
Not every dog likes lying on their side. Some do better standing with one foot lifted. Others prefer to sit in your lap with their back against you. Experiment with a few positions and use the one where your dog relaxes the most.
Know When to Stop
If your dog is shaking, panting heavily, growling, or trying to escape, stop immediately. Forcing the issue can create fear that lasts for months. Put the clippers away and try again tomorrow with a smaller goal.
How Often Should You Trim Your Dog’s Nails?
Most dogs need a trim every two to four weeks. Dogs that walk mainly on pavement or concrete often wear their nails down naturally and may need less frequent trimming.
You can tell nails are too long when you hear them clicking on hard floors or when they extend past the paw pad when the dog is standing. If the nails have become overgrown, trim a small amount weekly. The quick recedes gradually, allowing you to shorten the nails safely over time.
When to Seek Professional Help
There is no shame in calling a professional groomer or veterinarian. Some situations are better handled by someone with training and restraint experience.
Consider professional help if your dog becomes aggressive during nail trims, if the nails are severely overgrown or curled, or if your dog has a medical condition that affects the nails. Your veterinarian can also discuss anxiety-reducing options that are safer than trying to sedate your dog at home without guidance.
Sedation should only come from your vet. Never use human medications, essential oils, or unproven calming products for this purpose.
Frequently Asked Questions
What is the least painful way to trim a dog’s nails?
The least painful way is to trim a tiny sliver at a time while avoiding the quick. Use sharp clippers, cut at a 45-degree angle, and stop immediately if you see a dark or pinkish center in dark nails.
What to do if your dog won’t let you cut their nails?
Stop and build trust through daily desensitization. Touch the paws without clipping, reward calm behavior, and introduce clippers slowly. Use distractions like peanut butter on a lick mat and keep sessions under a few minutes.
What can I use to sedate my dog so I can cut her nails?
Only a veterinarian should provide sedation for nail trimming. Never use human medications or unproven calming products without veterinary guidance.
How to trim an unwilling dog’s nails?
Start with short daily handling sessions without cutting. Choose a comfortable position, use high-value treats, and trim one nail at a time. If the dog shows fear or aggression, stop and consult a professional groomer or vet.
Can I use human nail clippers on my dog?
Human nail clippers are not recommended. They can split or crush a dog’s thicker nails. Use clippers designed specifically for dogs, or a nail grinder for more control.
Conclusion
Learning how to trim dog nails without hurting them takes patience, but it is absolutely a skill you can master at home. The most important habits are trimming a little at a time, watching for the quick, and keeping every session positive.
Start with short practice sessions, reward generously, and do not rush. Your dog will learn that nail trimming is just another calm part of life, and you will both feel more confident every time the clippers come out.