
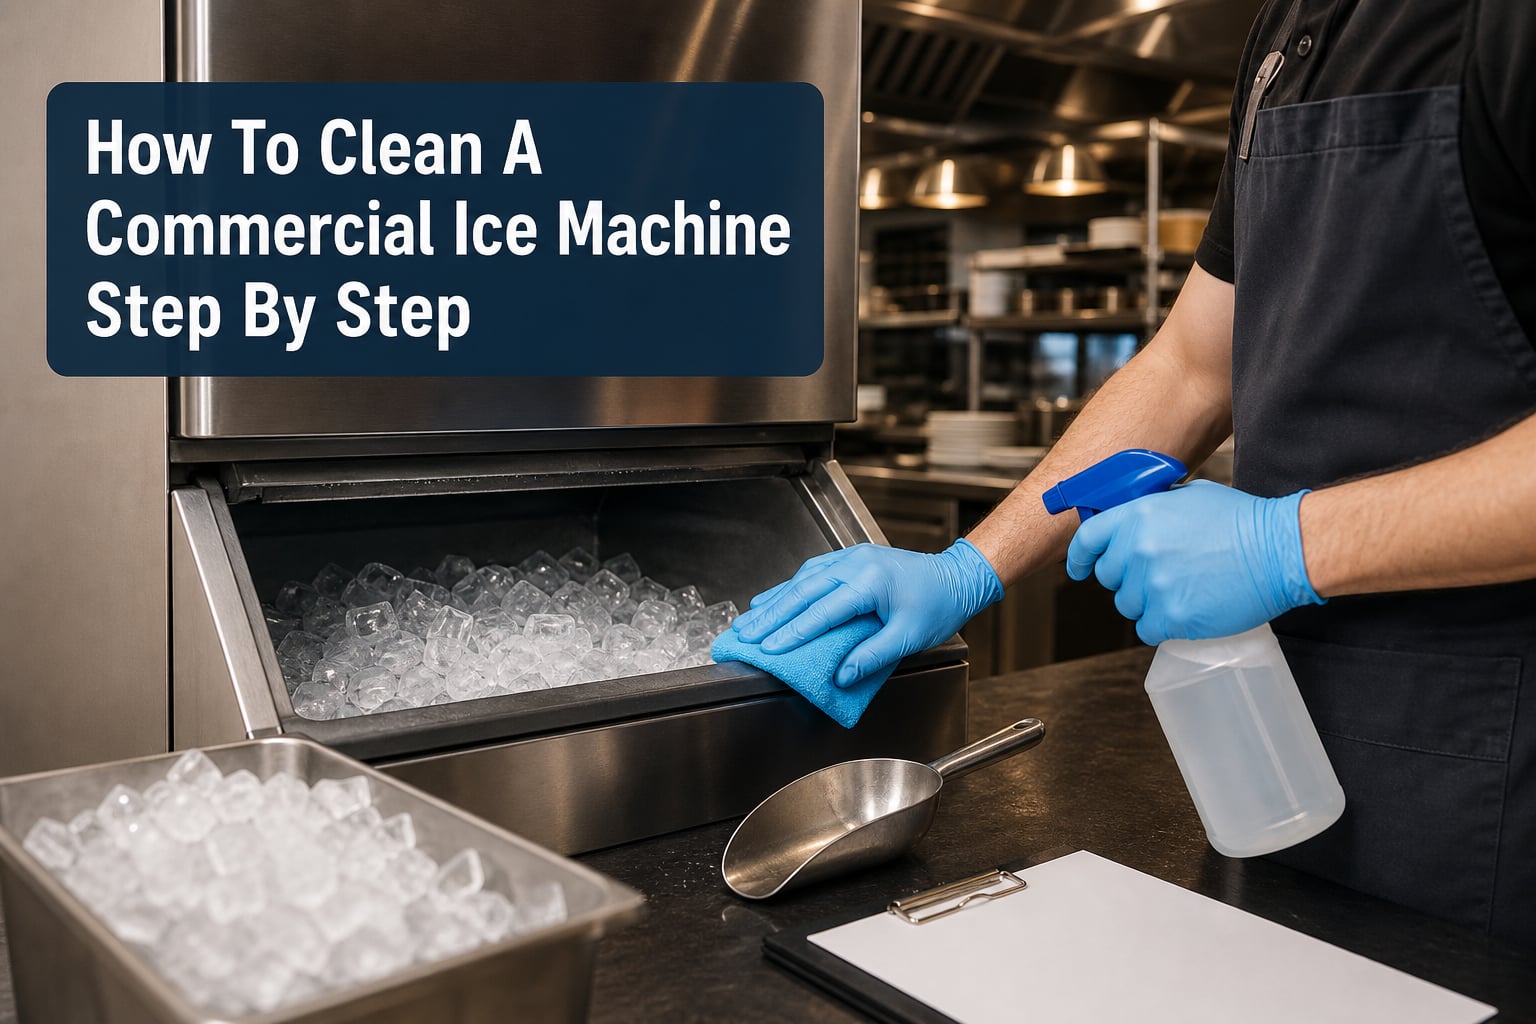
Running a busy bar, restaurant, hotel, or healthcare kitchen means your commercial ice machine works hard every single day. I have cleaned enough of these units over the years to know that skipping routine maintenance is the fastest way to lose ice production, deal with customer complaints about taste, or worse, run into a health inspector with a citation. Learning how to clean a commercial ice machine step by step protects your equipment investment, your staff, and your guests.
The good news: a proper cleaning routine is not complicated once you understand the three separate jobs your machine needs (cleaning, descaling, and sanitizing) and how often to do each. In this guide I will walk you through exactly what our team does on every service visit, the supplies you need, the order of operations, and the warning signs that mean it is time to act sooner than your schedule says.
Why Cleaning A Commercial Ice Machine Matters
The FDA classifies ice as a food. That single fact is the foundation of every commercial ice machine cleaning standard in the United States and the reason the FDA Food Code treats your ice bin with the same seriousness as a prep table.
Inside an ice machine, three problems develop quietly over time. Mineral scale builds up on the evaporator plates and water trough from hard water. Biofilm, a slimy layer of bacteria and yeast, colonizes wet surfaces that never fully dry. Mold spores settle in corners, gaskets, and the bin interior. Left alone, these contaminate the ice your guests put in their drinks and shorten the life of expensive components like compressors and water pumps.
From a business standpoint, regular cleaning also protects your bottom line. Scale-covered evaporators run longer harvest cycles, use more energy, and produce smaller, cloudy cubes. Most operators I have worked with see ice production jump 10 to 20 percent within a week of a proper deep clean.
Cleaning vs Sanitizing vs Descaling: Know The Difference
Many operators use the word “cleaning” to describe the whole job, but there are actually three separate tasks. Mixing them up is the most common reason ice stays cloudy or tastes off even after a long scrub session.
- Cleaning means physically removing visible soil, slime, and loose scale using a cleaner and mechanical action like scrubbing.
- Descaling means dissolving hardened mineral deposits (calcium and magnesium) with an acid-based product such as a commercial ice machine cleaner.
- Sanitizing means applying an approved sanitizer to reduce microorganisms on food-contact surfaces to safe levels.
Think of it as a sequence. You clean first, then descale, then sanitize. Each step prepares the surface for the next, and skipping one compromises the others.
Equipment And Supplies You Will Need
Before you start, gather everything. Mid-cleaning supply runs are how corners get cut and contamination gets missed. Here is the kit our team uses on a standard service.
- NSF-certified commercial ice machine cleaner (acid-based, such as a phosphoric or citric acid blend)
- NSF-approved sanitizer rated for food-contact surfaces (typically quaternary ammonium or chlorine-based)
- Rubber gloves, safety glasses, and a face mask for PPE
- Soft nylon scrub brush and non-abrasive scrub pads (never steel wool)
- Clean microfiber cloths and food-safe buckets
- Plastic scoop with a dedicated holder (never use glass or bare hands)
- Sanitizer test strips for verifying dilution
- Owner’s manual for your specific model
Skip the household bleach in most cases. Commercial ice machine descalers are formulated to dissolve scale without attacking metal surfaces, and NSF-sanitizer ratings tell inspectors you are using a product approved for food zones.
Before You Start: What To Confirm First
Every commercial ice machine is slightly different. Hoshizaki, Manitowoc, Scotsman, and Ice-O-Matic all have slightly different control panel layouts and cleaning-cycle options. Confirming the basics upfront prevents mistakes that cost time and parts.
First, locate the model and serial number on the unit’s data plate. Pull the manual, or download a PDF from the manufacturer’s website if you cannot find the original. Check whether your model has an automatic cleaning cycle and what cleaner the manufacturer recommends. Some warranties are voided by using unapproved products, so this step matters.
Second, schedule the cleaning for a slow period. Most cleaning cycles take 45 to 90 minutes plus a few rinse cycles. Plan ahead so you are not shutting down ice production during a dinner rush. Finally, notify any staff who use the ice that the machine will be offline and arrange a backup ice supply if needed.
How To Clean A Commercial Ice Machine Step By Step
The process below covers both air-cooled and water-cooled units. Your model’s manual may add steps for self-contained condenser cleaning or remote condenser lines, but these core steps apply to virtually every commercial machine on the market.
Step 1: Shut Down The Machine And Remove Ice
Turn the machine off using the control panel, not just the power switch. Open the bin and remove all stored ice. Do not put this ice back in service. Dispose of it or, if you want to be efficient, transfer it to a clean cooler for non-critical uses like employee drinks during the cleaning window.
Allow any ice clinging to the evaporator plates to melt naturally. You can speed this up with warm (not hot) water, but never use sharp tools to chip ice off the evaporator; the plates are thin and easily punctured.
Step 2: Disassemble Removable Parts
Remove the water curtain, distribution tube, float switch, and any panels or covers the manual identifies as service-accessible. Place the parts in a sink or bucket of warm water mixed with ice machine cleaner. Soak them while you move to the next step.
Photograph the parts in place before removal if this is your first time. Reassembly mistakes are a common reason for leaks and harvest cycle errors after a cleaning.
Step 3: Apply Cleaner And Descaler To The Interior
Mix your ice machine cleaner according to the label. For most commercial cleaners, a 1-to-3 ratio with warm water works for scale removal. Pour the solution into the water trough and reservoir until the level matches a normal operating cycle.
If your machine has an automatic cleaning cycle, engage it now and let the unit circulate the solution for 20 to 30 minutes. If you are cleaning manually, allow the solution to sit in contact with the scale for at least 15 minutes, then scrub the evaporator plates, water trough, and bin walls with a soft nylon brush. Reapply as needed for stubborn scale.
Step 4: Scrub The Bin, Scoop, And Exterior Food-Contact Areas
The ice storage bin is the most overlooked surface. Dump any melt water, then scrub the interior walls and floor with cleaner solution. Pay special attention to corners and the drain area, where biofilm loves to hide. Rinse thoroughly with clean water.
Wash the ice scoop and its holder separately in the sink with the same cleaner. The scoop and bin lid are the most-touched surfaces and the most common source of contamination complaints.
Step 5: Rinse And Flush The System
Drain the cleaner solution completely. Refill the reservoir with clean potable water and run two to three rinse cycles, dumping each rinse into a floor drain. Any residual cleaner will leave a chemical taste in your ice and can damage gaskets over time.
For air-cooled machines, this is also a good moment to gently brush dust off the condenser coils with a soft brush. For water-cooled machines, inspect the inlet water filter and replace if flow looks restricted.
Step 6: Apply Sanitizer To Food-Contact Surfaces
Mix your NSF-approved sanitizer to the concentration listed on the label. Verify the dilution with a test strip. Most quaternary ammonium sanitizers used in foodservice run around 200 ppm.
Apply the sanitizer to all interior surfaces, the bin walls, the water trough, the distribution tube, the water curtain, and the reassembled parts. Allow the contact time stated on the label, typically 60 seconds for most food-contact sanitizers, before draining.
Step 7: Reassemble, Restart, And Flush The First Batch Of Ice
Reinstall all parts in reverse order using your reference photos if needed. Close all access panels. Power the machine back on and let it run a full harvest cycle. Discard the first batch of ice produced, since it carries trace sanitizer residue and any loosened particles from startup.
By the second cycle, your ice should be clear, properly shaped, and taste neutral. If it is not, run another cycle before resuming service.
How Often Should You Clean A Commercial Ice Machine
Manufacturer recommendations are the starting point, but the right frequency for your operation depends on water quality, usage volume, and the type of foodservice you run. Below is the schedule our team recommends as a baseline.
- Daily: Wipe down the bin exterior, scoop, and lid. Check that the scoop is stored outside the bin. Visually inspect ice for off-color or odors.
- Weekly: Quick scrub of the bin interior with sanitizer solution. Brush the condenser coil if your unit is air-cooled.
- Monthly: Full cleaning cycle with cleaner and sanitizer as described in the steps above.
- Quarterly: Descaling pass with acid-based ice machine cleaner. Replace water filters if equipped.
- Annually: Professional service inspection including refrigerant check, water valve inspection, and full disassembly if required by manufacturer warranty.
Operators with very hard water (above 14 grains per gallon) or high-volume production (24-hour operations) should move the descaling step to monthly. Hospitals and healthcare facilities typically follow stricter internal schedules based on their sanitation plans.
Warning Signs Your Ice Machine Needs Attention Sooner
Do not wait for the calendar. These symptoms mean your machine is overdue for cleaning or already developing a problem your routine should have caught.
- Cloudy or white ice: Almost always trapped air or scale on the evaporator. New installations produce cloudy ice for a few days, but persistent cloudiness means descaling is overdue.
- Slow ice production: Harvest cycles running long and bins not filling usually point to scale buildup or restricted condenser airflow.
- Off-tastes or smells: Musty, fishy, or chemical-tasting ice usually means biofilm or sanitizer residue. Stop service and clean immediately.
- Visible slime or pink residue: Pink, brown, or black slime is biofilm. Treat it as a sanitation event, not a routine task.
- Ice that fuses into a solid mass: A sign of bin temperature issues or stuck harvest cycles, often caused by scale on the evaporator.
- Excessive melt or water pooling: Drain restrictions or float switch failures, both of which worsen when scale builds up.
Troubleshooting Common Problems After Cleaning
Even after a careful cleaning, sometimes ice quality does not bounce back immediately. Here is what to check.
Cloudy ice that persists: Hard water is the most common cause. Have your water tested and consider a water softener or in-line filtration if hardness is above the manufacturer’s recommendation.
Ice tastes like chemicals: You likely did not rinse long enough after the sanitizer step. Run three to four more rinse cycles and discard the next two batches of ice before resuming service.
Biofilm returns within days: Biofilm is tenacious. Increase cleaning frequency, leave the bin lid slightly open between cycles to promote drying, and have your water tested for iron content, which feeds certain biofilm bacteria.
Machine leaks after reassembly: A gasket, O-ring, or fitting was likely disturbed during cleaning. Inspect every connection point and reseat any loose water lines before restarting.
When To Call For Professional Service
Some jobs are above the DIY line. Call a certified technician if you see refrigerant leaks, hear unusual compressor noises, notice repeated harvest cycle failures after cleaning, or if your machine is still under manufacturer warranty and requires authorized service for certain repairs.
Annual professional service is also worth budgeting for even if you do everything else yourself. A technician can catch a worn water valve, low refrigerant, or failing condenser fan before it becomes a $1,200 emergency call.
Frequently Asked Questions
How often should a commercial ice machine be cleaned?
Most manufacturers recommend a full cleaning every six months as a minimum, but operators with hard water or high-volume production should clean monthly. Daily wipe-downs of the bin exterior and weekly sanitizer scrubs of the bin interior are also recommended for any foodservice operation.
Can I use vinegar to clean a commercial ice machine?
White vinegar can work as a mild descaler for small residential units, but it is not recommended for commercial ice machines. NSF-certified commercial ice machine cleaners are formulated for the scale types and metal surfaces found in commercial equipment, and inspectors expect to see approved products on site.
What are the most common commercial ice machine cleaning mistakes?
The most common mistakes are skipping the descaling step and only sanitizing, leaving cleaner residue by not rinsing thoroughly, using steel wool or abrasive pads that damage evaporator plates, and forgetting to clean the scoop, lid, and bin exterior. Another frequent error is reassembling parts in the wrong order, which causes leaks and harvest cycle problems.
How do I run a cleaning cycle on my commercial ice maker?
For automatic cycles, power the machine on, select the clean or wash mode from the control panel, and pour the recommended amount of NSF-certified ice machine cleaner into the water reservoir. The machine will circulate the solution, drain it, and run rinse cycles automatically. For manual cleaning, mix your own cleaner solution, apply it to interior surfaces, scrub, and run multiple rinse cycles yourself.
How much does professional commercial ice machine cleaning cost?
Professional cleaning service typically runs between $150 and $400 per visit depending on machine size, location, and whether descaling or sanitizing is included. Many service companies bundle cleaning into an annual maintenance contract, which usually costs less per visit than a one-time call.
Final Thoughts On Cleaning Your Commercial Ice Machine
Learning how to clean a commercial ice machine step by step is one of the highest-ROI maintenance habits any foodservice operator can build. A clean machine produces clearer ice, runs more efficiently, lasts longer between service calls, and keeps your health inspector happy.
Start with the schedule in this guide, log every cleaning in a simple spreadsheet or notebook, and adjust the frequency based on your water quality and production volume. After a few months, your team will run the routine on autopilot, and you will stop seeing the cloudy cubes, musty tastes, and surprise shutdowns that come from neglected equipment.