
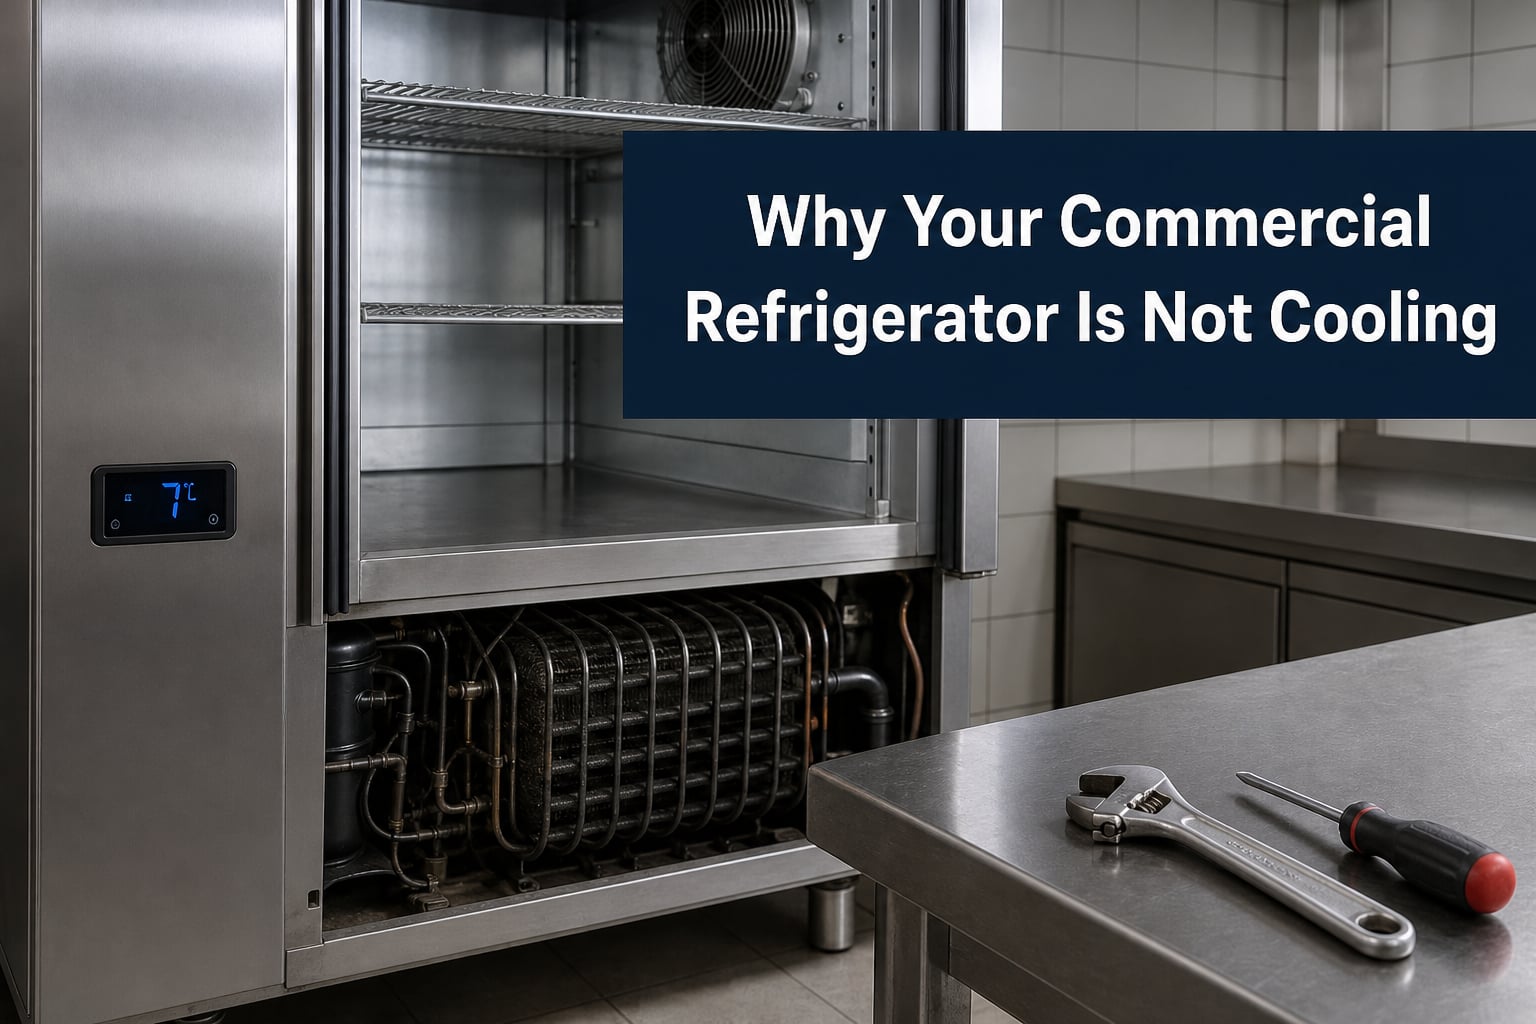
When your commercial refrigerator stops cooling, you have a serious problem on your hands. Every minute counts when you are dealing with perishable inventory worth thousands of dollars. The FDA requires commercial refrigerators to maintain temperatures at 40°F or lower to prevent bacterial growth and protect food safety. A unit that cannot hold temperature puts your business at risk of health code violations, spoiled inventory, and lost revenue.
Our team has helped dozens of restaurant owners and commercial kitchen operators diagnose and fix refrigeration failures over the years. We have seen units brought back from the brink with simple fixes, and we have also seen cases where professional intervention was the only safe option. This guide covers everything you need to know when facing a commercial refrigerator not cooling properly.
You will learn the most common causes, step-by-step troubleshooting procedures you can do yourself, and clear guidance on when to call a professional technician. We will also cover preventive maintenance schedules to keep your equipment running smoothly and extend its lifespan.
Quick Troubleshooting Checklist – First Response Steps
Before diving into detailed diagnostics, run through this quick checklist. These are the most likely culprits and often the easiest to fix. I recommend checking each item in order.
1. Check the power supply – Verify the unit is plugged in, the outlet works, and no circuit breaker has tripped.
2. Inspect the thermostat settings – Confirm the temperature is set correctly (35-38°F for most units) and not accidentally turned up.
3. Look at the door gaskets – Check for visible gaps, tears, or debris preventing a proper seal.
4. Listen for the compressor – You should hear a steady hum if it is running. Silence or unusual noises indicate a problem.
5. Check the condenser coils – Look at the coils (usually on the back or bottom) for heavy dust buildup.
6. Feel for airflow – Open the door and check if you feel cold air circulating from the evaporator fan.
7. Check for ice buildup – Look at the evaporator coils and inside the unit for excessive frost or ice.
8. Assess load level – Overcrowding blocks airflow. Make sure contents are not packed too tightly.
9. Check ventilation clearance – Ensure at least 2-3 inches of clearance around the sides and back for air circulation.
10. Look for error codes – Many modern units display error codes that point directly to the problem.
If none of these quick checks reveal the issue, continue with the detailed troubleshooting sections below.
Check Power Supply and Electrical Connections
Power supply issues are more common than you might think. I have seen operators spend hours troubleshooting cooling problems only to discover a tripped breaker or loose connection. Start here before moving to more complex diagnostics.
Verify the Circuit Breaker
Locate your electrical panel and check the breaker dedicated to your refrigeration equipment. Commercial refrigerators often require dedicated circuits due to their high amperage draw. If the breaker has tripped, reset it and monitor the unit. If it trips again immediately, you have a short or electrical fault that requires professional diagnosis.
Test the Outlet
Plug a small appliance or outlet tester into the same outlet to verify it is receiving power. Sometimes outlets fail without tripping the breaker. If the outlet is dead, contact an electrician. Do not attempt to repair electrical issues yourself.
Inspect the Power Cord
Examine the power cord for damage, fraying, or burn marks. A damaged cord can cause intermittent power loss. If you find damage, unplug the unit immediately and replace the cord before continued use.
How to Reset a Commercial Refrigerator
Many operators ask how to reset a commercial refrigerator when troubleshooting. The reset procedure varies by manufacturer, but most units follow a similar pattern. First, unplug the unit or turn off the breaker. Wait 30 seconds to 1 minute. Restore power and allow the unit 24 hours to reach optimal temperature.
Some units have a dedicated reset button on the control board. Consult your owner’s manual for the specific reset procedure for your model. After a reset, monitor the unit closely for the first few hours to confirm it begins cooling.
Verify Thermostat Settings and Temperature Controls
Thermostat problems account for a significant portion of commercial refrigerator not cooling cases. Sometimes the issue is as simple as an incorrect setting, while other times the thermostat itself has failed.
Correct Temperature Settings
For most commercial refrigerators, the optimal temperature range is 35-38°F. Freezers should run at -10°F to 0°F. If your thermostat is set higher than this, adjust it down. After adjusting, give the unit several hours to stabilize before checking temperature again.
Signs of Thermostat Malfunction
A faulty thermostat may cause temperature fluctuations, failure to reach set temperature, or the unit running continuously without cycling off. You might also notice frost buildup when the thermostat fails to trigger the defrost cycle.
To test thermostat accuracy, place a calibrated thermometer inside the unit near the thermostat sensor. Compare the thermometer reading to the thermostat display. If they differ by more than 2-3 degrees, the thermostat may need recalibration or replacement.
Control Board Issues
Modern commercial refrigerators use electronic control boards to manage temperature, defrost cycles, and fan operation. A failing control board can cause erratic behavior including cooling failure. Signs include error codes, display malfunctions, or fans and compressor not responding to temperature changes. Control board problems typically require professional diagnosis and replacement.
Clean Dirty Condenser Coils
Dirty condenser coils are the number one cause of commercial refrigerator not cooling issues. I have seen countless units brought back to proper operation simply by cleaning the coils. When coils become clogged with dust and debris, they cannot release heat efficiently. The compressor works harder, consumes more energy, and eventually fails to maintain temperature.
Location of Condenser Coils
Condenser coils are typically located on the back of the unit or underneath behind a removable panel. Some units have coils in a separate condensing unit. Consult your owner’s manual to locate the coils on your specific model.
How Dirty Coils Affect Cooling
The refrigeration cycle depends on heat transfer. The compressor pressurizes refrigerant gas, which releases heat at the condenser coils. If the coils are coated in dust, the heat cannot escape. The system loses efficiency and cannot cool properly. You will notice the compressor running longer and the cabinet temperature rising.
Step-by-Step Cleaning Procedure
Follow these steps to clean condenser coils safely and effectively:
Step 1: Turn off power to the unit at the breaker or unplug it.
Step 2: Locate and remove the access panel covering the condenser coils.
Step 3: Use a vacuum with a brush attachment to remove loose dust from the coils and surrounding area.
Step 4: Use a coil brush or soft bristle brush to gently clean between the coil fins. Work in the direction of the fins to avoid bending them.
Step 5: For heavy buildup, use compressed air or a commercial coil cleaner following the manufacturer’s instructions.
Step 6: Clean the condenser fan blades and check for debris blocking airflow.
Step 7: Replace the access panel and restore power.
Recommended Cleaning Frequency
In a commercial kitchen environment, clean condenser coils at least every 3 months. High-dust environments or kitchens with heavy grease may require monthly cleaning. Establish a regular maintenance schedule to prevent buildup.
Inspect Door Gaskets and Seals
Faulty door gaskets are a common but often overlooked cause of cooling problems. When gaskets fail, cold air escapes and warm air enters. The unit works harder to maintain temperature, and over time it may fail completely.
How Faulty Gaskets Cause Problems
Door gaskets create an airtight seal when the door closes. A failing gasket allows continuous cold air loss. You might notice condensation around the door, the unit running constantly, or temperature fluctuations. In walk-in coolers, a bad door gasket can cause frost buildup near the door and dramatically increase energy costs.
The Dollar Bill Test
Use this simple test to check gasket seal quality. Close the door on a dollar bill (or any paper of similar thickness). Try to pull the bill out. It should resist and tear rather than slide out easily. Repeat this test at several points around the entire door perimeter.
If the bill slides out easily at any point, the gasket is not sealing properly at that location. This indicates wear, damage, or debris preventing a good seal.
Signs of Worn or Damaged Gaskets
Inspect gaskets for visible cracks, tears, or compression set where the gasket has permanently flattened. Look for mold or mildew growth which can deteriorate the rubber. Check for debris buildup in the gasket grooves. If the gasket is hard, brittle, or visibly damaged, it needs replacement.
Gasket Replacement
Replacing door gaskets is a straightforward DIY task. Order the correct replacement gasket for your specific model. Remove the old gasket by pulling it out of the retaining channel. Clean the channel thoroughly. Press the new gasket into the channel, working from the corners. Test the seal with the dollar bill test after installation.
Ensure Proper Airflow and Ventilation
Airflow problems prevent cold air from circulating properly inside the cabinet. Even with the refrigeration system working correctly, blocked airflow results in warm spots and cooling failure.
Minimum Clearance Requirements
Commercial refrigerators need adequate clearance for proper operation. Most manufacturers recommend at least 2-3 inches of clearance on all sides and 4-6 inches at the back. Do not push the unit flush against a wall or stack items against it. Without clearance, heat from the condenser cannot dissipate.
Effects of Overcrowding
Packing the interior too tightly blocks airflow between shelves and around the evaporator. Cold air cannot circulate to all areas of the cabinet. The unit may freeze up near the evaporator while remaining warm in other sections. Leave space between items for air to flow freely.
Ventilation Best Practices
Keep vent openings inside the cabinet clear. Do not store tall containers directly in front of the evaporator fan. Arrange items to allow air to flow from the top of the cabinet down. If you have a walk-in cooler, ensure the floor drain is clear and the evaporator is not blocked by stored items.
Diagnose Evaporator Fan Problems
The evaporator fan circulates cold air from the evaporator coils throughout the cabinet. When this fan fails, the evaporator gets cold but the air does not move. You may see ice buildup on the coils while the rest of the unit stays warm.
Signs of Evaporator Fan Failure
Listen for the fan when the compressor is running. You should hear steady airflow. No fan sound or unusual noises like grinding or squealing indicate a problem. Open the door and feel for cold air coming from the evaporator. If the compressor runs but you feel no airflow, the fan may have failed.
How to Test Fan Operation
Locate the evaporator fan, usually behind a panel inside the cabinet or in the evaporator housing. With the unit running, check if the fan blade spins freely. If the fan does not spin, check for ice buildup blocking the blade. Clear any ice and see if the fan starts. If the motor does not run with no ice present, the motor or fan relay may have failed.
When to Replace the Fan Motor
Fan motors typically last many years but can fail from wear, electrical issues, or ice damage. If the motor hums but does not spin, it may have a bad bearing or start capacitor. A motor that runs noisily or intermittently should be replaced before it fails completely. Fan motor replacement is usually a straightforward repair, but if you are not comfortable working with electrical components, call a technician.
Address Frost and Ice Buildup
Excessive frost and ice buildup on the evaporator coils blocks airflow and prevents proper cooling. While some frost is normal, heavy ice accumulation indicates a problem with the defrost system.
Causes of Frost Buildup
Common causes include a failed defrost heater, defective defrost timer, bad defrost thermostat, or door gasket problems allowing warm moist air inside. Operating the unit in a high-humidity environment also contributes to frost formation.
Defrost Timer and Heater Function
Commercial refrigerators use automatic defrost cycles to melt frost from the evaporator. The defrost timer initiates the cycle at regular intervals, typically every 8-12 hours of compressor run time. During defrost, the compressor stops and the defrost heater warms the evaporator coils to melt ice. The defrost thermostat terminates defrost when the coils reach a set temperature.
How to Initiate Manual Defrost
If you notice heavy ice buildup, you can manually defrost the unit. Turn off the unit or switch it to defrost mode if available. Leave the doors open to allow ice to melt. You can place towels to catch water. Do not use sharp tools to chip ice, as this can damage the coils. After ice melts, clean up water and restart the unit.
Signs of Defrost System Failure
If ice returns quickly after manual defrost, the automatic defrost system has failed. Signs include the compressor running continuously, ice visible on the evaporator through the panel, and temperature fluctuations. A failed defrost system requires diagnosis and repair of the specific component.
Identify Compressor and Refrigerant Issues
Compressor failure and refrigerant leaks are serious problems that require professional repair. Understanding the signs helps you know when to call a technician rather than continuing DIY troubleshooting.
Signs of Compressor Failure
The compressor is the heart of the refrigeration system. If it fails, the unit cannot cool at all. Signs include the compressor not running at all, running but not pumping (compressor running but not cooling), making loud unusual noises, or the compressor being extremely hot to the touch. A compressor that tries to start but clicks off repeatedly may have a bad start relay or internal failure.
Refrigerant Leak Indicators
Low refrigerant from a leak reduces cooling capacity. Signs include the evaporator coils only partially frosted, oil residue around fittings or coils, the unit running constantly without reaching temperature, and cooling that gradually gets worse over time. Refrigerant leaks do not fix themselves and will eventually cause complete cooling failure.
Why These Require Professional Repair
Compressor replacement and refrigerant leak repair require specialized tools, training, and EPA certification. Working with refrigerants without proper certification is illegal and dangerous. These repairs also involve recovering refrigerant, brazing, and proper charging procedures. Attempting these repairs yourself can cause further damage and void warranties.
Cost Considerations for Major Repairs
Compressor replacement typically costs $400-$800 depending on the unit size and type. Refrigerant leak repair varies widely based on location and severity but often ranges from $200-$600. Consider the age and condition of your unit when deciding between repair and replacement. If the unit is over 10-12 years old and needs a compressor, replacement may be more economical long-term.
Check for Clogged Drain Lines
A clogged drain line may not seem directly related to cooling, but it can cause significant problems. During defrost cycles, ice melts and water must drain away. If the drain is blocked, water accumulates and can freeze, forming an ice block that affects airflow.
How Clogged Drains Affect Cooling
Standing water in the drain pan can freeze and block airflow. Ice can build up under the evaporator and eventually interfere with the fan. You may also notice water leaking inside the cabinet or onto the floor.
Locating Drain Lines
The drain line typically exits the bottom of the unit or runs to a floor drain. In walk-in coolers, look for the drain beneath the evaporator unit.
Cleaning Procedure
Locate the drain outlet and check for visible blockage. Use a wet vacuum to suction out debris from the drain opening. You can also use a drain cleaning brush or flexible rod to clear the line. Pouring warm water down the drain can help dissolve grease and debris. If the drain is frozen, allow the unit to defrost completely before clearing.
Preventive Maintenance Schedule for Commercial Refrigerators
Preventive maintenance is far less expensive than emergency repairs and lost inventory. Establishing a regular schedule prevents most common causes of cooling failure. Our team recommends this maintenance schedule based on manufacturer guidelines and real-world experience.
Daily Tasks
Check and record cabinet temperature. Verify the door seals properly when closed. Listen for unusual sounds from the compressor or fans. Check for unusual frost or condensation.
Weekly Tasks
Wipe down door gaskets with mild detergent and inspect for damage. Check that vents inside the cabinet are not blocked. Verify proper clearance around the unit. Empty and clean the drain pan.
Monthly Tasks
Clean condenser coils and fan blades. Check evaporator for ice buildup. Inspect all door gaskets thoroughly using the dollar bill test. Clean the interior and check for signs of leaks or moisture problems. Verify temperature settings have not been changed.
Quarterly Professional Inspection
Have a qualified technician inspect electrical connections, check refrigerant pressure, verify proper amperage draw, and test safety controls. Professional inspection catches developing problems before they cause failure.
Equipment Lifespan Considerations
Commercial refrigerators typically last 10-15 years with proper maintenance. Units over 10 years old require more frequent attention. Consider budgeting for replacement as your equipment ages. A planned replacement is far less disruptive than an emergency replacement during a cooling failure.
When to Call a Professional – DIY vs Professional Repair
Knowing when to attempt a repair yourself versus calling a professional saves time, money, and prevents further damage. Some repairs are straightforward DIY tasks, while others require specialized knowledge and equipment.
Tasks Safe for DIY
You can safely handle cleaning condenser coils, replacing door gaskets, clearing drain lines, checking and adjusting thermostat settings, ensuring proper clearance and airflow, and basic troubleshooting. These tasks require minimal tools and pose little risk of causing further problems.
Issues Requiring Professional Equipment
Call a professional for compressor diagnosis and replacement, refrigerant leak detection and repair, electrical repairs beyond basic cord replacement, control board replacement, and any repair involving the sealed refrigerant system. These tasks require specialized tools, training, and in some cases EPA certification.
Signs It Is Time to Replace the Unit
Consider replacement if the unit is over 12-15 years old and needs major repairs, if you have had multiple repair attempts without resolution, if the cost of repair approaches half the cost of replacement, if energy costs are increasing significantly due to inefficient operation, or if food safety cannot be maintained reliably.
Finding Qualified Technicians
Look for technicians with commercial refrigeration certification and experience with your type of equipment. Ask about response times for emergency service. Check reviews and ask for references from other food service businesses. Having an established relationship with a reliable service company before an emergency makes a huge difference when problems occur.
FAQs
How to fix a commercial refrigerator not cooling?
Start by checking the power supply and thermostat settings. Clean the condenser coils if dirty. Inspect door gaskets for proper sealing using the dollar bill test. Ensure adequate clearance around the unit for airflow. Check the evaporator fan for operation. If these steps do not resolve the issue, the problem may involve the compressor, refrigerant leak, or control board requiring professional diagnosis.
How do I restart a commercial refrigerator?
To restart a commercial refrigerator, turn off power at the breaker or unplug the unit. Wait 30 seconds to 1 minute. Restore power and allow the unit 24 hours to reach optimal temperature. Some units have a dedicated reset button on the control board. Consult your owner’s manual for model-specific reset procedures.
How long does it take for a commercial fridge to get cold?
A commercial refrigerator typically takes 12-24 hours to reach optimal temperature after startup or reset. Factors affecting cooling time include ambient temperature, unit size, how much product is inside, and the condition of components like condenser coils and door gaskets. Units should not be loaded with product until they reach proper operating temperature.
What are the common problems with commercial fridges?
The most common problems include dirty condenser coils blocking heat transfer, faulty door gaskets allowing cold air loss, evaporator fan failures preventing air circulation, thermostat malfunctions causing temperature issues, refrigerant leaks reducing cooling capacity, compressor failures, clogged drain lines, defrost system problems causing ice buildup, and airflow restrictions from overcrowding or poor ventilation.
Why is my commercial refrigerator not getting cold?
If your commercial refrigerator is not getting cold, check power supply first. Then inspect thermostat settings, clean condenser coils, test door gasket seals, verify evaporator fan operation, and check for ice buildup. If the compressor runs but the unit does not cool, suspect refrigerant issues or compressor problems requiring professional service.
Can I run my commercial refrigerator while troubleshooting?
Yes, you can run the unit while performing basic troubleshooting like checking thermostat settings, cleaning coils, or testing door seals. However, if you suspect electrical problems, compressor issues, or refrigerant leaks, turn off the unit and call a professional. Running a unit with a failing compressor or electrical fault can cause further damage and safety hazards.
Conclusion
A commercial refrigerator not cooling requires immediate attention to protect your inventory and your business. Most cooling failures stem from dirty condenser coils, faulty door gaskets, airflow problems, or component failures that you can diagnose using the steps in this guide. Start with the quick troubleshooting checklist and work through each section systematically.
Remember that food safety is paramount. The FDA requires refrigeration at 40°F or below. If you cannot resolve the issue with basic troubleshooting and your unit cannot maintain safe temperatures, call a professional immediately. Establish a preventive maintenance schedule to catch problems early and extend the life of your equipment. Regular attention to condenser coils, door gaskets, and proper operation prevents most emergency situations.