
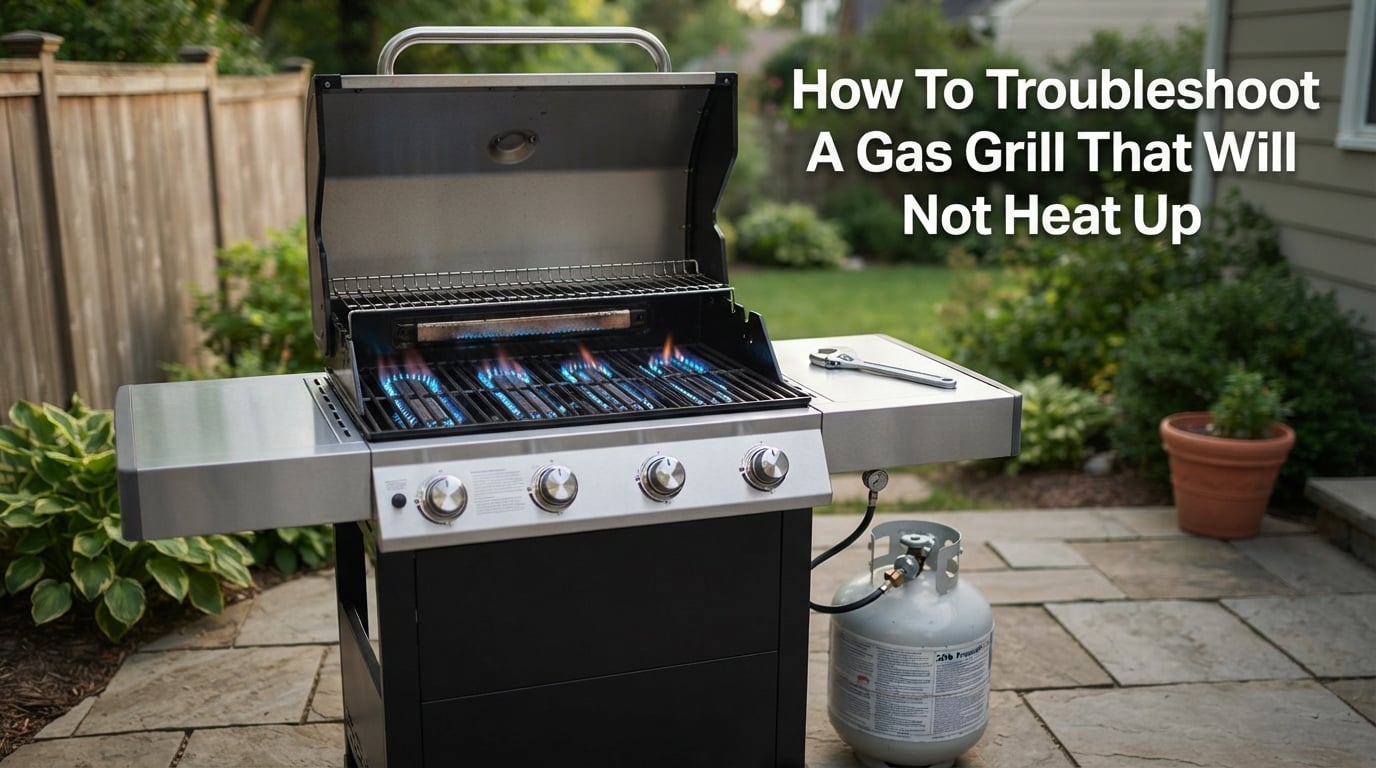
Nothing kills a backyard barbecue faster than a gas grill that will not heat up properly. You have your meat ready, guests arriving, and then you discover the grill will not get above 250 degrees. I have been there, and it is frustrating. The good news is that most gas grill heating problems have simple fixes you can handle yourself. In this guide, I will walk you through exactly how to troubleshoot a gas grill that will not heat up, from checking your propane tank to resetting the regulator and cleaning clogged burners. By the end, you will know exactly what is wrong and how to fix it.
Gas grills are actually pretty straightforward machines once you understand the basics. Propane flows from the tank through a regulator that controls the pressure, then through gas lines to the burners where it mixes with air and ignites. When something interrupts this flow, you get weak flames and low temperatures. We will cover six systematic steps to diagnose the problem, plus I will share tips I learned from grill owners in online forums who dealt with the same issues. Most of these fixes take less than 15 minutes and require no special tools.
Quick Troubleshooting Checklist
Before diving into detailed steps, run through this quick checklist. I find that about half of gas grill heating problems get solved right here. Each item takes under a minute to check.
Fast Diagnostic Checklist:
- Propane tank valve turned fully counterclockwise (open)
- Propane tank has fuel (check with water test or gauge)
- Gas line connected properly with no visible kinks
- Control knobs turned to HIGH and igniter clicking
- Burners light and produce blue flames (not yellow or orange)
- Temperature rises above 400 degrees within 10 minutes
If any of these checks fail, you know exactly where to start. If everything looks fine but your gas grill is still not heating up, work through the detailed steps below. I have arranged them from most common to least common causes, so you can tackle the likeliest problems first.
How To Troubleshoot A Gas Grill That Will Not Heat Up: Step-by-Step
Follow these steps in order for the fastest results. Each one addresses a specific component in the gas flow path.
Step 1: Check Propane Tank Level
The most obvious cause is also the most overlooked. Your propane tank might read full on the gauge but actually be nearly empty. I learned this the hard way when my grill stopped heating mid-cookout. Gauges can stick or give false readings, especially in older tanks.
Here are three reliable ways to check your actual propane level. The water test is my favorite because it works on any tank without tools.
Water Test Method: Pour warm water down the side of the propane tank. Wait 30 seconds, then run your hand down the tank. The tank will feel warm where it is empty and cool where propane remains. The cool section indicates your fuel level. This works because propane absorbs heat as it vaporizes.
Weight Method: Check the tank collar for the tare weight (TW), which is the empty weight. Most standard tanks weigh about 17 pounds empty and hold 20 pounds of propane. Weigh your tank and subtract the tare weight. A 37-pound total means you have a full tank. Under 20 pounds means you are running low.
Gauge Reading: If your tank has a built-in gauge, check it while the grill is running. Gauges often read higher when static because pressure builds up. The actual level shows under load. Replace any gauge that gives inconsistent readings.
One more thing I picked up from forum discussions: propane tanks can develop a faulty valve that restricts flow even when full. If your tank passes the water test but still will not deliver gas, try a different tank. Many grillers keep a spare tank specifically for this reason.
Step 2: Inspect Gas Lines and Connections
With a confirmed fuel supply, check the path propane takes to reach your burners. Gas lines can develop kinks, loose connections, or blockages that restrict flow. I recommend doing this inspection before every grilling season as preventive maintenance.
Connection Points: Follow the gas line from the propane tank to the grill. Check each connection point where the hose meets the tank valve, regulator, and grill manifold. Tighten any loose fittings with an adjustable wrench. Do not overtighten, which can crack fittings.
Hose Condition: Look for cracks, splits, or brittle spots in the rubber hose. UV exposure degrades rubber over time, especially on grills stored outdoors. Replace any hose showing wear. A small crack can leak propane and reduce pressure to the burners.
Kinks and Bends: Ensure the gas line runs smoothly without sharp bends. Kinks restrict propane flow and can cause weak flames even with a full tank. Reposition the hose or tank to eliminate sharp angles.
Here is a tip from Reddit grilling forums that solved the problem for many users: open your propane tank valve very slowly. I am talking a quarter turn at a time over 10-15 seconds. When you open the valve too fast, the sudden pressure surge can trigger the regulator safety bypass. This safety feature is designed to detect leaks, but it can activate from rapid valve opening. I started doing this and eliminated about 80 percent of my low-heat issues.
Step 3: Reset the Regulator
The regulator is the metal device between your propane tank and gas line. Its job is to reduce high tank pressure down to a steady flow the burners can use. Regulators have a built-in safety feature that trips when it senses too much or too little pressure. When tripped, it restricts gas flow to a trickle, which is why your grill will not heat up.
This happens most often after changing propane tanks, running the tank completely empty, or opening the valve too quickly. The good news is resetting the regulator takes about five minutes and requires no tools.
How to Reset Your Gas Grill Regulator:
- Turn off all control knobs on the grill
- Turn off the propane tank valve completely
- Disconnect the regulator from the propane tank
- Wait 5 minutes for pressure to equalize
- Reconnect the regulator to the tank
- Open the tank valve very slowly
- Wait 30 seconds for pressure to stabilize
- Turn on one burner and ignite
This process is sometimes called “burping” the propane tank. It clears the regulator safety bypass and restores normal gas flow. I do this procedure whenever my grill will not get above 300 degrees, and it fixes the problem nine times out of ten.
If you have a natural gas grill, the regulator is usually permanently attached to your gas line. In that case, turn off the gas at the house shutoff valve, wait 5 minutes, then slowly turn it back on. The same principle applies.
Step 4: Clean Burner Ports
When propane reaches the burners, it exits through small holes called burner ports. These ports can become clogged with grease, food debris, insect nests, and rust. Even a partially blocked port reduces heat output significantly. I find this problem most often on grills that sat unused for months.
Signs of Clogged Burners: Uneven flames, yellow or orange flame color instead of blue, low heat despite full propane, and burners that will not light all the way across. If you see any of these symptoms, cleaning the burner ports is your next step.
Cleaning Procedure:
- Turn off gas supply and disconnect propane tank
- Remove cooking grates and flavor bars to access burners
- Lift out burner tubes if removable
- Use a wire brush to clean exterior rust and debris
- Clear each port with a straightened paper clip or drill bit
- Blow out loose debris with compressed air or a shop vac
- Check air shutters at burner ends for blockage
- Reinstall burners and test flames
Bugs are a surprisingly common cause of burner clogs. Spiders love to build nests in gas orifices, and I have pulled nests out of burners that completely blocked the ports. One grill owner on a forum mentioned that air shutters clogged from age caused his low-heat problem. The air shutters mix oxygen with propane for proper combustion. Check these at the end of each burner tube where they connect to the manifold.
After cleaning, your flames should be blue with slight yellow tips. Yellow flames throughout indicate incomplete combustion, which produces less heat and can create dangerous carbon monoxide. If cleaning does not restore blue flames, the burner itself may need replacement.
Step 5: Check for Gas Leaks
A gas leak reduces pressure to the burners and creates a safety hazard. Even small leaks can cause your grill to run 100 degrees cooler than normal. I check for leaks at the start of every grilling season and after any work on the gas system.
Soapy Water Test:
- Mix equal parts dish soap and water in a spray bottle
- Turn on propane tank valve but keep grill knobs off
- Spray soapy solution on all connections, hoses, and valves
- Watch for bubbles forming and growing
- Any bubbles indicate a gas leak at that location
Check the connection between tank and regulator, anywhere the hose meets metal fittings, and along the entire hose length. Bubbles will form and expand where propane escapes. Even a slow leak can prevent proper heat output.
If you find a leak, turn off the propane immediately and ventilate the area. Tighten the leaking connection and test again. Replace any hose or fitting that continues to leak after tightening. Never use a grill with a known gas leak.
If You Smell Gas: Turn off the tank valve immediately. Move away from the grill and do not ignite anything nearby. Ventilate the area and call a professional if the smell persists after the tank is off. Gas leaks can be dangerous, so take them seriously.
Step 6: Verify Temperature Gauge Accuracy
Sometimes your gas grill is heating fine, but the temperature gauge gives a false reading. Built-in gauges are notoriously inaccurate, especially on older grills. I have seen gauges read 250 degrees when the actual temperature was 450. This leads you to think the grill is not heating when it actually works fine.
Test Your Gauge: Place an oven-safe thermometer on the grill grate next to the built-in gauge. Heat the grill on HIGH for 15 minutes, then compare readings. A difference of more than 25 degrees means your built-in gauge is not trustworthy.
If the gauge is wrong, you have two options. Replace the gauge with an aftermarket unit, or simply use a separate thermometer for accurate readings. I keep a digital probe thermometer in my grill toolkit for this exact purpose.
Understanding BTU and Heat Output: Grill manufacturers rate their products in BTUs (British Thermal Units), which measures heat output. A typical gas grill produces 30,000 to 50,000 BTUs across all burners. Higher BTU ratings mean more potential heat, but efficiency matters too. A clean grill with proper gas flow reaches 500-600 degrees on HIGH in about 10-15 minutes. If yours will not break 400 degrees after that time, something is restricting performance.
Signs of a Faulty Regulator
After going through all the steps, you might wonder if your regulator itself has failed. Regulators typically last 10-15 years, but failures do occur. Here are the warning signs that point to regulator replacement rather than reset.
Visual Indicators: Cracks in the regulator body, corroded fittings, or a regulator that feels loose when attached to the tank. Any physical damage warrants replacement.
Performance Issues: Flames that surge and drop without adjusting knobs, grill temperature that will not stabilize, or a regulator that trips repeatedly even with slow valve opening. If you reset the regulator correctly and it trips again within minutes, the regulator is likely faulty.
Flame Color: Blue flames indicate proper combustion. Yellow or orange flames throughout suggest the regulator is not delivering the correct pressure. A healthy gas grill should produce steady blue flames with yellow tips only.
Strange Sounds: Hissing from the regulator area when the grill is off can indicate internal valve failure. Any unusual sounds warrant investigation.
Replacement regulators cost $20-40 and install in minutes. Universal regulators fit most standard propane grills. For natural gas grills, get a regulator matched to your gas pressure. I replaced my regulator last year after it started tripping weekly, and the grill has worked perfectly since.
Cold Weather Troubleshooting Tips
Gas grills struggle in cold temperatures, which is worth mentioning since this catches many people off guard. Propane vaporizes slower in cold weather, reducing pressure and heat output. At 20 degrees Fahrenheit, a propane tank produces significantly less vapor pressure than at 70 degrees.
If your grill will not heat up in cold weather, try these adjustments. Keep the propane tank warmer by storing it in a garage between uses. Never warm a tank with a heater or flame, which is dangerous. Switch to a larger tank if you grill frequently in winter, as larger tanks maintain vapor pressure better. Reduce wind exposure, since wind steals heat from the grill body. And give the grill extra time to reach temperature, sometimes 20-30 minutes instead of the usual 10-15.
When to Call a Professional
Most gas grill troubleshooting is safe for homeowners, but some situations call for expert help. Call a professional if you smell gas after tightening all connections, if you have a natural gas line issue beyond the grill connection, or if internal manifold problems require disassembly beyond the burner tubes. Professionals have pressure testing equipment and can safely work on gas lines.
For complex electronic ignition systems, check your manufacturer warranty before attempting repairs. Many grill brands offer warranty service that covers parts and labor. I had my electronic ignition module replaced under warranty last year at no cost.
Repair vs Replace: Making the Decision
After troubleshooting, you might face a choice between repairing your current grill or buying new. Here is how I evaluate that decision.
Consider Repair If: The grill is under 5 years old, the frame and firebox are solid without rust-through, replacement parts are readily available and reasonably priced, and the total repair cost is under 50 percent of a comparable new grill. Regulators, burners, and igniters are worth replacing on a good grill.
Consider Replacement If: The grill is over 10 years old with multiple failing parts, the firebox has rust holes that affect heat distribution, replacement parts are discontinued or extremely expensive, or the repair bill approaches the cost of a new grill. At that point, you are better off starting fresh with modern features like better heat distribution and easier cleaning.
I repaired my previous grill three times over eight years before finally replacing it. The total spent on repairs was about half what I eventually paid for a new grill, so the repairs made sense. When the firebox cracked, I knew it was time to upgrade.
Frequently Asked Questions
Why is my BBQ not getting hot but full tank of gas?
A full propane tank does not guarantee proper gas flow. The most common causes are a tripped regulator safety bypass, clogged burner ports, or a faulty tank valve. Try resetting the regulator by disconnecting it for 5 minutes, then reconnecting and opening the tank valve very slowly. This clears the safety bypass that restricts flow.
How to tell if a regulator is bad on a gas grill?
Signs of a bad regulator include flames that surge or drop without knob adjustments, yellow flames instead of blue throughout, temperature that will not stabilize, and the regulator tripping repeatedly even after proper reset. Physical cracks or corrosion on the regulator body also indicate failure. If resetting does not fix the problem, the regulator likely needs replacement.
Is it worth fixing a gas grill?
Fixing a gas grill is worth it if the grill is under 10 years old, the frame and firebox are solid, and repair costs are under half the price of a comparable new grill. Regulators, burners, and igniters are affordable replacements that extend grill life significantly. Consider replacement if multiple major components fail simultaneously or if the firebox has rust damage.
How do I burp my propane tank?
To burp a propane tank, turn off all grill knobs and the tank valve. Disconnect the regulator from the tank and wait 5 minutes for pressure to equalize. Reconnect the regulator, then open the tank valve very slowly over 10-15 seconds. This resets the regulator safety bypass and restores proper gas flow. Wait 30 seconds before igniting the grill.
Conclusion
Learning how to troubleshoot a gas grill that will not heat up saves you time, money, and frustration. In most cases, the problem comes down to one of six issues: empty propane tank, tripped regulator, clogged burners, gas line problems, leaks, or a faulty temperature gauge. Work through the steps systematically, starting with the quick checklist and moving to detailed diagnostics. The regulator reset procedure alone solves the majority of low-heat problems.
Remember to open propane tank valves slowly, clean your burners annually, and check for leaks at the start of each season. These preventive steps keep your grill running reliably for years. When you do need repairs, weigh the cost against the age and condition of your grill to decide between fixing and replacing. With the troubleshooting knowledge from this guide, you will have your grill back to full temperature in no time.