
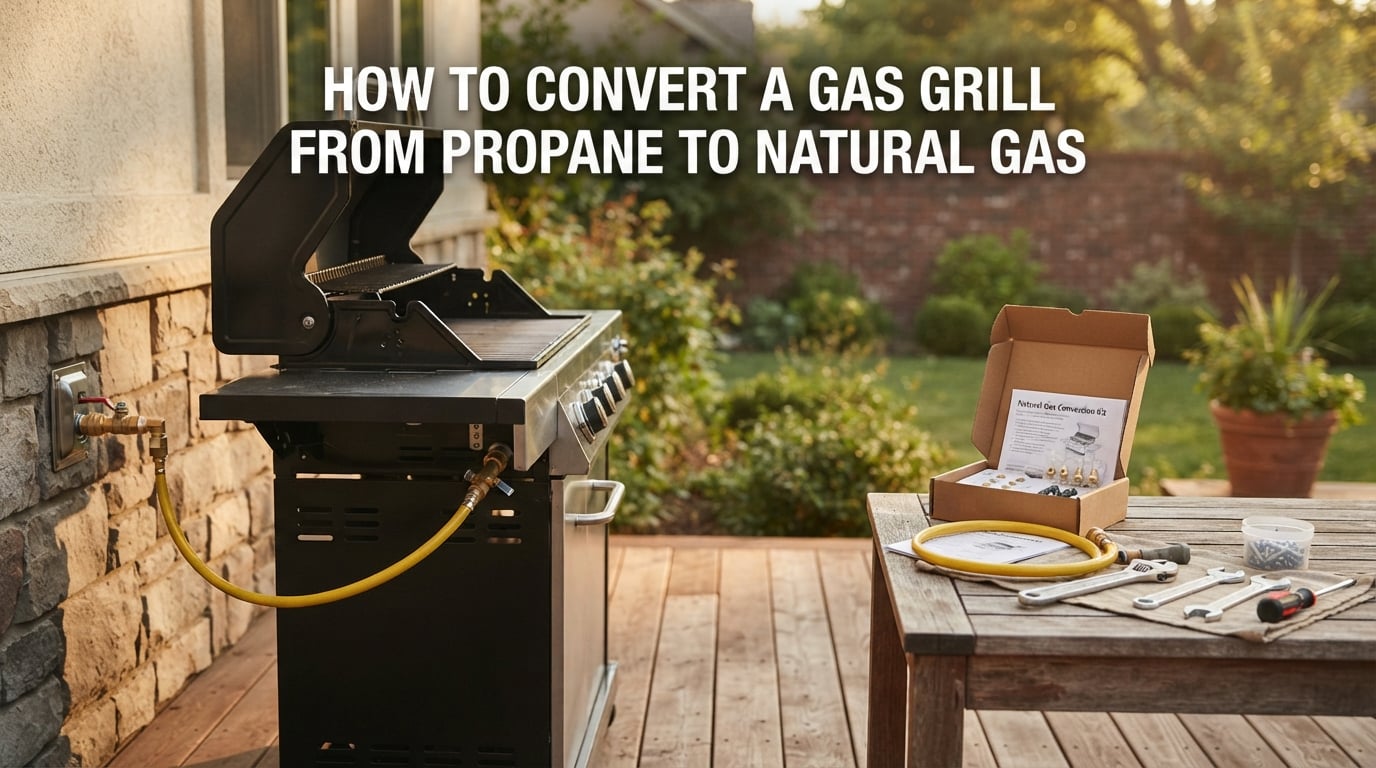
Safety Warning: Working with gas lines carries serious risks. If you are not comfortable with any step in this process, hire a licensed professional. An improper conversion can cause gas leaks, fire, or carbon monoxide poisoning. Always check local building codes and manufacturer guidelines before starting.
If you grill often enough, you already know the frustration of running out of propane mid-cook. Learning how to convert a gas grill from propane to natural gas eliminates that problem permanently. Once connected to your home’s natural gas line, your grill draws from an unlimited fuel supply.
Our team has walked through this conversion multiple times on different grill brands. The process is straightforward if you have the right conversion kit and follow each step carefully. I completed my first conversion on a Weber Genesis in about 90 minutes, and most confident DIYers report similar timelines in grilling forums.
This guide covers everything from checking grill compatibility to leak testing your finished work. You will learn what tools you need, how to swap the orifices, and how to connect everything safely. We will also cover brand-specific notes for Weber and Char-Broil, troubleshooting tips, and cost breakdowns to help you decide between DIY and professional installation.
Why Convert From Propane To Natural Gas?
The biggest reason people switch is convenience. With a natural gas connection, you never need to refill or exchange a propane tank again. Your fuel supply runs continuously through your home’s existing gas line, and you will never again make a mid-barbecue run to the hardware store for a tank swap.
Cost savings add up over time. Natural gas typically costs roughly one-third to one-half the price of propane per BTU. If you grill year-round like I do, those savings become noticeable within the first season. Over several years, the difference easily reaches hundreds of dollars.
Environmental factors also play a role. Natural gas burns cleaner than propane, producing fewer greenhouse gas emissions per unit of energy. Many homeowners appreciate the smaller carbon footprint of cooking with natural gas instead of propane.
You also gain consistent fuel pressure. Propane tanks lose output as they empty, which means your last burgers cook slower than your first. Natural gas maintains steady pressure from start to finish, giving you predictable heat every single time you fire up the grill.
Pre-Conversion Considerations Before You Start
Is Your Grill Compatible?
Not every propane grill can be converted. The first thing to check is whether a conversion kit exists for your specific make and model. Some manufacturers explicitly design their grills for dual-fuel use, while others prohibit conversion outright.
Look for your model number on a metal plate attached to the grill body. Search for that model plus “natural gas conversion kit” to see what is available. If no kit exists for your grill, you should not attempt the conversion using generic parts.
Natural Gas Line Availability
You need an existing natural gas line with a shut-off valve near your grill location. If your home does not have gas service, or if your outdoor cooking area lacks a gas line, installation costs climb significantly.
Running a new gas line to your patio or deck typically requires a licensed plumber or gas fitter. This is not a DIY project for most homeowners. Get at least three quotes before committing to the conversion so you understand the full investment.
Manufacturer Restrictions And Warranty
Here is an issue many people discover too late: converting your grill may void the warranty. Weber, for example, does not sell official conversion kits and states that converting their propane grills will void the warranty. Other manufacturers take similar positions on unauthorized modifications.
That said, third-party conversion kits are widely available for popular brands. Many grilling forum members report successful long-term conversions using these kits. You just need to accept the warranty risk before proceeding and understand that manufacturer support will not cover any issues that arise.
Local Codes And Permits
Check your local building codes before starting. Some municipalities require permits for any gas line modification, even outdoor connections. Others mandate professional installation for insurance compliance purposes.
One forum user shared that their homeowners insurance would not cover damage from an improperly converted grill. Call your insurance provider to understand the implications before you begin any work on your grill or gas line.
Tools And Parts You’ll Need
Conversion Kit Components
A quality natural gas grill conversion kit typically includes the following items:
New natural gas orifices (jets) for each burner
Natural gas regulator
Flexible gas hose rated for natural gas
Thread seal tape or pipe joint compound
Installation instructions specific to your grill model
Some kits also include new control knob bezels that label the grill as natural gas. This helps prevent confusion if you ever sell the grill or need replacement parts in the future.
Essential Tools
Adjustable wrench set or socket set
Allen wrench (hex key) set
Screwdrivers (Phillips and flathead)
Pliers
Pipe thread seal tape (yellow, gas-rated)
Soapy water solution in a spray bottle
Penetrating fluid (for stubborn orifices)
Safety Equipment
Always have safety glasses and work gloves on hand. A gas leak detector solution provides extra peace of mind beyond the soapy water test.
Avoid the temptation to drill out your existing propane orifices instead of buying a kit. Forum users consistently warn against this drill-and-bore method. Drilled orifices rarely achieve the precise hole size needed for proper natural gas flow, creating dangerous operating conditions.
How To Convert A Gas Grill From Propane To Natural Gas: Step By Step
Follow these 12 steps carefully to complete your conversion safely. Work in a well-ventilated outdoor area, and keep children and pets away from your workspace throughout the entire process.
Step 1: Shut Off All Gas Sources
Turn off the propane tank valve completely and disconnect it from the grill. Move the tank far away from your work area. If you have a natural gas line already installed, make sure the shut-off valve is in the closed position before doing anything else.
Step 2: Remove The Grates And Flame Tamers
Take off the cooking grates, warming rack, and flame tamers (heat plates). This gives you clear access to the burners and manifold underneath. Set all removed parts aside in a safe location where they will not get scratched or damaged.
Step 3: Disconnect The Propane Regulator
Locate where the propane regulator connects to the manifold. Use your wrench to disconnect the regulator hose from the manifold inlet. Some grills use a threaded fitting, while others use a quick-disconnect mechanism. Remove the entire propane regulator assembly completely.
Step 4: Remove The Control Panel And Knobs
Pull off the control knobs. They usually slide straight off the valve stems. Then remove the screws holding the control panel in place and set the panel aside. This exposes the valve manifold and burner connections for easy access.
Step 5: Access And Remove The Burner Orifices
Each burner has a small brass fitting at its base called an orifice. This fitting controls gas flow to the burner and determines the fuel type your grill uses. Use your wrench or socket to carefully unscrew each propane orifice from the manifold.
Pro tip from forum users: Apply penetrating fluid to stubborn orifices and let it sit for 10 minutes before removal. Manufacturing tolerances on some grills make orifices difficult to remove by hand, especially on older models with corrosion buildup.
Step 6: Install The New Natural Gas Orifices
Thread the new natural gas orifices from your conversion kit into the manifold. Hand-tighten first, then give each a quarter to half turn with your wrench. Do not overtighten, as this can damage the brass threads and create future leak points.
Natural gas orifices have larger holes than propane orifices because natural gas flows at lower pressure. This size difference is what makes the conversion necessary in the first place. Propane orifices used with natural gas would produce a weak, unsafe flame that cannot heat your grill properly.
Step 7: Install The Natural Gas Regulator
Connect the natural gas regulator from your conversion kit to the manifold inlet where the propane regulator was attached. Use gas-rated thread seal tape on threaded connections to prevent leaks. Tighten securely with your wrench.
You absolutely need a regulator when converting from propane to natural gas. The natural gas regulator controls pressure from your home’s gas line to a level your grill can handle safely. Never skip this component or attempt to use the propane regulator with natural gas.
Step 8: Attach The Flexible Gas Hose
Connect the flexible natural gas hose to the output side of the regulator. The other end of the hose will connect to your home’s gas line shut-off valve. Apply thread seal tape to all threaded connections and tighten each one firmly.
Step 9: Reassemble The Control Panel And Knobs
Replace the control panel and reattach it with the screws you removed earlier. Slide the control knobs back onto the valve stems. If your kit includes new bezels, install them now to label the grill as a natural gas unit.
Step 10: Replace The Burners, Flame Tamers, And Grates
Reinstall the burners, ensuring they seat properly over the new orifices. Replace the flame tamers and cooking grates. Double-check that everything fits correctly and nothing blocks the burner ports or prevents proper gas flow.
Step 11: Connect To The Natural Gas Line
Attach the free end of your flexible hose to the natural gas shut-off valve. Use thread seal tape and tighten with your wrench. Make sure the connection is firm but not cross-threaded, which would create a dangerous leak path.
Step 12: Perform A Leak Test Before First Use
Before turning on the gas fully, spray soapy water on every connection point. Slowly open the shut-off valve and watch for bubbles at each joint. If you see any bubbling, close the valve immediately and tighten the connection before retesting.
Leak Testing Your Conversion: A Critical Safety Step
Never skip the leak test. Even experienced DIYers make mistakes with threaded connections. The soapy water test takes five minutes and could prevent a serious accident that causes property damage or injury.
Mix dish soap with water in a spray bottle at a roughly 1:1 ratio. Spray the solution generously on every connection point including the regulator fittings, hose connections, and orifice threads. Turn on the gas slowly and watch each joint for 30 seconds.
If bubbles appear anywhere, shut off the gas immediately. Tighten the leaking connection, retest, and repeat until no bubbles form at any joint. If leaks persist after tightening, disassemble the connection, clean the threads, and reapply thread seal tape before trying again.
For added safety, you can purchase an electronic gas leak detector for under $30. These devices sense methane and natural gas in the air and provide an audible alarm if levels rise. Many forum members consider this a worthwhile investment for ongoing peace of mind after the initial conversion is complete.
Troubleshooting Common Issues After Conversion
Yellow Or Orange Flames
Yellow flames indicate incomplete combustion. This usually means the air shutter adjustment needs attention. Find the air shutter at the base of each burner and adjust it to allow more air into the gas-air mixture.
A proper natural gas flame should be blue with small yellow tips. If flames are entirely yellow or lift off the burner, shut the grill off and recheck your orifice installation. The wrong size orifice will cause persistent flame issues that cannot be fixed by adjustment alone.
Low Heat Output
Insufficient heat often points to a gas pressure issue. Check that your home’s gas line provides adequate pressure for your grill’s BTU requirements. Most natural gas grills need between 4 and 7 inches of water column pressure to operate correctly.
A kinked or undersized gas hose can also restrict flow. Make sure your hose has no sharp bends and is rated for your grill’s BTU output. When in doubt, consult a gas fitter to measure your actual line pressure at the grill connection point.
Ignition Problems
If the grill will not light after conversion, check the electrode positioning. Sometimes removing and reinstalling burners shifts the ignition components out of alignment. The electrode tip should sit about 1/8 inch from the burner for a reliable spark.
Flame Blowout On Windy Days
Natural gas flames are slightly more susceptible to wind than propane flames due to the lower gas pressure. If your flames blow out frequently, consider adding wind guards or repositioning the grill in a more sheltered area of your patio or deck.
Brand-Specific Conversion Notes
Weber Grills
Weber is the most commonly discussed brand for conversions, but the company’s official stance is clear: they do not support converting propane grills to natural gas and will void your warranty if you do. Weber does not sell official conversion kits for their LP grills at all.
Despite this, third-party kits for Weber Spirit, Genesis, and Summit models are widely available online. Forum members on r/webergrills and tvwbb.com report successful conversions using these kits. The most commonly discussed models for conversion are the Spirit II and Genesis II series, which have well-documented compatibility with aftermarket kits.
Char-Broil Grills
Char-Broil offers some models in both propane and natural gas versions from the factory. For certain models, official conversion kits are available through Char-Broil’s parts department. Check their website or call customer service with your model number to confirm availability before purchasing any third-party kit.
Other Popular Brands
Brands like Dyna-Glo, Broil King, and Napoleon generally offer better conversion support than Weber. Some of their models ship with dual-fuel capability right out of the box. Always check with the manufacturer first before purchasing any conversion kit to ensure proper fitment.
Cost Comparison: DIY vs Professional Installation
Understanding the full cost picture helps you decide between DIY and hiring a pro. Here is what you can expect to pay for each approach based on our research and forum user reports.
A DIY conversion kit typically costs between $60 and $130 depending on your grill brand and number of burners. Add roughly $20 for tools and supplies if you do not already own them. Your total DIY cost lands somewhere around $80 to $150 for the complete project.
Professional installation runs from $200 to $500, including the kit and labor charges. The price varies based on your location, the complexity of the job, and whether any modifications to your gas line are needed. Gas line installation, if needed separately, adds $150 to $500 or more depending on distance and accessibility.
For context, a typical propane tank refill costs $20 to $30 each time. If you refill monthly during grilling season, your conversion pays for itself within the first year or two. Over five years, the savings easily reach hundreds of dollars while eliminating the hassle of tank management entirely.
The DIY route makes sense if you are comfortable with gas connections and your grill has a compatible conversion kit available. If you lack experience with gas fittings or your local codes require professional installation, the extra cost is worth the safety, compliance, and peace of mind.
FAQs
Can any propane gas grill be converted to natural gas?
No, not every propane grill can be converted. You need a specific conversion kit designed for your exact grill model. Some manufacturers explicitly prohibit conversion and will void your warranty. Always check for kit availability and manufacturer guidelines before attempting the switch.
Can you drill out a propane orifice for natural gas?
No, drilling out propane orifices is dangerous and strongly discouraged. Propane orifices have much smaller holes than natural gas orifices. Achieving the precise hole size needed for safe natural gas flow is nearly impossible with a drill bit. Always use purpose-built natural gas orifices from a proper conversion kit.
Is it easy to convert from propane to natural gas?
For someone with basic mechanical skills, the conversion takes about 1 to 2 hours. The process involves swapping orifices, replacing the regulator, and connecting a gas hose. However, working with gas lines carries safety risks, so if you are uncomfortable with any step, hire a licensed professional.
Do you need a regulator when converting from propane to natural gas?
Yes, you absolutely need a natural gas regulator. Natural gas from your home line flows at a different pressure than propane. The regulator reduces line pressure to a safe level for your grill. Never operate a converted grill without the proper natural gas regulator installed.
Conclusion
Converting your gas grill from propane to natural gas is a rewarding project that pays off in convenience and long-term savings. With the right conversion kit, basic tools, and careful attention to each step, most DIYers can complete the job in under two hours.
The key takeaways: verify your grill is compatible, never drill out orifices, always install a natural gas regulator, and leak test every connection before firing up the grill. If anything feels beyond your skill level, hiring a professional is always the safer choice.
Once you learn how to convert a gas grill from propane to natural gas, you will never look back. No more mid-barbecue tank runs, no more propane storage, just unlimited fuel from your home’s gas line. Happy grilling.