
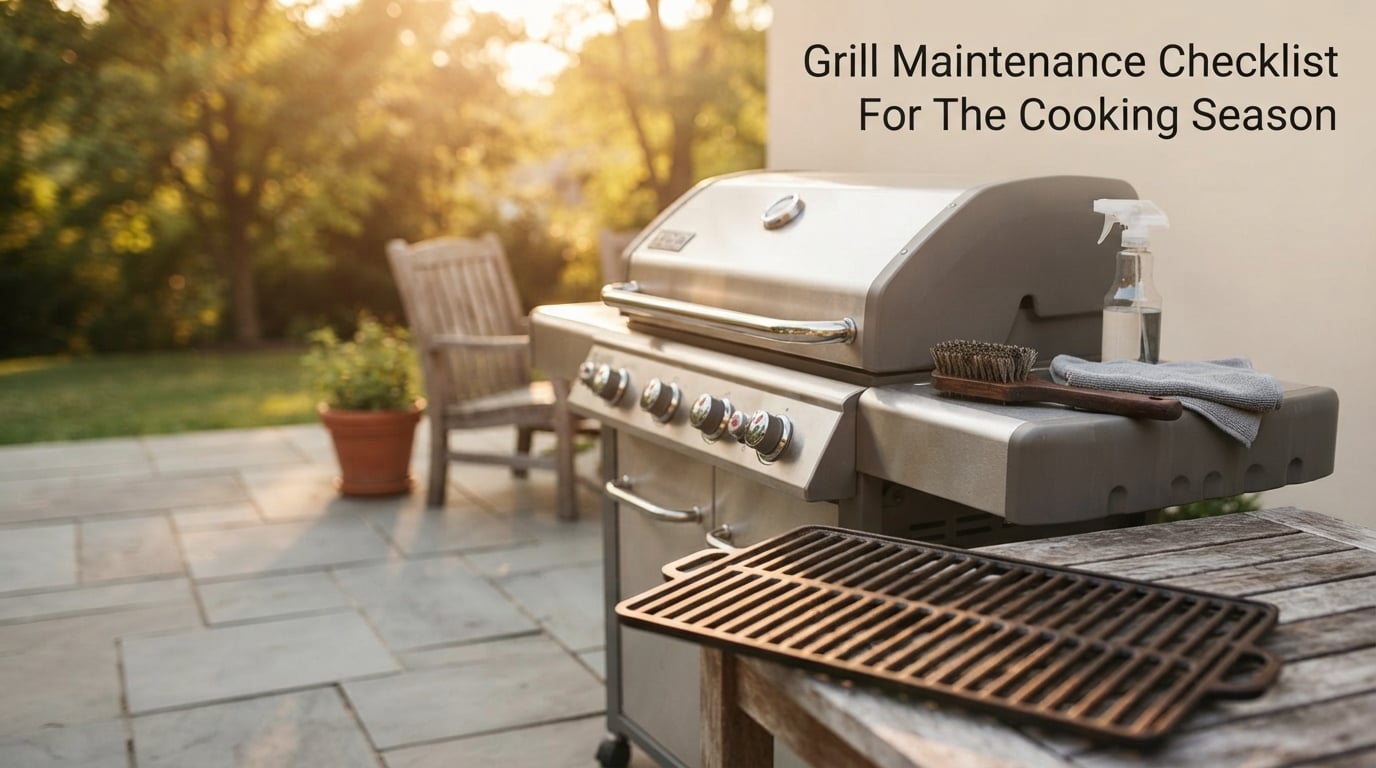
Nothing ruins a backyard cookout faster than a grill that will not heat evenly, smells like last summer’s grease, or throws flare-ups every time you close the lid. A solid grill maintenance checklist for the cooking season keeps your equipment running safely, extends its lifespan by years, and makes every meal taste the way it should. Whether you are firing up a gas grill for the first time after winter storage or keeping your charcoal smoker in peak shape through a busy summer, this guide walks you through exactly what to do and when.
Our team has pulled together advice from experienced grillers, professional cleaning services, and forum communities like r/grilling and r/BBQ to create a checklist that actually works. We cover pre-season preparation, post-cook cleanup, deep cleaning routines, gas-specific tasks, charcoal and smoker care, and safety tips that protect both you and your food.
Quick Grill Maintenance Checklist (TL;DR)
Here is your at-a-glance grill maintenance checklist organized by how often each task needs to happen. Print this out, stick it on the fridge, and never wonder when you last cleaned your drip tray again.
After every cook:
Brush grates with a bristle-free brush while still warm
Run burners on high for 10-15 minutes to burn off residue
Wipe down exterior surfaces with a damp cloth
Check and empty drip tray if more than half full
Every 5-10 cooks (or monthly):
Remove and deep clean grates with warm soapy water
Inspect burner ports for clogs or blockages
Clear grease tray and drip pan completely
Check heat shields or flavorizer bars for damage
Vacuum or sweep out firebox interior
Pre-season (spring startup):
Full deep clean of all interior components
Inspect gas lines, hoses, and propane tank for leaks
Test ignitor and replace batteries if needed
Season cast iron or carbon steel grates
Check for rust, corrosion, or pest nests
End of season (winter storage):
Deep clean everything before covering
Remove propane tank and store upright outdoors
Coat grates with thin layer of cooking oil
Cover with a quality grill cover
Seal any openings to prevent pest entry
Pre-Season Preparation: Your Spring Grill Startup Guide
Spring grill prep is where the cooking season begins. If your grill sat unused for three or more months, there is a checklist of tasks you need to handle before cooking food on it. Dust, moisture, pests, and old grease all take their toll during winter storage.
Open the grill and take a good look before you turn anything on. You are looking for rust spots, cracked hoses, pest nests in burner tubes, and any visible damage from weather or animals. Spiders love building nests inside venturi tubes on gas grills, and those nests can block gas flow or create dangerous conditions.
Step 1: Remove and Assess All Components
Take out the grates, heat shields or flavorizer bars, drip tray, and any grease management pieces. Lay them out on a tarp or old towel. This gives you a clear picture of what needs cleaning, what needs replacing, and what is still in good shape.
Fill a large bucket or tub with warm water and a few drops of dish soap. Dawn dish soap works great here according to plenty of experienced grillers on Reddit. Let the grates soak while you move on to the interior.
Step 2: Clean the Firebox Interior
Use a putty knife or paint scraper to remove built-up carbon and grease from the inside walls and bottom of the firebox. A shop vacuum makes quick work of the loose debris after scraping. This carbon buildup can cause bitter flavors in your food and contributes to flare-ups during cooking.
Check the sides and bottom for rust. Light surface rust can be scrubbed with steel wool and then coated with high-heat paint designed for grills. Deep rust that has eaten through metal means it is time to replace that component.
Step 3: Inspect and Clear Burner Ports
On gas grills, remove the burners and inspect each one. The small holes along the burner are called burner ports, and they can clog with grease, food particles, or rust. Use a paperclip, pipe cleaner, or specialized burner cleaning tool to clear each port.
Hold the burner up to the light and look for uniform hole spacing. If ports are enlarged, rusted through, or damaged, replace the burner. Uneven or damaged burner ports mean uneven heat distribution and hot spots that ruin your cook.
Step 4: Check the Ignitor System
Test your ignitor by clicking it near a working burner. You should see a visible spark. If nothing happens, replace the battery first. If that does not fix it, check the wire connection between the ignitor module and the electrode. Corroded or loose connections are the usual culprit when an ignitor fails.
Step 5: Clean and Reinstall All Components
Scrub the soaking grates with a grill brush or steel wool pad, then rinse thoroughly. Clean heat shields and flavorizer bars with a wire brush to remove flaking grease and carbon. Wipe down the drip tray and reline it with foil if needed. Reinstall everything in reverse order.
Step 6: Heat Test Before First Cook
Fire up the grill and let it run on high for 15-20 minutes before your first cook. This burns off any remaining residue from cleaning products, burns away dust from storage, and confirms everything is working. If you smell gas or notice uneven flames, shut it down and investigate before cooking.
After Every Cook: Quick Post-Grilling Routine
The habits you build after each cook session determine how hard your deep cleans will be. A quick post-grilling routine takes five minutes and saves you hours of scrubbing later. The secret is handling residue while the grates are still warm.
Step 1: Burn Off Residue
While the grill is still hot after cooking, close the lid and run all burners on high for 10-15 minutes. This turns food particles and grease into ash that brushes off easily. One experienced griller on r/grilling noted that burning off during the next pre-heat cycle works too if you want to save propane.
Step 2: Brush the Grates
Use a bristle-free brush or wooden paddle scraper to clean the grates while they are still warm. Warm grates release residue much more easily than cold ones. A wooden paddle scraper is a favorite among experienced grillers because it shapes itself to your grates over time and eliminates any risk of metal bristles ending up in food.
If you do use a wire brush, inspect the grates afterward for loose bristles. Wire brush bristles ending up in food is a documented safety hazard and one of the most upvoted warnings on grilling forums. Consider switching to a bristle-free option for peace of mind.
Step 3: Empty the Drip Tray
Check the drip tray or grease pan. If it is more than half full, empty it now rather than waiting. Overflowing grease pans are a leading cause of grease fires and flare-ups. Wrap the new tray in aluminum foil to make future cleanup faster.
Step 4: Quick Exterior Wipe
Wipe down the exterior with a damp microfiber cloth while the grill is still warm but not hot. This removes grease splatter before it bakes on. For stainless steel surfaces, wipe with the grain to avoid scratching.
Deep Clean Steps: Every 5-10 Cooks
Even with a solid post-cook routine, your grill needs a deeper clean on a regular schedule. Plan for a deep clean every 5-10 cooking sessions, or roughly once a month during active grilling season. This is where you remove components, soak them, and tackle the areas you skip during quick cleanup.
Step 1: Full Disassembly
Remove grates, heat shields, flavorizer bars, drip pan, and burner covers. Take out the burners themselves if you can. The more you can remove, the more thoroughly you can clean the interior.
Step 2: Soak Removable Parts
Soak grates and heat shields in a mixture of warm water, dish soap, and a cup of white vinegar. Let them soak for 30 minutes to an hour. The vinegar helps break down stubborn grease buildup and carbon deposits. For really tough buildup, a paste of baking soda and water applied directly to problem spots and left for 30 minutes works wonders.
Step 3: Scrub the Firebox
With components removed, scrape the interior walls and bottom of the firebox with a putty knife. Vacuum out all loose debris. Wipe the interior with a damp rag to remove fine particles. This is the step most people skip, and it is the one that makes the biggest difference in preventing flare-ups.
Step 4: Clean Burner Ports and Venturi Tubes
Use a bottle brush or pipe cleaner to clean inside the venturi tubes on gas grills. Clear each burner port with a paperclip or pin. Spiders and insects frequently build nests in these tubes during periods of inactivity, and even a small nest can restrict gas flow and cause ignition problems.
Step 5: Reassemble and Heat Test
Reinstall all components, fire up the grill, and run on high for 15 minutes. This ensures everything is seated correctly and burns off any remaining moisture or cleaning residue. Check that flames are blue and even across all burners.
Gas Grill Maintenance Checklist
Gas grills have specific components that need attention beyond basic cleaning. The payoff for staying on top of these tasks is consistent heat, fewer flare-ups, and a grill that lasts 8-15 years instead of needing replacement after three seasons.
Propane Tank and Hose Inspection
Check your propane tank for rust, dents, or damage before each cooking season. Inspect all hoses for cracks, wear, or brittleness. Replace any hose that shows signs of cracking immediately. A damaged gas hose is a serious safety hazard.
Perform a soap test to check for gas leaks. Mix a solution of dish soap and water, brush it onto all connections, and slowly turn on the gas. If bubbles form anywhere, you have a leak. Tighten the connection or replace the part before using the grill.
Burner Ports and Heat Distribution
Clean burner ports monthly during grilling season. Clogged ports cause uneven heating and cold spots on your cooking surface. After cleaning, verify even heat distribution by turning all burners to the same setting and holding your hand six inches above the grate. The heat should feel uniform across the entire surface.
Flavorizer Bars and Heat Shields
Flavorizer bars and heat shields protect burners from dripping grease and help vaporize juices for flavor. Wire brush them during each deep clean to remove flaking carbon and grease. Replace them when they rust through or develop holes. Most last 2-4 seasons depending on usage.
Drip Tray and Grease Management
The drip tray catches grease that drips through the cooking grates. A full or clogged drip tray causes flare-ups and grease fires. Check it after every cook and empty when half full. Line it with foil for easy cleanup, and replace the foil each time you empty it.
Ignitor Maintenance
Electronic ignitors need fresh batteries at the start of each season. Clean the electrode tip with a cotton swab and rubbing alcohol. If the spark is weak or inconsistent, check wire connections for corrosion. Most ignitor failures are connection issues, not module failures.
Charcoal Grill and Smoker Maintenance
Charcoal grills and smokers require a different maintenance approach than gas grills. The main concerns are ash management, rust prevention, and maintaining proper airflow. Neglect any of these and your cook quality drops fast.
Ash Removal and Disposal
Remove ash from the firebox after every 2-3 cooks. Ash holds moisture and accelerates rust when left in the grill. Let ash cool completely for at least 24 hours before disposal. Store cooled ash in a metal container with a tight lid.
Never dispose of ash in a plastic bag or trash can. Even ash that feels cool can contain hidden embers that reignite hours later. A metal bucket with a lid is the safe way to handle ash disposal.
Grate Care for Charcoal Grills
Charcoal grill grates deal with higher temperatures than gas grills, which means more carbon buildup. After each cook, brush grates while still warm using a bristle-free brush or crumpled aluminum foil held with tongs. For deep cleaning, soak grates in hot soapy water and scrub with steel wool.
Cast iron grates need seasoning after each deep clean to prevent rust. Apply a thin coat of high smoke point oil and heat the grate until the oil polymerizes into a protective layer.
Airflow and Vent Maintenance
Top and bottom vents control airflow on charcoal grills and smokers, and they are essential for temperature management. Check that vents open and close freely. Clean ash and grease buildup from vent slides with a wire brush. If a vent is stuck, penetrating oil and gentle work with pliers usually free it.
Damaged or warped vents cause airflow problems that make temperature control impossible. Replace bent or rusted vent assemblies before they fail completely during a long smoke session.
Rust Prevention on Charcoal Grills
Charcoal grills are particularly prone to rust because ash attracts moisture. Keep your grill covered when not in use. Apply a thin coat of cooking oil to the interior firebox after each deep clean to create a moisture barrier. Store charcoal in a dry, sealed container to prevent it from absorbing humidity.
If you spot rust, address it immediately. Light surface rust scrubs off with steel wool. Treat the cleaned area with high-heat paint rated for grills. Deep rust on the firebox or lid means it is time to start shopping for a replacement.
How to Season Grill Grates
Seasoning grill grates creates a protective layer that prevents rust, reduces food sticking, and makes cleanup easier. Cast iron and carbon steel grates need seasoning regularly. Stainless steel and porcelain-coated grates benefit from a light oil coating but do not require full seasoning.
What You Need
You need a high smoke point oil, paper towels, and tongs. Canola oil, grapeseed oil, flaxseed oil, and vegetable oil all work well. Avoid olive oil because its low smoke point causes it to burn off quickly and leave a sticky residue.
Step 1: Clean Thoroughly
Start with completely clean grates. Remove all rust, carbon, and old seasoning. Wash with hot soapy water and dry completely. Any moisture left on the surface interferes with the seasoning process.
Step 2: Apply a Thin Oil Coat
Dip a paper towel in your chosen oil and use tongs to rub a thin, even coat over the entire grate surface. Less is more here. A thick layer of oil turns gummy instead of forming a hard protective layer.
Step 3: Heat the Grates
Place the oiled grates back in the grill and heat on high for 30-45 minutes with the lid closed. The oil will smoke as it heats. This is normal and means the oil is polymerizing into a hard, protective layer on the metal surface.
Step 4: Repeat for Best Results
For a strong initial seasoning on new or newly stripped grates, repeat the oil and heat process 2-3 times. After that, a quick re-seasoning every few weeks during cooking season keeps the protective layer intact.
Grill Safety Tips for the Cooking Season
Safety is the most important part of grill maintenance. A well-maintained grill is a safe grill, but specific safety checks deserve their own section. These tips protect you, your family, and your property.
Check for gas leaks before each season. Use the soapy water test on all connections. Bubbles mean a leak that needs fixing before you light the grill.
Keep your grill at least 10 feet from structures. This includes your house, garage, deck railings, and overhanging branches. Never grill indoors or in an enclosed space.
Replace wire brushes with bristle-free alternatives. Wire bristles that break off and embed in food are a documented medical hazard. Wooden scrapers, coil brushes, and bristle-free nylon brushes are all safer options.
Never leave a lit grill unattended. Grease flare-ups can turn into structure fires in seconds. Keep a fire extinguisher within reach.
Clean grease buildup regularly. Grease accumulation in the drip tray and firebox is the leading cause of grill fires. Empty drip trays before they overflow.
Check propane tanks for expiration dates. Tanks need to be re-certified 12 years after manufacture. An expired tank may not be refillable and could be unsafe.
Let coals cool completely before disposal. Wait at least 24 hours before removing ash from a charcoal grill. Use a metal container with a tight-fitting lid for disposal.
Common Grill Maintenance Mistakes to Avoid
After reviewing forum discussions and professional cleaning guides, several common mistakes stand out. Avoiding these saves you time, money, and frustration.
Waiting too long between cleanings. Grease and carbon harden over time, making them much harder to remove. A quick routine after each cook prevents buildup from becoming a weekend project.
Using oven cleaner on grates. Oven cleaner can damage the finish on porcelain-coated and stainless steel grates. Stick to dish soap, vinegar, and baking soda for safe cleaning.
Ignoring the drip tray. Out of sight means out of mind, but an overflowing drip tray is a fire hazard. Check it after every cook.
Not covering the grill. A quality grill cover is the cheapest insurance against rust, pest infestations, and weather damage. Use one every time.
Using the wrong oil for seasoning. Olive oil and other low smoke point oils burn off and leave sticky residue. Use canola, grapeseed, or flaxseed oil instead.
Skipping the soap test on gas connections. A two-minute soap test can catch a gas leak before it becomes an emergency. Do it at the start of every season.
Signs Your Grill Needs Cleaning Right Now
Sometimes you cannot wait for the scheduled maintenance window. These warning signs mean you need to clean your grill before the next cook.
If you notice excessive flare-ups during cooking, grease buildup is likely the cause. A lingering rancid or sour smell coming from the grill means old grease has gone bad in the drip tray or firebox. Uneven heating across the cooking surface usually points to clogged burner ports or damaged heat shields.
Rust flakes falling onto your food, visible mold on grates after storage, or a sluggish ignitor that takes multiple clicks all signal that maintenance is overdue. When smoke turns acrid and makes food taste bitter, carbon buildup on interior surfaces is the usual suspect. Address any of these signs before your next cooking session.
FAQs
How to prepare your grill for the season?
To prepare your grill for the cooking season, start with a full deep clean of all interior components including grates, burners, and the firebox. Inspect gas lines and hoses for cracks, test the ignitor, clear all burner ports of debris, and check for rust or pest nests. Run the grill on high for 15-20 minutes before your first cook to burn off any remaining dust or residue from winter storage.
Should I oil my grill grates before cooking?
Yes, you should oil your grates before cooking to prevent food from sticking. Use a high smoke point oil like canola or grapeseed oil applied with a paper towel and tongs. For cast iron grates, a proper seasoning process with multiple oil-and-heat cycles creates a durable protective layer that reduces sticking and prevents rust.
What are the safety tips for grilling season?
Key safety tips include checking gas connections with a soapy water test before each season, keeping your grill at least 10 feet from structures, never leaving a lit grill unattended, cleaning grease buildup regularly to prevent fires, replacing wire brushes with bristle-free alternatives to avoid ingestion hazards, and keeping a fire extinguisher nearby at all times.
How often should I clean my grill?
Brush grates after every cook while they are still warm, empty the drip tray when it reaches half full, and perform a deep clean every 5-10 cooking sessions or roughly once a month during grilling season. A full pre-season deep clean in spring and a thorough cleaning before winter storage complete the annual maintenance cycle.
How to season cast iron grill grates?
Clean the grates thoroughly, apply a thin coat of high smoke point oil like canola or flaxseed oil using a paper towel and tongs, then heat the grates on high for 30-45 minutes with the lid closed until the oil stops smoking. Repeat this process 2-3 times for new or freshly stripped grates to build a strong protective layer.
Wrapping Up Your Grill Maintenance Checklist for the Cooking Season
A consistent grill maintenance checklist for the cooking season is the difference between a grill that lasts a decade and one that needs replacing after three years. The routines break down into simple habits: brush after every cook, deep clean every 5-10 sessions, do a full inspection each spring, and protect your grill during winter storage. Handle gas connections carefully, replace wire brushes with safer alternatives, and never ignore flare-ups or uneven heating.
Start with the pre-season checklist before your first cook this year, build the post-cook routine into your grilling habit, and schedule a monthly deep clean during active months. Your food will taste better, your equipment will last longer, and every backyard cookout will go smoother. Fire up that grill with confidence.