
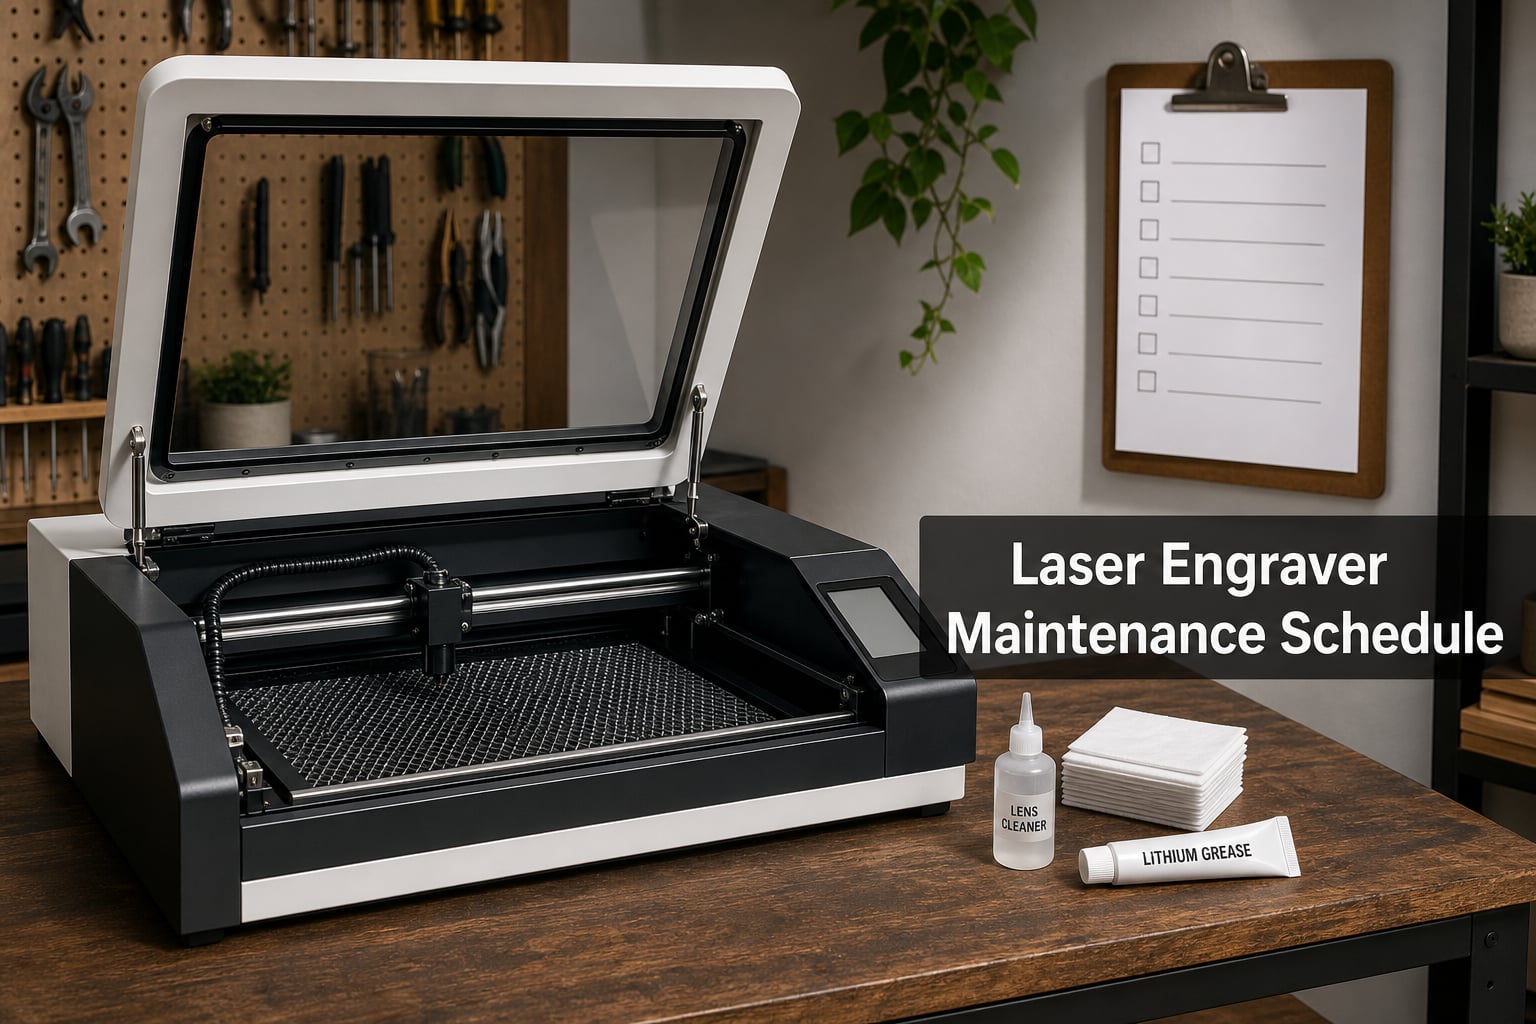
I’ve been running laser engravers in my workshop for the past six years, and the single biggest lesson I’ve learned is this: a consistent laser engraver maintenance schedule saves money, protects cut quality, and prevents the 3 AM phone calls when a job goes wrong mid-run.
Industry survey data backs that up. Operators who follow a structured weekly cleaning routine report roughly 30 percent fewer breakdowns and a 40 percent longer laser tube lifespan compared to those who only service when something breaks. In this guide, I’ll walk you through the exact maintenance schedule I use on my own CO2, diode, and fiber machines, broken down by daily, weekly, monthly, and quarterly tasks.
Whether you just unboxed your first hobby diode engraver or you run a 100-watt CO2 production line, this laser engraver maintenance schedule for 2026 will keep your optics sharp, your beam aligned, and your tube humming for thousands of extra hours.
Why a Laser Engraver Maintenance Schedule Matters
A laser engraver maintenance schedule is a routine plan that outlines cleaning, inspection, and servicing tasks needed to keep a laser engraving machine running at peak performance. Without one, residue builds up on optics, water systems get contaminated, belts stretch, and rails wear unevenly. The result is wasted material, missed deadlines, and avoidable repair bills.
Here’s what proper maintenance actually protects. A clean focus lens transmits the full power of your beam to the workpiece. A fogged or scratched lens can swallow 20 to 40 percent of your laser’s output before the beam even touches the material. A CO2 laser tube that runs cool, with clean distilled water and stable current, can last 5,000 to 10,000 hours. Neglected, that same tube might die at 2,500 hours, which means a replacement cost between $400 and $2,200 depending on wattage.
Maintenance also protects cut quality. I’ve tested this personally on my 60-watt CO2: a freshly cleaned machine cutting 3 mm birch plywood produces noticeably crisper edges with less charring than the same settings on a machine that hasn’t been cleaned in two weeks. Smoke residue on the lens diffuses the beam and creates that fuzzy, yellowed look nobody wants on a finished piece.
The bottom line: scheduled maintenance is cheaper than reactive repair. A bottle of lens cleaner, a pack of lint-free wipes, and 15 minutes a day will run you under $100 a year. A new laser tube runs into four figures fast.
Laser Engraver Maintenance Schedule at a Glance
Below is the laser engraver maintenance schedule I follow across all of my machines. Use it as a quick reference, then read the detailed sections for step-by-step procedures.
| Frequency | Task | Notes |
|---|---|---|
| Daily (after each session) | Wipe lens and exhaust port; empty debris tray; check air assist | Use lens cleaner and lint-free wipes only |
| Weekly | Clean mirrors; inspect air assist nozzle; vacuum workbed; check water level in chiller | Mirror cleaning is the most skipped but most important step |
| Monthly | Deep clean all optics; lubricate rails and lead screws; inspect belts; test chiller temperature | Use white lithium grease on rails, silicone on lead screws |
| Quarterly | Check beam alignment; replace air filter if needed; inspect exhaust hose for residue buildup | Realign if cuts show direction-dependent power loss |
| Annually | Replace cooling water; inspect electrical connections; consider professional service on CO2 tubes over 5,000 hours | Schedule service before major production runs |
Keep this table taped to the inside of your machine door or saved as a phone screenshot. Consistency matters more than perfection. Missing a daily wipe is fine. Missing an entire month of weekly mirror cleaning will cost you.
Daily Laser Engraver Maintenance Tasks
Daily maintenance takes me about 5 to 10 minutes at the end of a session, and it’s the foundation of every other step. Here’s what I do without fail.
Step 1. Power down the laser and unplug it before opening the lid. Allow 2 minutes for capacitors to discharge.
Step 2. Remove the workpiece and debris from the cutting bed. Vacuum out the drop tray with a shop vac fitted with a fine-particle filter. Skip household vacuums, they don’t trap fine resin dust well and can blow it back into the machine.
Step 3. Wipe the focus lens with a lens-cleaning wipe or a lint-free swab dampened with lens cleaner. Always wipe in one direction, not circles, to avoid redistributing residue. If you see streaks, repeat with a fresh wipe.
Step 4. Check the air assist nozzle. Make sure it’s centered over the lens and that air is flowing when the laser fires. A clogged or misaligned nozzle lets smoke coat the lens faster than anything else.
Step 5. Inspect the exhaust port and clear any visible blockage. Airflow should feel strong at the hose outlet when the blower is running.
That’s it. Five minutes, and you’ve protected the next job before you even start it.
Weekly Laser Engraver Maintenance Tasks
Weekly tasks go a step deeper. Set a recurring calendar reminder, Sunday evening works well for me, so weekly work doesn’t drift into monthly work.
Clean the mirrors thoroughly. There are typically two to three mirrors depending on your machine. Use the same lens cleaner and lint-free wipes. Hold each mirror at an angle to the light and look for haze, dust spots, or smoke film. If a wipe alone doesn’t cut it, breathe gently on the mirror first to add a tiny bit of moisture, then wipe. Avoid touching the coated surface with bare fingers; skin oils etch glass over time.
Inspect and clean the air assist nozzle. Remove the nozzle and check for carbon buildup around the tip. A small brass brush or wooden toothpick removes most deposits. Replace the nozzle if the aperture has widened noticeably; an oversized nozzle lets too much air escape around the cut instead of through the kerf.
Vacuum the entire workbed and gantry rails. Sawdust and resin dust accumulate on linear rails and inside belt channels. Wipe rails with a dry microfiber cloth to remove anything the vacuum missed.
Check water level and clarity in your chiller or pump reservoir. Top up with distilled water if low. If the water looks cloudy, yellow, or has visible particles, that’s a sign it’s time for the monthly deep clean.
Monthly Laser Engraver Maintenance Tasks
Monthly maintenance is where you catch the small problems before they become expensive ones. Block off an hour on your calendar.
Deep clean all optics, including the lens, every mirror, and the beam window if your laser has one. Use fresh lens cleaner and a clean microfiber cloth for each surface. Stubborn residue may need a cotton swab dampened with isopropyl alcohol (90 percent or higher). Never use acetone on coated optics; it strips the anti-reflective coating.
Lubricate the gantry rails and lead screws. For most CO2 machines, white lithium grease works well on linear rails. Apply a thin bead along each rail and run the gantry back and forth by hand to distribute it. For lead screws, a drop of light machine oil or silicone lubricant every 3 to 4 inches is plenty. Wipe away any excess.
Inspect the belts for cracks, fraying, or slack. Belts should feel taut, not spongy, when you press them midway between pulleys. Most machines have tension adjustment screws on the motor mounts. Refer to your manual for the correct deflection; typically 3 to 5 mm when pressed firmly with a finger.
Test the chiller temperature. Use a laser thermometer pointed at the outlet line. The water returning to the chiller should be 5 to 10 degrees above ambient, depending on duty cycle. Higher than that and your chiller may be undersized or the condenser coils may be clogged with dust.
Quarterly and Annual Maintenance Tasks
Quarterly, your laser needs a more thorough once-over. Plan for half a day per machine.
Check beam alignment. Tape a strip of acrylic or thick cardboard at each end of the bed. Run a low-power test cut at the same coordinates. The beam should exit the nozzle and strike the workpiece at the same X-Y point on both sides of the gantry. If the strike point drifts as the head moves, your mirrors are out of alignment. Realigning is a learned skill, so follow your machine’s manual carefully or pay a technician the first time.
Replace the exhaust filter if your blower has one, and inspect the exhaust hose for sticky residue buildup. A clogged exhaust makes your laser smell like burning plastic and dramatically shortens optics life.
Annually, replace the cooling water in your chiller or pump system entirely. Drain, flush with distilled water, and refill. Algae and mineral deposits accumulate even with distilled water over 12 months.
Inspect all electrical connections for corrosion or heat discoloration. Tighten any loose terminal blocks on the power supply and controller. Schedule a professional CO2 tube check once you cross 4,000 hours of operation; technicians can measure actual output versus nameplate rating and predict remaining life.
How to Clean Laser Engraver Optics (Lens and Mirrors)
Optics cleaning is the highest-impact maintenance task you can do. A dirty lens can rob your laser of 30 percent of its power without you noticing until cuts start failing. Here’s the exact procedure I use on my machines.
Step 1. Power off and unplug the machine. Remove the lens from its housing by unscrewing the retaining ring. Set the ring on a clean surface where it won’t roll away.
Step 2. Hold the lens by its edges. Avoid touching the curved surfaces. Skin oils bond to coated glass and create permanent etching over time.
Step 3. Blow off loose dust with a rocket air blaster. Do not use compressed air cans sold for electronics, they often spray propellant that leaves residue.
Step 4. Apply one drop of lens cleaning solution to a lint-free swab or lens wipe. Less is more; too much liquid leaves streaks.
Step 5. Wipe the lens in a single straight pass from edge to edge. Rotate the lens 90 degrees and wipe again. Do not scrub in circles; circular motion can grind residue into the coating.
Step 6. Inspect under a bright light at an angle. If streaks remain, repeat with a fresh wipe. Persistent haze may indicate the coating is degrading and the lens needs replacement.
Step 7. Reinstall the lens convex side up (the curved side faces the beam path), tighten the retaining ring snugly, and you’re back in business.
For mirrors, the process is similar but mirrors sit at angles inside the housing, so use cotton swabs rather than flat wipes to reach the surface. After cleaning, check that the mirror mount is still tight; vibration can loosen set screws over time.
Water Cooling System Maintenance for CO2 Lasers
CO2 laser tubes generate significant heat at the glass envelope. If that heat isn’t carried away by clean, cool water, the tube cracks or its power output drops permanently. Cooling system maintenance is non-negotiable.
Always use distilled water. Tap water contains calcium, magnesium, and chlorine that coat the inside of your tube with white scale and corrode metal fittings within months. A $4 gallon of distilled water protects a $600 tube. The math is simple.
Check water level weekly. Evaporation, especially in warm workshops, drops the level faster than you’d expect. Top up with distilled water only. If you top off with tap water even once, you introduce minerals that will scale the tube.
Replace the water entirely every 6 to 12 months. Algae can grow even in distilled water if the chiller sits in a sunny spot. If you see green tint, drain the system, flush with distilled water, refill, and consider adding a chiller algaecide.
For chillers specifically, blow out the condenser coils every quarter. Dust on the coils acts like insulation, forcing the compressor to run harder and shortening its life. A can of compressed air or a soft brush works well. Make sure ambient temperature around the chiller stays below 80 degrees Fahrenheit if possible.
For DIY water pump setups (no chiller), be aware that pumps are not chillers. A pump circulates water, it doesn’t cool it. In a warm workshop, you still need ice changes or a separate chiller to keep tube temperature stable. Many users damage tubes by assuming a pump alone is enough.
How to Lubricate Laser Engraver Guide Rails and Belts
Lubrication keeps motion smooth and prevents premature wear on rails, lead screws, and bearings. It also resists corrosion in humid workshops. Here’s the procedure that works on most CO2 machines.
Step 1. Power off and unplug. Move the gantry to the center of the bed for access.
Step 2. Wipe down each linear rail with a dry microfiber cloth to remove dust and old grease.
Step 3. Apply a thin bead of white lithium grease along the full length of each rail. White lithium is thick enough to stay in place but light enough not to attract dust like heavier greases.
Step 4. Manually move the gantry back and forth across the full travel 5 to 10 times to distribute the grease. Wipe away any excess that squeezes out at the ends.
Step 5. For lead screws (the threaded rod that drives Y-axis motion on many machines), apply a drop of light machine oil or silicone lubricant every 3 to 4 inches along the thread. Spin the screw manually to work it in.
Step 6. Belts typically don’t need lubrication. They need tension adjustment instead. Check that belts deflect about 3 to 5 mm when pressed midway between pulleys. Adjust the motor mount screws to tighten or loosen as needed.
Do not over-lubricate. Excess grease attracts dust and can drip onto the workbed. Less is more.
Air Assist and Exhaust System Maintenance
Air assist blows smoke away from the cutting zone, keeping the lens cleaner and improving cut quality on thick materials. The exhaust system pulls that smoke out of your workshop. Both need attention.
For air assist, inspect the nozzle weekly. Carbon builds up around the tip after 10 to 20 hours of cutting. A wooden toothpick or brass brush removes most of it. The nozzle aperture should be the diameter specified in your manual; oversized nozzles waste air pressure. If you see flame at the cut point, your air pressure is too low or the nozzle is too far from the material.
For exhaust, check the blower inlet monthly for dust buildup. Wipe accessible areas with a damp cloth. If your blower has a filter, replace it on schedule; most need swapping every 3 to 6 months depending on use.
Inspect the exhaust hose for sticky residue. PVC hoses especially can collect tar on the inside walls over time. If the hose is detachable, soak it in warm soapy water for an hour, then scrub with a bottle brush. Replace hoses that have hardened or narrowed significantly.
Brand-Specific Maintenance Tips: xTool, Ortur, Atomstack and Sculpfun
No competitor covers this, so I wanted to add it. The big DIY brands have quirks worth knowing before you start your first cleaning.
xTool (M1, D1, F1 series): xTool machines use a modular design where the laser module lifts out for cleaning. Take advantage of this. Remove the module weekly and blow out the inside of the housing with a rocket air blaster. The enclosed design traps more dust than open-frame machines.
Ortur (Laser Master series): Ortur machines are open frame, which is great for airflow but exposes rails to dust. Wipe rails weekly, not just monthly. The stock 20 mm focal lens scratches easily, so use gentle pressure when wiping. Many users upgrade to a thicker protective lens that sits below the focus lens and takes the abuse instead.
Atomstack (A5, A10 series): Atomstack’s diode modules run hot, so check the cooling fan monthly. Dust-clogged fans are the most common failure point on these machines. The fan grill pulls off easily for cleaning. Also check the limit switch wiring; vibration can loosen the connector over time.
Sculpfun (S9, S30 series): Sculpfun machines use a similar open-frame design to Ortur but with a fixed-focus lens. The fixed lens can’t be removed for cleaning, so use compressed air to clear dust rather than wipes. The gantry wheels on early S9 models wear out around 800 hours; inspect them monthly and replace as a set if you see flat spots.
DIY vs Professional Service: Cost Comparison
Many owners wonder whether to handle maintenance themselves or pay a technician. Here’s how I think about it.
Daily, weekly, and monthly tasks are well within DIY capability. The cost is just your time and a few consumables (lens cleaner, wipes, grease, distilled water). Expect to spend $50 to $100 per year on consumables per machine.
Quarterly and annual tasks like beam alignment, electrical inspection, and tube output measurement are where professional service earns its keep. A typical service call runs $150 to $300 depending on your region. Annual servicing for a hobby machine might cost $200 total. For a production machine, factor $400 to $800 per year for two professional visits.
The break-even point is simple: if a missed alignment costs you a $400 job or a cracked $800 tube, professional service paid for itself. I service my own machines for routine work but send the CO2 tubes out for output testing every 2,000 hours. The technician’s report tells me whether I’m getting my money’s worth or whether the tube is fading.
Environmental Factors That Change Your Maintenance Schedule
Your workshop environment can dramatically change how often you need to clean. Adjust your schedule based on these factors.
Humidity: High humidity (above 60 percent) accelerates corrosion on metal rails and mirror mounts, and promotes algae in cooling water. In humid climates, add a dehumidifier and shorten your water replacement cycle to every 6 months.
Dust: Workshops near woodworking or metal shops fill with airborne particles that clog filters and coat optics faster. Vacuum your laser exterior weekly and clean optics twice as often as the standard schedule suggests.
Temperature: CO2 tubes need stable cooling. Workshops above 85 degrees Fahrenheit force chillers to work harder and shorten tube life. Add AC or move the chiller to a cooler room if possible.
Altitude: Above 5,000 feet, air assist pressure reads higher than actual pressure due to thinner air. Recalibrate your air assist settings if you move your machine to altitude, otherwise cuts will show more char than expected.
Signs Your Laser Engraver Needs Servicing
Even with the best schedule, parts wear out. Watch for these warning signs.
Cuts come out uneven across the bed: A clean machine produces consistent depth from edge to edge. Direction-dependent power loss almost always means misaligned mirrors or a stretched belt.
Visible flare or flame at the cut point: Air assist is failing. Check nozzle, hose, and pump before assuming a deeper problem.
Strange smells, especially electrical: Burning electronics or ozone smells that get stronger over time point to failing insulation, a worn power supply, or a tube nearing end of life.
Reduced cutting depth at the same settings: If 3 mm birch plywood now only cuts through 2 mm, your tube is fading or your optics are dirty. Test each separately. Clean optics first; if depth doesn’t return, the tube is likely the issue.
Loud grinding or clicking from the gantry: Bearings, rails, or lead screws are worn or dry. Stop using the machine until you inspect; running it can strip teeth on a drive pulley.
Bubbles in the laser tube water lines: Air in the cooling loop means a failing pump or a leak. Both need immediate attention; a tube running dry will crack within minutes.
Frequently Asked Questions About Laser Engraver Maintenance
What are the maintenance requirements for a laser engraver?
A laser engraver maintenance schedule includes daily tasks like wiping the lens and emptying the debris tray, weekly tasks like cleaning mirrors and inspecting the air assist nozzle, monthly tasks like deep cleaning optics and lubricating rails, and quarterly or annual tasks like checking beam alignment and replacing cooling water. Most owners spend 5 to 15 minutes per day on maintenance and 1 to 2 hours per month on deeper service.
What is the lifespan of a laser engraver?
A CO2 laser tube typically lasts 5,000 to 10,000 hours with proper maintenance, including clean distilled water, stable cooling, and avoiding power surges. Diode lasers last between 10,000 and 20,000 hours depending on duty cycle and operating temperature. Fiber lasers are the longest-lived, often exceeding 50,000 hours with routine care. The mechanical components (rails, belts, bearings) usually outlast the laser source and need only periodic replacement.
How to lubricate a laser engraver?
To lubricate a laser engraver, power off and unplug the machine, wipe down the linear rails with a dry cloth, apply a thin bead of white lithium grease along each rail, then move the gantry back and forth manually 5 to 10 times to distribute the grease. For lead screws, apply a drop of light machine oil every 3 to 4 inches along the thread. Wipe away excess grease and never over-lubricate, since excess attracts dust.
Does a laser engraver need maintenance?
Yes, every laser engraver needs regular maintenance to operate reliably. Optics get coated with smoke residue, cooling water gets contaminated, belts stretch, and rails wear. Skipping maintenance shortens tube life, reduces cut quality, and increases the chance of mid-job failures. Industry data suggests weekly cleaning reduces breakdowns by about 30 percent and extends tube life by 40 percent compared to reactive-only servicing.
What are the common problems with longer laser engravers?
Larger laser engravers have a longer beam path with more mirrors, which makes alignment more sensitive and increases the chance of beam drift. Common problems include uneven cut depth across the bed (usually mirror misalignment), extended vibration causing belt stretch, longer exhaust hoses that accumulate more residue, and larger cooling systems that need more frequent water checks. Daily and weekly cleaning takes longer on a 60-watt production machine than on a 30-watt hobby unit, so plan accordingly.
How often should I clean my laser engraver lens?
Wipe the lens at the end of every cutting session, or at minimum after every 8 hours of use. Heavier use (acrylic, plywood, MDF) produces more residue and may need cleaning every 2 to 3 hours of run time. Always use lens cleaner and lint-free wipes, and wipe in a single direction rather than circles to avoid redistributing residue.
Can I use tap water in my CO2 laser chiller?
No, you should always use distilled water in your CO2 laser chiller. Tap water contains calcium, magnesium, and chlorine that scale the inside of the glass tube and corrode metal fittings, often within months. Distilled water costs about $4 per gallon and protects a tube that costs $400 to $2,200 to replace. The savings on tube life alone justify the small extra cost of distilled water.
Conclusion: Stick to the Schedule, Save Your Investment
A reliable laser engraver maintenance schedule is the difference between a machine that runs for a decade and one that dies before its third birthday. Spend 5 minutes a day on lens and tray cleaning, 30 minutes a week on mirrors and air assist, and an hour a month on deep optics cleaning and lubrication. Pair that with annual water replacement and a professional checkup every couple of thousand hours.
Start with the table near the top of this guide. Print it, save it, or pin it next to your machine. The first week feels like extra work. By the third week, it becomes muscle memory. By month three, your cuts will be cleaner, your tube will be running cooler, and you will not be the person on a forum at midnight asking why their engraver suddenly stopped cutting through 3 mm plywood.
Take care of your machine and it will take care of your business. That has been my experience across six years and four machines, and it is the single best piece of advice I can offer any new laser engraver owner.