
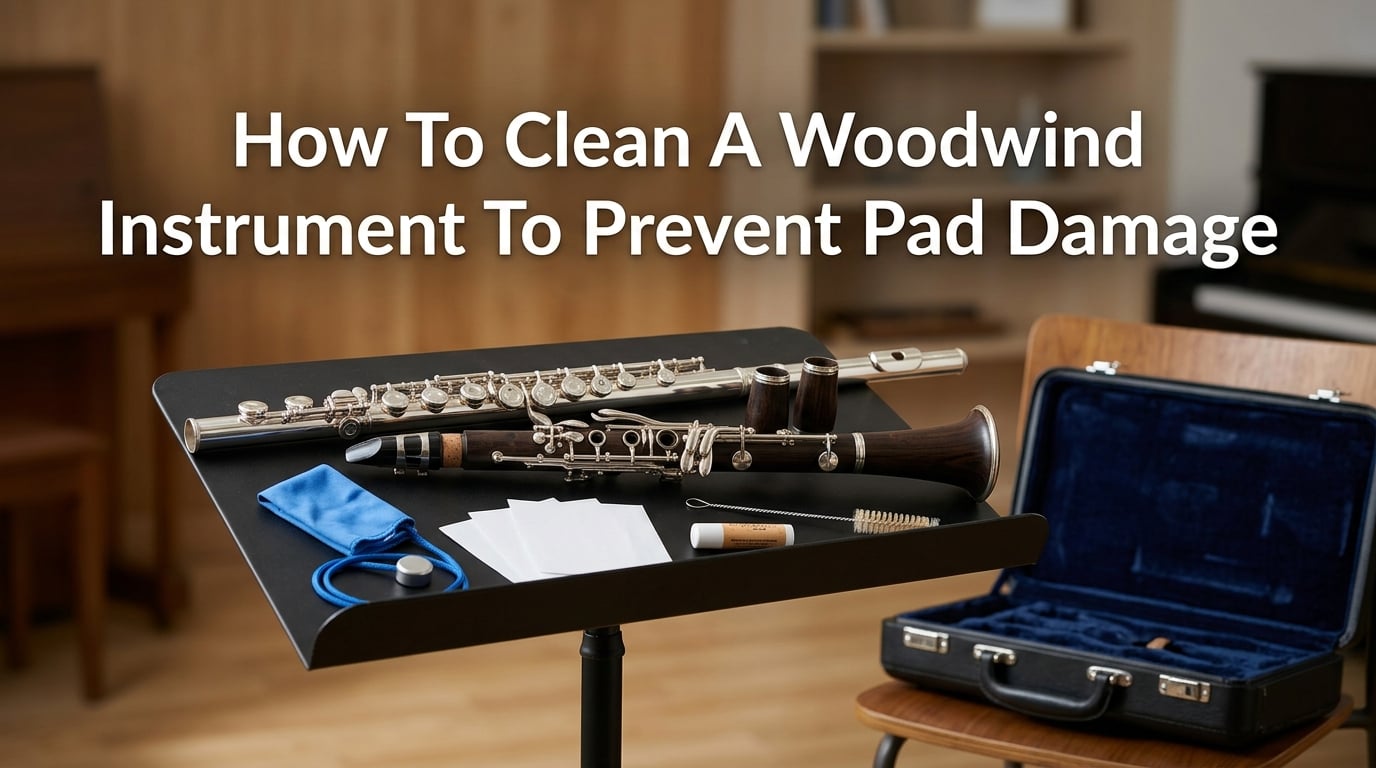
Knowing how to clean a woodwind instrument to prevent pad damage comes down to one reliable habit: remove playing moisture after every session, then put the instrument away dry. Pads do their job only when they stay clean, flat, and able to seal against tone holes.
Moisture, food residue, dust, and finger oil can make pads sticky or leave them unable to close cleanly. The goal is not to scrub the instrument after every rehearsal; it is to use a gentle routine that keeps liquid and grime from sitting where they do harm.
This guide separates the work a player can safely do from the jobs that belong with a qualified woodwind technician. That distinction matters because a pad that sticks from moisture may need simple drying, while a pad that leaks or has changed shape needs repair rather than a stronger cleaner.
The short answer: Swab the bore after playing, blot visible moisture instead of rubbing pads, wipe the exterior and tenons, clean removable mouthpiece parts as their material permits, and store every piece in a dry case. Do not drip cleaner onto pads, oil keys at home, or force a sticky key.
How to Clean a Woodwind Instrument to Prevent Pad Damage After Playing
Clean a woodwind instrument after every playing session by drying the inside first, handling the keywork gently, and letting removable items dry before they enter the case. This sequence works for most flutes, clarinets, saxophones, oboes, and bassoons, though their swabs and mouthpiece parts differ.
Step 1: Clean your hands and empty loose moisture first
Wash and dry your hands before touching the instrument when possible. Remove standing water from a flute headjoint or a saxophone neck by holding the piece over a towel and letting it drain; do not shake assembled keywork.
Playing after eating is common, especially during school rehearsals, but residue travels into the mouthpiece and bore. A quick rinse of your mouth with plain water before playing can reduce what reaches those areas.
Step 2: Pull a clean swab through the bore
Use the correct pull-through swab or cleaning rod for your instrument, and pull it through with steady, light force. Its task is to absorb bore moisture, not to scour the inside wall.
For a sectional instrument, swab each section according to its normal cleaning method. If a pull-through gets stuck, stop pulling instead of yanking; reverse it gently if you can do so without stressing the instrument, or ask a technician or instructor for help.
Do not leave a damp swab inside the bore or case. Hang or lay it out to dry at home, because a wet cloth stored in a closed case returns moisture to the instrument and can develop odor.
Step 3: Dry around pads without pressing or rubbing them
Look for visible droplets around open tone holes and key cups. Hold a clean, lint-free pad-drying paper under a pad, close the key with normal finger pressure, then pull the paper straight out once.
Do not drag the paper back and forth or clamp the key shut tightly. Friction can roughen a pad surface, and repeated hard pressure can affect how a delicate key closes.
A forum concern comes up often: pads sometimes feel stickier after someone tries to clean them aggressively. That is a good reminder that drying is different from scrubbing; use plain, clean paper for moisture and reserve pad treatment for a technician’s advice.
Step 4: Wipe the body, keys, tenons, and sockets
Use a soft microfiber or other lint-free cloth to remove fingerprints and moisture from the exterior. Wipe gently around key posts and guards rather than threading the cloth under keys or twisting it around rods.
On clarinets, saxophones, and other instruments that come apart, wipe moisture from tenons and sockets before putting sections together or away. This reduces trapped moisture and helps corked joints fit as intended.
Apply a small amount of the appropriate cork grease only when a cork feels dry or assembly is difficult. Grease belongs on cork, not on pads, keys, or the inside of a socket.
Step 5: Disassemble only as your instrument normally does
Take the instrument apart in its usual sections while supporting each piece, not by twisting or pulling on keywork. Flutes should be separated carefully at their joints; clarinets and saxophones should be held where there are fewer moving keys.
Put each piece in its designated case compartment. Closing a case with a swab, wet reed, or loose cleaning cloth pressed against keywork can hold moisture where pads and metal parts need air.
Daily routine checklist: swab the bore, blot only visible pad moisture, wipe the outside, dry joints, remove the reed when applicable, and pack the instrument in its case. A consistent two-minute routine is more useful than an occasional intensive cleaning session.
Clean Mouthpieces and Reeds Separately from the Instrument Body
Clean mouthpieces and reeds away from the body so water and cleaning residue do not reach pads or the bore. What is safe depends on the mouthpiece material, so follow the maker’s instructions if you know them.
Clean a removable mouthpiece with cool or lukewarm water when permitted
For many removable plastic mouthpieces, plain cool or lukewarm water and a dedicated mouthpiece brush are the conservative starting point. Keep the brush gentle, rinse completely, and dry the outside before reassembling.
Do not assume every mouthpiece tolerates the same treatment. Hard-rubber, wooden, antique, and other specialty mouthpieces may need different care, and hot water can cause problems with some materials.
For a flute, the headjoint is not a removable mouthpiece that should be soaked. Use the proper swab inside it and a cloth outside it, keeping water away from pads and keywork.
Store reeds ventilated, not wet inside the instrument
After playing a reed instrument, remove the reed from the mouthpiece and place it in a clean ventilated reed case. A reed left on a mouthpiece in a closed case can stay wet, collect residue, and contribute to odor.
Do not use a damaged, moldy, or persistently smelly reed. Reeds are consumable playing parts, not items to rescue with strong disinfectants.
Do Weekly and Seasonal Maintenance Without Flooding the Instrument
Weekly maintenance means looking closely, cleaning only accessible surfaces, and checking that your daily routine is working. Seasonal care adds attention to storage conditions, especially for wood instruments that respond to rapid humidity changes.
Inspect accessible areas once a week
With the instrument on a stable surface, look for lint, dust, or residue near tone holes, key cups, and the pad edges you can see. Use a dry, soft brush or a clean pipe cleaner only where it reaches without bending keys or catching a spring.
Never push a cotton swab or pipe cleaner beneath a pad to dig at its groove. Players in repair forums often mention these tools for confined grime, but they work best on accessible, non-moving areas and not as a substitute for pad adjustment.
Check the case too. Vacuum or shake out loose debris away from the instrument, then let the empty case air out in a dry indoor space if it smells damp.
Manage humidity around wooden instruments
Wood clarinets, oboes, and bassoons need stable conditions more than a dramatic deep-cleaning schedule. Avoid leaving them in a hot car, near a heater, or in a wet basement, because swift swings in temperature and humidity can affect wood and pad seating.
A resin or plastic instrument does not have the same wood-moisture concern, but its pads, corks, and keywork still dislike damp storage. Drying the bore and case remains part of care for every material.
Leave key oil and bore oil to a repair professional unless instructed otherwise
Key oil belongs in very small amounts at particular pivot points, and excess oil can migrate toward pads. If keys squeak, feel rough, or show green residue, get advice from a qualified technician rather than adding household oil.
Bore oil is also not a universal home treatment for wooden instruments. The right schedule and material depend on the specific instrument, its finish, and its condition, so follow the maker or technician who services it.
Warning: Never spray polish, silicone, oil, or cleaner directly onto a woodwind. Overspray can reach pad leather or synthetic pad material, cork, and felt, where it may create a harder repair problem.
Use Different Cleaning Methods for Flute, Clarinet, and Saxophone
Use an instrument-specific routine because the path through the bore, the pad layout, and the removable parts are different. The shared rule is still simple: remove moisture with the right tool and keep liquids away from pads.
Clean a flute by drying the headjoint, body, and footjoint gently
Use a flute cleaning rod with a properly fitted lint-free cloth, or the swab recommended for your flute. Turn the rod gently as needed and keep the cloth secure so bare metal does not scratch the inside.
Wipe the lip plate and exterior with a soft cloth. Flute keys sit close together, so avoid pushing cloth into the mechanism, soaking the headjoint, or using rubbing alcohol around pads and keywork.
If a flute pad sticks, first look for moisture and blot it with pad paper as described above. Repeated sticking, a hiss during notes, or a key that will not open freely points to a setup issue a technician should inspect.
Clean a clarinet by swabbing each section and protecting corks
Take the clarinet apart at its normal joints, supporting sections around the least crowded keywork. Pull the correct swab through the bore of each section, then wipe the tenons and sockets before packing.
Keep water away from wooden clarinet joints and pads. For a wood clarinet, avoid soaking, household cleaners, and casual bore-oiling experiments; the instrument’s material and condition call for individual guidance.
Clean the mouthpiece separately according to its material, and store the reed outside the mouthpiece. If assembly gets tight, use a very small amount of suitable cork grease rather than forcing the joint.
Clean a saxophone by drying the body and neck after every session
Swab the neck and body with tools designed for their different shapes. Remove the reed, wipe the neck tenon and mouthpiece exterior, and place the saxophone in its case so keys are not under pressure.
Saxophones have many pads and key connections, which makes them especially poor candidates for liquid sprays or do-it-yourself key bending. A sticky G-sharp or low pad may feel like a cleaning problem, but persistent sticking can come from alignment, residue, or a worn pad.
Avoid the Cleaning Mistakes That Damage Pads
Preventing pad damage is partly about what you do not put on the instrument. Common household products may look convenient, yet they can leave residue, affect finishes, or reach materials that are difficult to clean once wet.
Avoid soap, alcohol, and disinfectant on pads and the instrument body
Do not use dish soap, rubbing alcohol, disinfectant wipes, glass cleaner, or furniture polish as a general woodwind cleaner. They are not a substitute for drying, and they can introduce moisture or chemicals to pads, corks, finishes, and keywork.
When a specific removable mouthpiece needs sanitizing, identify its material and follow its maker’s care instructions or ask a repair professional. Treating the whole instrument as if it were a washable plastic item is where trouble begins.
Avoid leaving moisture and cleaning tools in the case
A wet swab, wet reed, or wet pad paper inside a closed case creates the humid environment that players are trying to avoid. Let cleaning cloths and swabs dry completely before storing them.
Also avoid storing the instrument assembled. A correctly fitted case protects separated pieces and keeps the mechanism from being strained during transport.
Avoid forcing sticky keys or making adjustments at home
Do not pry a key open, bend a key arm, or tighten screws at random to solve a sticky pad. A pad may stick because of surface residue, excess moisture, a weak spring, key misalignment, or a pad that no longer seals.
Each cause needs a different response. Forcing the mechanism can turn a small adjustment into a larger repair.
Respond to Sticky Pads with Drying First and Repair Help Second
Respond to a sticky pad by removing visible moisture with clean pad paper, then checking whether the problem goes away after the instrument has dried. Do not add cleaners or powders just because a key feels reluctant once.
Use one gentle pad-paper pass for a moisture-related stick
Place a fresh piece of pad paper under the closed pad, close the key normally, and draw the paper out in one direction. Test the key once more without pressing it hard.
If it releases and stays normal, continue your usual swabbing routine. If the pad immediately sticks again, leaves a note unreliable, or has a visible tear or wrinkle, stop treating it as a cleaning task.
Ask a technician about persistent residue or pad treatments
Players often ask about pad-cleaning liquids and so-called pad juice. A repair technician can decide whether a particular pad surface has residue that needs professional treatment, replacement, or an adjustment.
This is especially sensible for instruments with leather, synthetic, or unfamiliar pad types, because their condition and response can vary. A good repair visit also checks the key regulation that lets multiple pads close together.
Know When a Qualified Technician Should Take Over
Schedule a technician visit when drying and normal wiping no longer restore ordinary response. Regular professional inspection can catch small leaks, loose corks, and key alignment problems before they make playing frustrating.
Get professional help for leaks, damaged pads, and recurring stickiness
Seek help if you hear an air leak, need unusual finger pressure to make a note speak, see a torn or discolored pad, notice a bent key, or have recurring sticky pads. These are mechanical or material problems, not signs that you should clean harder.
Bring a used instrument to a repair professional before putting it back into regular use. A thorough assessment is safer than trying to disinfect or revive unknown pads, corks, and bore conditions yourself.
Keep a simple care record if problems repeat
Write down when a sticky note occurs, whether the instrument was stored damp, and what you cleaned. This gives a technician useful context and can reveal a pattern, such as a single key that sticks only after a long rehearsal.
It also keeps the daily routine honest. If problems appear despite careful swabbing and dry storage, the instrument is asking for service rather than more products.
FAQs Answers About Cleaning Woodwind Instruments
How do you clean woodwind instruments?
After each playing session, pull the correct swab through the bore, blot visible moisture from pads with clean pad paper, wipe the exterior and joints with a lint-free cloth, clean removable mouthpiece parts as their material permits, and store the instrument dry in its case.
Is Dawn dish soap safe for instruments?
Do not use dish soap as a general cleaner for a woodwind instrument, especially near pads, corks, keywork, or a wooden body. For a removable mouthpiece, follow the maker’s material-specific cleaning instructions or ask a technician.
Can I use rubbing alcohol to clean a flute?
Do not use rubbing alcohol on flute pads, corks, or keywork. For ordinary flute care, swab the bore and use a soft dry cloth on the exterior; ask a qualified technician before using any liquid cleaner on a particular part.
How to clean woodwind pads?
Dry pads rather than washing them: place clean pad paper under a pad, close the key with normal pressure, and pull the paper out once. If a pad remains sticky, torn, wrinkled, or unable to seal, have a woodwind technician inspect it.
Keep the Routine Simple to Protect Pads for the Long Term
The practical way to clean a woodwind instrument to prevent pad damage is to dry it every time you play, keep liquids and harsh products away from the keywork, and store it in a dry case. That routine protects the places you can reach without asking you to become a repair technician.
Start with the after-playing checklist at your next practice session. If a pad repeatedly sticks or a note feels unreliable, pause the home cleaning and get a qualified technician to assess the instrument.