
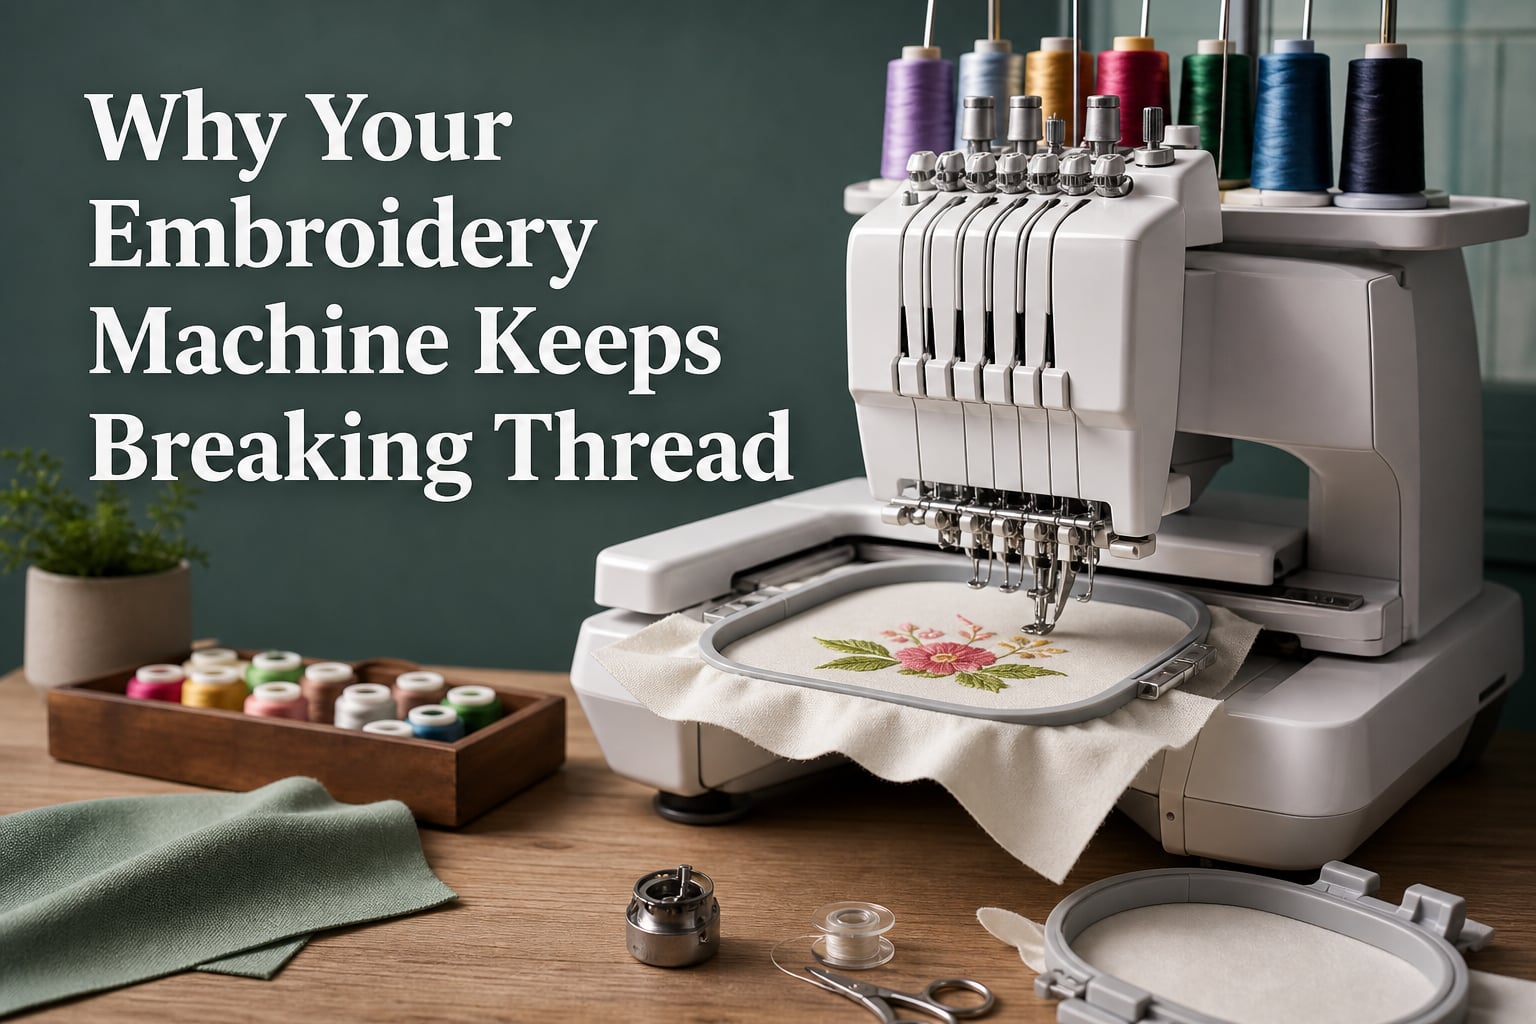
An embroidery machine keeps breaking thread when the upper thread cannot travel smoothly, the needle cannot form a clean stitch, or the bobbin and design create too much resistance. The usual causes are incorrect threading, a damaged or wrong needle, tension that is out of balance, a bobbin problem, burrs, or unsuitable thread.
Constant breaks are frustrating because every stop can leave a gap, snag a garment, and make it hard to tell which change helped. The fastest approach is not to adjust everything at once: identify the break pattern, rethread completely, then test one variable at a time.
This guide covers the checks that solve most home and commercial embroidery machine troubleshooting cases, plus the less obvious project and digitizing problems. Start with the simple items below before changing tension settings or taking the machine apart.
Your embroidery machine keeps breaking thread because the break pattern points to a specific fault
Look at the thread and the place where it fails before you change a setting. A clean snap, a fuzzy strand, thread pulled out of the needle, and a stop with intact thread point to different problems.
Shredding or fraying: The thread looks fuzzy, split, or flattened near the needle eye. Check the needle eye, needle size and type, burrs at the throat plate, excessive upper tension, and old thread.
A clean break: The thread snaps without fuzz. Rethread the full upper path, check spool delivery and thread guides, then inspect whether the thread is catching on a burr.
A pop-out: The thread comes out of the needle but is not cut. The thread may not be seated in the tension discs, the take-up or thread lift guide may have been missed, or the tail may be too short at the start.
A false break: The machine reports a break although the thread remains intact. Clean lint near the break sensor and follow the machine manual for its sensor path; do not alter a sensor mechanism without the manufacturer’s instructions.
Quick diagnostic: If several needles on a multi-needle machine break in the same way, start with the bobbin, hook area, backing, or design. If only one needle position fails, start with that needle’s thread path, needle, spool, and guide.
Seven common causes explain most embroidery thread breaks
Work through these causes in order. They move from the easiest checks to the checks that need more care, so you do not hide the original fault with a random tension adjustment.
Improper threading causes the upper thread to keep breaking
The upper thread must sit in every guide, tension disc, take-up lever, and final guide above the needle. Missing one point can let the thread whip, tighten suddenly, or skip the tension mechanism entirely.
Raise the presser foot before threading so the tension discs open, then use the diagram for your exact model. Threading with the foot down can leave the thread outside the discs even though it appears to be in the right place.
Also check the spool position. A spool cap that is too tight, a cone that catches on its holder, or thread snagging on a label can create a clean upper-thread break.
A bobbin issue creates lower-thread resistance and repeated stops
Use the bobbin style specified for the machine and insert it in the stated direction. A bobbin placed backward can alter how the thread enters its tension spring and cause bobbin thread issues that look like an upper-thread problem.
Inspect the bobbin for uneven winding, nicks, loose thread under the bobbin case spring, and lint in the hook area. Pre-wound bobbins can provide consistent winding, but they still must match the machine’s required class and unwind correctly.
Warning: Do not substitute a magnetic bobbin or a different bobbin material just because it fits in the case. A wrong bobbin can interfere with the rotary hook assembly and lead to skipped stitches, thread breaks, or damage.
A damaged or incorrectly fitted needle cuts thread instead of carrying it
Replace the needle first when breaks happen at the needle eye, when thread frays, or after a needle strike. A bent, dull, burred, or incorrectly oriented needle can nick thread on every stitch.
Push a new needle all the way into its stop and orient the flat side as your manual directs. The needle scarf is the small recessed area above the eye; it gives the hook room to catch the loop, so the wrong orientation or incomplete insertion matters.
Match needle type and size to the thread, fabric, and design. A dense design on heavy material may need a different needle choice than a light design on a stable woven fabric; use the machine and thread maker’s recommendations rather than forcing a universal setting.
Excessive tension makes thread stretch, fray, and snap
Thread tension is the controlled resistance applied to upper and bobbin thread while a stitch forms. When upper tension is too high, the thread is pulled hard through the needle eye and can break, especially at speed or in dense stitching.
Before adjusting a dial or digital setting, rethread with the presser foot raised and remove lint from the accessible thread path. Tension discs that contain lint, thread fragments, or sticky residue may grip inconsistently.
Test on the same fabric, stabilizer, and thread used for the project. Make small adjustments in the direction specified by your manual, sew a short test, and record the result; large changes make diagnosis harder.
A rough thread path damages thread before it reaches the fabric
Run a short length of thread slowly through each guide and feel for a catch without forcing it. Check the needle eye, thread guides, take-up lever, bobbin case edge, hook area, and throat plate burrs, especially after a needle break or strike.
A throat plate is the metal plate beneath the needle. A tiny burr around its needle hole can act like a sharp edge, which explains why thread may shred at the same point repeatedly.
Warning: Do not file, polish, or bend the rotary hook or needle plate if you are not trained to do so. A service technician can correct damaged parts without changing hook timing or clearances.
Old, poor, or poorly stored thread breaks under normal embroidery stress
Embroidery thread needs to unwind smoothly at speed. If it feels dry, has visible fuzz, repeatedly twists around the spool pin, or comes off in jerks, set it aside and test with a fresh spool from a known good source.
All-purpose sewing thread is not always suitable for machine embroidery. Store embroidery thread away from heat, direct sun, and dust, and keep cone nets or spool caps from rubbing hard against the thread.
Speed, hooping, backing, and digitizing can overload a sound machine
Users often report that reducing speed helps, particularly with dense fills, metallic or delicate thread, cap embroidery, and difficult fabrics. Lower speed does not repair a mechanical fault, but it can show whether acceleration and thread delivery are part of the problem.
Hoop fabric and backing so the material is stable but not stretched out of shape. Loose hooping lets fabric move under the needle, while unsuitable backing can make the needle work harder and raise thread stress.
If the machine breaks thread only on one design or at the same stitch point, test a simple built-in design. A file with very short stitches, abrupt direction changes, excessive density, or poor underlay can cause breaks even when the machine is threaded correctly.
Rethreading and checking the bobbin first fixes the safest high-probability causes
Turn off the machine before cleaning the hook area, changing a needle, or working near moving parts. Then follow this sequence without skipping steps.
Remove the upper thread completely rather than pulling it backward through the tension system.
Raise the presser foot and thread the machine from spool to needle using the model-specific guide.
Confirm the thread passes through the take-up lever and the last guide above the needle.
Install a new, correctly oriented needle and thread it in the stated direction.
Remove the bobbin, brush accessible lint from the bobbin area, and inspect the case and bobbin for damage.
Install the correct bobbin, draw up the bobbin thread as the manual describes, and leave adequate thread tails.
Stitch a small test on the project’s fabric and backing before returning to the design.
Tip: Change only one thing after the baseline rethread. For example, if the break continues, test a fresh needle before changing embroidery tension settings; this gives each result a meaning.
A controlled tension test separates tension faults from thread-path faults
Use a plain, open test design rather than a dense logo or a design with many color changes. Keep the same thread, needle, fabric, and backing for each sample so the variable you change is clear.
Start from the machine maker’s normal setting, not an arbitrary number from another model. Observe whether upper thread is pulled to the underside, bobbin thread shows on top, or the thread breaks before a stitch can form.
Upper thread showing strongly on the underside may indicate insufficient upper tension or a missed tension guide. Bobbin thread showing strongly on top may indicate too much upper tension, low bobbin tension, or a bobbin that is not seated correctly.
Breakage at a specific point despite balanced-looking stitches usually shifts suspicion toward a burr, needle, thread snag, or design file. Do not keep increasing tension to mask a thread-path catch.
Project setup and design testing identify problems the machine cannot correct
Check whether the failure changes with fabric. A stretchy knit, thick towel, cap, or layered garment may need a backing and hooping method different from a flat, stable woven sample.
Adhesive spray residue can also collect around the needle and thread path, increasing drag. Use only products allowed by the machine maker, keep them off machine parts, and clean residue according to the manual.
For a suspected digitizing issue, run the same thread and needle on a simple design, then run the troublesome file on a stable test sandwich. If only the troublesome file breaks thread, ask the digitizer to review density, stitch length, underlay, and sequence rather than changing machine timing.
A repeatable decision sequence prevents random adjustments and wasted projects
Use this short order whenever a thread break embroidery problem begins. It reflects the common pattern shared by experienced embroiderers: start with consumables and setup, then move toward service.
Stop, note whether the break was clean, shredded, a pop-out, or a false alert, and inspect the stitched area.
Rethread the upper path with the presser foot raised and check spool delivery.
Replace the needle, then verify its direction and full insertion.
Check the correct bobbin, bobbin path, lint, and bobbin case condition.
Test fresh thread at a slower speed on matching fabric and backing.
Inspect accessible guides and the needle plate for a snag; arrange service if a burr or hook damage is suspected.
Test a simple design. If it runs, inspect the original file, hooping, stabilizer, and fabric combination.
Brother, Janome, and Singer machines need their own manual for threading details
Brother embroidery machine upper thread keeps breaking most often deserves the same first checks: correct threading order, a fresh needle, correct bobbin, and clean lint area. Use the printed or on-screen threading guide for your model because guide locations and tension paths differ.
To fix thread breaking on a Janome embroidery machine or troubleshoot a Singer model, avoid copying a tension number from another brand. Confirm the designated needle system, bobbin type, threading direction, and cleaning procedure in that model’s manual before altering settings.
Regular cleaning and sensible storage prevent many repeat thread breaks
Brush accessible lint after projects and before it packs into the hook and bobbin area. Follow the manual’s lubrication schedule and use only the recommended lubricant and amount; excess oil can attract lint and stain fabric.
Replace needles before they become visibly damaged, after heavy use, and whenever a needle strike occurs. Keep needles, bobbins, and threads organized so the correct type is easy to identify at the machine.
Run a small test after a long storage period, after changing thread type, or before starting an important garment. This quick habit catches poor thread delivery or tension imbalance before the design is underway.
FAQs answers the most common embroidery thread-break questions
How do I stop embroidery thread from splitting?
Install a fresh, correct needle; rethread with the presser foot raised; and inspect the needle eye, final thread guide, and throat plate for snags. Then test fresh embroidery thread at a slower speed. Splitting or fuzzing usually points to a damaged needle, excessive tension, a burr, or thread that is catching in its path.
Why do I keep getting thread breaks?
Recurring breaks usually come from incorrect upper threading, a wrong or damaged needle, bobbin resistance, excessive tension, a rough thread path, poor thread delivery, or a demanding project setup. Rethread, replace the needle, check the bobbin, and test a simple design before changing several settings at once.
What tension should I set my embroidery machine at?
Use the normal setting in your machine manual as the starting point because tension scales are not interchangeable between models. Rethread with the presser foot raised, make a test on the same fabric and backing, and adjust in small manual-directed increments only if the stitch balance shows a tension problem.
What is the lifespan of an embroidery machine?
An embroidery machine can give many years of service when it is cleaned, lubricated as directed, and serviced when wear or timing issues appear. Its lifespan depends on workload, maintenance, correct needles and bobbins, and prompt repair of burrs, hook damage, or persistent breakage.
Start with rethreading, a new needle, and a controlled test
When your embroidery machine keeps breaking thread, do not begin by making a large tension change. Identify the break pattern, rethread with the presser foot raised, fit the right fresh needle, check the bobbin and thread path, then test on the actual fabric and backing.
If the problem persists after those checks or you find a burr, damaged hook, or repeated false alerts, pause the project and arrange qualified service. That protects both the machine and the item in the hoop.