
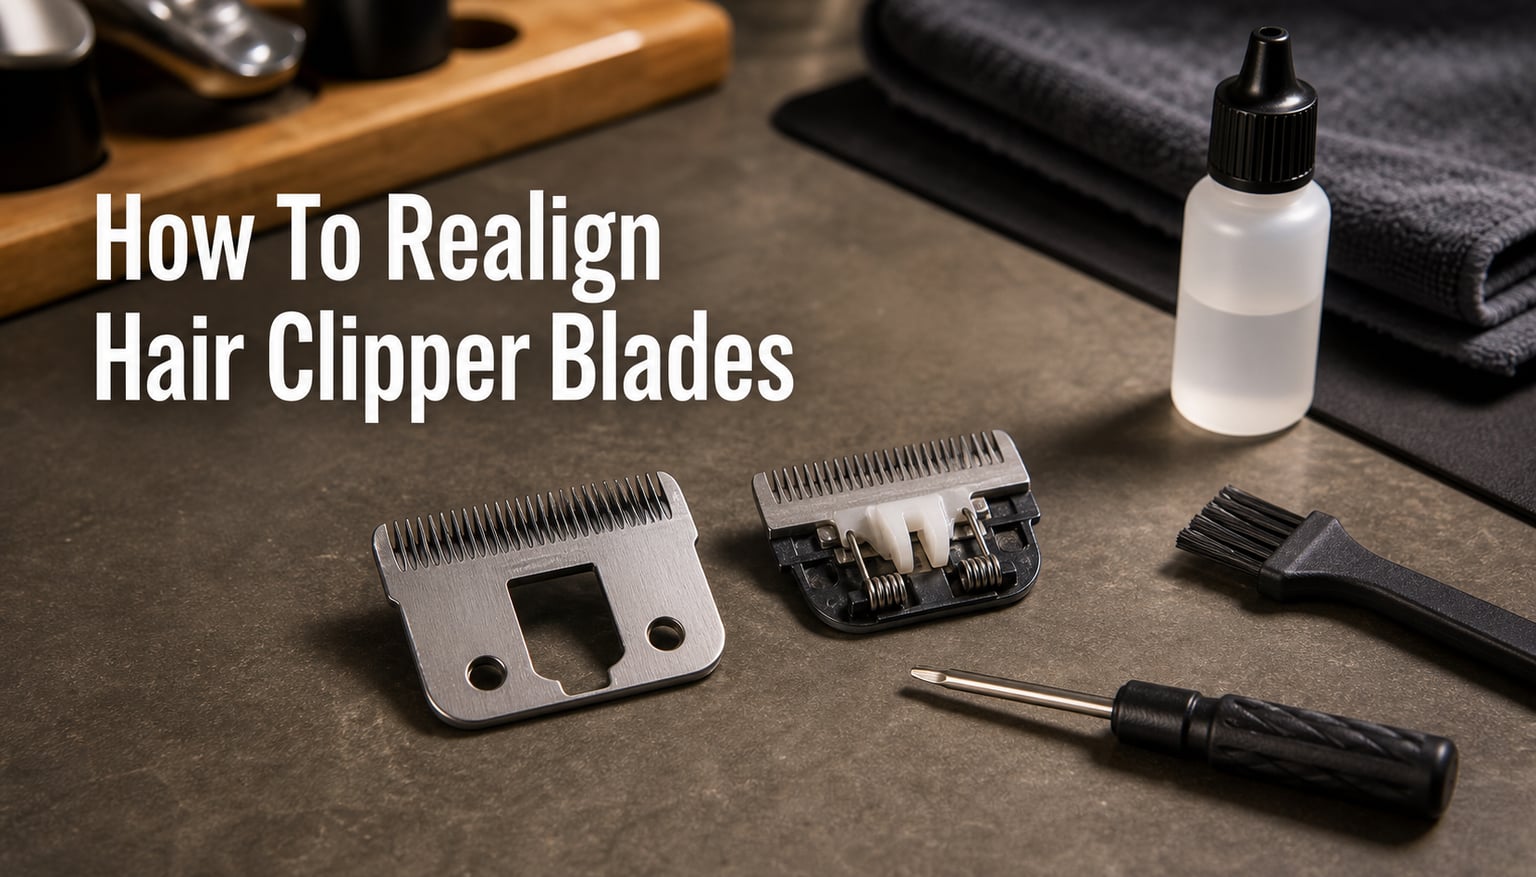
If your clippers are pulling hair, leaving uneven patches, or producing an irritating grinding sound, the blades are likely out of alignment. Learning how to align hair clipper blades is one of the most useful skills for barbers, home groomers, and pet owners who maintain their own equipment. This guide walks you through the full realignment process step by step, from identifying the problem to testing your results. You will learn the correct gap measurements, how to center the blade properly, and how to keep your clippers running smoothly for years.
What Causes Clipper Blade Misalignment
Blade misalignment happens when the cutting blade (the moving top blade) shifts out of position relative to the stationary blade (the bottom blade with fixed teeth). The blades are designed to work in a precise parallel relationship. When that relationship breaks down, you get uneven cuts, snagged hair, and potential skin irritation.
The most common cause is dropping your clippers. Even a short fall onto a hard surface can shift the blade position or bend a tooth. I have seen barbers drop clippers off waist-high counters and immediately notice the cut quality drop. If you hear a rattling sound after a drop, check alignment right away.
Normal wear also contributes. Over months and years of use, blade screws can loosen from vibration. The tension spring inside the blade assembly may weaken, allowing the cutting blade to drift sideways. Regular cleaning without proper reassembly is another culprit. Many people remove the blades for deep cleaning, then put them back slightly off-center.
Watch for these signs of misaligned clipper blades:
Hair pulling or snagging during use
Visible gaps between the top and bottom blade teeth that look uneven from left to right
One side of the blade cutting closer than the other
Excessive heat or vibration during operation
A clicking or grinding sound while the clipper runs
Skin irritation or nicking that did not happen before
If you notice any of these symptoms, stop using the clippers immediately. Continuing to run misaligned blades can dull the cutting edges, wear down the tension spring, and even damage the clipper motor. In most cases, you do not need a new blade set. A proper realignment fixes the problem in under 10 minutes.
How to Tell If Your Blade Is Worn vs. Misaligned
This is a question I see constantly on barber forums. Here is the quick test: visually inspect the blade teeth under good light. If the teeth are chipped, rounded at the tips, or visibly shorter on one side, the blade is worn and needs replacement. If the teeth look sharp and intact but the cut is still uneven, you are dealing with a misalignment issue that you can fix yourself.
Another test is the paper strip method. Hold a thin strip of paper and let the clippers cut through it at different points along the blade width. If the blade cuts cleanly on the left but tears the paper on the right (or vice versa), the blade is misaligned. If it tears the paper evenly across the entire width, the blade is dull.
Tools You Need for Blade Realignment
You probably already have everything required. Here is the complete list:
Screwdriver: Most Wahl and Andis clippers use a Phillips-head screwdriver (size #1 or #0). Some Oster models use a flathead. Check your blade screws before starting.
Cleaning brush: A small brush (an old toothbrush works well) to remove hair and debris from the blade assembly.
Clipper oil: For lubricating the blades after realignment. Use dedicated clipper oil, not WD-40 or household oils.
Gap measurement reference: A dime or a credit card. The correct blade gap is approximately the thickness of a dime (1/32 to 1/16 inch).
Optional but helpful: A magnifying glass for inspecting tooth alignment, and a clean flat surface to work on.
One important note: avoid using power tools or electric screwdrivers. The screws on clipper blades are small and delicate. Overtightening with a powered driver can strip the threads or crack the blade. Hand-tight is all you need.
How to Realign Hair Clipper Blades: Step-by-Step Guide
This is the core of the process. Follow these steps carefully, and take your time with each one. Rushing through alignment usually means you will have to redo it.
Step 1: Power Off and Prepare
Turn off and unplug the clippers. If you have cordless clippers, remove the battery or ensure they are powered off. This is a safety must. Never attempt blade adjustments while the clipper is running, even if it seems convenient for testing. Clean the blade assembly thoroughly with your brush to remove all hair clippings and oil residue. Debris trapped between the blades will throw off your alignment.
Step 2: Loosen the Blade Screws
Locate the two screws holding the blade assembly to the clipper body. Using your screwdriver, turn each screw counterclockwise about one full turn. The goal is to loosen them enough that you can move the blades by hand, but not so loose that the screws fall out. You want the blades to stay in contact with each other while allowing positional adjustment. If the screws come completely free, the blade assembly may separate, and you will need to reassemble it (see the spring mechanism section below).
Many people make the mistake of completely removing the screws. Do not do this for a basic realignment. Just loosen them enough for movement.
Step 3: Position the Cutting Blade with Correct Gap Distance
This is where the specific measurements matter. The top (cutting) blade should sit so that its teeth are set back from the bottom (stationary) blade teeth by 1/32 to 1/16 inch. That is approximately the thickness of a dime or the width of two credit cards stacked together.
Here is the precise method Wahl recommends for their two-hole blades:
The points of the top blade teeth should be 1/32 to 1/16 inch back from the points of the bottom blade teeth.
Both blades must be parallel to each other across the full width. The gap should be consistent from the leftmost tooth to the rightmost tooth.
Use a dime as a visual spacer guide. Place it between the blade tips to check the setback distance.
If the top blade extends past the bottom blade, you risk cutting skin. If it is set too far back, the clippers will not cut efficiently and will pull hair. Getting this gap right is the single most important part of the alignment process.
Step 4: Center the Blade Left to Right
This step is where most guides fall short, and it is the question I see most often on barber forums. Getting the blade centered left-to-right is just as important as the front-to-back gap.
Here is the method barbers recommend: look at the extreme left tooth of the top blade. This leftmost tooth should line up so that it barely overlaps or sits directly above the first small tooth on the left side of the bottom blade. Do the same check on the right side. The top blade should be centered over the bottom blade so that an equal number of bottom blade teeth are visible on each side.
If the top blade is shifted to the left or right, you will get an uneven cut where one side trims closer than the other. Many users on the r/Barber subreddit report that they struggle with this centering after cleaning. The fix is to push the top blade gently sideways while the screws are loose until both sides look symmetrical.
A helpful trick: place the clipper flat on a table with the blades facing up. Look straight down from above. The stationary blade should extend equally on both sides of the cutting blade. If one side shows more stationary blade teeth than the other, adjust accordingly.
Step 5: Tighten Screws While Holding Alignment
This is the trickiest part because tightening the screws can shift the blade position. Hold the blade assembly firmly with one hand while you tighten with the other. Tighten the screws alternately, a quarter turn at a time on each, rather than fully tightening one and then the other. This alternating pattern keeps pressure even and prevents the blade from shifting.
Once both screws are snug, double-check your alignment before fully tightening. If the blade moved during tightening, loosen the screws slightly, readjust, and try again. It may take two or three attempts to get it right. This is normal, even for experienced barbers.
Do not overtighten. The screws should be snug enough that the blade does not move when you press on it with your finger, but not so tight that you strip the screw heads. If you feel resistance building quickly, stop.
Step 6: Test the Alignment
Before cutting any hair, run the clippers without load. Listen for smooth, consistent operation. Any rattling, clicking, or grinding means the blades are still not aligned properly. Turn off and readjust.
Next, do the paper strip test described earlier. The clippers should cut cleanly through the paper at every point along the blade width. If one section tears the paper, note which side and make a fine adjustment.
Finally, test on a small section of hair on the back of your own hand or forearm (if you have hair there) or on a willing test subject. The cut should feel smooth with no pulling or snagging.
Understanding the Adjustment Lever
Most modern hair clippers have a small lever on the side, typically called the taper lever or adjustment lever. Understanding what this lever does is essential for getting the most out of your clippers.
The taper lever controls the distance between the cutting blade and the stationary blade. When you push the lever up (toward the closed position), it moves the cutting blade forward, creating a closer cut. When you push it down (toward the open position), it pulls the cutting blade back, leaving the hair slightly longer.
This lever does not replace the need for guard attachments. Instead, it gives you fine-tuning control between guard sizes. For example, if a #2 guard leaves hair slightly longer than you want, you can adjust the lever to close the gap for a tighter cut without switching to a #1 guard.
The lever should move smoothly and stay in position when you release it. If the lever feels loose or drifts on its own during use, the internal tension may need adjustment. On Wahl clippers, there is usually a small screw near the lever that controls tension. Tightening this screw slightly will make the lever hold its position more firmly.
One important point: the adjustment lever changes the blade position temporarily. If you have realigned your blades, the lever should return to its neutral (middle) position, and your alignment should hold regardless of lever position. If the lever movement causes the blade to shift laterally, the blade guide may be worn and need replacement.
How to Reassemble Clipper Blades with Spring Mechanism
If you have fully disassembled the blade for deep cleaning, or if your screws came out during the loosening step, you will need to reassemble the blade set correctly. This process involves the tension spring, which is critical for proper blade function.
Here is how to put clipper blades back together:
Start with the stationary blade: This is the blade with the fixed teeth. Lay it face down on your work surface.
Insert the tension spring: The spring is a small, curved piece of metal. It sits inside the blade socket, which is the rectangular slot in the center of the stationary blade. The convex (rounded) side of the spring faces up, away from the stationary blade.
Place the cutting blade: Position the cutting blade (with the moving teeth) on top of the spring. The two holes in the cutting blade should align with the corresponding holes in the stationary blade.
Press down and align: Press the cutting blade down against the spring tension. The blade guide (small plastic or metal rails on the clipper body) will hold the assembly in place. Make sure all holes are aligned.
Insert and tighten screws: Thread both screws in by hand first to avoid cross-threading. Then tighten alternately, a quarter turn at a time, until snug.
Set the setback: Now follow the gap positioning steps (Steps 3-4 above) to set the correct 1/32 to 1/16 inch setback before fully tightening.
A common mistake during reassembly is installing the spring upside down. If the spring is reversed, the cutting blade will not sit flat against the stationary blade, and you will get extremely uneven cutting or no cutting at all. The spring should create upward pressure that keeps the cutting blade pressed against the stationary blade while still allowing it to slide side to side.
Another common issue is forgetting the blade guide rails. These are small protrusions on the clipper body that the stationary blade slides onto. They keep the blade positioned correctly. If the stationary blade is not seated on the guide rails, the entire assembly will be crooked no matter how carefully you align the teeth.
Brand-Specific Reassembly Notes
Different brands have slightly different blade assemblies:
Wahl clippers (Magic Clip, Super Taper, Legend, Senior): Use a two-hole blade design. The spring is relatively large and curved. Wahl blades tend to be forgiving during reassembly, but pay attention to the left/right centering, as Wahl’s wide blades make lateral shifts more noticeable.
Andis clippers (Master, Fade, Envy): Some models use a different spring orientation. The Andis Master uses a sliding blade design where the spring tension is adjustable via a screw on the side of the blade assembly. Check your model’s manual for the correct spring orientation.
Oster clippers (Classic 76, Fast Feed): Oster uses a different blade mounting system with a hinge and socket. The Classic 76 blades snap on and off, while the Fast Feed uses screws. Oster blades typically do not have the same spring mechanism and are easier to align.
Testing Your Alignment
After completing the realignment, test your work thoroughly. Here are three verification methods that experienced barbers rely on:
Visual inspection: Hold the clippers at eye level with the blades facing a light source. You should see a thin, consistent line of light between the top and bottom blade teeth running the full width. If the gap varies from left to right, readjust.
Fingernail test: Gently drag your fingernail across the blade teeth from left to right. The cutting blade teeth should not extend past the stationary blade teeth at any point. If you feel your nail catch on a top blade tooth that sticks out beyond the bottom blade, that spot needs adjustment.
Test cut: Start with a small section at the nape of the neck or around the ears. The cut should feel smooth and consistent. Check the cut hair length on both sides. If one side is noticeably closer than the other, the lateral centering needs fine-tuning.
Maintenance Tips to Prevent Future Misalignment
Once you have your blades aligned, a few maintenance habits will keep them that way much longer. Most alignment issues are preventable with proper care.
Clean after every use: Remove hair clippings from the blade assembly using your brush. Built-up hair creates pressure that can slowly push the cutting blade out of position. A quick 30-second brush-out after each use makes a big difference.
Oil regularly: Apply two to three drops of clipper oil to the blade teeth and the sliding surfaces between the blades. Run the clippers for 10 seconds to distribute the oil. Proper lubrication reduces friction, which reduces vibration, which reduces the chance of screws loosening over time.
Store properly: Keep clippers in a case or on a stand where they will not be knocked off. A padded case protects against drops and keeps dust off the blades. Avoid tossing clippers loose into a drawer or bag where they can rattle around.
Check alignment weekly: If you use your clippers daily, take 30 seconds once a week to visually check the blade alignment. Catching a small shift early prevents the problem from getting worse.
Replace worn blades: Even with perfect alignment, blades eventually wear out. If you find yourself realigning frequently and the cut quality still suffers, inspect the blade teeth for wear. Replacement blade sets are available for all major brands and are straightforward to install using the reassembly steps above.
When to seek professional help: If you have realigned the blades multiple times and still get uneven cuts, if the blade teeth are visibly damaged, or if the motor sounds abnormal, a professional sharpening service can help. Many services will realign, sharpen, and test your blades for a reasonable fee. This is worth doing once a year for professional barbers who use their clippers daily.
FAQs
Why are my hair clippers not cutting evenly?
Uneven cutting is usually caused by blade misalignment, where the cutting blade has shifted out of position relative to the stationary blade. Other causes include dull blades, insufficient lubrication, or debris trapped between the teeth. Check alignment first, then clean and oil the blades before considering replacement.
How to realign Wahl clippers?
Loosen the two blade screws about one turn, position the cutting blade so the teeth sit 1/32 to 1/16 inch back from the stationary blade teeth, center the blade left to right so both sides look symmetrical, then tighten the screws alternately while holding the alignment in place.
How to fit clipper blades?
Start with the stationary blade face down, insert the tension spring into the socket with the rounded side facing up, place the cutting blade on top aligning all holes, insert the screws by hand to avoid cross-threading, then set the setback gap and tighten.
What is the blade adjustment lever for on hair clippers?
The adjustment lever (taper lever) lets you fine-tune the cutting length by shifting the cutting blade slightly forward or backward. Pushing it up creates a closer cut, while pushing it down leaves hair slightly longer. It works between guard sizes for precise blending.
Conclusion
Knowing how to align hair clipper blades saves you money on unnecessary blade replacements and frustration from poor cuts. The process comes down to six clear steps: clean the blades, loosen the screws, set the 1/32 to 1/16 inch gap, center the blade left to right, tighten alternately, and test. With a little practice, you will be able to realign your clippers in under five minutes and keep them cutting like new. Grab your screwdriver and give it a try the next time your blades start acting up.