
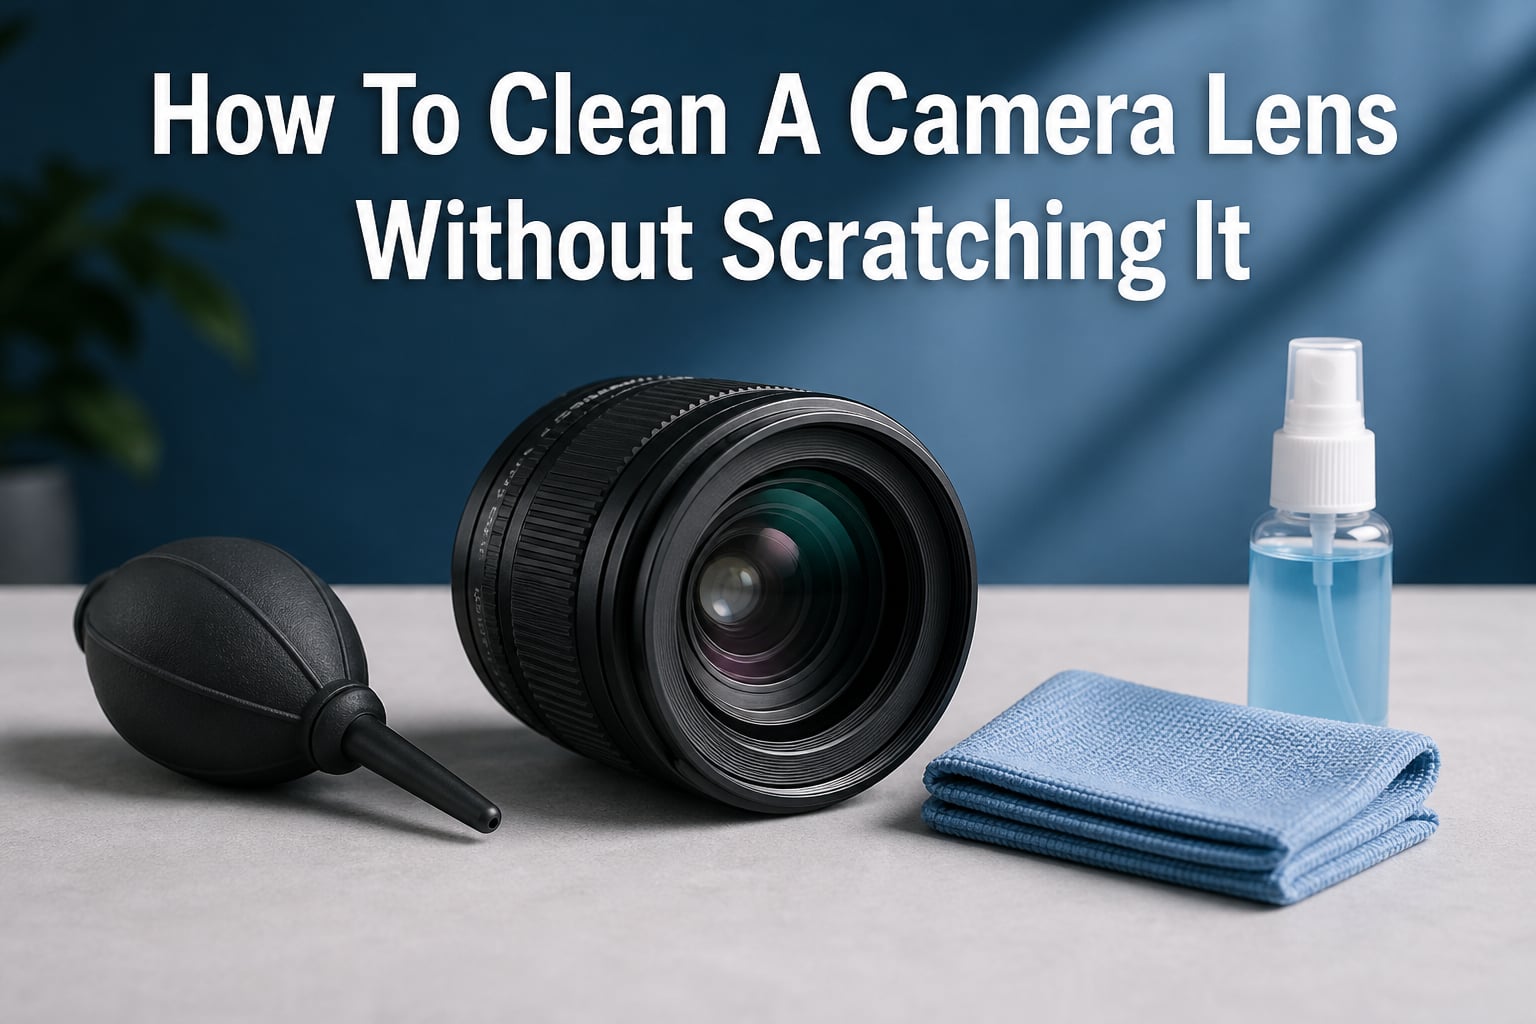
Learning how to clean a camera lens without scratching it is one of the most important skills any photographer can master. A single grain of sand dragged across your front element can leave a permanent mark that ruins image quality forever. I have seen expensive lenses ruined by careless cleaning more times than I care to count.
The good news is that safe lens cleaning is straightforward once you understand the proper technique. You do not need expensive equipment or professional training to do it right. All you need is the correct sequence of steps and the right tools.
In this guide, I will walk you through a proven step-by-step process that photographers and camera technicians rely on. We will cover everything from the tools you need to the specific mistakes that cause scratches, so you can keep your glass spotless and your images sharp.
Tools and Materials You Need
Before you touch your lens, gather the right supplies. Using the wrong tools is the fastest way to cause permanent damage. Here is what you should have on hand.
Air blower: A simple bulb blower, like the Giottos Rocket Air Blaster, is your first line of defense. It pushes puffs of air to dislodge loose dust and grit without any physical contact. Never substitute compressed air cans, as their propellant can freeze and crack optical glass.
Soft lens brush: Look for a brush with ultra-soft natural bristles, such as goat hair. A retractable lens brush or one built into a lens pen works well for sweeping away particles the blower cannot reach.
Lens cleaning solution: Use a dedicated, alcohol-free and ammonia-free lens cleaning fluid. These formulas are designed to break down oils and fingerprints without degrading the optical coatings on your glass.
Microfiber cloth: A clean, high-quality microfiber cloth is essential for wiping the lens surface. Keep multiple cloths on hand and wash them regularly. A dirty microfiber cloth does more harm than no cloth at all.
Lens cleaning tissues: Single-use lens tissues are a great alternative to reusable cloths. They eliminate the risk of re-depositing debris from a previously used cloth.
Lens pen (optional): A lens pen combines a retractable brush on one end and a carbon-impregnated cleaning tip on the other. Many photographers swear by them for quick field cleaning of fingerprints and smudges.
How To Clean A Camera Lens Without Scratching It: Step-By-Step
Follow these steps in the exact order listed. Each step builds on the previous one, and skipping ahead is the most common cause of accidental scratches.
Step 1: Prepare a Clean Environment
Start in a clean, dust-free area. If you are outdoors, move indoors or find a sheltered spot. Turn off any fans or air conditioning that could blow additional particles toward your lens while you work.
Wash and dry your hands thoroughly before handling any cleaning tools. Oils from your skin transfer easily to microfiber cloths and then onto the lens surface.
Remove the lens from the camera body and cap both ends. This prevents dust from entering the camera mount and protects the rear element while you focus on the front.
Step 2: Use an Air Blower First
This is the single most important step. Before anything touches the glass, use your air blower to remove all loose dust, grit, and sand particles. These tiny particles act like sandpaper when dragged across the lens surface.
Hold the lens with the front element facing downward. This lets gravity help pull dislodged particles away from the glass. Squeeze the blower several times from different angles.
Never use compressed air from a can. The liquid propellant can spray onto the lens and leave permanent residue that damages optical coatings.
Step 3: Brush Away Remaining Particles
After blowing, some stubborn particles may still cling to the lens surface. Use a soft lens brush to gently sweep them away. Use light, circular strokes starting from the center of the lens and moving outward toward the edges.
Do not press down. Let the bristles do the work with their own weight. If a particle seems stuck, return to the air blower rather than forcing it with the brush.
Keep your brush clean. Tap it gently on a hard surface between uses, and wash it periodically with mild soap and water to remove trapped debris.
Step 4: Apply Cleaning Solution to the Cloth
This step catches many people off guard. Never apply cleaning solution directly to the lens surface. Liquid can seep under the lens elements and cause internal damage or fogging.
Instead, apply two or three drops of lens cleaning solution onto your microfiber cloth or lens tissue. Let it absorb for a moment. The cloth should be damp, not dripping wet.
If you are using pre-moistened lens wipes, like Zeiss cleaning wipes, this step is already handled for you. Just make sure the wipe is fresh and has not dried out.
Step 5: Wipe in Circular Motion From Center to Edge
Take the damp portion of your cloth and place it gently on the center of the lens. Begin wiping in slow, circular motions, gradually spiraling outward toward the edge of the glass.
This center-to-edge pattern serves two purposes. It ensures even coverage and directs any remaining particles toward the lens edge, where they are less likely to cause visible scratches.
Use minimal pressure. The cleaning solution does the hard work of breaking down oils and fingerprints. Your job is simply to guide the cloth across the surface.
For stubborn smudges, reapply a small amount of solution to a clean section of cloth and repeat. Never scrub aggressively at a spot. Patience prevents scratches.
Step 6: Dry and Inspect With Light
Use a dry section of your microfiber cloth to gently buff away any remaining moisture. Use the same circular, center-to-edge motion to leave a streak-free finish.
Then, tilt the lens under a bright light source. Look at the glass from different angles to check for remaining smudges, streaks, or debris. The light reveals imperfections that are invisible under normal viewing.
If you spot remaining residue, repeat steps 4 through 6 with a fresh cloth or tissue. Avoid reusing the same section of cloth that already picked up oils.
Step 7: Final Check and Reassemble
Once the glass looks spotless under light, do one final inspection. Hold the lens at arm’s length and slowly rotate it, watching for any haze or streaks you may have missed.
Replace the front and rear caps immediately after cleaning. This prevents new dust from settling on the freshly cleaned surface. Store the lens in its case or bag to keep it protected.
Wash your microfiber cloth after each major cleaning session. Never put a used cloth back in your camera bag without cleaning it first.
Which Parts of the Lens Should You Clean?
Understanding which parts of your lens need attention helps you clean more effectively and avoid damaging sensitive areas. Each part requires a slightly different approach.
Front element: This is the large glass surface at the front of the lens, and it is the most frequently cleaned part. It collects the most dust, fingerprints, and smudges because it faces outward. Use the full step-by-step process described above for this surface.
Rear element: The rear element sits at the back of the lens, closest to the camera sensor. It requires cleaning less often, but it is just as important. Dust on the rear element can show up as spots in your images. Clean it gently with the same technique, but take extra care since rear elements are often smaller and more recessed.
Lens barrel and rings: The barrel, focus ring, and zoom ring collect dust and oils from your hands. Use a slightly damp microfiber cloth to wipe these down. Avoid getting moisture near any gaps or moving parts where liquid could enter the internal mechanism.
Filter thread and mount: A soft brush works well for the metal filter thread at the front and the metal mount at the back. These areas are durable, but keeping them clean prevents cross-contamination when you attach filters or mount the lens.
UV or protective filters: If you keep a UV filter on your lens for protection, clean the filter using the same technique. Many photographers prefer cleaning a replaceable filter rather than the lens itself, which reduces wear on the actual optical glass.
Common Mistakes To Avoid When Cleaning Your Lens
Even with the right tools, bad habits can cause scratches. Here are the most common mistakes and why they are dangerous.
Using household glass cleaners like Windex: Windex and similar products contain ammonia and other chemicals that strip the protective coatings from your lens. These coatings reduce glare and improve image quality. Once damaged, they cannot be restored without professional recoating.
Wiping the lens dry: Dragging a cloth across dry glass forces any remaining particles into the surface, creating micro-scratches. Always use a small amount of cleaning solution or a pre-moistened wipe to lubricate the surface.
Using your shirt or clothing: Cotton shirts and other clothing fabrics trap dust and grit that you cannot see. Even a clean-looking shirt will scratch optical glass over time. Always carry a dedicated microfiber cloth.
Blowing on the lens with your mouth: Your breath contains moisture and tiny droplets of saliva. Over time, these deposits can leave residue that damages coatings. Use a bulb blower instead.
Applying too much pressure: Pressing hard on the glass does not clean better. It just increases the risk of grinding particles into the surface. Let the solution do the work.
Cleaning too frequently: Every time you wipe the lens, you create microscopic friction. Clean only when you can see visible smudges or dust that affect your images. Over-cleaning wears down coatings prematurely.
FAQs
Is Windex good for camera lenses?
No, Windex is not safe for camera lenses. It contains ammonia and other harsh chemicals that permanently strip the anti-reflective coatings from optical glass. These coatings are applied at the factory and cannot be restored without professional recoating. Always use a dedicated alcohol-free lens cleaning solution instead.
What is the best thing to clean a camera lens with?
The best combination is a bulb air blower, a soft natural-bristle lens brush, and a high-quality microfiber cloth paired with an alcohol-free lens cleaning solution. Pre-moistened lens wipes from brands like Zeiss are also a reliable option. The key is to remove loose dust first with air before anything touches the glass surface.
Are alcohol wipes good for cleaning camera lenses?
Alcohol wipes can be used occasionally on camera lenses, but they are not ideal for regular use. High-concentration isopropyl alcohol can degrade lens coatings over time. If you use alcohol-based wipes, choose ones specifically formulated for optical glass. For routine cleaning, stick with alcohol-free lens cleaning solutions that are designed to protect coatings.
Can you buff out a scratch on a camera lens?
In most cases, no. Buffing a scratch on a camera lens requires removing a layer of optical glass, which changes the lens curvature and degrades image quality. It also removes the protective coatings in the buffed area. Minor scratches can sometimes be minimized with a small amount of lens cleaning solution, but deep scratches typically require professional repair or lens replacement. A UV filter can help prevent scratches from reaching the actual lens.
Conclusion
Knowing how to clean a camera lens without scratching it comes down to one core principle: remove loose particles before anything touches the glass. Start with an air blower, follow with a soft brush, then use a microfiber cloth dampened with alcohol-free cleaning solution in gentle circular motions from center to edge. Avoid household cleaners, dry wiping, and your shirt at all costs. With these steps as your routine, your lenses will deliver sharp, clear images for years to come.