
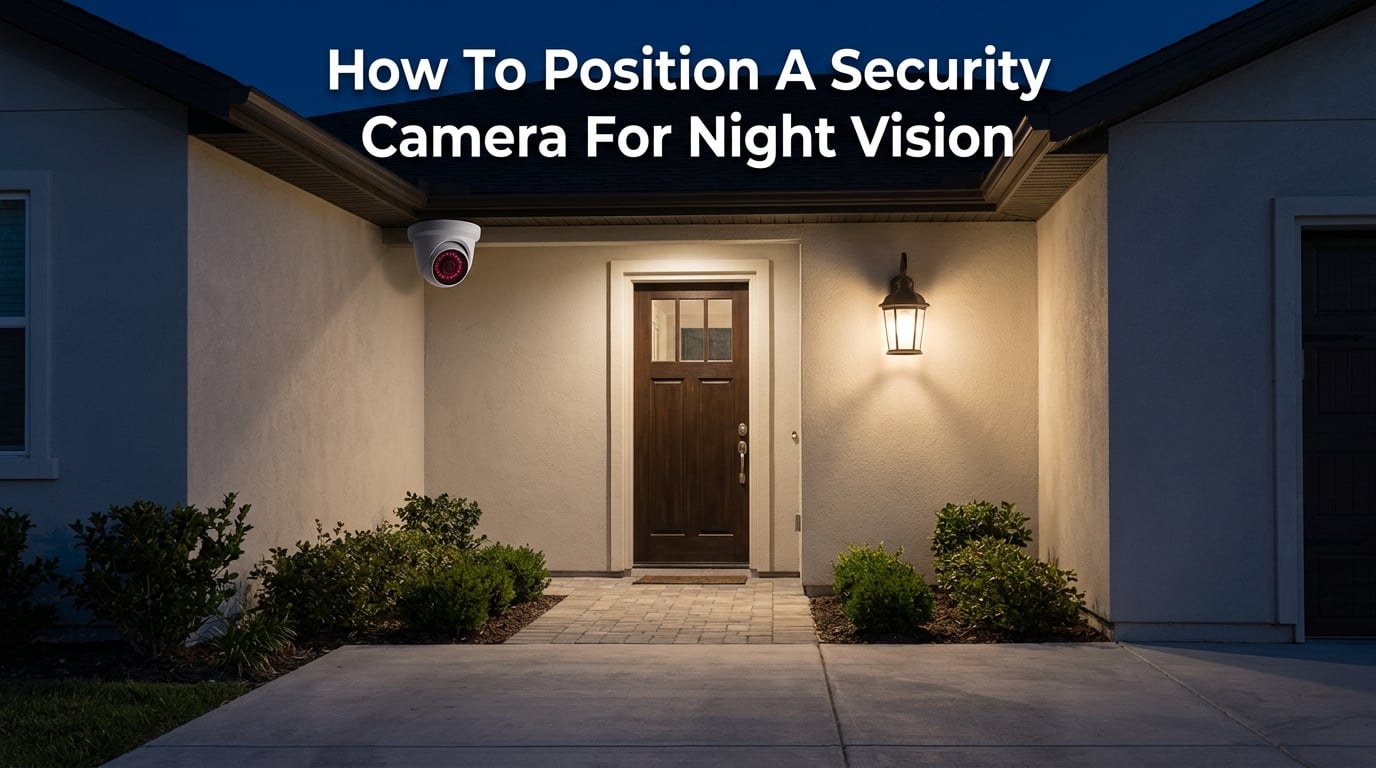
Getting your security camera placement right during the day is one thing. But when the sun goes down, even an expensive camera can produce useless footage if it is positioned poorly. If you want to position a security camera for night vision effectively, you need to think about height, angle, infrared reflection, light sources, and entry point coverage as a coordinated system rather than isolated decisions.
I have spent years testing security camera installations on homes and small businesses, and the pattern is always the same. People mount cameras high and pointed outward, assume the infrared LEDs will handle the rest, and then discover their night footage shows blurry shapes instead of identifiable faces or license plates.
This guide walks you through exactly how to position a security camera for night vision. You will learn the optimal mounting height, the best angles for infrared coverage, how to avoid glare and reflection, and a step-by-step testing process so you know your setup actually works before you need it.
How Infrared Night Vision Works?
To position your camera correctly, it helps to understand what happens after dark. Most security cameras use infrared (IR) LEDs built into the housing to illuminate the area in front of them with light that is invisible to the human eye but visible to the camera sensor.
When the ambient light drops below a certain threshold, the camera’s IR cut filter slides away, and the sensor switches to black-and-white mode. The IR LEDs fire, flooding the scene with infrared light, and the sensor captures whatever that light bounces off of.
Here is the critical part that most people miss: the infrared light from those LEDs has a limited range and a specific spread pattern. If your camera is pointed at a wall, the IR light hits the wall and reflects back into the lens, washing out the image. If the camera is too high, the IR beam loses intensity before it reaches the ground where a person would actually be standing.
Some newer cameras offer color night vision using starlight sensors that need very little ambient light to produce full-color footage. These sensors are powerful, but they still depend on correct positioning to capture usable detail at night.
How to Position a Security Camera for Night Vision: Step by Step
Follow these five steps in order. Each one builds on the previous, so do not skip ahead.
Step 1: Choose the Right Height
Mount your camera between 7 and 10 feet off the ground. This is the sweet spot for night vision because it keeps the infrared LEDs close enough to the ground to illuminate faces and bodies effectively, while staying high enough to resist tampering.
Going above 10 feet might seem like it gives you a wider view, but the IR illumination drops off significantly. You will get a large area of dim, grainy footage instead of a smaller area with crisp, identifiable detail.
Step 2: Set the Angle
Aim the camera downward at roughly a 15 to 30-degree tilt from horizontal. This angle lets the IR LEDs illuminate the ground and approaching subjects rather than shooting straight out into open space where there is nothing to reflect the light back.
If you are mounting on a corner, angle the camera at 45 degrees from the wall. This gives you close to 180-degree coverage of the area and ensures the IR beam sweeps across the full field of view.
Step 3: Check for IR Reflection
Before you finalize the mounting position, look at what is immediately in front of and beside the camera. Walls, eaves, tree branches, and even the mounting bracket itself can reflect IR light back into the lens.
Leave at least 2 to 3 feet of clearance between the camera lens and any surface that could bounce infrared light back. If you are mounting under an eave, make sure the camera extends far enough forward that the IR beam clears the roofline.
Step 4: Verify Entry Point Coverage
Walk to every entry point the camera is supposed to cover and crouch or stand at different heights. Ask yourself: if someone approached this door at 2 AM, would the IR illumination reach them clearly enough to identify their face?
If the answer is no, you need to adjust the angle or add supplemental IR lighting. Do not assume the camera will figure it out.
Step 5: Test at Night
This is the step almost everyone skips, and it is the one that matters most. After installation, wait until full darkness, then open the camera’s live feed on your phone and walk through the coverage area yourself.
I recommend having a family member or friend walk toward the camera from different distances while you watch the feed. You will immediately see if the IR is reaching far enough, if there are dark spots, and whether faces are identifiable or just silhouettes.
Optimal Mounting Height for Night Vision
The 7-to-10-foot rule is not arbitrary. It is the range where infrared illumination, field of view, and tamper resistance all balance out for outdoor security cameras.
At 7 feet, you get excellent IR coverage of the immediate area around your door or entry point. The light reaches the ground with enough intensity to capture facial detail. The trade-off is that someone determined enough could potentially reach the camera.
At 9 to 10 feet, you gain tamper resistance and a slightly wider field of view, but the IR beam has to travel farther to reach ground level. For cameras with strong IR LEDs rated for 100 feet or more, this is usually not a problem. For budget cameras with weaker IR output, the difference can be noticeable.
Above 10 feet, you start losing night vision quality rapidly. The IR intensity falls off following the inverse-square law, meaning doubling the distance cuts the illumination to a quarter of what it was. A camera at 15 feet will produce noticeably darker footage than the same camera at 8 feet.
For specific locations around your property, here are the heights I recommend based on real-world testing:
Front door and porch: 7 to 8 feet (prioritize facial detail)
Driveway: 8 to 9 feet (balance coverage area with detail)
Backyard: 8 to 10 feet (wider coverage, less tamper risk)
Garage: 7 to 9 feet (depends on garage height and approach angle)
Side yard: 8 to 10 feet (narrow space, needs reach)
Angle Positioning for Maximum Night Vision Coverage
Angle is where most night vision setups fail. You can have the right camera at the right height and still get garbage footage because the angle is wrong.
The most effective angle for night vision is a 15-to-30-degree downward tilt. This positions the IR LEDs so their beam hits the ground and any approaching subjects, rather than shooting out into empty space where nothing reflects the infrared light back to the sensor.
A camera pointed straight down at 90 degrees will detect motion but will not capture identifying detail. Forum users on r/SecurityCamera have confirmed this repeatedly: a steep downward angle gives you a top-down view of someone’s head, which is useless for identification.
Corner mounting at a 45-degree angle is one of the most effective setups I have tested. If you place the camera on an outward-facing corner of your home and angle it at 45 degrees from the wall, you can capture nearly 180 degrees of coverage. The IR beam sweeps across the full field of view, and you eliminate the blind spot that a flat wall mount creates.
Pay attention to the field of view specification on your camera. A wide-angle lens (110 degrees or more) will spread the IR illumination over a larger area, which can reduce effective range. A narrower lens concentrates the IR beam, giving you better detail at greater distances but covering less width.
If you need to cover a long narrow area like a driveway or walkway, angle the camera to look down the length of the space. The IR beam will travel with the field of view and illuminate subjects as they approach.
Positioning Relative to Lighting
One of the most common questions I see in security forums is whether a camera should go above or below a light fixture. The answer depends on the type of light and what you are trying to achieve.
If you have a porch light or floodlight, mount the camera below the light source. Light spreads downward naturally, so placing the camera below the fixture means ambient light falls on the area the camera is watching. This gives you better overall exposure and can even enable color night vision instead of grainy black-and-white IR mode.
Mounting above a bright light causes two problems. First, the light shines directly into the camera lens, creating glare and washing out the image. Second, the camera looks into the dark area beyond the light’s reach, and the IR struggles to compensate for the contrast.
The general rule is to keep lights behind the camera or off to the side, never directly in front of or below the lens in a way that shines toward the sensor. If your light and camera share the same mounting bracket, position the camera on the opposite side from the light.
For supplemental IR illumination, I recommend dedicated IR illuminators mounted separately from the camera. Position them off to the side, angled to fill the area the camera is watching. This does two things: it improves IR coverage without overloading the camera’s sensor, and it keeps spiders from building webs directly on the camera lens (spiders are attracted to IR LEDs).
Covering Key Entry Points at Night
Break-ins do not happen at random spots on your property. They happen at entry points, and your camera placement should reflect that reality.
Front Door and Porch
The front door is the single most important location for a night vision camera. Position it 7 to 8 feet high, angled slightly downward to capture faces as someone approaches. If you have a porch light, mount the camera near it but not directly above it.
Make sure the field of view covers the door itself and the approach path. You want to see the person before they reach the door, not just when they are standing at it.
Driveway and Garage
For driveway monitoring, mount the camera at 8 to 9 feet with a wider angle to capture vehicles and anyone approaching on foot. Angle it to cover the full length of the driveway if possible.
If your goal is license plate capture at night, you need a specialized setup. Position a dedicated camera low (about 3 to 4 feet) and close to where vehicles pass, angled to read plates as cars enter. Standard night vision cameras mounted high will not produce readable plates at night because the IR reflects off the plate surface at the wrong angle.
Backyard and Side Entries
Backyards are popular targets because they offer privacy for intruders. Mount cameras at 8 to 10 feet on the back wall of your home, angled to cover the yard and any ground-floor windows or doors.
Side yards are tricky because they are narrow. Use a camera with a wide field of view and angle it to look down the length of the space. Make sure the IR beam reaches the far end.
Windows
If you are monitoring windows from outside, position the camera to cover the window and the ground below it. Do not mount a camera inside pointing through a window at night. The IR LEDs will reflect off the glass and blind the camera.
If indoor placement is your only option, turn off the camera’s IR night vision and cover the LEDs with electrical tape. Then rely on outdoor lighting to illuminate the area the camera is watching.
How to Avoid Glare and IR Reflection
Glare and IR reflection are the two biggest enemies of usable night vision footage. Both are caused by positioning problems, and both are fixable.
IR reflection happens when the infrared light from your camera’s LEDs bounces off a nearby surface and back into the lens. The most common culprits are walls, eaves, window glass, and the camera’s own mounting bracket. The result is a hazy white blob that obscures part or all of the image.
To prevent wall reflection, make sure your camera extends at least 2 to 3 inches past any surface next to it. If your mounting bracket holds the camera flush against a wall, the IR beam will catch the wall edge and reflect back. Use a bracket or extension arm that pushes the camera forward.
Window reflection is a separate but related problem. When you place an IR-equipped camera behind glass, the infrared light hits the window and reflects straight back into the lens. The image becomes a bright white wall of glare with nothing visible behind it. The fix is either to mount the camera outside or to disable IR and rely on external lighting.
Spider webs are another surprising source of nighttime image degradation. Spiders are attracted to the warmth and infrared output of camera LEDs. They build webs across the lens, and when the IR fires at night, the web strands glow brightly in the footage, triggering motion alerts and obscuring the view.
To combat this, use dedicated IR illuminators mounted a few feet away from the camera. Spiders will build their webs around the illuminator instead of the camera lens. Regular cleaning with a soft brush also helps.
Common Night Vision Camera Mistakes to Avoid
After reviewing countless installations and forum discussions, the same mistakes come up over and over. Here are the ones that ruin night vision footage:
Pointing cameras at each other: When two IR-equipped cameras face each other, their infrared beams create mutual interference. Each camera sees the other’s LEDs as a blinding light source. Offset your cameras so their fields of view overlap without facing each other directly.
Mounting behind windows with IR on: This is the number one cause of useless indoor-pointing-outdoor camera setups. The IR reflects off the glass every time. Disable IR or mount outside.
Placing cameras in direct sunlight paths: Even though this is a night vision guide, sun position matters. A camera that faces sunrise or sunset will have its sensor washed out during those hours, which affects the transition into night mode.
Ignoring environmental obstructions: Dust, rain, snow, and even humidity can scatter IR light and reduce image quality. Choose a weatherproof camera and position it under an eave or overhang when possible.
Skipping the night test: Daytime testing tells you nothing about night vision performance. Always verify your setup after dark before calling the installation complete.
Mounting too close to the ground: A camera at 4 or 5 feet might capture faces, but it is within reach of anyone who wants to disable or steal it. Stick to the 7-to-10-foot range.
How to Test Your Night Vision Coverage
Testing is not optional. It is the only way to know whether your camera positioning actually works for night vision. Here is the testing process I use after every installation.
Test 1: Live View Walk-Through. Open the camera’s live feed on your phone or computer. Wait until it is fully dark outside. Walk through the coverage area from multiple directions and distances. Watch the feed in real time to see when you appear, how clear the image is, and at what distance the IR stops producing usable detail.
Test 2: Face Identification. Stand at 5 feet, 10 feet, 15 feet, 20 feet, and 30 feet from the camera. At each distance, check whether you can identify the face on the recorded footage. This tells you the practical identification range of your setup, not just the advertised IR range.
Test 3: Motion Detection. Walk, jog, and crouch through the field of view. Some cameras detect upright motion well but miss crouching or crawling movement. The IR range and detection sensitivity may differ, so test both.
Test 4: Edge Coverage. Walk along the far left and far right edges of the field of view. Many cameras have weaker IR coverage at the edges of the image. If you find dead zones, adjust the angle or add supplemental IR lighting.
Test 5: Obstruction Check. Look at the recorded footage for any signs of IR reflection, glare, or obstruction. Check for spider webs, overgrown branches, or surfaces that are catching the IR beam. Fix any issues and retest.
Document your results. Take screenshots or save clips at each test distance. This gives you a baseline to compare against if you notice performance changes over time due to sensor degradation, environmental shifts, or camera repositioning.
I cannot stress this enough from personal experience: initial camera placement almost always misses something. The first installation is a best guess. The testing process is what turns that guess into a reliable security setup.
Environmental Factors That Affect Night Vision
No competitor guide I have seen covers this in depth, but environmental conditions have a real impact on IR night vision quality. Understanding these factors helps you position cameras more intelligently.
Rain and fog scatter infrared light. When IR beams hit water droplets in the air, the light scatters, reducing effective range and creating a hazy image. This is the same effect you see when you turn on your high beams in fog. If you live in a fog-prone area, position cameras closer to the areas you want to monitor and consider supplemental lighting.
Snow accumulation blocks lenses. If your camera is mounted in a spot where snow can accumulate on the housing, the IR will reflect off the snow and blind the sensor. Use a weather shield or mount under an overhang.
Pollen and dust coat the lens over time. A dirty lens reduces both daytime and nighttime image quality, but the effect is more pronounced with IR because the dirt particles scatter the infrared light. Clean the lens monthly with a microfiber cloth.
Trees and bushes trigger false motion alerts. IR cameras detect movement based on pixel changes in the image. At night, a bush swaying in the wind within IR range creates enough pixel change to trigger alerts. Position cameras so foliage is outside the primary detection zone, or adjust sensitivity settings.
Maintenance Tips for Optimal Night Vision
Positioning is the foundation, but maintenance keeps your night vision sharp over time. A few minutes of upkeep every month makes a significant difference in footage quality.
Clean the camera lens and IR LED housing monthly. Use a soft microfiber cloth and avoid harsh chemicals that could damage the lens coating. Pay special attention to the area around the IR LEDs, since dust buildup there scatters infrared light before it even leaves the camera.
Check mounting hardware quarterly. Temperature changes, wind, and vibration can loosen mounts over time. A camera that shifts even a few degrees can lose its optimal night vision angle.
Trim vegetation near cameras seasonally. Plants grow, and a bush that was clear of the field of view in spring may be blocking it by summer. This is especially important for IR coverage, since foliage close to the camera creates IR hot spots that wash out the image.
Replace supplemental IR illuminators when they dim. IR LEDs degrade over time, losing output intensity after 3 to 5 years of continuous use. If you notice your night vision getting worse over the years even though the camera has not moved, fading IR output is likely the cause.
FAQs
Should a security camera go above or below a light?
A security camera should go below a light fixture whenever possible. Light spreads downward naturally, so mounting the camera below the fixture ensures ambient light reaches the area the camera is watching. If you mount above a bright light, the light shines toward the lens and creates glare. Keep the light behind or to the side of the camera, never in front of it.
Where not to put security cameras?
Avoid placing security cameras in these locations: behind windows with IR enabled (causes reflection), facing direct sunlight paths at sunrise or sunset, too close to walls or eaves (IR bounce-back), facing other cameras (mutual IR interference), in neighbor’s private areas (privacy laws), within easy reach of the ground (tamper risk), or in spots exposed to heavy rain without weather protection.
How can I make my security cameras better at night?
To improve night vision quality: mount cameras at 7 to 10 feet high, angle them 15 to 30 degrees downward, add supplemental IR illuminators mounted off to the side, keep lights behind or beside the camera, clean lenses monthly, trim nearby foliage, test coverage at night after installation, and use cameras with starlight sensors for color night vision in low ambient light.
How to determine security camera placement?
Determine placement by identifying your entry points (front door, back door, garage, ground-floor windows), choosing a height of 7 to 10 feet, angling the camera to cover the approach path and the entry point itself, checking for IR reflection from nearby surfaces, testing at night with a walk-through, and adjusting based on the results. Prioritize coverage of areas where break-ins are most likely to occur.
Conclusion
Learning how to position a security camera for night vision comes down to five principles: mount at the right height, set the right angle, manage IR reflection, cover your entry points, and test everything after dark. Get these fundamentals right and your cameras will produce clear, identifiable footage when it matters most.
The single most valuable thing you can do is test your setup at night. Every property is different, every camera model behaves differently, and no guide can replace the information you get from watching your own live feed in real time. Position, test, adjust, and test again until you are confident in what your cameras capture after dark.