
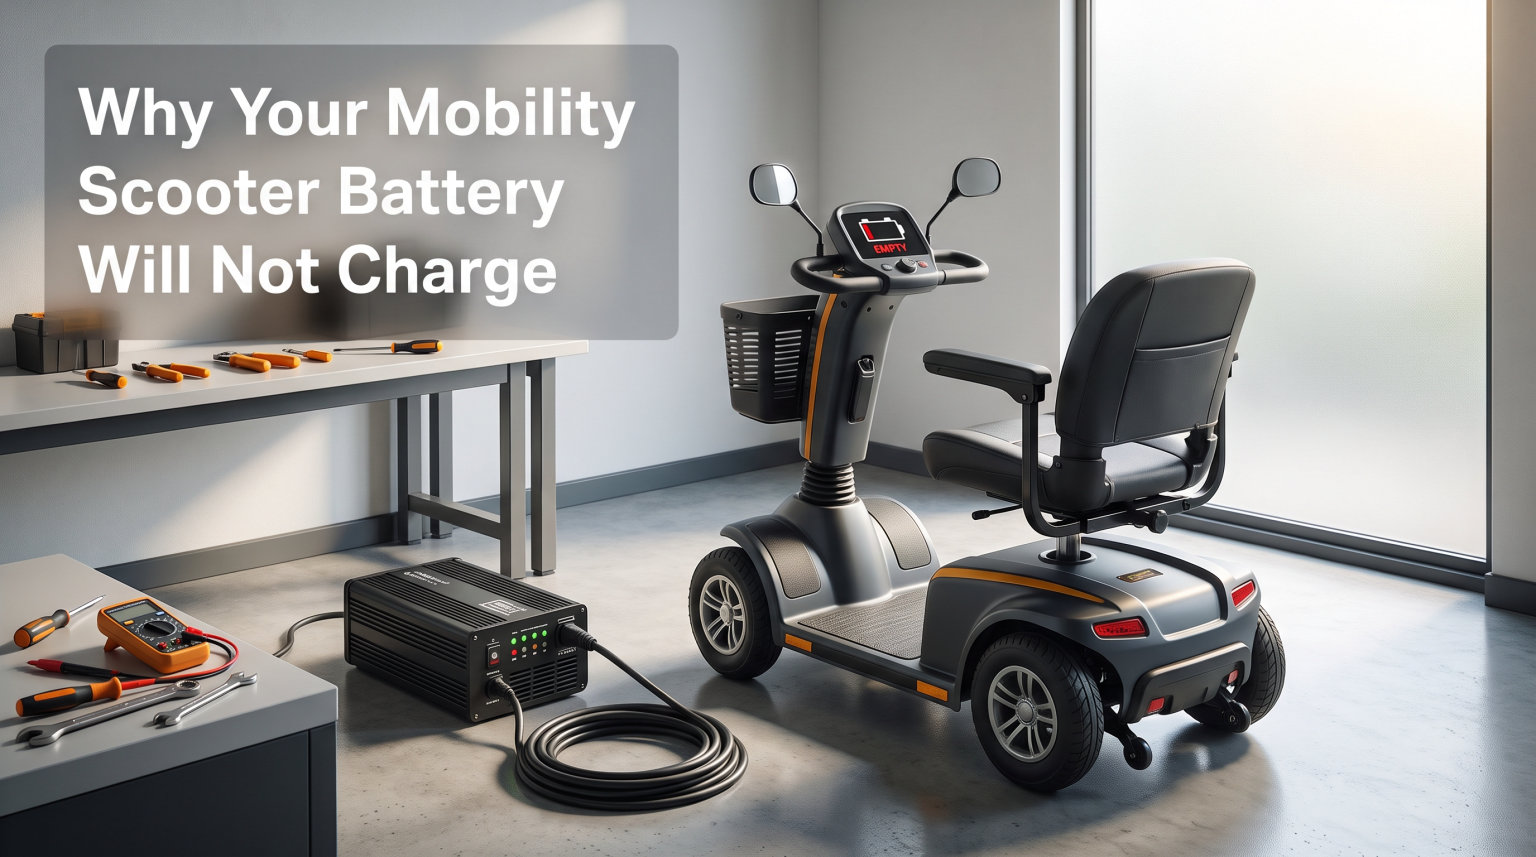
You plug in your mobility scooter after a long day, walk away, and come back to find the battery has not charged at all. If you are dealing with a mobility scooter battery not charging, you are far from alone. This is one of the most common issues scooter owners face, and the frustration is real when your primary means of getting around suddenly will not power up.
The good news is that most charging problems trace back to a handful of causes that you can diagnose yourself. A dead battery is not always truly dead. Sometimes the culprit is a faulty charger, a corroded connector, a blown fuse, or even a freewheel lever sitting in the wrong position.
In this guide, I will walk you through every common reason your mobility scooter battery will not charge, give you step-by-step testing procedures, and help you decide whether you need a repair or a full replacement. I have spent years helping scooter owners troubleshoot these exact problems, and the process below covers what actually works in the real world.
Quick Diagnosis Checklist: Start Here
Before tearing anything apart, run through this 60-second checklist. These are the most common fixes in order of how easy they are to check.
Verify the wall outlet works by plugging in a lamp or phone charger.
Confirm the charger plug is fully seated in the scooter charging port.
Check whether the freewheel lever is in the drive position, not freewheel mode.
Inspect the charger indicator light and note whether it is red, green, or off entirely.
Look at the battery terminals for white or green crust, which indicates corrosion.
Locate your scooter fuse or circuit breaker and check if it has tripped or blown.
If none of these quick fixes solve the problem, the sections below will help you dig deeper into each potential cause.
Common Causes: Why Your Mobility Scooter Battery Is Not Charging?
A mobility scooter battery not charging can stem from at least six distinct root causes. Understanding which one applies to your situation saves you time, money, and the headache of buying parts you do not actually need.
The six most common causes are a dead or deeply discharged battery, a faulty charger, corroded or loose connections, a blown fuse, a Battery Management System problem, and the freewheel lever being engaged. Let me walk through each one in detail.
Cause 1: Dead or Deeply Discharged Battery
This is the most frequent reason a scooter battery refuses to accept a charge. When a lead-acid or gel battery sits discharged for weeks or months, a process called sulfation takes place inside it. Sulfate crystals form on the lead plates, blocking the chemical reaction that allows the battery to accept energy.
Lithium-ion batteries face a related problem called over-discharge. When the voltage drops below a certain threshold, typically around 2.5 volts per cell, the Battery Management System shuts the battery down to prevent permanent damage. The BMS will not allow charging until the voltage recovers above that threshold, creating a frustrating catch-22.
To check if your battery is deeply discharged, use a multimeter set to DC voltage. A healthy 12-volt lead-acid battery should read between 12.6 and 13.0 volts when fully charged. If your reading is below 10.5 volts, the battery is deeply discharged. Readings below 9 volts often mean the battery has suffered permanent damage from sulfation.
You can sometimes recover a deeply discharged lead-acid battery by connecting it to a smart charger with a repair or desulfation mode and leaving it for 24 to 48 hours. This does not always work, but it is worth trying before buying a replacement.
Cause 2: Faulty Charger or Power Source
The charger itself is the second most common point of failure. Mobility scooter chargers contain internal electronics that can fail from power surges, age, or physical damage from drops. A charger that feels unusually hot, makes clicking sounds, or has a frayed cable near the plug should be replaced immediately.
One of the most confusing symptoms is a charger that shows a green light the moment you plug it in. On most scooter chargers, a green light means the battery is already full or the charger is not detecting the battery at all. If your battery is clearly dead but the light stays green, the charger may not be delivering current.
To test your charger properly, set a multimeter to DC voltage and probe the output plug. A 24-volt scooter system should produce approximately 27 to 29 volts from the charger. A 12-volt system should read around 13.6 to 14.4 volts. If the reading is zero or significantly lower than expected, your charger is the problem, not the battery.
Also test the wall outlet itself. I have seen cases where a tripped GFCI outlet or a loose connection inside the receptacle was the entire problem. Plug something else into the same outlet to confirm it delivers power before assuming your charger has failed.
Cause 3: Corroded or Loose Battery Connections
Battery terminals and charging port connections are exposed to air and moisture, which leads to oxidation and corrosion over time. A layer of white, green, or brownish crust on the terminals creates electrical resistance that can block the charging current entirely.
Mobility scooters also vibrate during normal use, and this vibration can loosen the nuts and bolts that hold the battery cables in place. A connection that looks fine visually might still be loose enough to prevent reliable charging.
Clean corroded terminals by disconnecting the battery cables, then scrubbing the posts and connectors with a wire brush or a mixture of baking soda and water. Wear gloves and eye protection because corrosion residue can irritate skin. After cleaning, apply a thin layer of dielectric grease to prevent future corrosion.
Check that every connection is tight. Grab each cable end and try to wiggle it. If it moves, tighten the fastener. A loose connection causes intermittent charging that can be maddening to track down.
Cause 4: Blown Fuse or Tripped Circuit Breaker
Most mobility scooters have at least one fuse or circuit breaker in the power circuit between the battery and the motor controller. This safety device protects against short circuits and current overloads. When it blows or trips, power cannot flow, and the battery may appear completely dead.
Fuse locations vary by brand and model. On many Pride Mobility scooters, the main fuse sits in a holder near the battery pack under the shroud or seat. Golden Technologies and Drive Medical scooters often place the fuse inline on the red positive cable coming off the battery. Check your owner manual for the exact location on your specific model.
Inspect the fuse by pulling it from its holder and looking at the wire element inside. If the wire is broken or there is a dark scorch mark inside the glass or ceramic body, the fuse has blown. Replace it with the same amperage rating, typically 30 to 40 amps for most mobility scooters. Never substitute a higher amperage fuse because this removes the safety protection and can cause a fire.
If your scooter has a circuit breaker instead of a fuse, look for a small button that has popped out. Press it back in to reset. If it trips again immediately, you have a short circuit somewhere that needs professional attention.
Cause 5: Battery Management System Problems
If your scooter uses a lithium-ion battery, it has a Battery Management System, or BMS, that monitors cell voltage, temperature, and current. The BMS can enter a protective lockout state if it detects a problem, and in this state it refuses to allow charging.
No competitor guide I have seen covers this process thoroughly, so here is a BMS reset procedure that works on many common lithium scooter batteries. Disconnect the battery from the scooter completely. Remove the main fuse or disconnect the negative cable. Wait 5 to 10 minutes for the capacitors to fully discharge. Reconnect everything in reverse order, negative cable first, then positive, then reinstall the fuse.
This hard reset clears the BMS memory and forces it to re-evaluate the battery state. On some scooters, you also need to press and hold the power button for 10 seconds while the battery is disconnected. This drains residual voltage from the controller board.
If the BMS reset does not work, the BMS circuit board itself may be damaged. Some lithium batteries have a replaceable BMS module, while others are sealed units that require full battery replacement. Check with the manufacturer to see if your battery has a serviceable BMS.
Cause 6: Freewheel Lever in the Wrong Position
This one catches people off guard more often than you might expect. Most mobility scooters have a freewheel lever that disengages the motor so you can push the scooter manually. When this lever is in the freewheel position, the scooter controller prevents the scooter from operating and, on some models, blocks charging entirely.
The freewheel lever is usually located on the rear of the scooter near the transaxle. Push it firmly into the drive position. You should feel it click into place. On some models, the scooter will beep or flash a fault code if the lever is in the wrong position when you try to charge.
This problem is especially common after someone has transported the scooter or stored it. The lever can get bumped during loading or unloading without anyone noticing. Always check this first if the scooter was recently moved.
Step-by-Step Troubleshooting Guide
If the quick checklist did not solve your problem and reading about all six causes has not pinpointed the issue, follow this systematic diagnostic sequence. It narrows things down in the most efficient order.
Step 1: Test the wall outlet with a known working device. If the outlet is dead, reset the breaker or try a different outlet.
Step 2: Plug the charger into the wall without connecting it to the scooter. Note the indicator light behavior. Then connect it to the scooter and observe any changes. No change at all between plugged and unplugged states suggests a charger fault.
Step 3: Use a multimeter to test the charger output voltage at the connector. Compare your reading to the rated output voltage printed on the charger label. Replace the charger if the output is zero or significantly low.
Step 4: If the charger output is correct, test the battery voltage directly at the terminals. A reading below 10.5 volts on a 12-volt battery indicates deep discharge. Attempt recovery with a desulfation charger before replacing.
Step 5: Inspect all cables, fuses, and connectors between the charger port and the battery. Look for corrosion, melting, loose crimps, or broken wires. Clean and repair as needed.
Step 6: If the scooter uses lithium batteries, perform the BMS reset procedure described above. For lead-acid batteries, check for physical signs of failure like swelling, leaking, or a rotten egg smell indicating internal damage.
Step 7: If everything above checks out and the battery still will not charge, the problem likely lies in the motor controller or the charging port wiring inside the scooter frame. This requires professional diagnosis.
How to Know If Your Battery Is Truly Dead
Many scooter owners replace batteries unnecessarily because they cannot tell the difference between a recoverable discharge and permanent failure. Here are the signs that point to a genuinely dead battery that needs replacement.
If your lead-acid battery is more than 18 to 24 months old, it is near the end of its expected lifespan. Even with proper maintenance, the lead plates degrade over time. A battery that will not hold a charge after a full overnight charge cycle is almost certainly done.
Physical signs of permanent failure include a swollen or bulging battery case, visible leaks or wet residue around the terminals, and a strong sulfur or rotten egg smell. Any of these means the battery has suffered internal damage and should be replaced immediately for safety reasons.
For lithium-ion batteries, if the BMS has permanently locked the battery after repeated over-discharge events, the cells are likely degraded beyond recovery. A lithium battery that cannot be revived with a BMS reset or a jump-start from a compatible charger needs replacement.
Maintenance Tips to Prevent Charging Issues
Preventing battery charging problems is far easier than fixing them. These habits will extend your battery life and keep your scooter reliable.
Charge your battery after every use, even if you only took a short trip. Lead-acid batteries degrade faster when left partially discharged. Allowing them to sit below 50 percent charge for extended periods accelerates sulfation.
Never store your scooter with a dead or low battery. If you will not use the scooter for a week or longer, charge the battery to full first. Check the charge level every two weeks during storage and top it off as needed.
Keep the battery and terminals clean and dry. Wipe down the battery compartment periodically and inspect terminals for early signs of corrosion. A quick visual check once a month catches problems before they become charging failures.
Avoid extreme temperatures when charging. Batteries charge best between 50 and 77 degrees Fahrenheit. Charging in freezing temperatures or extreme heat can damage the cells and reduce overall lifespan. If you store your scooter in a garage, bring the battery indoors during winter.
Use only the charger that came with your scooter or a manufacturer-approved replacement. Aftermarket chargers may deliver incorrect voltage or current, which can damage the battery or BMS over time.
FAQs
How do you fix a scooter battery that won’t charge?
Start by testing the wall outlet, then the charger output with a multimeter, then the battery voltage at the terminals. Clean corroded connections, replace blown fuses, check the freewheel lever position, and attempt a BMS reset for lithium batteries. If the battery voltage reads below 9 volts, it likely needs replacement.
How do I reset a mobility scooter battery?
Disconnect the battery from the scooter, remove the main fuse or disconnect the negative cable, wait 5 to 10 minutes for full discharge, then reconnect everything in reverse order. For lithium batteries, this resets the BMS. On some models, hold the power button for 10 seconds while disconnected.
How do I know if my mobility scooter battery is bad?
Test the battery with a multimeter. A healthy 12-volt battery reads 12.6 to 13.0 volts fully charged. Readings below 10.5 volts indicate deep discharge, and below 9 volts often means permanent damage. Physical signs include swelling, leaking, a sulfur smell, or failure to hold charge after overnight charging. Batteries older than 18 to 24 months are near end of life.
What is the average life of a mobility scooter battery?
Most mobility scooter batteries last 12 to 18 months with regular daily use. With lighter use and proper maintenance, they can last up to 24 months. Lithium-ion batteries typically last longer, around 2 to 3 years, but cost more upfront. Frequent deep discharges and improper storage significantly shorten lifespan.
Can mobility scooter batteries be repaired?
Severely sulfated lead-acid batteries can sometimes be recovered using a smart charger with desulfation mode. Corroded terminals and loose connections are repairable. Damaged lithium BMS modules may be replaceable on some battery models. However, batteries with swollen cases, internal shorts, or degraded cells cannot be repaired and must be replaced.
Why does my charger stay green but the battery won’t charge?
A green light on most scooter chargers means the battery is either fully charged or the charger is not detecting the battery. If your battery is clearly dead, the charger may have an internal fault, the charging port connections may be loose or corroded, or the battery voltage may be so low that the charger refuses to initiate charging for safety reasons.
Conclusion
A mobility scooter battery not charging is a frustrating problem, but it is almost always diagnosable with the right approach. Start with the quick checklist, work through the six common causes in order, and use a multimeter to test your charger and battery voltage before spending money on replacements.
Remember that BMS resets, fuse replacements, and terminal cleaning fix a surprising number of supposedly dead batteries. If you have tried every step in this guide and your scooter still will not charge, take it to a qualified mobility equipment technician. They can test the motor controller and internal wiring that are beyond the scope of home diagnosis.
Keep your battery charged after every use, store it properly, and inspect terminals monthly. A little preventive care goes a long way toward avoiding charging problems and keeping your scooter ready when you need it in 2026 and beyond.