
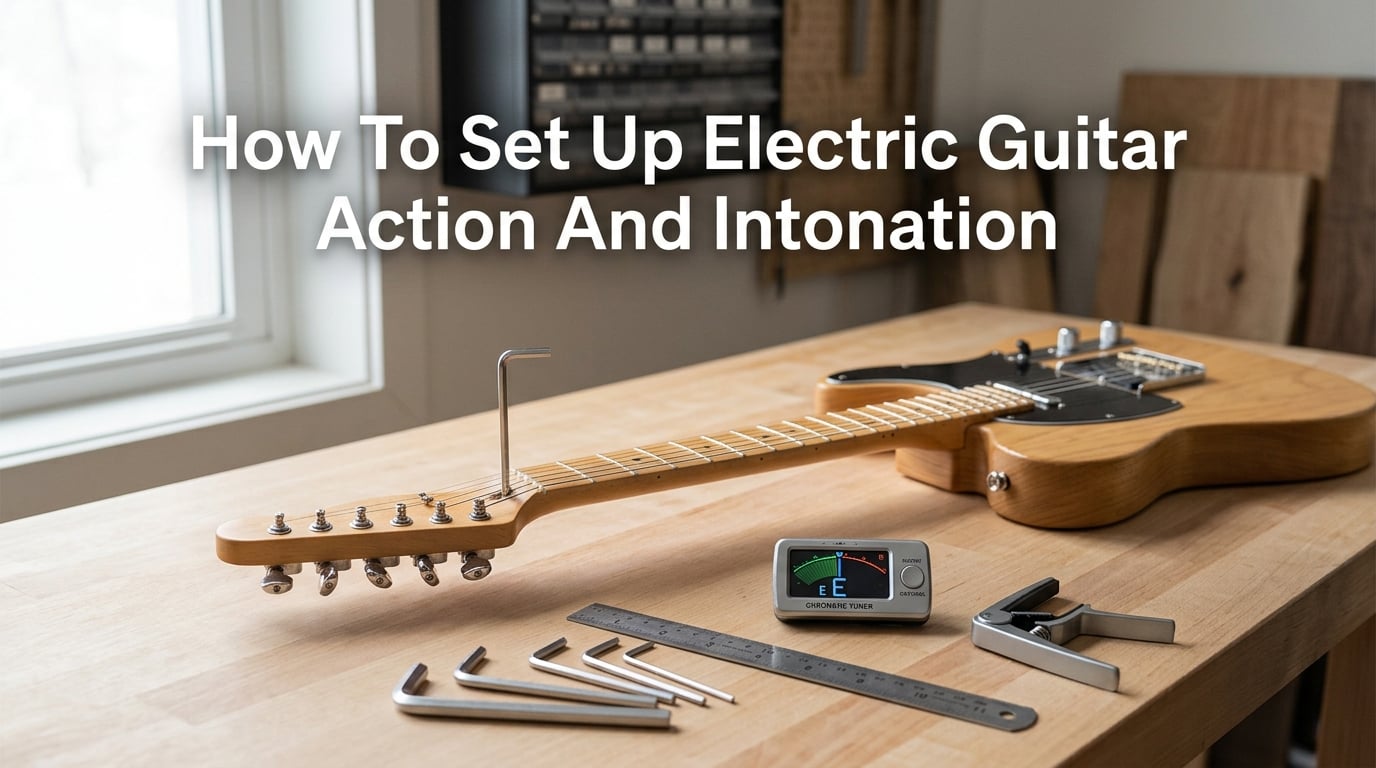
If you’ve ever picked up a guitar that feels like a fight to play, or one that sounds sharp and flat as you slide up the neck, the fix is almost always the same: a proper setup. Setting up electric guitar action and intonation is the single most useful skill a player can learn outside of actually playing.
Here’s the short answer for anyone in a hurry: set the action first (truss rod, then bridge saddles), then set the intonation. Always in that order. If you skip the sequence you’ll chase your tail forever, because each adjustment changes how the other one behaves.
I’ve been doing guitar setups on my own instruments for over a decade, and I still walk through every step in the same order. In this guide I’ll share what I’ve learned, including exact measurement targets in both millimeters and inches, the differences between Fender- and Gibson-style bridges, and the mistakes I had to learn the hard way so you don’t have to.
What Is Guitar Action and Intonation (And Why They Matter)
Action is the distance between your strings and the frets. Lower action means easier pressing, faster playing, and cleaner bends. Higher action means more room for heavy picking and aggressive bends before the string rattles against a fret.
Intonation is how accurately your guitar plays in tune up and down the neck. A guitar can be perfectly tuned to pitch on the open strings and still sound out of tune by the time you hit the 12th fret, all because the string length is slightly wrong for that string’s gauge.
The two adjustments are deeply linked. Change the action and the intonation can drift. Change the intonation and the feel doesn’t really shift. That linkage is exactly why the order of operations matters.
How Action Is Measured
Standard action is measured at the 12th fret, from the top of the fret to the bottom of the string, while the string is pressed down at the 1st fret (or held under a capo at the 1st fret for accuracy). The measurement is usually given in 64ths of an inch in the US, or millimeters almost everywhere else.
Common starting targets I use for low E string at the 12th fret: 1.8mm to 2.4mm (0.071″ to 0.094″ or roughly 4/64″ to 6/64″). On the high E string, drop those numbers by about a third: 1.2mm to 1.8mm (0.047″ to 0.071″ or 3/64″ to 4.5/64″).
How Intonation Is Measured
Intonation is checked by comparing the pitch of a string’s open note, or its 12th-fret harmonic, to the pitch of the same string fretted at the 12th fret. If they match, your intonation is dead-on. If the fretted note is sharp, your string is effectively too short; if it’s flat, your string is effectively too long.
Tools You Need for a Guitar Setup
You don’t need much, but the right tools make the job both faster and safer. Here’s what I keep in my setup kit:
- Truss rod wrench (typically 4mm, 5mm, 7/32″, or 3/16″ depending on brand)
- Set of hex/Allen wrenches (usually 1.5mm and 2.5mm for saddle screws)
- Phillips and flat screwdrivers (for pickup height)
- String action gauge or steel ruler with 1/32″ or 0.5mm increments
- Tuner, ideally a strobe-style pedal such as a TC Electronic PolyTune or Peterson Strobe
- Feeler gauges (for neck relief measurements)
- Capo (for accurate relief and action measurement)
- Clean cloth and string winder
Optional but useful: a notched straightedge to check neck straightness, a radius gauge to match the fingerboard curve, and a good work mat to protect the guitar’s back.
Step 1: Adjust the Truss Rod for Proper Neck Relief
Neck relief is the slight forward bow (or sometimes backward bow) of the neck measured at roughly the 7th to 9th fret. The truss rod controls it. Getting relief right is foundational, because no amount of saddle adjustment will fix a back-bowed neck.
How to Measure Neck Relief
Capo the 1st fret, then press the low E string down at the fret where the neck meets the body (around the 16th-17th fret on a Strat, similar on a Les Paul). With the string held down at both ends, measure the gap between the bottom of the string and the top of the frets around the 7th to 8th fret.
A typical relief target is about 0.25mm to 0.40mm (0.010″ to 0.015″) at the 7th fret on the low E string. A perfectly flat neck with zero relief often leads to fret buzz on the lower frets. Too much relief and your action has to be raised to compensate.
Making the Truss Rod Adjustment
Locate the truss rod access point. On most Fender-style guitars it’s a hex socket at the headstock end, accessible after removing the neck plate cover or under a small plastic cap near the nut. On Gibson-style guitars it’s a plastic cover at the headstock with a single nut inside.
Make small adjustments. A good rule: never turn more than a quarter turn at a time. Turn clockwise to tighten and straighten the neck (reduce relief), counter-clockwise to loosen and add relief. Re-tune and re-measure after every small move.
Always keep the truss rod nut within its safe range. If you hit significant resistance, stop. Forcing a truss rod can crack the neck. Leave the neck for a few minutes between adjustments so the wood settles.
Step 2: Set the String Action at the Bridge
With the neck dialed in, the next step is bridge saddle height. This is where you’ll set the actual playable string height over the frets. Action preferences vary by player, so the table below is a starting point, not gospel.
Target Action Heights at the 12th Fret
These are ranges I tune to, broken down by string and typical playing style:
- Low E (6th string), rhythm/low action: 1.6mm to 2.0mm (4/64″ to 5/64″)
- Low E, lead/heavy pick/bending: 2.0mm to 2.4mm (5/64″ to 6/64″)
- High E (1st string), rhythm/low action: 1.2mm to 1.5mm (3/64″ to 3.5/64″)
- High E, lead/heavy pick: 1.5mm to 1.8mm (3.5/64″ to 4.5/64″)
Note the radius. The fingerboard has a curve (typically 7.25″, 9.5″, or 12″ radius on a Fender; 12″ on a Gibson). Match the curve by raising the outside strings slightly higher than the middle strings. Many players use 0.2mm of additional height on the outer strings per side for a 9.5″ radius.
Adjusting Action on a Fender-Style Bridge
Fender-style bridges (Stratocaster, Telecaster) have individual saddle height screws, usually two per saddle: one on each side of the string. Use a 1.5mm or 2.5mm hex wrench to turn them.
Work one string at a time. Compare the bottom of each string to the top of the 12th fret crown. Adjust the screws equally so the saddle doesn’t tilt. Check action again, then move to the next string.
Adjusting Action on a Gibson-Style Bridge
A Gibson-style tune-o-matic bridge is one piece held by two posts, with thumbwheels at each saddle for height adjustment. Loosen the thumbwheel lock if your model has one, then turn both thumbwheels in equal amounts so the whole bridge stays level.
Watch the relationship between the bridge and the stopbar tailpiece. The bridge should sit parallel to the body. If the bridge tilts forward or backward as you adjust, the thumbwheels are mismatched.
Floyd Rose Floating Bridge Considerations
A Floyd Rose or similar double-locking tremolo adds two extra wrinkles. First, every saddle height change shifts the balance of the floating bridge. Tightening the claw springs back at the rear and loosening the springs too far makes the bridge lift up.
Second, the locking nut at the headstock must be released (and clamped properly with the strings tuned to pitch) before any action measurement. Always fine-tune the claw springs after adjusting saddle heights so the bridge sits flush.
Step 3: Set the Intonation
Once the neck and action are dialed in, it’s time to set the intonation. This is where many beginners give up, because it can feel iterative. Stick with it: usually each string only needs a couple of rounds of adjustment.
The Harmonic vs Fretted Note Method
Plug the guitar in. Tune the open string to perfect pitch. Play the natural harmonic at the 12th fret (lightly touch the string directly over the 12th fret wire, pluck, then lift). Play the fretted 12th-fret note in the same way. Compare them on the tuner.
If the fretted note is sharp compared to the harmonic, lengthen the string by moving the saddle back. If flat, shorten it by moving the saddle forward. Then re-tune the open string and check again.
Adjusting Saddle Position
On a Fender-style bridge, each saddle has a small Phillips or hex screw that controls its front-to-back position. Turn a quarter turn at a time, check, then repeat.
On a Gibson-style tune-o-matic, the saddle intonation screws are on the top or rear of each saddle. Same idea: small adjustments, then re-check.
String Gauge Impact on Intonation
Heavier strings usually need to be set slightly longer at the saddle to intonate correctly. Lighter strings can be set slightly shorter. If you switch string gauges (say from 9s to 11s), expect to redo the entire setup, including the truss rod, action, and intonation.
I keep a small log of measurements written on a piece of tape stuck inside the control cavity. When I change strings I check that log first, because the room I store guitars in shifts with the seasons.
Common Mistakes to Avoid During Setup
I’ve made almost every one of these at some point, often because I was rushing before a gig.
Setting Intonation Before Action
This is the biggest time-waster. Intonation depends on string length, and string length measurement depends on how much the string is pressed against the frets. Higher action means more bend at the fret, which effectively shortens the string. Set the action first, always.
Over-Tightening the Truss Rod
Truss rod nuts are made of soft metal, often with a thin washer. Cranking past the safe range strips the nut and turns a 50-cent part into a 500-dollar repair. Stop as soon as the neck reads straight. Loosen the nut before any tightening adjustment.
Forgetting to Re-Tune After Each Adjustment
Truss rod tension affects the neck, which changes string tension, which changes tuning. Always tune up to pitch before making further measurements. This single habit will save you a lot of frustrated second-guessing.
Climate, Humidity, and Long-Term Maintenance
Wood moves with moisture and temperature. A guitar that was perfectly set up in January can feel buzzy in July, then stable again by October. This is normal.
How Wood Reacts to Climate
Dry winter air shrinks wood, often pulling the neck into a back bow and creating buzz on the lower frets. Humid summer air swells wood, adding forward bow and pushing action higher.
Keep your guitar between 40-50 percent relative humidity. A cheap hygrometer and an in-case humidifier (like a Dampit or Oasis) make this easy to manage. Avoid leaving guitars near heating vents, in car trunks, or in direct sun.
Maintenance Schedule Recommendations
Most players should check and adjust their setup every six months, or right after any string gauge change, or any time the guitar has been through extreme temperature shifts. Touring musicians usually touch up intonation daily.
Beyond the setup itself, wipe strings down after playing, condition the fretboard every few months, and store the guitar in its case when not in use.
When to Call a Professional Setup Technician
Doing your own setup is empowering, but some jobs are better left to a pro. If your guitar needs a nut filing, a fret level and crown, or any structural repair, take it to an experienced luthier. The same goes for locking tremolos on Floyd Rose systems if you’re not patient. PLEK machines and CNC leveling tools cost thousands of dollars, and a good setup tech has them.
If you’ve spent more than an hour chasing fret buzz without progress, that’s a signal to stop and seek help. A mediocre setup from a tech will outperform a botched at-home attempt every time.
Frequently Asked Questions
Should I set action or intonation first?
Set the action before intonation, always. Action determines how much the string bends at the fret, which changes its effective vibrating length. If you adjust intonation first and then change the action, your intonation will be off again. The correct order is: truss rod relief, then bridge saddle height (action), then intonation.
How do I properly set intonation on an electric guitar?
Tune each open string to perfect pitch. Play the natural harmonic at the 12th fret and compare it on the tuner to the fretted 12th-fret note. If the fretted note is sharp, lengthen the string by moving the saddle back. If flat, move the saddle forward. Re-tune the open string and check again, repeating in small increments until the harmonic and fretted notes match exactly.
What should the action be on my electric guitar?
At the 12th fret, a comfortable starting point is around 1.8mm to 2.0mm on the low E string and 1.2mm to 1.5mm on the high E string. Players who do heavy picking or aggressive bending usually prefer 2.0mm to 2.4mm on the low E and 1.5mm to 1.8mm on the high E. These ranges assume a fingerboard radius of 9.5u0022 or 12u0022; vintage 7.25u0022 Fender necks often need a touch more height to avoid fret buzz.
How do I know if my electric guitar needs a setup?
Common signs include fret buzz on the lower frets, strings that feel high and hard to press, tuning that goes off the moment you bend a string, or chords that sound in tune on the open position but out of tune up the neck. Any of these is a strong signal that the truss rod, action, or intonation needs adjustment. New guitars almost always benefit from a setup once they’re acclimated to your local climate.
How often should I set up my electric guitar?
Most players only need a full setup every six months to a year, depending on climate and how much the guitar is played. Touring and studio musicians often check intonation weekly or even daily. Any time you change string gauges, after long shipping or travel, and after extreme temperature exposure are all good triggers to do at least a quick check and adjustment.
Final Thoughts on Setting Up Your Electric Guitar
Setting up electric guitar action and intonation is one of those skills that pays you back every single time you pick up the instrument. The basic sequence to memorize is this: truss rod first, action second, intonation third. That order alone solves most problems.
Don’t be afraid to take it slow. I still spend a full hour on a careful setup of my main guitar, and that’s after doing it for years. Rushing is how necks and truss rod nuts get damaged. If you find yourself in over your head, drop the guitar off with a reputable tech and ask them to walk you through what they did while you watch. Most techs love explaining their craft.
Once you can do your own setups, you’ll never have to send a guitar away again, and you’ll start hearing the difference a great setup makes on every guitar you play.