
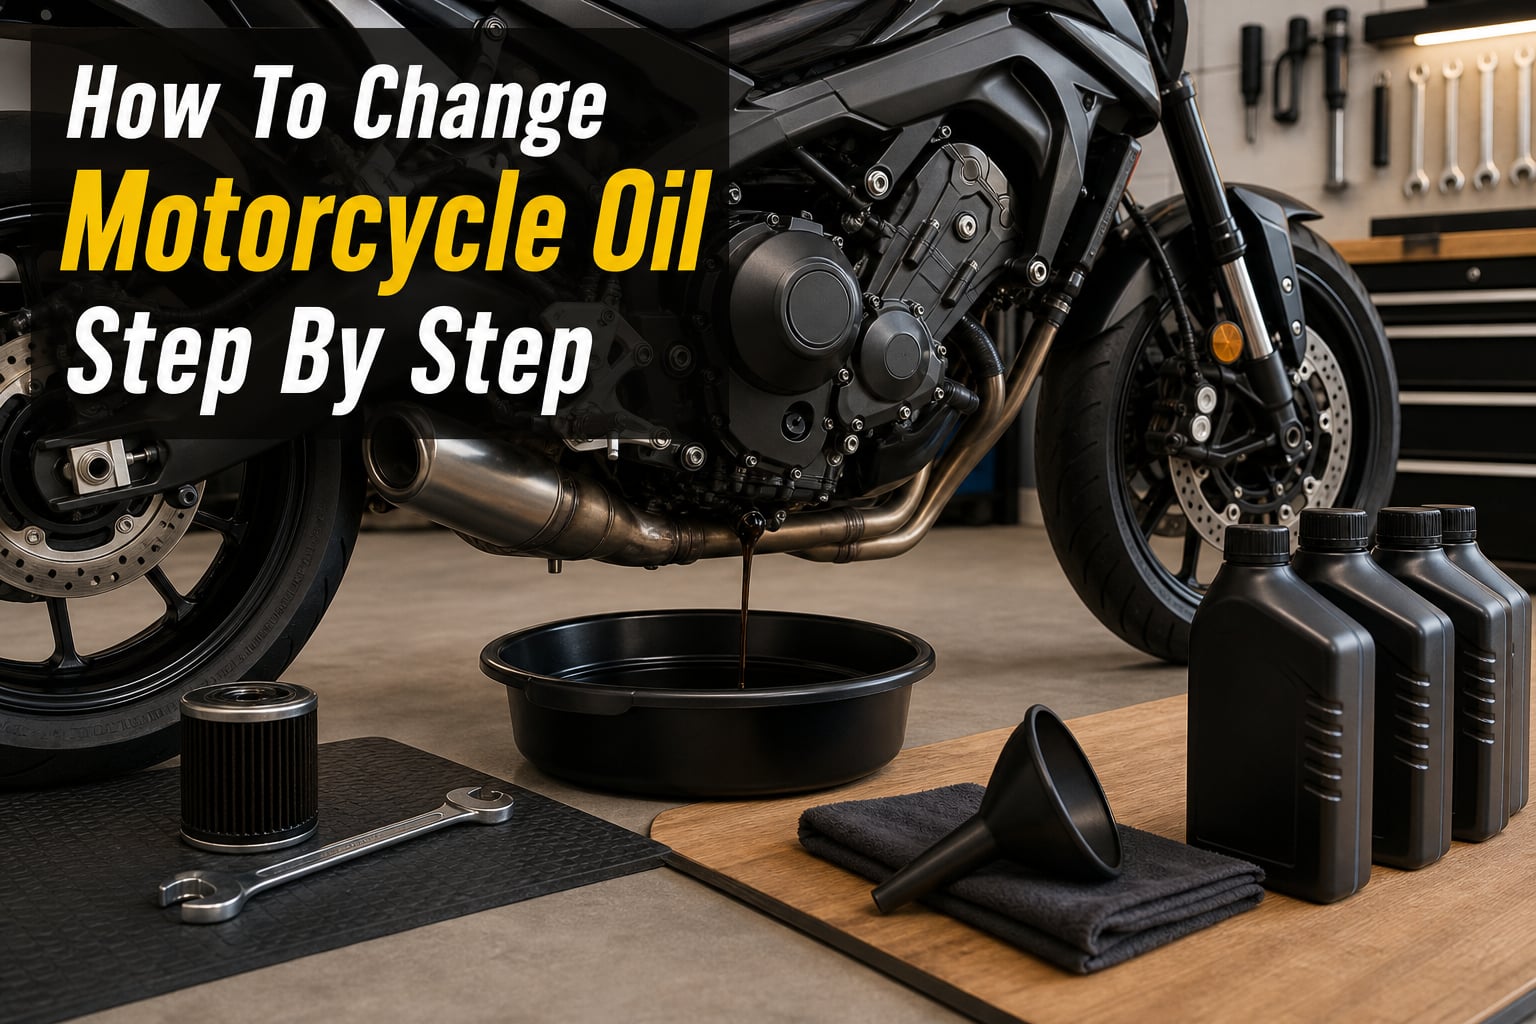
Changing your motorcycle oil is one of the most important maintenance tasks you can do yourself. Fresh oil keeps your engine lubricated, reduces wear on moving parts, and helps prevent costly repairs down the road. Whether you ride a sport bike, a V-twin cruiser, or a dirt bike, the fundamentals of an oil change remain the same.
Many riders are surprised by how straightforward this process actually is. With the right tools, about 45 minutes of your time, and a clear step-by-step plan, you can complete a motorcycle oil change at home without any special mechanical training. I have changed oil on dozens of bikes over the years, from small displacement Hondas to large displacement Harleys, and the process follows the same core sequence every time.
This guide walks you through how to change motorcycle oil step by step. You will learn exactly what tools and supplies you need, how to drain and replace your oil and filter properly, which oil type is correct for your bike, and how to avoid the mistakes that catch beginners off guard. By the end, you will have the confidence to handle this maintenance task on your own.
Tools and Supplies You Need to Change Motorcycle Oil
Having the right tools ready before you start makes the entire process smoother. Nothing is worse than having oil draining from your bike while you scramble to find a wrench. Here is what you need to gather before beginning your motorcycle oil change.
Tools Checklist
You will need a socket or wrench set that matches your drain plug size. Most bikes use a 17mm, 14mm, or 8mm hex socket for the drain plug. An oil filter wrench or strap wrench is necessary for removing the old filter, especially if it was installed tightly by a shop. A torque wrench is strongly recommended for reinstalling the drain plug at the correct specification, which prevents both leaks and thread damage.
You will also need a drain pan large enough to catch all the old oil. A funnel helps when pouring new oil without spilling. Keep shop rags or paper towels nearby for cleanup. A pair of nitrile gloves will protect your hands from used oil, which contains harmful contaminants.
Supplies Checklist
The supplies are simple but specific. You need the correct amount and type of fresh motorcycle oil, a new oil filter, and a new drain plug gasket or washer. Not all bikes require a new gasket each change, but many mechanics recommend it as cheap insurance against leaks. Check your owner’s manual for the exact oil capacity and viscosity grade specified for your motorcycle.
Many riders buy a pre-assembled oil change kit that bundles the correct oil, filter, and gasket together. These kits take the guesswork out of matching components and are available for most popular motorcycle models.
How To Change Motorcycle Oil Step By Step
This section covers the complete process of how to change motorcycle oil step by step. Follow each step in order, and take your time. Rushing leads to stripped threads, spilled oil, and frustration.
Step 1: Warm Up the Engine
Start your motorcycle and let it run for about 3 to 5 minutes. Warming the engine heats the oil, which thins it out and allows it to drain faster and more completely. Warm oil carries away more contaminants and sludge than cold oil, which tends to sit thick and sluggish inside the engine.
Do not let the engine get so hot that the exhaust pipes or engine cases are painful to touch. You want the oil warm, not scalding. Shut the engine off and let it sit for a minute before moving to the next step. This prevents hot oil from splashing on your hands when you remove the drain plug.
Step 2: Prepare Your Work Area and Level the Bike
Position your motorcycle on level ground. This is critical because an uneven bike will give you inaccurate oil level readings and may not drain completely. If you have a rear swingarm stand or center stand, use it to get the bike upright. Many riders on Reddit note that oil does not drain properly when the bike is leaning on its kickstand.
If you do not have a stand, you can still change your oil. Ask a friend to hold the bike upright while you check the oil level, or carefully position the bike so it sits as vertical as possible during draining. Place your drain pan under the engine where the drain plug is located.
Lay out all your tools and supplies within arm’s reach. Double-check that you have the correct oil type, a new filter, and a fresh gasket before draining anything.
Step 3: Locate the Drain Plug and Oil Filter
Find the drain plug on the bottom of your engine oil sump. It is typically a hex-headed bolt pointing downward or slightly to the side. Consult your owner’s manual if you are unsure which bolt is the drain plug, as confusing it with another fastener can cause serious damage.
Locate the oil filter at the same time. Most modern motorcycles use a spin-on canister filter that looks like a small metal cup attached to the engine case. Some bikes, particularly certain European models, use a cartridge filter that sits inside a reusable housing. The removal process differs slightly between the two types, which we cover in Step 5.
Step 4: Drain the Old Oil
Place your drain pan directly beneath the drain plug. Use the correct size socket to loosen the plug, turning counterclockwise. Once it is loose enough to turn by hand, finish unscrewing it slowly. Keep your fingers clear of the stream, as the warm oil will flow out quickly once the plug clears the threads.
Let the oil drain completely. This usually takes 5 to 10 minutes. Tilt the bike slightly from side to side to encourage any remaining oil to exit the sump. You can also gently rock the bike forward and backward to help dislodge trapped oil pockets.
While the oil drains, inspect the old oil. If it looks milky or has a sweet smell, coolant may be leaking into the engine, which signals a bigger problem. Metal shavings in the drained oil indicate internal engine wear that needs attention. Clean oil that is simply dark brown or black is normal and means your oil was doing its job.
Step 5: Remove and Replace the Oil Filter
For spin-on filters, use your oil filter wrench or strap wrench to loosen the old filter by turning it counterclockwise. Once loose, unscrew it by hand. Some oil will still be inside the filter, so hold it upright as you remove it and tip it into your drain pan.
Before installing the new filter, apply a thin film of clean oil to the rubber gasket on the top of the new filter. This lubricates the seal and helps it seat properly without binding or tearing. Screw the new filter on by hand until the gasket contacts the engine surface, then give it an additional three-quarter to one full turn by hand. Do not use the wrench to tighten a spin-on filter. Hand-tight is correct.
For cartridge filters, use a socket to remove the housing cap. Pull out the old cartridge and replace it with the new one. Replace the O-rings on the housing cap every time, as old O-rings can harden and leak. Reinstall the housing cap and tighten it to the torque specification listed in your manual.
Step 6: Reinstall the Drain Plug With a New Gasket
Once the oil has fully drained, install a new crush gasket on the drain plug. This small metal or nylon washer compresses to create a seal and should be replaced at every oil change. Reusing an old gasket risks leaks and can cause you to overtighten the plug trying to stop drips.
Thread the drain plug back in by hand first. This prevents cross-threading, which is one of the most common and most damaging mistakes in motorcycle maintenance. Once it is threaded in finger-tight, use your torque wrench to tighten it to the specification in your manual. Most motorcycle drain plugs call for 15 to 25 lb-ft of torque.
If you do not have a torque wrench, tighten the plug snugly with a standard wrench. A good rule of thumb is one quarter turn past the point where the gasket makes contact. The goal is tight enough to seal but not so tight that you damage the threads or make removal impossible next time.
Step 7: Add New Oil
Remove the oil filler cap on the side of the engine. Insert your funnel to prevent spills. Pour in the amount of oil specified in your owner’s manual. Most motorcycles take between 2 and 4 quarts, but the exact capacity varies significantly by model. Adding too much oil causes problems, so pour in roughly 80 percent of the total capacity first, then check the level before topping off.
Use only motorcycle-specific oil with the correct JASO MA or JASO MA2 certification. Car engine oils contain friction modifiers that can cause your motorcycle’s wet clutch to slip, leading to poor shifting and potential clutch failure. We explain JASO certification in more detail in the next section.
Step 8: Check the Oil Level and Top Off
Screw the filler cap back on and check the oil level. If your bike has a dipstick, pull it out, wipe it clean, reinsert it without screwing it in, and pull it out again to read the level. The oil should sit between the upper and lower marks on the dipstick.
If your bike uses a sight glass on the side of the engine instead of a dipstick, hold the bike upright and look at the window. The oil level should reach the middle to upper portion of the glass. Add small amounts of oil at a time, checking after each pour, until the level is correct.
Overfilling is the most common mistake beginners make, according to forum discussions on Reddit. Too much oil can cause increased crankcase pressure, oil foaming, and even oil being forced out through seals and the airbox. If you overfill, drain some oil out through the drain plug before running the engine.
Step 9: Run the Engine and Check for Leaks
Start the engine and let it idle for about 60 seconds. This allows the new oil to circulate through the engine and fill the oil filter, which will cause the oil level to drop slightly. Check the oil level one more time and add oil if needed to bring it back to the correct mark.
While the engine is running, inspect the drain plug and oil filter for any signs of leaking. If you see oil dripping from the filter, tighten it slightly by hand. If the drain plug is weeping, check that the gasket is seated properly and tighten it a small amount. Shut the engine off and recheck after a few minutes.
Clean up any spilled oil with shop rags. Dispose of the old oil and filter properly, which we cover in the disposal section below. Record the mileage and date of your oil change so you know when the next one is due.
Understanding Motorcycle Oil Types and Certifications
Choosing the right oil for your motorcycle matters more than many riders realize. Using the wrong type can damage your clutch, reduce engine protection, and void your warranty. Here is what you need to know about motorcycle oil specifications.
JASO MA and JASO MA2 Certification Explained
JASO stands for Japanese Automotive Standards Organization. This body created the MA and MA2 certifications specifically for motorcycles with wet clutches. The vast majority of motorcycles share their engine oil with the clutch and transmission, meaning the oil must provide engine protection without causing the clutch to slip.
JASO MA is the original standard for four-stroke motorcycle engines. JASO MA2 is a newer, stricter standard designed for modern motorcycles with higher performance engines and tighter emission controls. Always look for the JASO MA or MA2 mark on the bottle. If the oil does not carry this certification, do not put it in a motorcycle with a wet clutch.
Synthetic vs Conventional Motorcycle Oil
Synthetic oil is manufactured to have a more uniform molecular structure than conventional oil, which is refined from crude. This translates to better high-temperature stability, better cold-flow properties, and longer-lasting engine protection. Many riders and mechanics recommend synthetic oil for its superior performance, especially in air-cooled engines that run hotter.
Conventional oil costs less but breaks down faster under heat and stress. If you ride aggressively, commute in heavy traffic, or ride in extreme temperatures, synthetic oil is worth the extra cost. According to forum discussions, synthetic oil can be stretched to around 5,000 miles between changes, while conventional oil should be changed every 3,000 miles.
Motorcycle Oil Viscosity Grades Explained
Viscosity refers to how thick or thin the oil is at different temperatures. A common motorcycle viscosity grade like 10W-40 tells you two things. The number before the W indicates cold-weather flow, with lower numbers flowing better at startup. The second number indicates high-temperature thickness, with higher numbers providing a thicker protective film when the engine is hot.
Common motorcycle viscosity grades include 10W-30, 10W-40, and 15W-50. Your owner’s manual specifies the correct grade for your bike based on the climate you ride in. Using the wrong viscosity can cause poor cold-start protection or inadequate film strength at operating temperature. Always follow the manufacturer recommendation.
Common Mistakes to Avoid When Changing Motorcycle Oil
Even experienced riders make mistakes during an oil change. Learning about these common errors ahead of time will save you time, money, and frustration. Here are the five most frequent mistakes and how to avoid each one.
1. Overfilling the Oil
This is the number one mistake beginners make. Overfilling causes the crankshaft to whip the excess oil into a froth, which reduces lubrication effectiveness. Foam does not protect bearings and cylinder walls the way liquid oil does. Signs of overfilling include oil leaking from the airbox, increased crankcase pressure, and a burning oil smell.
The fix is simple. Always pour in 80 percent of the total capacity first, then check the level and add small amounts until you reach the correct mark. Never assume you need the full amount listed in the manual, because some oil remains trapped in the engine and passages even after a thorough drain.
2. Using Car Engine Oil in a Motorcycle
Passenger car motor oil contains friction modifiers that reduce friction in car engines. In a motorcycle with a wet clutch, those same modifiers soak into the clutch plates and cause them to slip. You will notice poor acceleration, a clutch that grabs inconsistently, and difficulty shifting. Over time, clutch damage requires an expensive replacement.
Only use oil specifically labeled as motorcycle oil with JASO MA or MA2 certification. This small detail separates oils designed for shared engine and clutch lubrication from those that are not.
3. Overtightening or Cross-Threading the Drain Plug
Many riders, especially those whose bikes were previously serviced by a shop, encounter a drain plug that is extremely tight. Using excessive force to remove it can strip the threads in the engine case. When reinstalling, threading the plug in at an angle causes cross-threading, which damages both the plug and the engine case.
Always start the drain plug by hand, turning it clockwise until you feel the threads engage smoothly. If there is any resistance, back it out and try again. Use a torque wrench for final tightening. If a previous mechanic overtightened your plug, a set of quality extractors or a thread repair kit can save the day.
4. Forgetting to Replace the Drain Plug Gasket
That small crush washer on the drain plug is easy to overlook. Reusing an old, compressed gasket often results in a slow weep of oil from the drain plug area. You might then try to fix the leak by tightening the plug harder, which leads to thread damage.
Drain plug gaskets cost a few dollars at most. Replace yours at every oil change. Some mechanics keep a bag of spare gaskets in the garage so they always have the right size on hand.
5. Not Leveling the Bike When Checking Oil
If you check your oil level with the bike on its kickstand, you will get a false reading. The bike leans to the left, which tilts the oil in the sump and makes the level appear lower than it actually is. This leads riders to add oil that the bike does not need, resulting in overfilling.
Always hold the bike upright when checking the oil level via the dipstick or sight glass. If you cannot hold the bike yourself, have a helper hold it vertical while you read the level. This one habit prevents a huge percentage of oil change errors.
How Often Should You Change Motorcycle Oil?
Oil change intervals depend on your bike type, your riding style, and the type of oil you use. Most manufacturers recommend changing oil every 3,000 to 5,000 miles for street motorcycles. However, real-world conditions often warrant more frequent changes.
If you ride a dirt bike, change the oil every 10 to 15 hours of riding, as off-road conditions introduce more contaminants. Sport bike riders who frequently run their engines at high RPMs should lean toward the shorter end of the recommended interval. Adventure bike riders who cover long touring miles can typically follow the manufacturer’s longer intervals.
The break-in period is a special case. For a new motorcycle, the first oil change should happen at 600 miles, or whatever mileage the manufacturer specifies. This first change removes metal particles produced as engine components break in and seat together. Do not skip this early change, as those particles cause accelerated wear if left circulating in the oil.
If you ride infrequently, change the oil at least once a year regardless of mileage. Oil degrades over time as additives break down and moisture accumulates inside the engine from temperature changes. Old oil that has sat for months provides less protection than fresh oil.
How to Properly Dispose of Used Motorcycle Oil
Used motor oil is toxic and should never be poured down a drain, into the ground, or into the trash. A single quart of oil can contaminate up to 250,000 gallons of water. Fortunately, proper disposal is free and accessible.
Pour the used oil into a clean container with a tight-fitting lid. An empty oil bottle or a dedicated used-oil container works well. Most auto parts stores, including AutoZone, Advance Auto Parts, and O’Reilly Auto Parts, accept used oil for recycling at no charge. Many municipalities also have hazardous waste collection sites that accept oil year-round.
Bring the used filter along too. Let it drain for 24 hours first, then seal it in a plastic bag. Most recycling centers accept filters alongside used oil.
FAQs
Can I change my motorcycle oil myself?
Yes, absolutely. Changing motorcycle oil is one of the most beginner-friendly maintenance tasks. With basic tools, the correct oil and filter, and about 45 minutes, most riders can complete the job at home. Following a step-by-step guide and using a torque wrench for the drain plug makes the process safe and straightforward.
How long does a motorcycle oil change take?
For a first-time DIYer, plan on 45 to 60 minutes. Experienced riders can complete an oil change in 20 to 30 minutes. Most of the time is spent waiting for the old oil to drain completely, so having your tools and supplies laid out ahead of time speeds things up considerably.
What happens if I use car oil in my motorcycle?
Car engine oil contains friction modifiers that are harmful to motorcycle wet clutches. These additives cause the clutch plates to slip, resulting in poor power transfer, inconsistent shifting, and potential clutch failure. Always use oil with JASO MA or JASO MA2 certification to protect your clutch and engine.
How often should I change my motorcycle oil?
Most manufacturers recommend every 3,000 to 5,000 miles for street bikes using synthetic oil. Conventional oil should be changed closer to every 3,000 miles. New motorcycles need their first oil change at 600 miles to remove break-in particles. If you ride infrequently, change the oil at least once per year regardless of mileage.
What do I do if my drain plug is stuck?
If the drain plug will not budge, do not force it with excessive leverage, as this can strip the threads in the engine case. Apply penetrating oil and let it soak for 15 minutes. Use a breaker bar with steady pressure rather than sharp jerks. If it still will not move, a mechanic can remove it safely. Going forward, always use a torque wrench to prevent overtightening.
Wrapping Up: How To Change Motorcycle Oil Step By Step
Learning how to change motorcycle oil step by step gives you confidence, saves you money on shop labor, and ensures your engine stays properly maintained. The process comes down to nine straightforward steps: warm the engine, prepare your area and level the bike, locate the drain plug and filter, drain the old oil, replace the filter, reinstall the drain plug with a new gasket, add fresh oil, check the level, and run the engine to check for leaks.
Remember to use only motorcycle-specific oil with JASO MA or MA2 certification, always replace the drain plug gasket, and never check your oil level with the bike on its kickstand. These small habits separate a smooth DIY oil change from a frustrating afternoon in the garage.
Your next step is to gather your tools and supplies, check your owner’s manual for the correct oil type and capacity, and set aside an hour to complete your first oil change. Once you have done it once, you will wonder why you ever paid a shop to do it for you.