
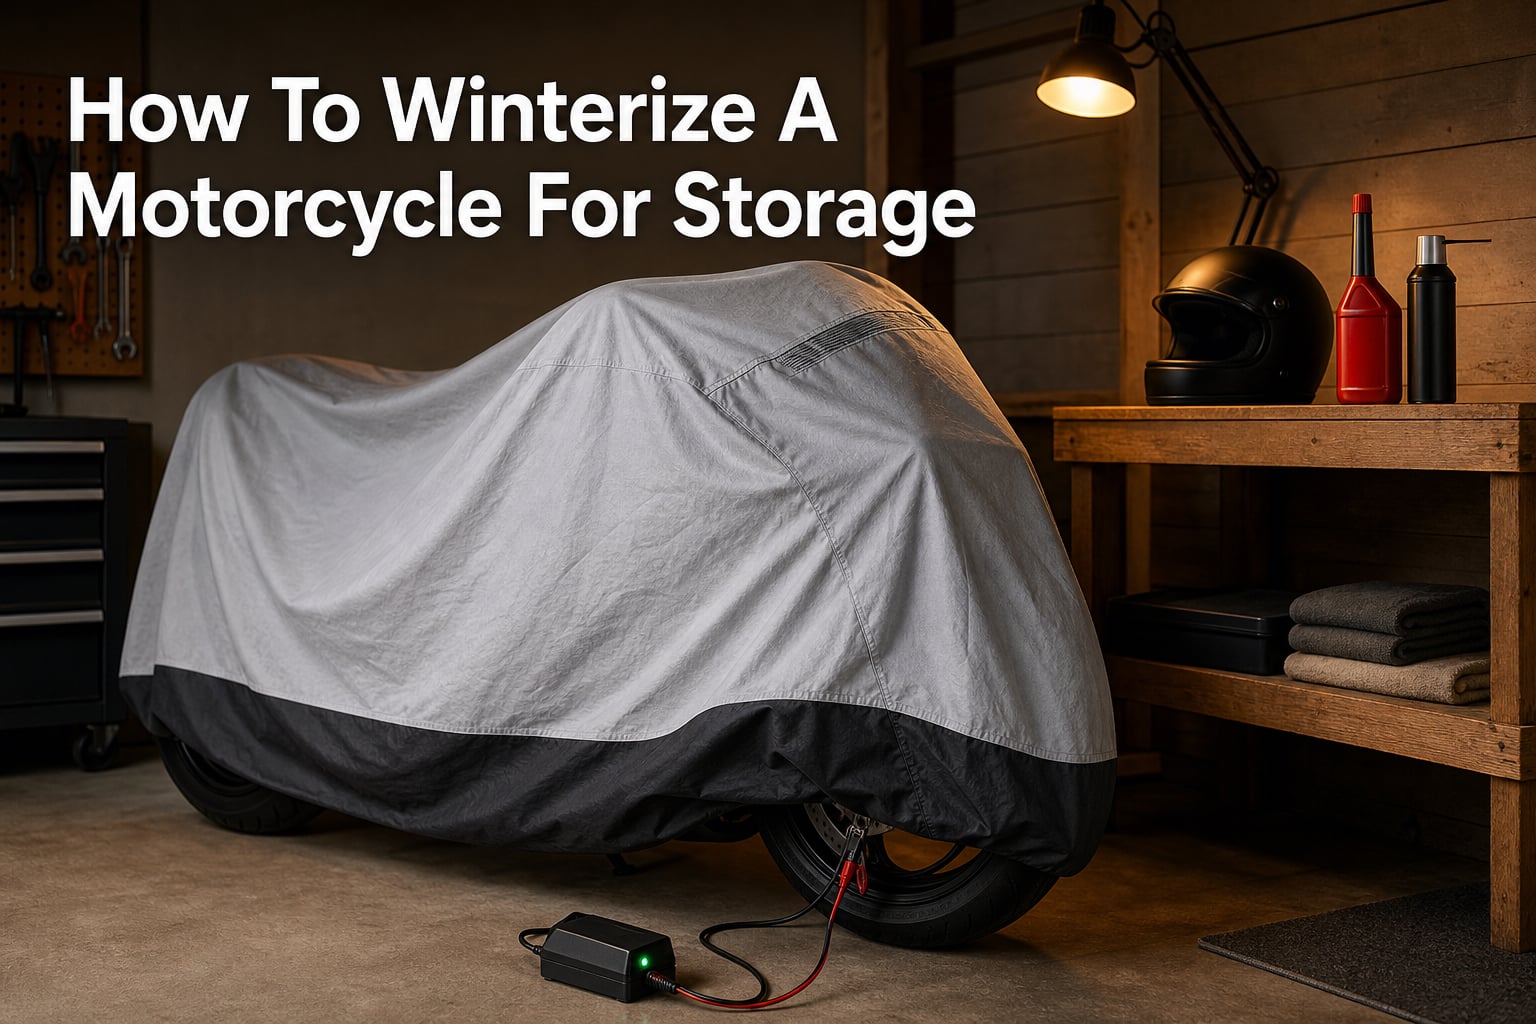
When the temperature drops and riding season ends, knowing how to winterize a motorcycle for storage becomes essential for every rider. After months of enjoying open roads, the last thing you want is a bike that refuses to start when spring arrives. Our team has helped countless riders prepare their machines for winter storage, and we have learned that a few hours of preparation now saves hundreds of dollars in repairs later.
Skipping winterization can lead to fuel system damage, dead batteries, rusty components, and flat-spotted tires. Ethanol-blend gasoline breaks down over time and turns into a gummy residue that clogs carburetors and fuel injectors. Batteries lose their charge and may need replacement after just one winter of neglect. Moisture causes internal engine corrosion, and rodents love to nest in exhaust pipes and airboxes, chewing through wiring harnesses.
The consequences hit hard when that first warm spring day arrives. Riders who skipped preparation face sputtering engines, clicking starters, corroded electrical connections, and fuel systems that need professional cleaning. A simple carburetor cleaning can cost $200 to $400 at a shop. A new battery runs $100 to $200. Rust repair and parts replacement can climb much higher.
In this guide, we walk you through a complete step-by-step process to winterize your motorcycle for storage. You will learn how to treat your fuel system, change your oil, maintain your battery, protect metal surfaces, care for your chain and tires, and prevent common storage problems. We also cover what to do when spring arrives and you are ready to ride again. Whether you store your bike in a heated garage or under a cover outside, these steps apply.
How To Winterize A Motorcycle For Storage: Step-by-Step Guide
The winterization process involves seven key steps that address fuel, oil, battery, chain, tires, protection, and pest prevention. Following this checklist ensures your motorcycle emerges from storage ready to run without costly repairs or frustrating starting problems. Each step builds on the previous one, so work through them in order for the best results.
Plan to spend about 2 to 3 hours completing all steps. Gather your supplies beforehand so you do not have to stop mid-process. You will need fuel stabilizer, fresh oil and a filter, a battery tender, chain cleaner and lube, a wash kit, rust inhibitor spray, dielectric grease, and plastic bags or exhaust plugs.
Step 1: Choose the Right Storage Location
Where you store your motorcycle matters more than you might think. A heated garage is ideal, but any covered space that protects your bike from rain, snow, and extreme temperature fluctuations will work. If you have access to a garage, clear space away from chemicals, fertilizers, pool supplies, or anything that emits fumes that could damage rubber and plastic components over time.
Climate-controlled storage units are available in most cities and provide stable temperatures year-round. These units prevent the condensation buildup that causes rust inside fuel tanks, engine internals, and electrical connections. Expect to pay $50 to $150 per month depending on your location and unit size. For many riders, this investment prevents far more in potential repair costs.
If you use a standard storage unit or unheated garage, expect more condensation and plan accordingly with proper fuel treatment and protective coatings. Temperature swings are the enemy. When air warms during the day and cools at night, moisture condenses on metal surfaces inside and outside your motorcycle.
Avoid storing your motorcycle near water heaters, furnaces, or anything that generates heat cycles. These appliances create temperature fluctuations that increase condensation. Also keep your bike away from areas where rodents are likely to travel, such as near pet food, garbage bins, or garden storage.
Is It Okay to Store a Motorcycle Outside in the Winter?
Storing a motorcycle outside in winter is possible but requires extra preparation and ongoing maintenance throughout the season. You need a high-quality, waterproof cover that breathes to prevent moisture buildup underneath. Without proper covering, snow, ice, and rain will cause rapid deterioration of chrome, aluminum, and rubber components.
If outdoor storage is your only option, invest in a dedicated motorcycle cover with tie-downs to secure it against wind. Place the bike on a covered surface like a wooden pallet or rubber mat to keep it off cold concrete or frozen ground. Consider a portable motorcycle shelter or tent that provides better protection than a simple cover.
Check your motorcycle every few weeks throughout winter. Make sure the cover has not blown off or developed tears. Clear accumulated snow from the cover to prevent moisture from seeping through. Inspect for any signs of pest activity or water intrusion.
How to Prep Your Motorcycle for Winter Without a Garage
Without a garage, focus on extra protection measures. Apply a heavier coat of rust inhibitor to all metal surfaces, including the frame, engine cases, exhaust headers, and chrome components. Plug your exhaust pipes with plastic bags or rubber stoppers to prevent moisture and pests. Use a breathable cover designed for outdoor storage, and check on your bike regularly.
Some riders build a simple wooden shelter or use a portable canopy to create covered storage. These options provide better protection than a cover alone and cost significantly less than renting a storage unit. If you live in an area with harsh winters and heavy snowfall, consider renting a storage unit for a few months rather than risking damage from prolonged outdoor exposure.
Another option is asking a friend or family member with garage space. Many riders trade storage space for help with projects or a case of beer. Motorcycle dealerships and shops sometimes offer winter storage services for a fee, which typically includes battery maintenance and basic protection.
Step 2: Treat the Fuel System
Fuel treatment is one of the most debated topics in motorcycle winterization. The goal is preventing fuel from breaking down and causing varnish or gum deposits in your fuel system. Modern gasoline contains ethanol, which attracts moisture and can cause phase separation in as little as 30 days. Phase separation occurs when ethanol absorbs too much water and separates from gasoline, sinking to the bottom of your tank.
When phase separation happens, the ethanol-water mixture settles at the lowest point in your fuel system. This mixture is corrosive and damages fuel pumps, injectors, and carburetor components. The remaining gasoline loses its octane rating and burns poorly, leading to hard starting and rough running.
Full Tank vs Empty Tank: What is Best?
Most experts and experienced forum users recommend storing your motorcycle with a full tank of treated fuel. A full tank minimizes air space where condensation can form on the inside of the tank walls. Less air means less moisture, which means less condensation and rust inside the fuel tank.
An empty tank seems like it would eliminate fuel problems, but it creates a different issue. Air inside the tank contains moisture, and temperature swings cause that moisture to condense on tank walls. That condensation runs down into any remaining fuel or settles at the bottom of the tank. Over months of storage, significant water accumulation can occur.
The full-tank approach also means your fuel pump stays submerged in fuel, which keeps seals lubricated and prevents premature pump failure. On fuel-injected motorcycles, the fuel pump relies on gasoline for cooling and lubrication.
Fuel Stabilizer: Yes or No?
Fuel stabilizers like Seafoam, Sta-Bil, and Opti-2 extend the life of gasoline by preventing oxidation and ethanol phase separation. Our team has seen consistent results using stabilizers over multiple winters across different motorcycle types. Add the stabilizer to your tank according to the manufacturer’s dosage instructions, then run the engine for 5 to 10 minutes to circulate treated fuel through the entire system.
The debate around stabilizers comes from riders in mild climates who store bikes for shorter periods. If you store your motorcycle for less than 60 days, fuel degradation is minimal. For storage longer than 60 days, stabilizers provide measurable benefits and are cheap insurance against fuel system problems.
Some riders prefer ethanol-free fuel for storage. Ethanol-free gas does not attract moisture the way E10 fuel does, making it significantly more stable for long-term storage. If you can find ethanol-free fuel at a local station, filling up with it before storage reduces the risk of fuel system problems. Check websites like Pure-Gas.org to find ethanol-free stations near you.
Carbureted Bikes: Special Considerations
Carbureted motorcycles need extra attention during winterization. Turn off the petcock (fuel valve) and run the engine until it dies from fuel starvation. This drains the carburetor bowl of fuel that would otherwise turn gummy during storage. Gas left in carburetor bowls for months causes some of the most frustrating spring starting problems.
Some riders remove the carburetor bowl drain screw and let all remaining fuel drain out completely. This is more thorough but requires catching the drained fuel in a container. If your carburetor has accessible drain screws, take the extra minute to use them.
For fuel-injected bikes, adding stabilizer and running the engine is sufficient. The fuel pump and injectors will circulate treated fuel through the system. No additional draining is necessary, as fuel injection systems are sealed and less prone to evaporation and gumming than carburetors.
Is It Okay to Leave Gas in a Motorcycle Over Winter?
Yes, leaving gas in your motorcycle over winter is acceptable and often preferred, but you must treat it properly. Untreated fuel begins breaking down after 30 days and can cause serious problems after 3 to 6 months. Always add fuel stabilizer before storage, fill the tank completely, and make sure treated fuel circulates through the entire fuel system by running the engine briefly.
Step 3: Change the Oil and Filter
Changing your oil before storage is a step some riders skip, thinking they will change it in spring anyway. This is a mistake. Used oil contains combustion byproducts, acids, and microscopic metal particles that settle in the engine during storage. These contaminants slowly corrode bearing surfaces, cylinder walls, and other internal components over months of inactivity.
Fresh oil contains protective additives that neutralize acids and coat internal surfaces with a barrier against moisture. Change your oil and filter right before storage, not after. This ensures your engine sits protected by clean, high-quality lubricant throughout the winter months.
Run the engine briefly after the oil change to circulate fresh oil throughout the motor. This ensures all internal surfaces receive a fresh protective coating. Let the engine reach operating temperature so the oil flows freely through all passages and galleries.
Some riders go a step further and fog the cylinders for long-term storage of 6 months or more. Fogging involves removing spark plugs and spraying a thin oil coating directly into the cylinders. This provides extra protection against internal corrosion by coating cylinder walls and piston rings. Use a dedicated engine fogging spray from an auto parts store. Reinstall the spark plugs after fogging.
Step 4: Remove and Maintain the Battery
Batteries self-discharge over time, and cold temperatures significantly accelerate this process. A battery left in a motorcycle over winter will almost certainly be dead by spring. Even worse, a completely discharged battery can freeze in cold temperatures. A frozen battery expands, cracks its case, and suffers permanent damage.
Lead-acid batteries typically last 3 to 5 years, but improper storage can cut that lifespan in half. Lithium-ion batteries are somewhat more tolerant of cold storage but still benefit from being maintained on a charger. Either way, battery care during storage directly impacts how long your battery lasts.
Battery Tender vs Trickle Charger vs Float Charger
A battery tender, trickle charger, or float charger maintains your battery at full charge without overcharging. These devices plug into a standard outlet and connect to your battery via alligator clips or an SAE connector that stays wired to your battery. Our team uses battery tenders on all stored motorcycles with excellent results over many winters.
The terms are often used interchangeably, but there are important differences. A basic trickle charger provides a constant low current regardless of battery state, which can overcharge and damage a battery if left connected too long. A smart battery tender or float charger monitors battery voltage and automatically switches to a maintenance mode when the battery reaches full charge, then resumes charging when voltage drops.
For winter storage, always choose a smart charger with automatic shut-off or float mode. These typically cost $30 to $60 and protect your battery for years. Installing an SAE connector on your battery makes connecting the charger easy and allows you to use the same connector for phone chargers and heated gear during riding season.
How to Remove Your Battery
Remove the negative terminal first, then the positive. This sequence prevents accidental short circuits if your wrench touches the frame while disconnecting the positive terminal. Clean the terminals with a wire brush to remove any corrosion buildup. Apply a thin coat of dielectric grease to the terminals to prevent corrosion during storage.
Store the battery in a cool, dry place away from extreme temperatures. A basement or utility room works well. Connect your battery tender and let it maintain the charge throughout winter. Check the tender indicator lights periodically to confirm proper operation.
One common myth suggests never storing a battery on a concrete floor. This belief originated decades ago when battery cases were made of porous rubber, which could theoretically absorb moisture from concrete. Modern batteries use plastic cases that are completely unaffected by concrete. Store your battery wherever is convenient and temperature-appropriate.
Step 5: Clean, Lube the Chain and Care for Tires
Your chain and tires need attention before storage. A dirty chain with old lubricant accelerates wear on sprockets and can develop surface rust during months of inactivity. Tires develop flat spots when parked in one position for extended periods, especially under the weight of the motorcycle.
Chain Cleaning and Lubrication
Clean your chain thoroughly with a dedicated chain cleaner, kerosene, or a biodegradable degreaser. Use a chain brush or an old toothbrush to scrub away all dirt, grime, and old lubricant. Work in small sections and place a pan underneath to catch runoff. Once clean, wipe the chain dry with a rag.
Apply fresh chain lube or wax evenly along the entire length of the chain. Rotate the rear wheel to access all sections. Let the lubricant set up according to the product instructions before moving the bike. Wipe off excess lubricant to prevent it from attracting dirt and dust during storage.
Shaft-driven motorcycles do not require chain maintenance, but this is a good time to check the shaft drive oil level and condition. Some shaft drives have a small inspection window or drain plug for gear oil changes. Belt-driven bikes need less maintenance but inspect the belt for cracks, damage, or signs of wear.
Tire Pressure and Flat Spot Prevention
Inflate your tires to the maximum pressure listed on the sidewall before storage. Higher pressure reduces the contact patch and helps prevent flat spots from forming. Check tire pressure monthly if you can access the bike during winter. Cold temperatures cause pressure to drop gradually over time.
The best way to prevent flat spots is to get the tires off the ground entirely. Use front and rear stands, lifts, or dollies to suspend your motorcycle so the tires do not touch the floor. This completely eliminates flat spot risk and also makes it easier to move the bike if needed.
If you do not have stands, park the bike on a piece of thick carpet, cardboard, or a rubber mat to insulate tires from cold concrete. Move the bike slightly every few weeks to change the contact point on each tire. Even a few inches of movement helps distribute the load and reduce flat spotting.
Step 6: Wash and Apply Protectant
A thorough washing removes dirt, bug remains, road salt, and chain lubricant that could cause corrosion during storage. Bugs and road grime contain acids that etch paint and corrode metal surfaces over time. Take the time to clean your motorcycle properly before it sits for months.
Use a dedicated motorcycle wash soap rather than dish detergent, which can strip wax and protective coatings. Pay attention to hard-to-reach areas where dirt and moisture collect, including under the seat, behind fairings, and around the engine. Dry the bike thoroughly with microfiber towels or compressed air.
After washing, apply protective coatings to all metal surfaces. Wax painted surfaces to protect the clear coat. Apply a rust inhibitor like ACF-50, WD-40, or a similar corrosion preventative to chrome, aluminum, and bare metal components. Pay special attention to the frame, engine cases, exhaust headers, and any exposed metal fasteners. These products displace moisture and create a protective barrier against rust.
Do not forget your fork seals and rubber components. Spray a light coat of silicone lubricant or rubber protectant on fork seals to keep them from drying out and cracking during months of inactivity. Apply rubber protectant to other exposed rubber components like foot peg bumpers and cable boots.
Step 7: Block Pests and Cover Your Motorcycle
Mice and other rodents are attracted to motorcycles as nesting sites. They find exhaust pipes, airboxes, under-seat storage areas, and frame cavities perfect for building winter homes. A single mouse can cause extensive and expensive damage by chewing through wiring harnesses, nesting in air filters, and leaving waste that corrodes metal surfaces.
Plugging Exhaust and Intake Openings
Block your exhaust pipes with plastic bags, rubber stoppers, or foam plugs designed for this purpose. Do the same for your air intake openings. This prevents pests from entering and also keeps moisture from condensing inside your exhaust system during temperature swings.
Avoid using rags or cloth to plug openings. Rodents can easily pull cloth apart and use the fibers for nesting material. Plastic bags secured with rubber bands work well and are easy to remove in spring. Some riders use aluminum foil, which rodents typically avoid chewing through.
Consider placing mouse traps or natural deterrents like peppermint oil around your motorcycle. Mothballs work but leave a persistent odor that can transfer to your motorcycle. Ultrasonic pest repellers are another option for enclosed storage spaces, though their effectiveness varies.
Choosing the Right Cover
Cover selection depends on your storage location and conditions. For indoor storage, use a breathable cover that allows moisture to escape. A non-breathable cover indoors can trap humidity and promote exactly the kind of condensation and corrosion you are trying to prevent. A simple cotton or microfiber dust cover works well indoors.
For outdoor storage, use a waterproof cover with vents or breathable material. Look for covers with tie-down straps, elastic hems, and UV protection. Secure the cover tightly to prevent wind from blowing it off or causing it to rub against painted surfaces. A loose cover in wind acts like sandpaper on your paint.
Never use a plastic tarp as a motorcycle cover. Tarps trap moisture completely, creating a greenhouse effect that accelerates rust and corrosion. They also flap in the wind and can damage paint and chrome.
How to De-Winterize Your Motorcycle in Spring
When riding season returns, proper de-winterization ensures a smooth first ride. Do not just hop on and hit the start button. Take time to properly wake your motorcycle from its winter rest. Rushing this process can lead to problems that ruin your first ride of the season.
Reinstall and Charge the Battery
Reconnect your battery, positive terminal first, then negative. This connection order prevents sparks if your wrench contacts the frame. If you used a battery tender during storage, your battery should be fully charged and ready. If you stored the battery without a tender, charge it fully before attempting to start the engine.
Check terminal connections for corrosion and clean with a wire brush if necessary. Verify that the dielectric grease you applied before storage is still in place. If your battery has removable caps, check the electrolyte level on conventional lead-acid types.
Check Fuel Condition
Smell the fuel in your tank. It should smell like normal gasoline with no unusual odors. If it smells sour, has a varnish-like odor, or appears discolored, the fuel has degraded and should be drained. Dispose of old fuel properly at a recycling center or auto parts store that accepts used fluids.
For carbureted bikes, check the carburetor bowl for varnish or gum deposits before starting. If you drained the bowl before storage, refill it by turning the petcock on and letting fuel flow. Clean the carburetor if you notice any residue or if the bike has trouble starting after a few attempts.
Spring Startup Checklist
Before starting, check all fluid levels including oil, coolant on liquid-cooled bikes, and brake fluid. Inspect tire pressure and adjust to your normal riding pressure. Remove all exhaust and intake plugs you installed before storage. Walk around the bike and check for any damage, loose fasteners, or problems that may have occurred during storage.
Start the engine and let it idle for several minutes without revving. Listen for unusual sounds that might indicate problems. Watch for leaks around the engine, fuel lines, and coolant hoses. Let the engine reach full operating temperature before riding.
Take a short, easy test ride in a safe area to ensure everything feels normal. Test brakes, throttle response, clutch engagement, and suspension before heading out on longer trips. Check tire pressure again after your test ride, as pressure can change as tires warm up.
Common Winterization Mistakes to Avoid
Even experienced riders make winterization mistakes. Learning from these common errors helps you avoid costly problems and ensures your motorcycle is ready when riding season returns.
Starting Your Bike Periodically During Storage
This is the most common and most damaging mistake riders make. Starting your motorcycle without riding it does more harm than good. Cold starts produce condensation inside the engine as combustion gases meet cold metal surfaces. This moisture mixes with oil and creates sludge that reduces lubrication effectiveness.
Short running periods do not get the oil hot enough to burn off accumulated moisture. Forum users on r/motorcycles consistently warn against this practice with stories of engines that ran worse after periodic starting. Unless you plan to ride the bike long enough to fully warm the oil and exhaust system, leave it parked.
The same logic applies to battery charging. Starting the engine for a few minutes does not charge your battery. The starter motor draws significant current, and short run times may leave your battery with less charge than before you started. Use a battery tender instead.
Skipping the Oil Change
Used oil contains acids that corrode engine internals during storage. Skipping the pre-storage oil change risks bearing damage, cylinder wall corrosion, and premature wear on internal components. Always change oil before storage so your engine sits bathed in clean, protective lubricant.
Using a Non-Breathable Cover Indoors
A plastic or vinyl cover indoors traps moisture against your bike. Temperature swings cause condensation under the cover, leading to rust and corrosion on metal surfaces. Use a breathable cover designed for indoor use, or skip the cover entirely if your bike is in a clean, dry space.
Leaving Untreated Fuel in the System
Untreated fuel breaks down and causes fuel system problems that are expensive to fix. Always add stabilizer and run the engine to circulate treated fuel through the entire system. This simple step, which costs under $10, prevents carburetor cleaning or fuel injector replacement that can run hundreds of dollars.
Forgetting Pest Prevention
Mice can cause thousands of dollars in damage by chewing wiring harnesses. A single mouse nesting in your airbox can destroy the filter and restrict airflow. Always plug exhaust and intake openings, and take additional pest prevention measures if your storage area has any history of rodent activity.
FAQs
Is it okay to store a motorcycle outside in the winter?
Storing a motorcycle outside in winter is possible but requires extra protection. Use a waterproof, breathable cover designed for outdoor use. Place the bike on a covered surface like a wooden pallet. Plug exhaust pipes and intake openings to prevent moisture and pest entry. Check the cover regularly for tears or displacement.
Is it okay to leave gas in a motorcycle over winter?
Yes, leaving gas in your motorcycle over winter is acceptable when properly treated. Fill the tank to minimize condensation and add fuel stabilizer. Run the engine to circulate treated fuel through the entire system. Untreated fuel breaks down after 30 days and can cause serious fuel system problems.
How do I prep my motorcycle for winter if I don’t have a garage?
Without a garage, focus on extra protection. Apply a heavier coat of rust inhibitor to all metal surfaces. Plug exhaust pipes and air intake openings. Use a high-quality waterproof cover with tie-downs. Consider a portable motorcycle shelter or rent a storage unit for better protection in harsh climates.
Should I start my motorcycle periodically during winter storage?
No, starting your motorcycle periodically during storage causes more harm than good. Cold starts create condensation inside the engine that mixes with oil and creates sludge. Short running periods do not get oil hot enough to burn off moisture. Leave the bike parked until you are ready to ride it properly.
Should I store my motorcycle with a full or empty gas tank?
Store your motorcycle with a full tank of treated fuel. A full tank minimizes air space where condensation can form and cause rust inside the tank. Empty tanks allow humid air inside, which causes condensation on tank walls during temperature fluctuations. Always add fuel stabilizer to a full tank before storage.
Conclusion
Taking the time to properly winterize a motorcycle for storage protects your investment and ensures a trouble-free spring riding season. The seven steps we covered, from choosing the right storage location to blocking pests and covering your bike, address the most common causes of storage damage that riders face every winter.
Our team has seen firsthand what happens when riders skip these steps. Fuel system cleanings, battery replacements, rust repair, and pest damage cost far more than the few hours and minimal supplies needed for proper winterization. A $10 bottle of fuel stabilizer prevents a $300 carburetor cleaning. A $40 battery tender extends battery life by years.
Bookmark this page and use it as your winterization checklist each year. Follow the steps in order, gather your supplies beforehand, and do not cut corners. With the right preparation, you will extend the life of your motorcycle and avoid the frustration of a bike that will not start on that first beautiful spring day.