
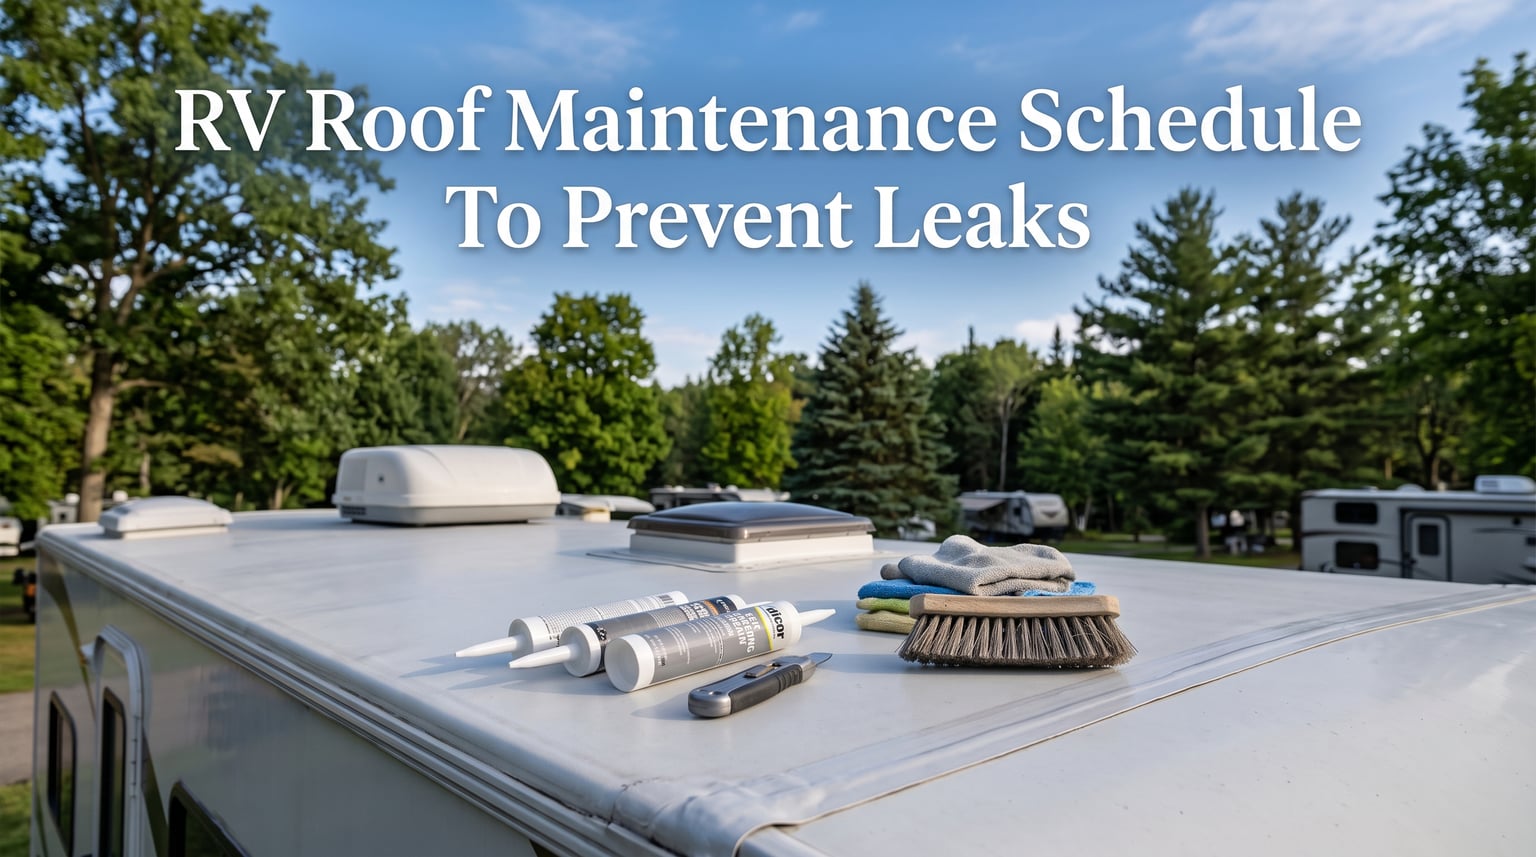
Water intrusion is the number one cause of preventable damage in recreational vehicles, and it almost always starts at the roof. A single undetected leak can destroy insulation, rot structural framing, and trigger mold growth that costs thousands to remediate. The frustrating part is that nearly all of this damage is avoidable with a consistent maintenance routine.
After spending years maintaining my own RV and comparing notes with certified technicians and long-term RVers on forums like iRV2 and Forest River Forums, I built a maintenance schedule that actually works. This guide breaks down everything into clear intervals: monthly, seasonal, and annual tasks that keep your roof watertight. I will cover roof type differences, climate-specific considerations, cost breakdowns for DIY versus professional service, and emergency repair steps you can take when you spot a leak mid-trip.
Whether you own a brand-new rig or a ten-year-old camper, following an RV roof maintenance schedule to prevent leaks is the single most cost-effective habit you can develop as an owner. Let me walk you through exactly what to do and when.
RV Roof Maintenance Schedule Overview: The Framework That Works
The biggest mistake RV owners make is treating roof maintenance as an annual afterthought. Manufacturers and certified technicians recommend a layered approach with tasks spread across different intervals. This prevents small issues from becoming catastrophic failures.
Many RVers ask about the 3-3-3 rule, and it is worth clarifying because it gets confused with other RV rules. The 3-3-3 rule for RVing generally means limiting driving to 300 miles per day, arriving by 3:00 PM, and staying at least 3 days at each location to reduce wear and tear. When applied to maintenance philosophy, it reinforces the idea that pacing yourself prevents breakdowns, including roof failures from constant vibration and exposure.
Here is the maintenance interval framework that manufacturers and experienced RVers converge on:
Monthly: Visual inspection from the ground, check for debris, examine drainage
Quarterly: Climb up for closer inspection, check all seams and sealant lines, clear gutters
Semi-annually (Spring and Fall): Full roof cleaning, detailed seal inspection, reseal as needed
Annually: Comprehensive pre-season inspection, coating evaluation, documentation photos
Post-event: Inspect after any major storm, hail, or long road trip
This layered schedule catches problems early. A cracked sealant line spotted during a monthly check takes fifteen minutes and a tube of Dicor to fix. That same crack left unattended for six months can lead to a delaminated ceiling and a repair bill north of $5,000.
Your schedule may need adjustment based on climate. RVs stored in the desert Southwest face intense UV degradation that breaks down rubber membranes faster. Units in the Pacific Northwest deal with constant moisture that attacks sealant adhesion. Snow country owners need aggressive fall preparation to survive freeze-thaw cycles. I will address climate-specific adjustments in detail later in this guide.
Monthly RV Roof Maintenance Tasks
Monthly tasks are designed to be quick, around fifteen to twenty minutes, and require no special equipment. The goal is catching obvious problems before they worsen. You can do most of these from the ground or by using a ladder at the rear of the rig.
Here is what to check every thirty days:
Visual scan from ground level: Walk around the RV and look at the roofline. Check for sagging, pooling water indicators, or visible gaps at trim edges.
Debris check: Look for leaves, twigs, or dirt accumulation, especially near vents and air conditioning units. Debris traps moisture against the roof membrane.
Gutter and drainage inspection: Make sure water channels along the roof edges are clear. Clogged gutters force water over seams it was never meant to cross.
Check interior ceilings: Look inside the RV for water stains on ceilings, especially around skylights, vents, and slide-out openings. Even a faint yellowing is a red flag.
Monitor for soft spots: From the roof or through a hatch, press gently on the membrane. Sponginess indicates water has already penetrated the substrate.
Examine vent boots and plumbing penetrations: These are the most common leak entry points. Look for lifted, cracked, or missing sealant around each penetration.
I keep a simple log on my phone noting the date and anything unusual I spotted. This takes the guesswork out of tracking whether a crack was there last month or just appeared. Forum members on iRV2 consistently report that this simple habit catches 80 percent of potential leaks before they cause interior damage.
One more monthly habit I recommend: check your storage bay for maintenance supplies. Sealant tubes stored in hot bays can cure prematurely and become useless when you actually need them. Rotate your stock if temperatures regularly exceed 100 degrees in your storage area.
Seasonal Maintenance Tasks: Spring and Fall Deep Dive
Twice a year, you need to get on the roof and do a thorough job. Spring preparation gets your rig ready for travel season. Fall maintenance prepares it for storage or winter use. These are the most important maintenance sessions of the year.
Spring Roof Maintenance: Pre-Season Preparation
Spring is when you undo whatever winter did to your roof. Freeze-thaw cycles crack sealant. Snow load can stress seams. Animals looking for warmth may have damaged membrane edges. Start with a full cleaning before anything else.
Step 1: Clean the roof thoroughly. Use a cleaner specifically formulated for your roof type. For EPDM and TPO rubber roofs, use a non-abrasive rubber roof cleaner. Never use citrus-based cleaners, bleach, or dish soap, as these degrade the membrane. Work in sections with a medium-bristle brush, then rinse completely with low-pressure water.
Step 2: Inspect every seam and penetration while the roof is clean. Look closely at all sealant lines around vents, plumbing boots, TV antennas, skylights, air conditioner units, and the front and rear caps. The sealant should be continuous, flexible, and fully bonded to both surfaces. Any crack, lift, or gap needs attention.
Step 3: Reseal compromised areas. Remove loose sealant with a plastic putty knife. Clean the surface with mineral spirits or manufacturer-recommended solvent. Apply fresh self-leveling lap sealant (Dicor is the industry standard) to horizontal seams and penetrations. Use non-sag sealant for vertical seams where self-leveling product would run.
Allow sealant to skin over for at least four hours before exposing the roof to rain. Full cure takes 24 to 48 hours depending on temperature and humidity.
Step 4: Check and tighten all roof-mounted hardware. Vibration from travel loosens screws over time. Check air conditioner mounting bolts, vent flanges, solar panel brackets, and antenna bases. Loose hardware creates movement that breaks sealant bonds.
Fall Roof Maintenance: Storage and Winter Preparation
Fall maintenance is about protecting your roof through the harshest season. If you store your RV outside in snow country, this session is critical.
Clean again before storage. Do not put your RV away with organic debris on the roof. Leaves and pine needles decompose over winter, creating acidic compounds that etch into rubber membranes and sealant.
Do a complete sealant inspection. Any sealant that looked questionable in spring but was holding should be replaced now before freeze-thaw cycles make it worse. Pay special attention to the front cap seam, which takes the most road vibration and weather exposure.
Consider a protective coating or cover. If your rubber roof membrane is showing signs of chalking or UV wear, fall is the time to apply a reflective roof coating. These coatings extend membrane life by reflecting UV rays and adding a sacrificial waterproof layer. Alternatively, invest in a quality breathable RV cover to shield the entire roof from snow load and UV degradation during storage.
How often do RV roofs need to be resealed? This is one of the most common questions I hear. The short answer: inspect sealant every six months and reseal any compromised areas immediately. A full reseal of all seams and penetrations is typically needed every 3 to 5 years, depending on climate and travel frequency. High-travel full-timers in hot climates may need resealing every 2 to 3 years.
Post-Storm Inspection Protocol
After any major weather event, get on the roof as soon as it is safe. Hail can puncture membranes and dent aluminum roofs. High winds tear at seals and lift edge trim. Heavy rain exposes weak sealant by forcing water under edges that looked fine when dry.
Check for impact marks, lifted sealant edges, and new debris lodged under components. If you find damage, address it immediately with emergency repair materials rather than waiting for your next scheduled maintenance window.
Annual Pre-Season Inspection Checklist
Once a year, usually in early spring before your first trip, do a top-to-bottom roof evaluation. This goes deeper than your seasonal cleaning and should be documented with photos. I take pictures of every penetration and seam each spring so I can compare year over year.
Here is the complete annual inspection checklist:
Membrane condition: Check for chalking, cracking, bubbling, or thinning areas. For rubber roofs, excessive chalking means the UV protective layer is wearing through.
All sealant lines: Every penetration, seam, and edge must be examined. Press on sealant with a gloved finger. It should feel rubbery and stay bonded. If it is brittle, crumbling, or lifting, replace it.
Screws and fasteners: Check every screw on the roof for tightness. Backed-out screws create leak paths. Replace any corroded hardware.
Skylights and domes: Inspect for cracks, especially around screw holes. UV degradation makes plastic brittle over time.
Air conditioner units: Check the gasket under each unit. These compress over time and become leak paths. Replace gaskets every 5 to 7 years.
Antenna and satellite mounts: These vibrate during travel and are frequent leak sources. Verify sealant integrity and hardware tightness.
Slide-out seals: Inspect the seal where slide-out rooms meet the main roof. These flex constantly and fail faster than stationary seals.
Gutters and spouts: Clear all debris. Check that gutter extensions direct water away from the rig sides, not down sealant lines.
Edge trim and termination bars: Verify all edge trim is securely fastened and sealed. Wind and vibration loosen these over years.
Eternabond tape checks: If you have applied Eternabond tape for previous repairs, verify edges are still adhering. Lifted tape edges let water underneath.
Document everything with timestamped photos. If you ever need an insurance claim for roof damage, having a documented maintenance history strengthens your case significantly. Several forum members on Thor Forums have shared that their thorough documentation was the difference between an approved and denied claim.
This is also the time to evaluate whether your roof needs a coating application. If your rubber membrane is more than 7 years old and showing chalk, a liquid rubber or silicone coating can add 5 to 10 more years of service life before full replacement becomes necessary.
Roof Type-Specific Maintenance Guide
Different roof materials require different care. Using the wrong product on your roof type can cause more damage than years of neglect. Here is how to identify your roof and care for it properly.
EPDM Rubber Roofs
EPDM (ethylene propylene diene monomer) is the most common rubber roof material on RVs built before 2015. It has a smooth, matte black or white surface that chalks as it ages, leaving a white residue when you run your hand across it. This chalking is normal but indicates the membrane needs UV protection.
For EPDM, use only cleaners labeled safe for EPDM rubber. Avoid any petroleum-based products, citrus solvents, or abrasive scrubbers. After cleaning, apply an EPDM-compatible UV protectant to extend membrane life. Watch for shrinkage at edges and tears from impact damage.
TPO Rubber Roofs
TPO (thermoplastic polyolefin) roofs are newer and more UV-resistant than EPDM. They typically have a slightly glossy, textured surface that does not chalk as much. TPO is more puncture-resistant but still requires regular cleaning and seam inspection.
Use TPO-safe cleaners and avoid harsh chemicals. TPO is less forgiving than EPDM with certain solvents, so always verify product compatibility. The main warning sign on TPO is seam separation where membrane panels overlap, particularly at front and rear cap junctions.
Fiberglass Roofs
Fiberglass RV roofs are durable and less prone to UV degradation than rubber. They have a hard, glossy surface, often painted white. However, fiberglass is more rigid, meaning impacts can crack rather than flex.
Maintain fiberglass by keeping it waxed with a marine-grade fiberglass wax to protect the gel coat. Inspect for hairline cracks, especially around screw holes and stress points. Any crack in fiberglass is a direct water path to the wood substrate below. Seal cracks immediately with fiberglass-compatible sealant.
Aluminum Roofs
Less common on modern RVs but found on some older models and truck campers. Aluminum roofs are durable but susceptible to corrosion at seams and rivet points. Keep them clean and inspect for oxidation, which appears as a white powdery residue. Treat with aluminum-compatible protectants and keep all rivet heads sealed.
Leak Prevention Checklist and Emergency Repairs
Even with perfect maintenance, leaks can happen. Road debris, unexpected hail, and age-related failures catch every RVer eventually. Being prepared makes the difference between a minor inconvenience and a ruined trip.
The Most Leak-Prone Areas
Based on data from RV technicians and forum reports, these are the areas most likely to develop leaks, in order of frequency:
Plumbing vent boots: Rubber boots crack from UV exposure and allow water directly into the wall cavity.
Air conditioner gaskets: Compressed gaskets create gaps that wick water into the ceiling.
Front and rear cap seams: The joint where the curved cap meets the flat roof takes the most flex and vibration.
Skylight frames: Screws loosen and sealant cracks around the mounting flange.
Slide-out roof seals: Constant movement degrades these seals faster than any stationary component.
TV antenna bases: Vibration and wind load crack sealant around the mounting plate.
Emergency Repair Kit Essentials
Keep these supplies in your RV at all times. I learned this the hard way after a tree branch punctured my roof in a remote campground with no cell service.
Dicor self-leveling lap sealant (at least two tubes): The go-to product for horizontal seam and penetration repairs. It flows into gaps and self-levels for a waterproof seal.
Non-sag sealant tube: For vertical repairs where self-leveling product would run. Dicor also makes a non-leveling version for this purpose.
Eternabond tape roll: This peel-and-stick flashing tape creates a permanent waterproof patch over cracks, failed seams, and small punctures. It bonds chemically to rubber membranes and does not require adhesive.
Butyl tape roll: Used for resealing flanges when re-mounting vents or lights. It creates a compression gasket that stays flexible for years.
Plastic putty knife: For removing old sealant without damaging the membrane. Never use metal tools on rubber roofs.
Cleaner and rags: Mineral spirits or manufacturer-recommended solvent for surface preparation before applying new sealant.
Rubber gloves and disposable brush: For clean application of sealant products.
What to Put on Your RV Roof to Stop Leaks
For immediate leak stops, Eternabond tape is the fastest and most reliable solution. Clean the area, cut the tape to size with rounded corners, peel the backing, press firmly from the center outward, and the leak is sealed permanently. For smaller gaps at sealant lines, apply Dicor self-leveling sealant directly into the crack after cleaning the surface. For active dripping inside the RV, apply a temporary patch from the exterior even in light rain, then do a proper repair when weather allows.
DIY Versus Professional Maintenance Cost Comparison
Forum members across iRV2, Forest River Forums, and Thor Forums consistently report paying around $550 for basic professional roof preventative maintenance at RV service centers. This typically includes cleaning, inspection, and resealing of obvious problem areas. More comprehensive service with full coating application can run $1,200 to $2,500 depending on RV size.
DIY maintenance for a typical 30-foot RV costs approximately $150 to $250 annually in supplies: cleaner, conditioner, two to four tubes of Dicor, Eternabond tape for spot repairs, and basic tools. The trade-off is your time: a thorough seasonal cleaning and inspection takes 3 to 5 hours for an experienced owner, longer if it is your first time.
I recommend DIY for monthly and seasonal tasks, then having a professional inspection every 2 to 3 years. A trained technician spots issues most owners miss, and a professional inspection creates a documented service record that protects your warranty and resale value.
Climate-Specific Maintenance Adjustments
Your maintenance schedule should flex based on where you travel and store your RV. Here are the key adjustments for different climates:
Desert and high-heat regions (Arizona, Nevada, Texas): UV degradation is your primary enemy. Clean and inspect the roof every 90 days rather than every 180. Apply UV protectant more frequently. Expect to reseal every 2 to 3 years instead of 4 to 5. Silicone-based coatings perform well in extreme heat and can significantly extend membrane life.
Rainy and humid regions (Pacific Northwest, Florida, Gulf Coast): Moisture is relentless. Pay extra attention to sealant adhesion, as constant humidity can break the chemical bond between sealant and membrane. Inspect more frequently for mold and mildew on the roof surface. Use cleaning products with mildewcide properties.
Snow and freeze-thaw regions (Rocky Mountains, New England, Great Lakes): Freeze-thaw cycles are brutal on sealant. Water that gets into a tiny crack during the day expands when it freezes at night, prying the gap wider. Do a thorough fall inspection and reseal everything questionable before first freeze. Never let snow accumulate more than one foot on the roof without removal, as weight stress can crack rigid components.
Coastal regions (salt air exposure): Salt spray accelerates corrosion on metal roof components. Rinse the roof with fresh water monthly. Inspect and replace any corroded fasteners. Aluminum roofs need particular attention in coastal environments.
FAQs
What can I put on my RV roof to stop leaks?
The fastest fix for an active RV roof leak is Eternabond tape, which creates a permanent waterproof seal over cracks, punctures, and failed seams. For smaller gaps at sealant lines and around penetrations, Dicor self-leveling lap sealant applied directly into the cleaned crack will stop water entry. For emergency interior leaks, apply an exterior patch immediately, even in light rain.
What is the 3-3-3 rule for RVs and campers?
The 3-3-3 rule is a travel guideline suggesting RVers drive no more than 300 miles per day, arrive at the destination by 3:00 PM, and stay at least 3 days at each stop. This reduces fatigue, minimizes equipment wear from constant travel vibration, and gives you time to inspect your rig, including the roof, at each stop.
What is the 25% rule for roofing?
The 25% rule in roofing states that if more than 25% of a roof surface is damaged, deteriorated, or in need of repair within a 12-month period, the entire roof should be replaced rather than repaired. For RV roofs, this means if you are resealing or patching more than a quarter of the total roof area, it is time to consider full membrane replacement.
How often do RV roofs need to be resealed?
RV roofs should be inspected for sealant integrity every 6 months, typically in spring and fall. Spot resealing of compromised areas should happen immediately when issues are found. A full reseal of all seams, penetrations, and edges is generally needed every 3 to 5 years for average use, or every 2 to 3 years for full-time RVers in harsh climates.
Conclusion
Following a consistent RV roof maintenance schedule to prevent leaks saves you thousands in repair costs and extends the life of your rig by years. Break your routine into monthly checks, seasonal deep dives, and annual inspections. Keep emergency supplies on hand, adjust for your climate, and document everything. The fifteen minutes you spend inspecting this weekend could be the difference between a worry-free season and a catastrophic leak.