
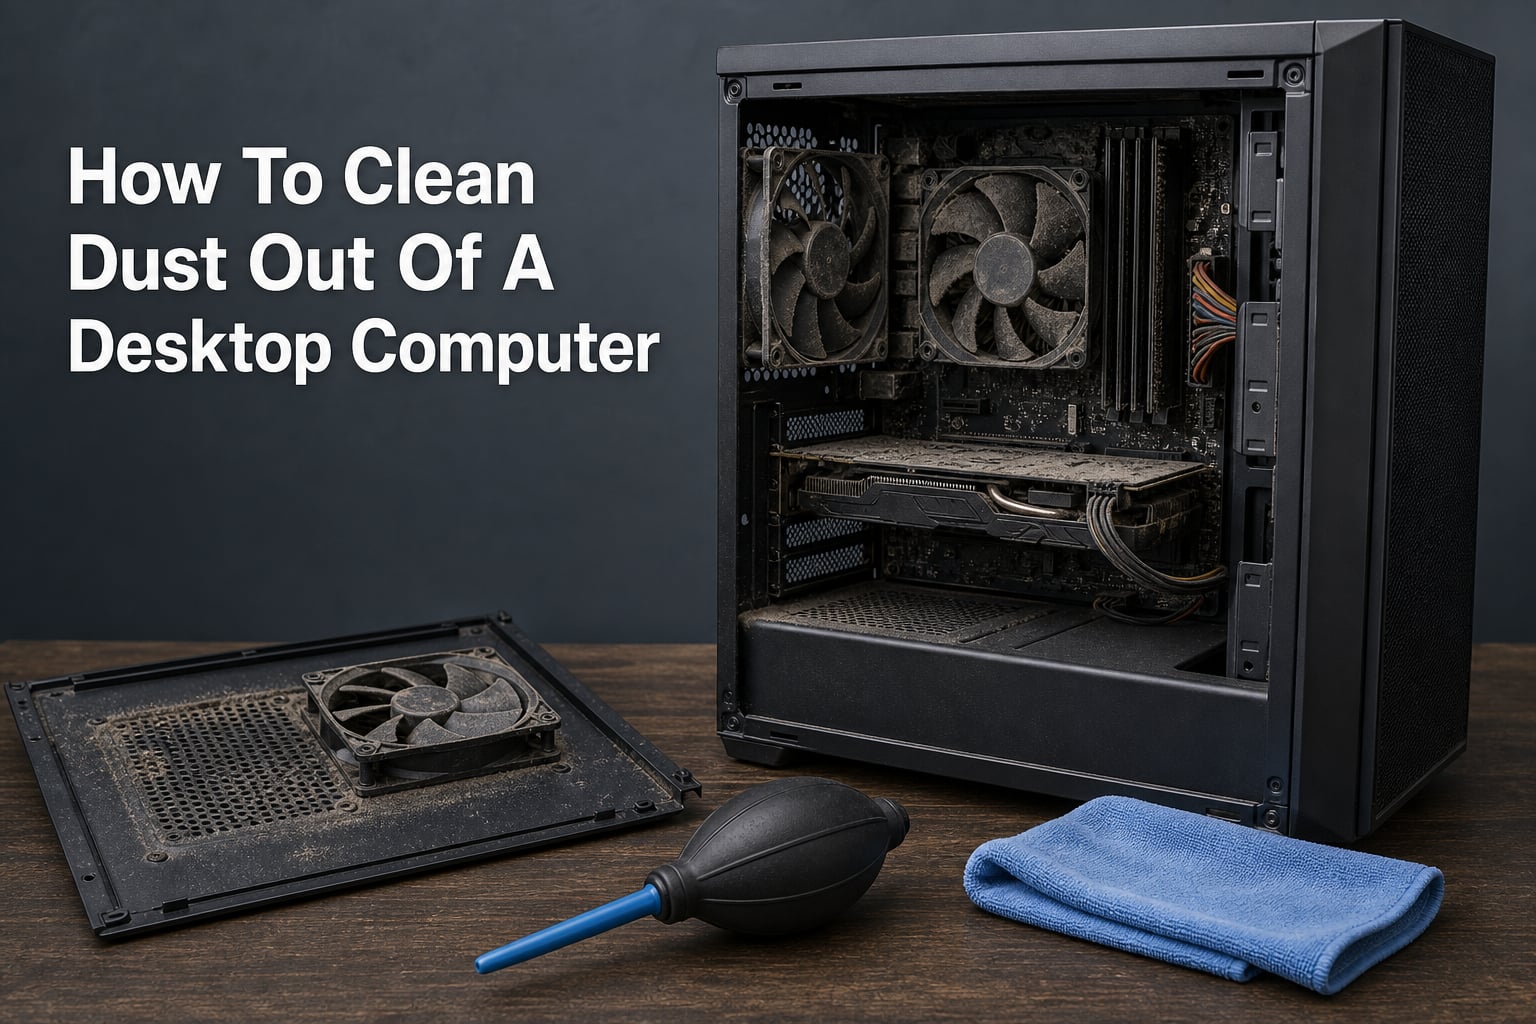
To clean dust out of a desktop computer, shut it down, unplug it, move it to a ventilated workspace, and remove dust with short bursts of compressed air and a soft brush. Hold fan blades still while blowing them out, keep liquid away from internal parts, then reinstall the panels and confirm every cable is secure.
This task matters because dust buildup blocks airflow through case fans, the heatsink, graphics card, and power supply. When heat has nowhere to go, fans may run louder, performance can slow under load, and components spend more time at higher temperatures.
This guide explains how to clean dust out of a desktop computer without taking risky shortcuts. It also separates a quick exterior clean from a deeper interior cleaning, which helps you decide how much work your PC actually needs.
Dust harms a desktop PC by trapping heat and restricting airflow
A desktop pulls room air through its intake vents to cool the motherboard, CPU cooler, graphics card, storage drives, and power supply. That moving air carries lint, hair, and fine dust into filters and onto fan blades.
A thin layer is not an emergency, but thick mats of debris act like insulation on a heatsink and reduce the air a fan can move. The usual results are higher temperatures, more fan noise, thermal throttling, and a computer that feels hotter around its exhaust vents.
Floor placement makes the problem worse because the case intakes sit close to carpet fibers and settled debris. Pets add hair and dander; a PC near a smoking area or an open window may also need attention more often.
Your PC likely needs cleaning when its fans get louder or its vents look blocked
Look through the intake grille and rear exhaust with the PC powered off. Visible clumps on a filter, fan hub, or heatsink fins are a clear signal to clean.
- Fan noise rises during ordinary browsing or gaming.
- The computer feels unusually warm at the rear exhaust.
- Temperatures are higher than your normal baseline during the same workload.
- A case fan appears to spin slowly, wobble, or is coated in lint.
- Dust or pet hair is visible around front, top, or bottom intake vents.
A light clean removes accessible dust, while a deep clean reaches internal cooling parts
For a light clean, wipe the exterior, clear the removable dust filters, and blow loose debris from exterior vents. This is often enough between deeper sessions.
For a deep clean, remove the side panel and work around the case fans, CPU cooler, graphics card, and cable paths. You do not need to remove a CPU cooler or replace thermal paste just because you are dusting; those are separate maintenance jobs.
Quick tip: Take a photo of the inside before you touch cables or remove a part. It gives you a simple reference during reassembly, particularly in a compact case.
Gather dry, non-abrasive tools before opening the case
The simplest kit is compressed air, a clean microfiber cloth, and a soft brush with non-metal bristles. An anti-static wristband is optional but useful if you are working on carpet or want another layer of protection against static discharge.
- Compressed air: Use it in short bursts to lift loose dust out of fins, vents, and fan frames.
- Electric air duster: A reusable blower can work well if it has a controlled stream and you keep the nozzle back from components.
- Soft brush: Use a small, clean paintbrush or electronics brush to loosen caked-on dust before blowing it away.
- Microfiber cloth: Use it for the outer panels, filter frames, and other non-sensitive exterior surfaces.
- Isopropyl alcohol: Use only a small amount on a cloth or swab for stubborn grime on non-powered surfaces; never spray it into the case.
Compressed air is helpful, but a soft brush and controlled blower can substitute
Compressed air is convenient because it reaches narrow gaps in a heatsink and between graphics-card shrouds. It is not the only option: a soft brush followed by an electric air duster works for most dry debris.
If you use an air compressor, only use clean, dry air at a gentle setting and keep the nozzle well away from the components. High pressure can overspin fans, force debris deeper into connectors, or introduce moisture from an unsuitable compressor system.
A household vacuum should stay outside the case rather than touch components
We do not recommend vacuuming inside a desktop computer. Vacuum nozzles can create static electricity, snag a small part, or bump a component when you are working close to the motherboard.
You can vacuum the surrounding floor or workbench before and after the job, and use it to collect dust that has already left the case. Keep its nozzle away from the interior, including ports and fans.
Warning: Do not use a wet cloth, household cleaner, hair dryer, or a can of air held upside down inside your PC. Moisture, cleaning residues, and liquid propellant can damage electronics.
Protect the computer by removing power and controlling static first
Turn the computer off through the operating system, wait until it has shut down, then switch off the power supply if it has a rear switch. Unplug the power cable and disconnect display, USB, network, and other external cables.
Press the case power button for several seconds after unplugging it. This helps discharge residual power from the system, though it does not replace normal static precautions.
Work on a hard, well-ventilated surface away from carpet
Move the tower outside, into a garage, or near an open area where dust will not settle back into the room. Put it on a sturdy table or hard floor, not on a bed, couch, or thick carpet.
Touch unpainted metal on the computer case before reaching inside, and repeat this occasionally as you work. If you have an anti-static wristband, attach it according to its instructions to an unpainted metal point on the case.
Keep every fan blade still before blowing air through it
Hold a case fan, CPU cooler fan, or graphics-card fan gently by a blade or the center hub before using air. A fast stream can spin it faster than normal operating speed, which is unnecessary and can be hard on the bearing.
Do not poke a fan with the air nozzle or bend its blades. The goal is to keep the fan stationary while you move dust out from both sides.
How to clean dust out of a desktop computer: follow these eight safe steps
These steps handle the parts that collect most dust without requiring a full teardown. Read them once before starting so you know what stays in place and what should be removed.
Step 1: Remove the side panel and inspect the airflow path
Lay the computer on its side with the removable panel facing up, then loosen the thumbscrews or other fasteners. Lift the panel away and set it somewhere clean where it cannot be scratched.
Trace the likely airflow path: front or bottom fans usually pull air in, while rear and top fans commonly send warm air out. Note where dust is thickest, since it often points to a clogged filter or an intake that needs more frequent care.
Step 2: Clean removable dust filters outside the case
Slide out or unclip the filters from the front, top, bottom, or side of the case if your model has them. Brush them lightly, blow dust through them from the cleaner side outward, and wipe the plastic frame with a dry microfiber cloth.
Let any filter that you washed fully air-dry before putting it back. A damp filter belongs nowhere near powered electronics.
Step 3: Blow dust from the case interior in short, controlled bursts
Hold the can or electric duster upright and use brief bursts rather than one long blast. Start near the top of the case and direct debris toward an open side so it exits rather than moves from one component to another.
Keep a little distance between the nozzle and the hardware. The goal is to move air across the surfaces, not drive a nozzle into RAM modules, motherboard headers, or cables.
Step 4: Clean case fans and intake grilles while holding the blades still
Hold each fan still, then blow from the front and back to clear its blades, hub, and frame. Use the soft brush first if a sticky ring of dust remains on the blade edges.
Clean the surrounding grille and any intake channels after the fan itself. A clean fan cannot move much air through a blocked vent.
Step 5: Clear the CPU cooler and heatsink fins without disturbing thermal paste
A CPU cooler is normally the densest dust trap because its metal heatsink has many thin fins. Hold its fan still and aim air through the fin stack from several angles until you can see clear gaps between the fins.
Use the brush lightly to dislodge packed debris, then blow it away. Leave the cooler mounted unless you have another reason to remove it, because lifting it breaks the thermal-paste contact and calls for a proper repaste.
What a heatsink does: A heatsink is the finned metal part that transfers heat away from a chip into moving air. Clear fins let that air pass through instead of bouncing back into the case.
Step 6: Clean the graphics card and nearby expansion slots gently
Support the graphics card with one hand only if needed, but do not pull on it or its power cables. Hold its fans still and blow dust from the fan blades, outer shroud, and heatsink openings.
Use air around the card’s edges and the area below it, where dust often settles. Do not force a brush into slots, connectors, or the small components on the circuit board.
Step 7: Clear the power-supply vents without opening the power supply
Blow through the exterior power-supply grille in short bursts while keeping the nozzle outside the unit. Dust often sits behind this grille because the power supply has its own fan and airflow channel.
Never open the power-supply housing for routine PC cleaning. Its internal parts can retain dangerous electrical charge even after the unit has been unplugged.
Step 8: Reassemble the PC and verify that every fan works
Check that no cloth fibers, loose screws, or tool attachments remain inside the case. Refit the side panel, reinstall dry filters, reconnect the cables, and restore power.
Turn the PC on and listen for any rubbing or unusual fan noise. Look through a vent or glass panel to confirm the case fans and graphics-card fans behave normally; some graphics cards keep their fans stopped at low temperatures, so that alone is not a fault.
Clean more often when pets, carpet, or floor placement feed dust into the case
For a desktop on a desk in a fairly clean room, inspect the filters about once a month and plan a light clean every few months. A deeper interior clean about every six months is a sensible starting point if the system stays quiet and temperatures are normal.
Use a shorter interval when the computer sits on the floor, shares space with pets, or has visibly dusty filters. Check monthly and clean as needed; a system with cats, long-haired dogs, or carpet may need filter cleaning every few weeks and a deeper session every few months.
Prevent dust buildup by keeping intakes clear and filters fitted
Leave several inches of open space around intake and exhaust vents so the case can breathe. Do not press the back of the PC against a wall or tuck it into a sealed cabinet.
Keep dust filters in their intended positions, and confirm that intake fans have a clear path to room air. A raised stand can reduce the debris a floor-based PC pulls in, while regular room cleaning reduces what is available to enter the case.
Pet hair needs brushing before air because it can mat into filters and fan frames
Hair does not always lift cleanly with air alone. Brush it from removable filters and fan frames first, then use air to remove the finer dust beneath it.
Check the front intake and the space under the power supply, since those spots can collect pet hair quickly. This small habit is often more useful than waiting for a major cleanup.
Stop and reassess: If a fan still scrapes, a cable seems loose, or the computer will not start after cleaning, turn it off and recheck the panel, cables, and fan connections. Do not keep powering it on while something is obstructing a fan.
These common questions explain the safest way to keep a PC clean
How to clean dust out of a desktop computer?
Shut down and unplug the PC, move it to a ventilated hard surface, remove the side panel, and use short bursts of compressed air or an electric duster. Hold fan blades still, use a soft brush for caked dust, clean removable filters, then reassemble and check that the fans work.
Should I clean my PC if it is dusty?
Yes. Light surface dust is normal, but visible buildup on filters, fans, or heatsink fins reduces airflow and can make the PC louder and hotter. Clean the filters first, then do a deeper interior clean if debris is visible inside or temperatures and fan noise have increased.
What is the safest way to clean dust from PC components?
Use dry, non-abrasive tools: compressed air or a controlled electric duster, a soft brush, and a microfiber cloth for exterior surfaces. Power the PC off, unplug it, ground yourself on unpainted case metal, hold fans still, and keep liquids, household cleaners, and vacuum nozzles away from internal components.
How often should you clean dust out of your PC?
Inspect filters monthly. A desktop in a clean, elevated room often needs a light clean every few months and an interior clean about every six months, while PCs on carpet, on the floor, or near pets may need filter care every few weeks and deeper cleaning every few months.
Is compressed air necessary for PC cleaning?
No. Compressed air is convenient, but a soft brush plus a controlled electric air duster can remove ordinary dry dust. Do not use a hair dryer because it can create static and heat, and do not use a household vacuum directly inside the case.
A safe cleaning routine keeps the desktop cooler, quieter, and easier to maintain
How to clean dust out of a desktop computer comes down to a repeatable routine: cut power, control static, keep fan blades still, remove dust with dry tools, and check the system before returning it to service. Start with the filters and visible vents, then move to a deeper clean only when the inside needs it.
Put a reminder on your calendar to inspect the intakes and filters, then adjust the timing for your room, pets, and floor placement. A few careful minutes at a time can prevent dust from becoming a packed layer around the parts that keep your PC cool.