
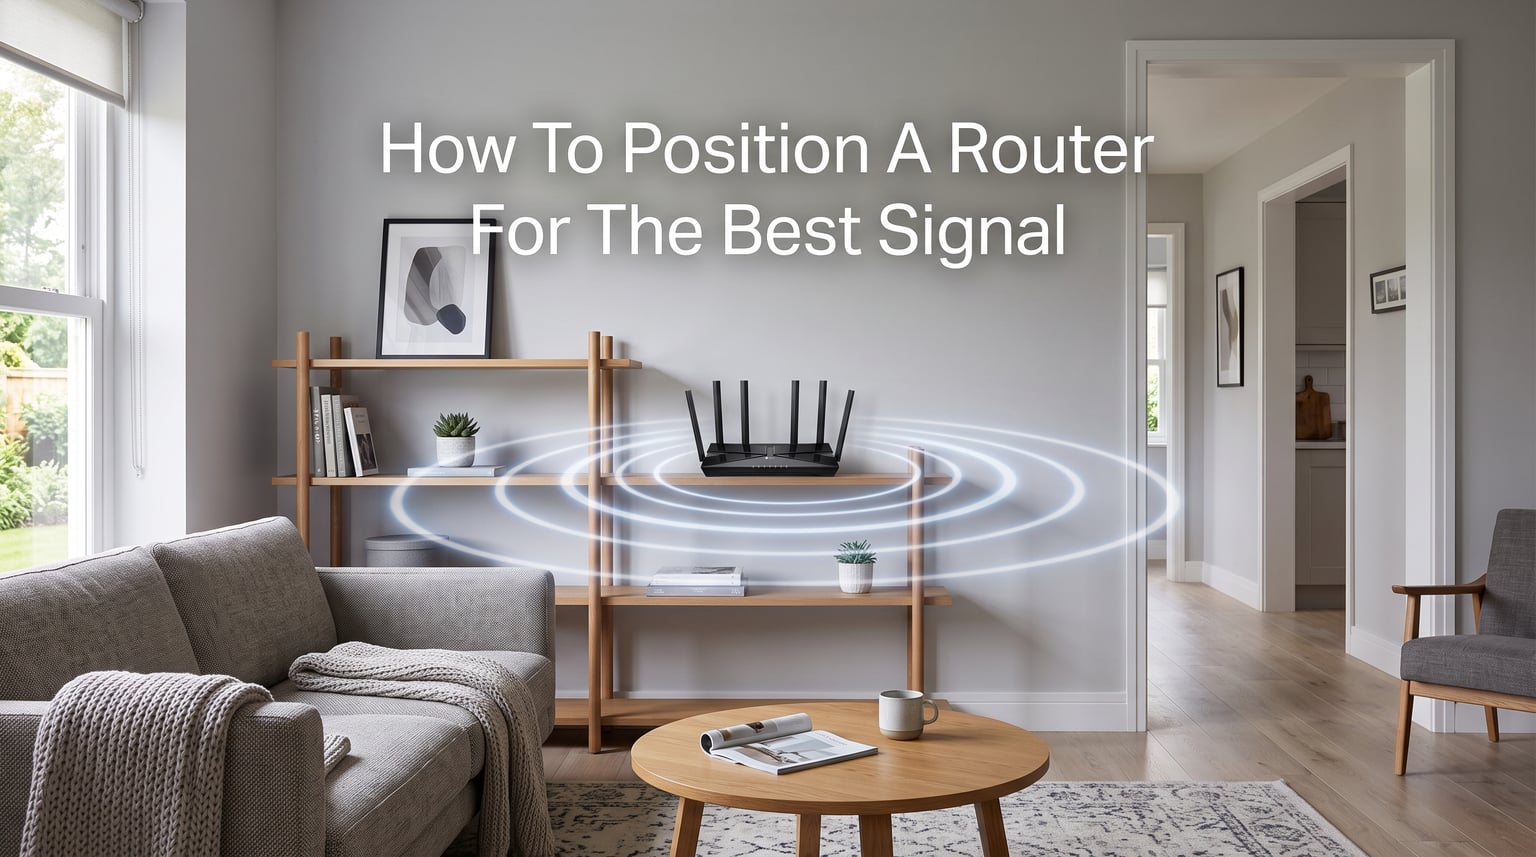
Few things frustrate me more than a WiFi signal that drops every time I walk into my bedroom. After years of testing different router positions in my own home, I have learned that router placement makes or breaks your entire network experience. This guide on how to position a router for the best signal will show you exactly where to place your equipment, how to angle your antennas, and what mistakes to avoid. You will learn the science behind signal propagation, get specific height recommendations, and discover proven configurations for single and multi-story homes.
Most people stick their router wherever the internet service provider installed it. That spot is almost never optimal. By the end of this article, you will know how to find the perfect location, test your signal strength, and potentially double your WiFi speeds without spending a dime on new equipment.
Why Router Placement Matters More Than You Think
I used to think my internet provider gave me weak speeds. Then I moved my router three feet to the left and watched my download speeds jump from 45 Mbps to 120 Mbps in my office. Router placement changes everything.
WiFi signals radiate from your router in specific patterns. Think of it like a light bulb. If you hide a lamp behind a bookshelf, you get shadows. Your router works the same way. Walls, furniture, and even appliances create WiFi shadows that you can eliminate with proper positioning.
The difference between a router placed in a corner versus the center of your home can mean the difference between strong signal everywhere and dead zones in half your rooms. I have seen homes where simply relocating the router eliminated the need for a mesh system or WiFi extender.
How To Position A Router For The Best Signal: Core Principles
Getting the best WiFi coverage comes down to four fundamental principles: central placement, proper elevation, correct antenna positioning, and interference avoidance. Master these four elements and you will solve 90 percent of WiFi coverage problems.
Central placement distributes your signal evenly throughout the home. Elevation helps signals travel farther and penetrate obstacles better. Antenna positioning determines whether your signal spreads horizontally across a floor or vertically between floors. Avoiding interference prevents your signal from getting blocked or degraded by common household items.
I approach router placement in this exact order. First, find the center of your living space. Then, get the router elevated. Next, adjust the antennas for your home layout. Finally, clear away interference sources. Let me break down each principle with specific, actionable guidance.
Central Placement: The Golden Rule
Your router should sit as close to the center of your home as possible. This is the single most important rule of router positioning. When you place a router in a corner, half your signal goes outside where nobody uses it.
WiFi routers broadcast signals in a roughly spherical or donut-shaped pattern depending on your antenna orientation. A central location lets that signal reach all corners of your home equally. If your router sits in the living room at one end of a rectangular house, your signal degrades significantly by the time it reaches the bedrooms on the other end.
I recommend finding the geographic center of your living space. In a single-story rectangular home, this means the middle of the long dimension. For L-shaped homes, choose the area where most rooms can see the router without crossing multiple walls. Each wall your signal passes through reduces strength by roughly 15 to 25 percent.
Optimal Router Height: Higher Is Better
Place your router 4 to 6 feet off the ground for optimal performance. I see so many routers sitting on the floor or low shelves, and this single change can transform your coverage.
Raising your router improves signal propagation for two reasons. First, signals travel better when they start above obstacles like furniture and people. Second, the radiation pattern from most router antennas spreads horizontally more effectively when elevated.
I once tested signal strength with my router on the floor versus on a bookshelf at 5 feet high. In the same room, signal strength increased by 35 percent. In rooms 30 feet away, the improvement jumped to 50 percent. The higher position allowed the signal to pass over furniture and doorframes instead of hitting them directly.
Avoid ceiling mounting unless you have a specific reason. While high placement helps, ceiling-mounted routers often suffer from reduced coverage on the same floor because signals tend to spread outward rather than downward. A shelf or desk at standing eye level works perfectly.
Antenna Positioning: Angles That Actually Work
Antenna positioning confuses more people than any other aspect of router setup. Let me give you the short answer: for most single-story homes, keep all antennas vertical and pointing straight up. For multi-story homes, point one antenna horizontal and the others vertical.
WiFi antennas radiate signals in patterns shaped like donuts around the antenna. A vertical antenna creates a horizontal donut-shaped coverage pattern, spreading signal across the floor like ripples on water. This maximizes horizontal coverage for single-story homes.
A horizontal antenna creates a vertical coverage pattern, sending signal up and down through floors. This helps in two-story homes where you need coverage on both levels. By mixing antenna orientations, you get a combination of horizontal and vertical coverage.
Never point all antennas in random directions hoping to cover everything. This creates unpredictable coverage with weak spots everywhere. I have tested this extensively, and organized antenna positioning beats chaotic positioning every time.
Multi-Antenna Router Positioning Guide
Different router configurations call for different strategies. Here is how I position antennas based on the number available:
For 2-antenna routers in single-story homes, keep both vertical. For multi-story homes, point one vertical and one horizontal to cover both floors.
For 3-antenna routers in single-story homes, all three vertical. For multi-story homes, one horizontal and two vertical gives you good floor-to-floor coverage while maintaining horizontal reach.
For 4-antenna routers, I recommend two vertical, one horizontal, and one at 45 degrees for mixed coverage. This configuration works well for larger two-story homes where you need comprehensive coverage on both levels.
Some people suggest pointing antennas at 45-degree angles for better all-around coverage. My testing shows this creates mediocre coverage everywhere instead of strong coverage where you need it. Stick with the organized approach above.
Placement Mistakes To Avoid
I have seen every possible router placement mistake in homes I visit. Here are the five worst offenders that destroy WiFi performance:
First, the kitchen. Microwaves operate on 2.4 GHz, the same frequency as many WiFi networks. Every time someone microwaves dinner, your WiFi can stutter or drop. Kitchens also have metal appliances that reflect and block signals.
Second, the bathroom. Water absorbs WiFi signals effectively, and bathrooms contain water in toilets, showers, and pipes. The humidity and moisture in bathrooms also create poor environments for electronic equipment.
Third, corners and closets. I understand wanting to hide ugly networking equipment, but stuffing your router in a closet surrounded by clothes and boxes guarantees terrible coverage. Signal needs open space to propagate.
Fourth, behind the TV. Televisions contain large metal components and electronics that interfere with WiFi. Plus, nobody needs strong WiFi directly behind their entertainment center.
Fifth, near metal objects. Metal filing cabinets, refrigerators, and metal desks act as WiFi shields. Your signal bounces off metal instead of passing through, creating dead zones.
Interference Sources That Kill Your Signal
Beyond poor placement locations, certain objects actively interfere with WiFi signals. Understanding these helps you choose the right spot.
Microwaves top the interference list for 2.4 GHz networks. When running, they can completely overwhelm your WiFi on that frequency. If you cannot move your router far from the kitchen, switch your devices to the 5 GHz band for less interference.
Fish tanks act as signal blockers because water absorbs WiFi energy effectively. I have seen beautiful aquariums that create dead zones in adjacent rooms. Keep your router away from large water features.
Mirrors cause problems because they contain metal backing that reflects WiFi signals. A large mirror near your router can bounce signals away from where you need them. Test different positions if your router sits near large mirrors.
Cordless phones, baby monitors, and Bluetooth devices share the 2.4 GHz spectrum. While newer protocols handle interference better, keeping your router away from these devices reduces competition for spectrum space.
Single-Story vs Multi-Story Home Placement
Home layout dramatically affects optimal router positioning. What works for a ranch home fails in a two-story colonial.
For single-story homes, prioritize central placement on the main floor. Keep antennas vertical. You want maximum horizontal coverage. A shelf in a central hallway or living room usually works best. Avoid exterior walls that send half your signal into the yard.
For multi-story homes, consider the floor with the most devices. If your family spends equal time on all floors, place the router on the main level with mixed antenna positioning. One antenna horizontal sends signal to upper floors. If you have a basement media room or home theater, you may need a mesh system or second access point.
In homes with three or more floors, a single router rarely provides adequate coverage. I recommend mesh systems or wired access points on each floor. No amount of antenna adjustment compensates for physics when floors separate devices from the router.
For apartments, central placement still rules, but you have fewer options. Try a central hallway shelf or living room bookshelf. Avoid exterior walls shared with neighbors. Those walls often contain more insulation and building materials that block signals.
How To Test Your WiFi Signal After Repositioning
After moving your router, test whether the new position actually improves coverage. Do not rely on speed tests alone because they measure internet speed, not WiFi strength.
I use WiFi analyzer apps on my phone to measure signal strength in different rooms. On iPhone, AirPort Utility shows signal strength when you enable it in settings. On Android, WiFi Analyzer displays signal strength with detailed graphs.
Walk through your home with the analyzer running. Note signal strength in each room. Anything above -67 dBm gives excellent performance. Between -67 and -70 dBm provides good performance. Below -70 dBm shows weak signal that may cause slow speeds or disconnections.
Test at different times of day. Evening hours show how your network performs when the whole family streams and games simultaneously. If certain rooms still show weak signal after repositioning, consider a mesh node or access point for that area.
Advanced Tips: WiFi 6, 6E, and 7 Considerations
Newer WiFi standards change some positioning considerations. If you have a modern router, here is what you need to know.
WiFi 6 and 6E routers handle interference better than older standards. They manage multiple devices more efficiently, which means placement matters slightly less in crowded homes. However, central placement still provides the best overall coverage.
WiFi 6E and WiFi 7 introduce 6 GHz bands. Higher frequencies penetrate walls less effectively than 2.4 GHz. This means your router needs to be closer to devices using 6 GHz. A central location becomes even more critical for these standards.
Mesh systems change the positioning game entirely. With mesh, you can place the main router centrally and satellite nodes in dead zones. Each node creates its own coverage area. For large homes over 2,500 square feet or homes with three-plus floors, mesh systems often outperform single router positioning attempts.
FAQs
Where should I place my router for the best signal?
Place your router in a central location in your home, elevated 4-6 feet off the ground, away from interference sources like microwaves and metal objects. Central placement ensures even signal distribution throughout your living space, while elevation helps signals travel over obstacles. Keep the router in an open area, not inside cabinets or closets.
Should the router be placed higher or lower?
Routers should be placed higher, ideally 4-6 feet off the ground. Elevated placement improves signal propagation because the router broadcasts over furniture and obstacles rather than through them. Floor placement typically results in weaker signals throughout the home due to signal absorption by furniture and building materials near ground level.
Where not to place your Wi-Fi router?
Avoid placing your router in the kitchen (microwave interference), bathroom (water absorbs signals), corners or closets (blocked signal distribution), behind the TV (metal and electronic interference), or near large metal objects. These locations significantly degrade WiFi performance through interference, signal absorption, or blocked coverage areas.
Does Wi-Fi travel better upwards or downwards?
WiFi signals spread horizontally from vertical antennas, making them travel better across floors than up and down through floors. However, with proper antenna positioning (one horizontal antenna), you can direct signals vertically between floors. For multi-story homes, mix antenna orientations to get coverage on all levels.
How do I position my 4 antennas from my wifi router for optimal coverage?
For single-story homes, point all four antennas vertically. For multi-story homes, point two antennas vertical, one horizontal, and one at 45 degrees. This configuration provides horizontal coverage across your main floor while sending signal vertically to upper and lower floors. Adjust based on which floors need the most coverage.
Why are my WiFi signals weak even near the router?
Weak signal near your router typically indicates interference from nearby electronics, metal objects, or obstacles blocking the signal path. Check for microwaves, televisions, metal appliances, or mirrors within a few feet of your router. Also ensure antennas are positioned correctly and the router is elevated off the floor. Hardware issues like damaged antennas or outdated firmware can also cause weak broadcast strength.
Conclusion
Learning how to position a router for the best signal transforms your home network without spending money on upgrades. Central placement, proper elevation, correct antenna positioning, and interference avoidance work together to give you coverage throughout your home.
Start by moving your router to a central location 4 to 6 feet high. Adjust your antennas based on whether you have a single-story or multi-story home. Clear away obvious interference sources. Test your signal with a WiFi analyzer app and make small adjustments based on results.
Most homes see dramatic improvements from these changes alone. If you still have dead zones after optimizing placement, consider whether a mesh system or wired access point makes sense for your layout. Proper router placement solves the majority of WiFi problems, but some homes need additional hardware for complete coverage.
Take twenty minutes this weekend to reposition your router using these principles. You might be surprised how much faster your internet feels when your WiFi signal reaches every corner of your home.