
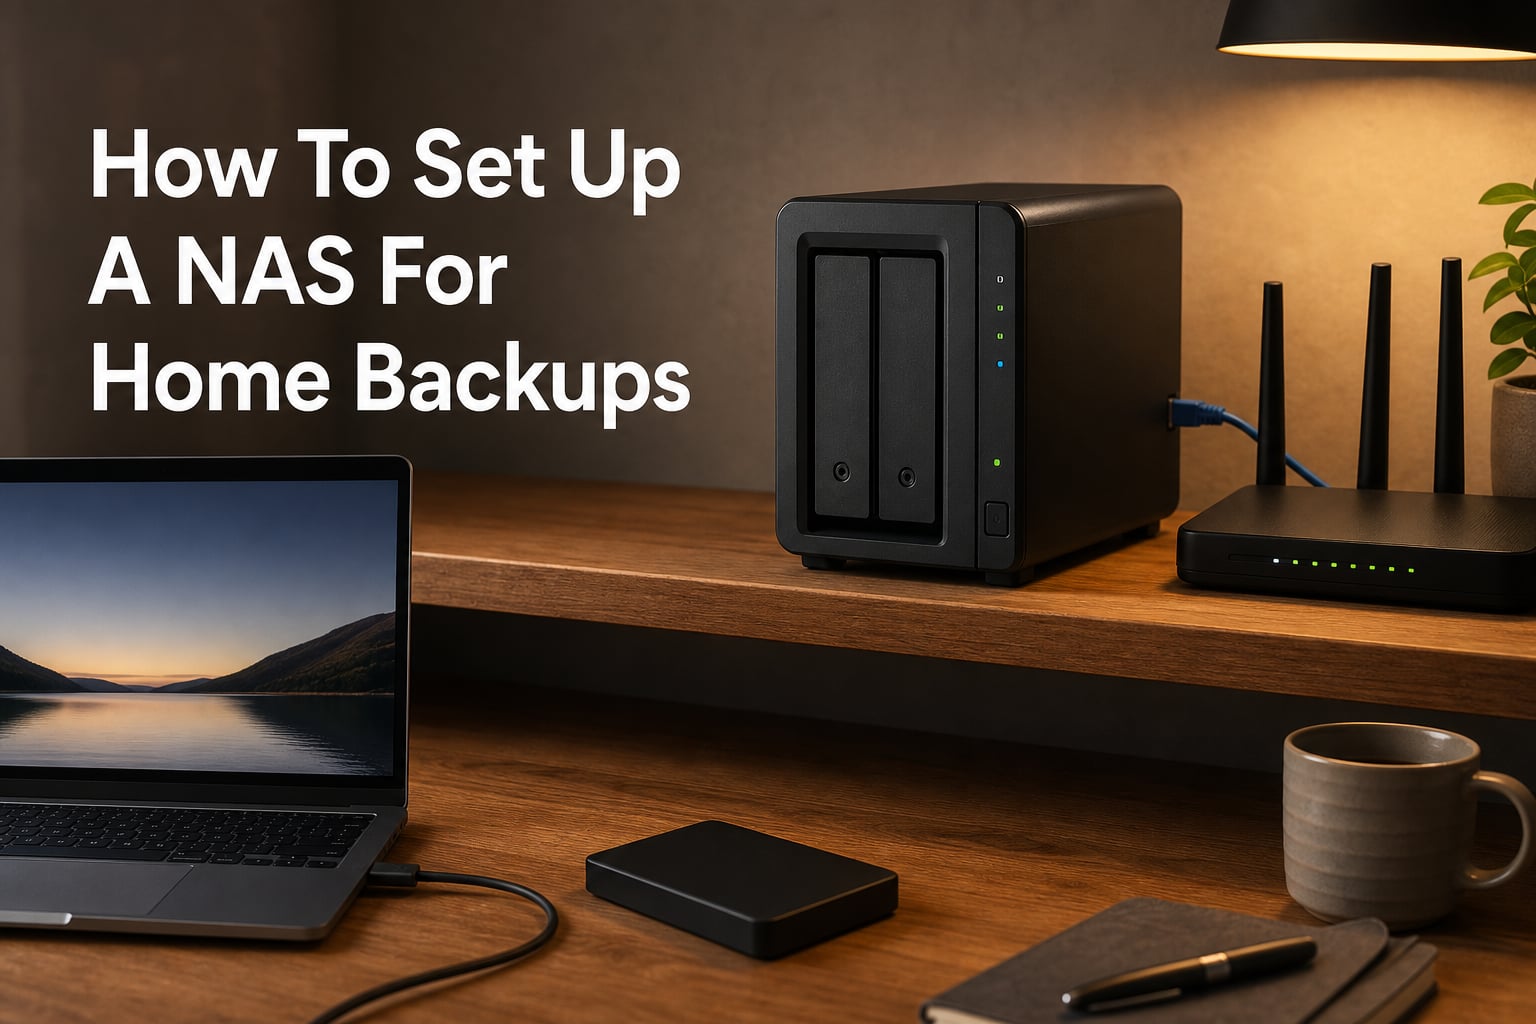
If your phone died tomorrow, how many family photos would you lose? If your laptop hard drive failed next week, could you recover that tax file you worked on for six hours?
I asked myself the same question after a close call two years ago, and that’s what pushed me to finally learn how to set up a NAS for home backups. A NAS (Network-Attached Storage) is a small box that sits on your home network and holds copies of every important file you have, automatically, every night.
This guide is the one I wish I’d had back then. I’ll walk you through what a NAS actually does, how it differs from an external hard drive, how to pick the right hardware, how to configure RAID, the exact steps to set up the software, and how to keep the whole thing secure. By the end, you’ll have a working home backup plan that runs itself.
What Is a NAS and Why It Matters for Home Backups
A NAS (Network-Attached Storage) is a dedicated file server that connects to your home router via an Ethernet cable. Once it’s online, every computer, phone, and smart TV in your house can save and retrieve files from one central location.
Think of it as a personal cloud that you own. Unlike Dropbox or Google Drive, your files never leave the building. The device runs a small operating system (usually Synology DSM or QNAP QTS) and exposes shared folders, scheduled backups, and media libraries to anything on your network.
For home backups specifically, a NAS solves three problems at once:
Centralization: One place for every family member’s files instead of scattered USB sticks.
Automation: Backups run on a schedule, so you don’t have to remember.
Redundancy: Most NAS boxes accept two or more drives, which can mirror your data so a single drive failure doesn’t wipe everything out.
Compared to a regular external hard drive, a NAS is always on, always accessible, and reachable from any device on the network. An external drive needs you to plug it in, run the backup software manually, and physically move it between machines.
A NAS also lets multiple people back up at the same time. My wife runs Time Machine on her MacBook, my desktop uses Windows File History, and our phones upload photos overnight, all to the same box. That kind of coordination is impossible with a stack of USB drives.
The catch is that a NAS is still a single point of failure unless you follow good backup practices. That’s why the last third of this guide covers the 3-2-1 backup rule and offsite copies.
NAS vs Cloud Storage: Which Is Better for Home Backup?
This is the question I get most often from friends who are about to buy their first NAS. Cloud services like Backblaze, iCloud, and Google One are easier to set up, so why bother with hardware?
Here’s my honest breakdown after running both side by side for a year.
Cost Over Five Years
A mid-range 2-bay NAS costs roughly $300 to $400 upfront with two 4 TB drives. After that, electricity adds maybe $15 to $25 per year. A cloud backup subscription for the same 4 TB of data runs $100 to $120 per year.
After five years, the NAS is cheaper. After ten years, it’s cheaper by a wide margin. The break-even point sits around year three for most households.
Privacy and Control
With a NAS, your data lives on a device under your desk. No one scans it for marketing, no provider gets breached and exposes your photos, and you can encrypt the drives or even wipe them with a physical button.
Cloud providers promise the same on paper, but you have to trust them. I prefer keeping the trust local when possible.
Speed
A gigabit NAS pushes around 110 MB/s on a wired network, which is faster than most home internet uploads. Cloud backups are throttled by your upload speed, often 5 to 20 MB/s in practice.
The verdict: cloud and NAS aren’t mutually exclusive. The best home backup strategy uses both, which I’ll explain when we get to the 3-2-1 rule. For local, frequent, automatic backups, the NAS wins on speed, cost, and control.
Choosing the Right NAS Hardware for Your Home
The hardware you pick determines how fast your backups run, how many drives you can add later, and how loud the box is when it sits next to your TV.
2-Bay vs 4-Bay
A 2-bay NAS holds two drives and supports RAID 1 (mirroring). That gives you full redundancy but only half the raw capacity. Good for households with under 4 TB of data.
A 4-bay NAS holds four drives and supports RAID 5 or RAID 6, which trade one or two drives for parity. You get more usable space and better redundancy in a bigger box. Recommended if you have a large media library or run a home server with Docker.
For most first-time buyers, a 2-bay is enough. You can always migrate later.
CPU and RAM
Entry-level NAS CPUs (Realtek RTD1619B, Intel Celeron N5105) handle backups, file sharing, and a couple of simultaneous streams without breaking a sweat.
You’ll want at least 4 GB of RAM. Some boxes ship with 2 GB and have a free SODIMM slot for upgrades. 8 GB is the sweet spot if you plan to run Plex with hardware transcoding or a few Docker containers.
NAS-Rated Hard Drives
Don’t put desktop drives in a NAS. They aren’t rated for 24/7 operation and will fail faster under constant vibration. Stick with NAS-rated drives like Seagate IronWolf or WD Red Plus. They cost more per terabyte but last years longer in this use case.
Networking
Every modern NAS has gigabit Ethernet. Some newer models add 2.5 GbE, which doubles throughput if your router and switch support it. For backups, gigabit is plenty, but 2.5 GbE is a nice future-proofing option.
Place the NAS somewhere with good ventilation and away from where you sleep. Even quiet drives produce a low hum that’s noticeable in a silent bedroom.
Understanding RAID: Picking the Right Level for Home Backups
RAID (Redundant Array of Independent Disks) is how a NAS protects you when a single drive dies. Each RAID level balances capacity, performance, and fault tolerance differently.
Quick RAID Comparison
| RAID Level | Min Drives | Usable Capacity | Fault Tolerance | Best For |
|---|---|---|---|---|
| RAID 0 | 2 | 100% | None | Speed only, not backups |
| RAID 1 | 2 | 50% | 1 drive can fail | 2-bay home NAS |
| RAID 5 | 3 | (N-1)/N | 1 drive can fail | 4-bay home/media NAS |
| RAID 6 | 4 | (N-2)/N | 2 drives can fail | Large media libraries |
What RAID 0 Does
RAID 0 stripes data across drives for speed but offers zero redundancy. If one drive dies, you lose everything. Avoid this for backups.
What RAID 1 Does
RAID 1 mirrors two drives. Every byte written to drive one is written to drive two. If one fails, the other keeps running. You lose half your raw capacity, but for a 2-bay NAS with two 4 TB drives, that gives you 4 TB of usable space with full redundancy.
This is what I run at home and what I recommend for most readers.
What RAID 5 Does
RAID 5 stripes data and parity across three or more drives. You lose the equivalent of one drive to parity, but you get more usable space than RAID 1 and can survive one drive failure. Rebuilding a failed drive takes longer on large disks, which is the main tradeoff.
What RAID 6 Does
RAID 6 is RAID 5 with double parity. You lose two drives’ worth of space but can survive two simultaneous drive failures. Great for large arrays but overkill for a basic home setup.
Forum users on r/synology and r/homelab repeatedly say RAID 1 is plenty for a typical home. RAID 5 makes sense once you move to four bays.
How to Set Up a NAS for Home Backups: Step-by-Step
Here’s the actual walkthrough. I’ll use Synology DSM as the example since it’s the most common, but QNAP, Asustor, and TrueNAS follow a similar flow.
Step 1: Unbox and Install the Hard Drives
Most NAS enclosures ship without drives. Slide the drive trays out, snap each drive into a tray with the four included screws, and slide them back in. The trays are tool-less on some models.
Handle drives by the edges and avoid stacking them. Match the capacity of both drives if you’re going RAID 1.
Step 2: Connect the NAS to Your Router
Plug one end of the included Ethernet cable into the NAS and the other end into an available LAN port on your router. Then plug in the power adapter and press the power button.
The fans will spin up, the drives will click, and within 60 to 90 seconds you’ll hear the boot chime.
Step 3: Find the NAS on Your Network
On a computer connected to the same router, open a browser and go to find.synology.com (or the equivalent for your brand). The setup assistant should find the NAS automatically.
If that doesn’t work, check your router’s connected devices list for the NAS’s IP address and enter it directly in the browser.
Step 4: Run the Initial Setup Wizard
The wizard walks you through:
Creating an administrator account (use a strong password)
Setting up two-factor authentication
Installing the latest DSM or QTS operating system
Configuring automatic firmware updates
Setting up quickconnect or DDNS for remote access
This part takes about 15 minutes. Don’t skip the 2FA setup, it’s the single biggest security win.
Step 5: Create a Storage Pool and Volume
Open Storage Manager (or the equivalent). The wizard will offer to create a Storage Pool spanning your two drives.
Pick RAID 1 for a 2-bay box. The system will initialize, sync the drives, and report when the pool is healthy. Initial sync can take several hours depending on drive size, but you can use the NAS in read-only mode during that time.
Step 6: Create Shared Folders
Set up folders for each purpose: /photos, /documents, /backups, /media. Each folder gets permissions per user or group, so your kids can only see their own photos if you want.
Step 7: Configure Backup Software
This is the part that actually does the work. We cover that in detail in the next section.
The whole setup, from unboxing to first backup, took me about 90 minutes spread over an evening. Most of that was waiting for drive initialization.
Configuring Automatic Backups and the 3-2-1 Backup Rule
Once your NAS is online, the goal is to never manually back up again. Here’s how to set up the software side.
Time Machine for Mac
On a Mac, open System Settings > General > Time Machine > Add Backup Disk. Pick your NAS shared folder. Time Machine will back up over the network every hour when on the same Wi-Fi.
First backup is slow (often overnight), subsequent backups are quick because Time Machine only sends changed files.
Windows File History and Third-Party Tools
Windows 11 supports File History to a network drive, but the interface is buried. Most home users prefer a tool like Veeam Agent for Windows (free) or Duplicati, which both handle incremental backups to a NAS share.
Set the schedule to run daily during off hours, like 2 AM.
Mobile Photo Backup
Synology Photos, QNAP QuMagie, and similar apps automatically upload your phone’s photos and videos when you’re on home Wi-Fi. Set it once and forget it.
The 3-2-1 Backup Rule
This is the rule every forum thread eventually circles back to, and for good reason.
3 copies of every important file
2 different storage media (your NAS plus something else)
1 copy offsite (cloud, friend’s house, safe deposit box)
Your NAS gives you copies one and two. For copy three, configure cloud sync to Backblaze B2, Wasabi, or even Google Drive. Most NAS operating systems have built-in cloud sync apps that run on a schedule.
RAID is not a backup. It protects against drive failure, not against fire, theft, ransomware, or accidental deletion. The 3-2-1 rule is what makes a backup strategy actually safe.
Securing Your NAS: Passwords, 2FA, and Network Safety
A NAS connected to the internet is a server, and servers get attacked. Default credentials, weak passwords, and open ports are how most home NAS boxes get compromised.
Use a Strong Admin Password
Twenty characters minimum, generated by a password manager. The default “admin / admin” combination is the first thing botnets try.
Enable Two-Factor Authentication
Every modern NAS OS supports TOTP-based 2FA. Turn it on for every account, especially the admin account. Authy or Google Authenticator both work.
Disable Unused Services
If you don’t need FTP, Telnet, or SSH, turn them off. Less surface area means fewer vulnerabilities.
Keep Firmware Updated
Enable automatic updates or check monthly. NAS vendors patch vulnerabilities regularly, and unpatched boxes are a common target for ransomware campaigns.
Use a VPN for Remote Access
Instead of exposing your NAS directly to the internet through port forwarding, run a VPN on your router (WireGuard works well) and connect to your home network that way. It’s safer and just as convenient.
If you must expose services, put them behind a reverse proxy with HTTPS and a real domain name.
Set Up Firewall Rules
Block all inbound traffic by default and only allow what’s needed. Most NAS firewalls let you whitelist specific IP ranges.
These steps take about 30 minutes total and dramatically reduce your risk profile.
Remote Access and Media Streaming on Your Home NAS
Once the basics are running, a NAS does more than just store files. Here are the two most popular extras.
Remote Access
Synology QuickConnect, QNAP myQNAPcloud, and Tailscale all let you reach your NAS from outside the home without messing with port forwarding. Tailscale is my favorite because it sets up a private mesh VPN in about 10 minutes and works on every device.
Media Streaming with Plex or Jellyfin
Install Plex Media Server or Jellyfin (free) as a package on the NAS. Point it at your /media folder. Now every TV, phone, and tablet in your house can stream your movie library.
For hardware transcoding of 4K content, pick a NAS with an Intel Celeron N5105 or better. Plex will use QuickSync for smooth playback on any device.
Smart Home Integration
Some NAS units integrate with Home Assistant, run Docker containers, or sync with surveillance camera NVR software. These are advanced use cases, but the option is there when you’re ready.
For a beginner setup, focus on backups first. Media streaming and smart home come later.
Maintenance Tips and Common Troubleshooting
A well-cared-for NAS runs for 7 to 10 years without drama. A neglected one fails right when you need it.
Monthly Checks
Run a SMART test on each drive
Verify your last successful backup date
Check that offsite sync ran without errors
Yearly Checks
Vacuum dust out of the chassis
Update firmware if not on auto-update
Test a full file restore from backup
Common Issues and Fixes
Slow transfer speeds: Make sure you’re wired with Ethernet, not Wi-Fi. Wireless backups cap around 30 to 50 MB/s even on good networks.
NAS not showing up on the network: Reboot the router first, then the NAS. If it persists, check that the Ethernet cable is fully seated on both ends.
Backup software keeps failing: Usually a permissions issue. Make sure the backup user has read access to the source folders and write access to the destination share.
Drive failure warning: Don’t panic. Hot-swap the failed drive with a matching replacement and let RAID rebuild. This is exactly what RAID is for.
Setting up a NAS is mostly a one-time job. Once it’s running and tested, it hums along in the corner doing its job for years.
FAQs
Is a NAS good for backups?
Yes. A NAS provides centralized, automatic backups for every computer and phone on your home network. With RAID, it also protects against single-drive failure. For most households, a 2-bay NAS running RAID 1 is more than enough capacity and redundancy for daily backups.
Is it worth setting up a NAS at home?
If you have more than one computer, a growing media library, or a family with multiple phones, a NAS pays for itself in three to five years compared to cloud subscriptions. You also get full control over your data, faster local transfer speeds, and the ability to back up multiple devices to one location.
What is the best NAS for home backup?
For most people, a 2-bay NAS from Synology or QNAP with two 4 TB NAS-rated drives (Seagate IronWolf or WD Red Plus) hits the sweet spot of capacity, redundancy, and price. Look for at least 4 GB of RAM and gigabit Ethernet. Popular starter models include the Synology DS224+ and QNAP TS-264.
How to build a NAS for home use?
Install your hard drives into the NAS enclosure, connect it to your router with Ethernet, run the setup wizard in a browser, create a RAID 1 storage pool, then configure backup software on each device. The whole process takes about 90 minutes for a first-timer. Add an offsite cloud sync for the 3-2-1 backup rule.
Final Thoughts on Setting Up Your Home NAS
Learning how to set up a NAS for home backups is one of those weekend projects that pays off for the next decade. You get automatic backups for every device in the house, full ownership of your data, and a foundation for media streaming and smart home projects later.
Start with a 2-bay box and RAID 1, follow the 3-2-1 rule, and keep your firmware updated. That’s the entire formula. Once it’s running, you’ll wonder how you ever managed with a drawer full of USB drives.
Pick your hardware, set aside a Saturday afternoon, and you’ll have a home backup system that runs itself for years.