
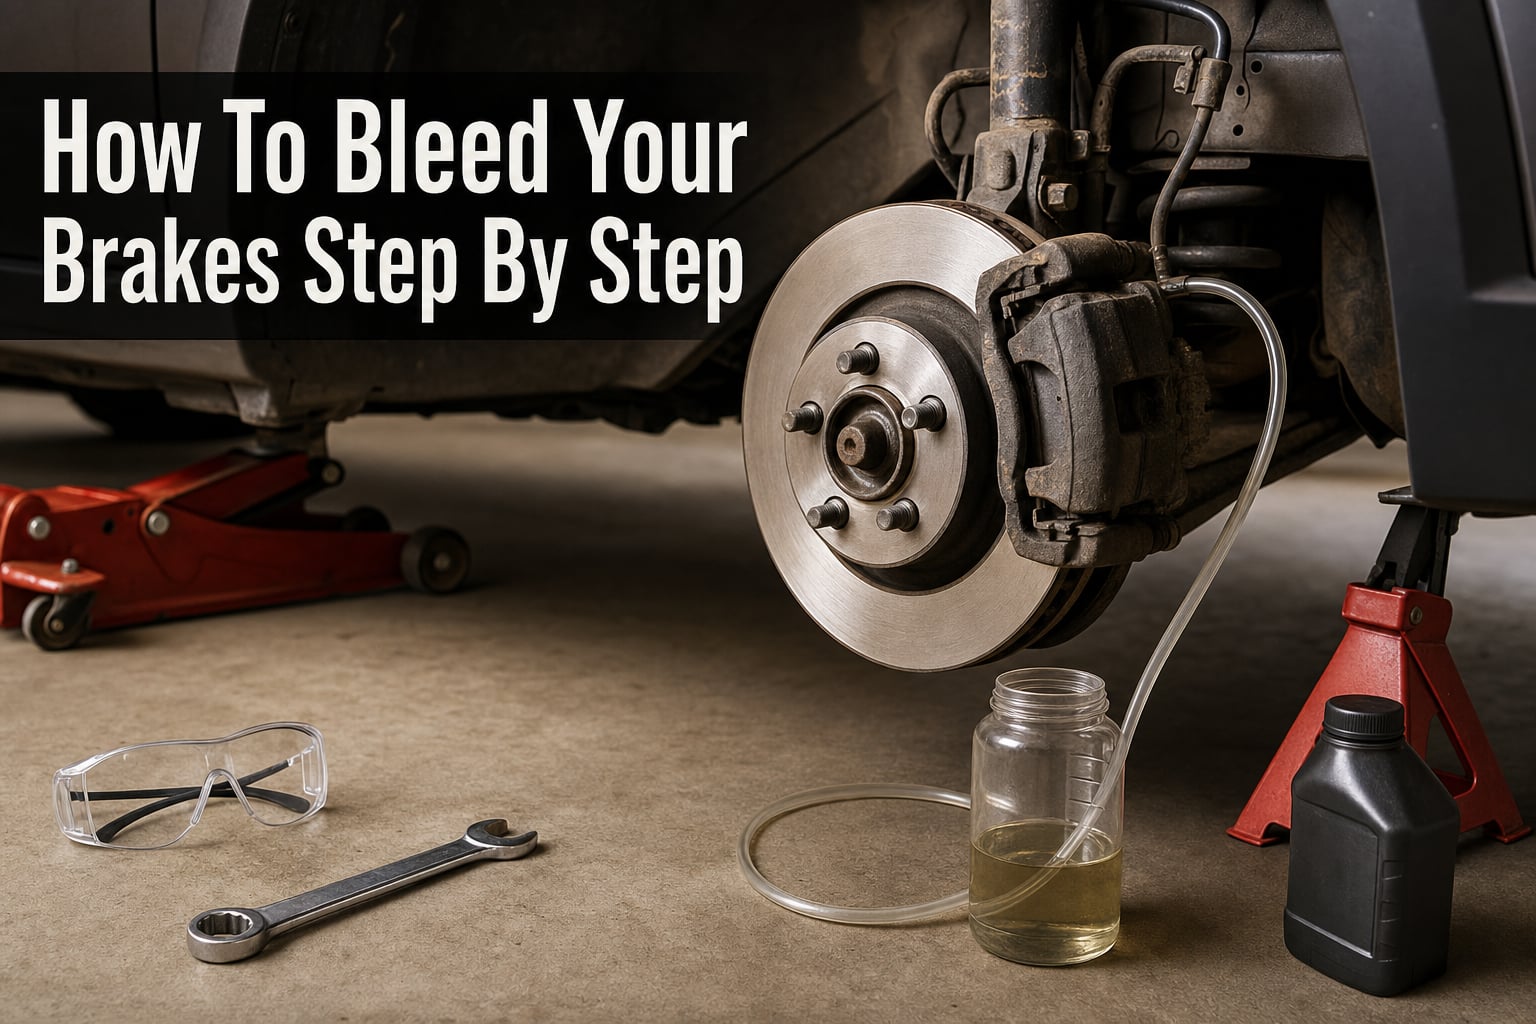
Learning how to bleed your brakes step by step can save you hundreds of dollars in shop labor and keep your vehicle stopping safely. Whether you just replaced brake pads, noticed a spongy pedal, or are doing routine fluid maintenance, bleeding the brake lines removes trapped air that compromises your hydraulic system.
Air in your brake lines is dangerous because it compresses under pressure instead of transferring force to the calipers. This means your pedal feels soft, your stopping distance increases, and in extreme cases the pedal can sink to the floor. Our team has bled hundreds of brake systems over the years, from daily commuters to track cars, and the process is the same regardless of what you drive.
This guide covers everything from the tools you need to the proper wheel sequence, plus a single-person method that most guides skip entirely. We also include a dedicated section on common mistakes that ruin an otherwise clean bleeding job.
What Is Brake Bleeding and Why It Matters
Brake bleeding is the process of removing trapped air from your vehicle’s hydraulic brake system by forcing fresh fluid through the lines. The goal is to restore a firm pedal feel and full braking power.
Your brake system relies on hydraulic pressure to work. When you press the pedal, the master cylinder pushes fluid through the brake lines to the calipers, which squeeze the pads against the rotors. Fluid does not compress, so every bit of pressure you apply gets transferred directly to the brakes.
Air, on the other hand, compresses easily. Even a small amount of air trapped in a line absorbs pressure instead of passing it through. This is what causes that spongy, sinking pedal feeling. Brake fluid is also hygroscopic, meaning it absorbs moisture from the air over time. Water in the fluid lowers the boiling point, which can cause brake fade during hard stops.
Bleeding the brakes solves both problems. It pushes out the air and replaces old, moisture-laden fluid with fresh fluid that performs properly under heat and pressure.
Signs Your Brakes Need Bleeding
The most obvious sign is a spongy or soft brake pedal that sinks lower than normal when you press it. If the pedal feels mushy or travels closer to the floor before engaging, air is likely trapped in the lines.
You should also bleed the brakes after any repair that opens the hydraulic system. Replacing calipers, brake hoses, the master cylinder, or even just changing pads on some vehicles can introduce air. Many mechanics recommend bleeding as part of routine maintenance every two to three years to refresh old fluid.
Other indicators include a brake pedal that slowly sinks when held at a stop, reduced stopping power, or a brake warning light that stays on after recent work. If you experience any of these, bleeding should be near the top of your checklist.
Tools and Supplies You Will Need
Gathering everything before you start saves you from running inside mid-job with brake-fluid-covered hands. Here is what you need:
Correct DOT brake fluid (check your reservoir cap or owner’s manual for DOT 3, DOT 4, or DOT 5.1)
Box-end wrench sized for your bleeder screw, usually 8mm, 10mm, or 11mm. A flare-nut or line wrench is ideal to avoid rounding the fitting
Clear plastic tubing (about 3 feet) that fits snugly over the bleeder nipple
Clean glass jar or plastic bottle to catch waste fluid, partially filled with fresh brake fluid to keep the tube submerged
Jack and jack stands rated for your vehicle weight
Lug wrench to remove wheels
Safety glasses and nitrile gloves to protect against corrosive fluid
Shop rags and brake cleaner for wiping up spills
Optional: One-person bleeder kit with a one-way check valve, or a vacuum pump bleeder
Brake fluid damages paint almost instantly, so keep it away from body panels and have rags ready. Always use fluid from a sealed, fresh container because opened fluid absorbs moisture from the air.
How to Bleed Your Brakes Step by Step
Follow these numbered steps for the two-person method, which is the most reliable approach. We start from a cold car parked on flat ground.
STEP 1: Check your owner’s manual for fluid type and torque specs. Confirm whether your vehicle uses DOT 3, DOT 4, or DOT 5.1. Look up any special ABS bleeding procedures if your car has anti-lock brakes.
STEP 2: Park on level ground and secure the vehicle. Engage the parking brake, put the car in gear (or Park for automatics), and chock the wheels you are not lifting. Brake fluid is flammable, so keep ignition sources away.
STEP 3: Loosen lug nuts, jack up the vehicle, and support it on jack stands. Never work under a car supported only by a hydraulic jack. Remove the wheels to expose the brake calipers and bleeder screws.
STEP 4: Locate the bleeder screw on each caliper. It is a small nipple-style valve, typically on the top or back side of the caliper body. It usually has a hex head for your wrench. Clean the area with brake cleaner so dirt does not enter the system.
STEP 5: Check the master cylinder reservoir under the hood. Top it off with fresh brake fluid to the MAX line. Leave the reservoir cap resting loosely on top so fluid can flow freely without splashing out.
STEP 6: Attach one end of the clear tubing to the bleeder screw. Submerge the other end in a small amount of clean brake fluid inside your waste container. This prevents air from being drawn back into the system.
STEP 7: Have your assistant pump the brake pedal two to three times, then hold it down firmly. The pedal should feel firm when held.
STEP 8: While the pedal is held down, slowly open the bleeder screw about a quarter turn. Watch the clear tubing. You will see fluid and possibly air bubbles flow into the waste container. The pedal will sink as fluid escapes.
STEP 9: Close the bleeder screw before the pedal reaches the floor. This step is critical. If you close the screw too late, the pedal can bottom out and draw air back into the system.
STEP 10: Have your assistant release the pedal slowly. Wait two to three seconds, then repeat the pump-hold-open-close cycle.
STEP 11: Repeat until no air bubbles appear in the clear tubing. You should see a steady stream of clean, bubble-free fluid. Usually this takes three to five cycles per wheel.
STEP 12: Top off the master cylinder reservoir after finishing each wheel. Never let it run dry, or air will enter the system from the top and you will have to start over. Move to the next wheel in the proper sequence and repeat Steps 4 through 12.
Proper Wheel Bleeding Sequence
Always start with the wheel farthest from the master cylinder and work your way closer. This ensures you push air out of the longest lines first, rather than forcing it deeper into the system.
For most vehicles, the correct sequence is: rear passenger side, rear driver side, front passenger side, front driver side. Some cars with specific ABS modules may require a different order, so double-check your service manual if you are unsure.
How to Bleed Brakes by Yourself
Not everyone has a helper available, and forum posts on Reddit consistently show DIYers asking if they can bleed brakes solo. The answer is yes. Here are three methods that work without a second person.
Gravity Bleeding Method: This is the simplest approach. Open the master cylinder reservoir, attach clear tubing to the bleeder screw, submerge the end in a waste jar, and crack the bleeder open a quarter turn. Gravity pulls fresh fluid down through the system, pushing air out ahead of it. This method takes patience, sometimes 30 to 45 minutes per wheel, but requires zero special tools. Keep the reservoir topped off the entire time.
One-Person Bleeder Kit: These kits cost about 10 to 20 dollars and use a one-way check valve in the tubing. You pump the pedal with the bleeder screw open, and the check valve prevents air from flowing back in when you release. The downside is that cheap check valves can leak, so watch the tubing carefully for reverse flow.
Vacuum Pump Method: A hand-operated vacuum pump (like a Mityvac) pulls fluid through the bleeder screw using suction instead of pedal pressure. This is the cleanest solo method but requires buying or borrowing the pump. It works well for stubborn air pockets that gravity bleeding will not clear.
Regardless of the method, the signs of completion are the same: no bubbles in the tubing, clean fluid flowing, and a firm pedal feel when you test it.
Common Mistakes to Avoid When Bleeding Brakes
These are the errors that leave DIYers frustrated and posting on mechanic forums for help. Avoid all of them and your job will go smoothly.
Letting the master cylinder run dry. This is the number one mistake. If the reservoir empties, air enters the system from the top and you have to start the entire bleeding sequence over. Check the fluid level after every wheel and keep it above the MIN line.
Releasing the brake pedal before closing the bleeder screw. If your assistant lets go while the valve is still open, the system draws fluid and air back in through the bleeder. Always close the screw first, then release the pedal.
Opening the bleeder screw too far. A quarter turn is all you need. Opening it fully can cause fluid to spray, leak past the threads, or let the nipple bind. It also makes it harder to close quickly before the pedal bottoms out.
Rounding off the bleeder screw. Use a proper-fitting box-end or flare-nut wrench, not an open-end adjustable wrench. Bleeder screws are soft and round easily. If a screw is stuck, spray it with penetrating oil and let it soak. Tap it lightly with a hammer to break corrosion loose. Forcing it with the wrong tool will destroy it.
Using the wrong DOT fluid. Mixing DOT 5 (silicone-based) with DOT 3 or DOT 4 (glycol-based) causes seal damage and system failure. Check your reservoir cap and use only the specified fluid. DOT 3, DOT 4, and DOT 5.1 are glycol-based and generally compatible, but DOT 5 is not.
Not cleaning the bleeder area first. Dirt and rust around the screw can enter the caliper when you open the valve. Always spray the area with brake cleaner and wipe it down before attaching tubing.
DOT Brake Fluid Types Explained
Brake fluid is rated by the Department of Transportation (DOT) based on dry and wet boiling points. Higher numbers generally mean higher heat resistance.
DOT 3 is the most common factory fill for everyday vehicles. It has a dry boiling point of about 401 degrees Fahrenheit and works fine for normal street driving.
DOT 4 offers a higher boiling point (around 446 degrees dry) and is increasingly common in modern cars, especially European models. It is compatible with DOT 3 systems and is a good upgrade if you drive hard or live in a hot climate.
DOT 5.1 is glycol-based like DOT 3 and 4 but with an even higher boiling point. It works in systems designed for DOT 3 or 4.
DOT 5 is silicone-based and is not compatible with the other types. It is used primarily in classic cars and military vehicles. Never mix DOT 5 with DOT 3, 4, or 5.1.
FAQs
Do I leave the brake reservoir open when bleeding brakes?
Yes, leave the master cylinder reservoir cap resting loosely on top during the entire bleeding process. This allows fluid to flow freely through the system. Keep the reservoir topped off and never let it run dry, as air will enter from the top and force you to restart.
How many times do you pump brakes when bleeding?
Pump the brake pedal two to three times to build pressure, then hold it down firmly. Your helper opens the bleeder screw, lets fluid and air escape, closes the screw, and then you release the pedal. Repeat this cycle three to five times per wheel until no air bubbles appear in the clear tubing.
Do you bleed brakes with the motor running or off?
Bleed your brakes with the engine off. You only need pedal pressure from the hydraulic system, not engine vacuum assist. For vehicles with certain ABS modules, some service manuals may instruct you to turn the ignition on to cycle the ABS pump, but the engine itself should remain off during the standard bleeding procedure.
What happens if you don’t bleed your brakes?
Trapped air in the brake lines compresses instead of transferring hydraulic pressure, resulting in a spongy pedal, longer stopping distances, and potentially complete loss of braking power. Old, moisture-contaminated fluid also lowers the boiling point, increasing the risk of brake fade during hard stops.
Can you bleed brakes by yourself?
Yes. The gravity bleeding method requires no special tools: just open the bleeder screw, attach clear tubing, and let gravity pull fluid through the system over 30 to 45 minutes per wheel. You can also use a one-person bleeder kit with a check valve or a hand-operated vacuum pump for faster results.
Conclusion
Knowing how to bleed your brakes step by step gives you confidence to maintain your own stopping power without paying shop rates. The two-person method is the gold standard, but the gravity and one-person kit methods work well when you are on your own.
Remember the fundamentals: start with the wheel farthest from the master cylinder, keep the reservoir topped off at all times, close the bleeder before releasing the pedal, and never mix DOT 5 with other fluid types. If your pedal still feels spongy after a full bleed, you may have a leak or a failing master cylinder that needs professional attention.
With the right tools, the proper wheel sequence, and an eye on the common mistakes we covered, you can complete a full brake bleed in about an hour. Your brakes are the most important safety system on your vehicle, and fresh fluid with no air in the lines ensures they perform exactly when you need them.