
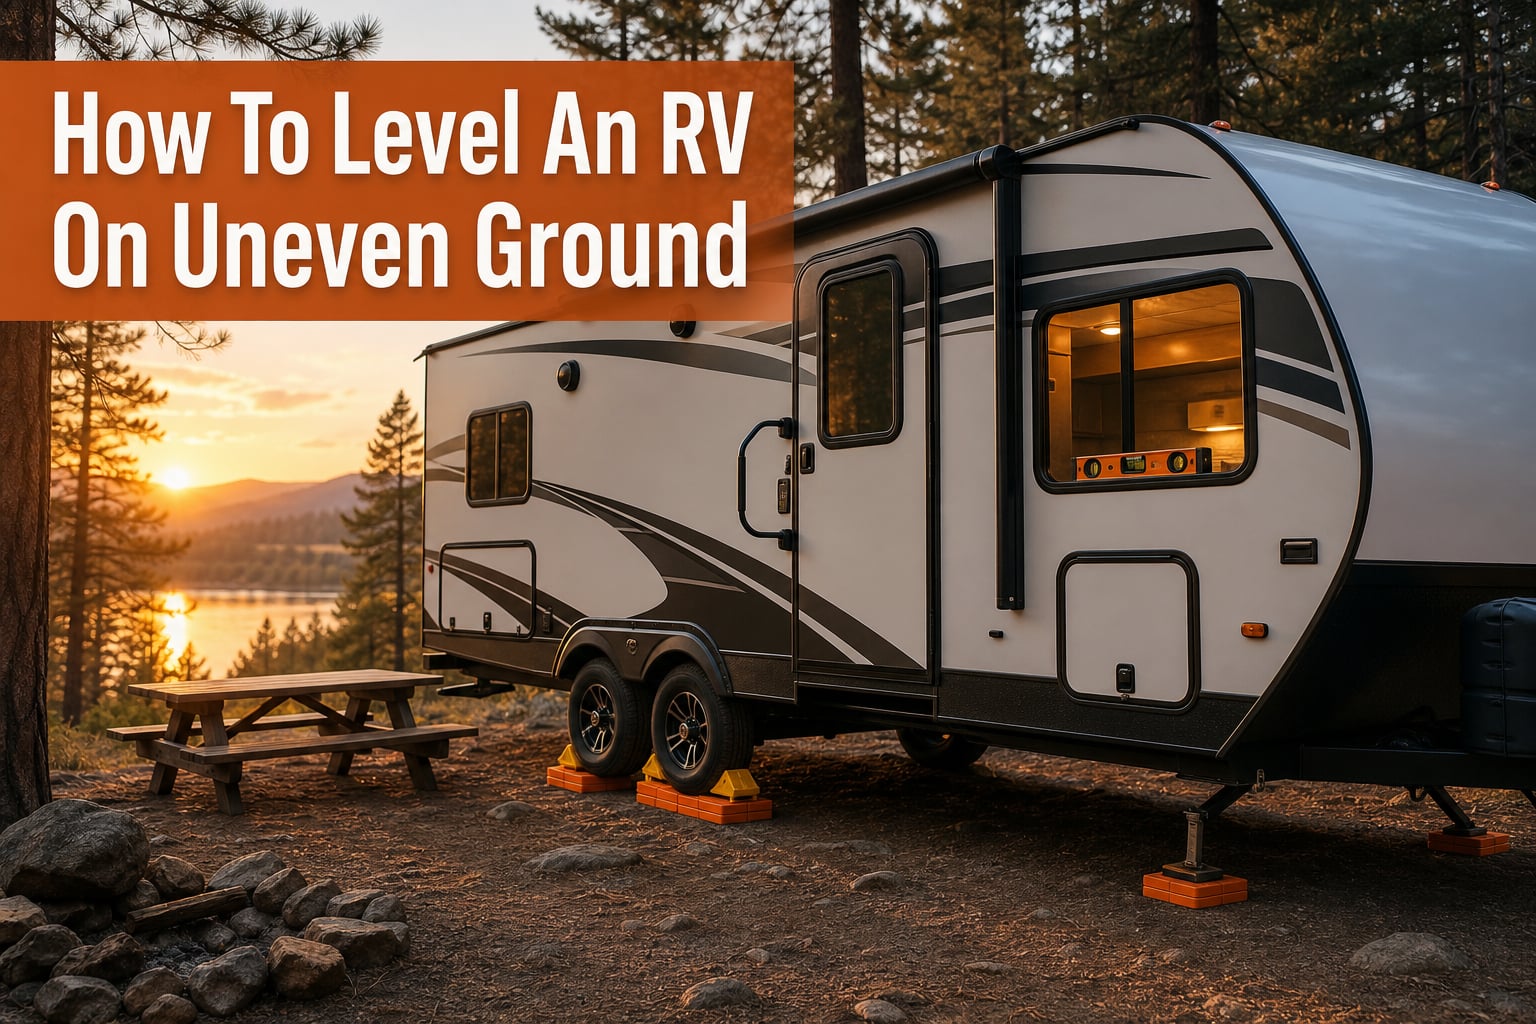
Pulling into a campsite after hours on the road, you discover the ground slopes dramatically toward the back corner. Your refrigerator needs level ground to work properly, and the last thing you want is a spoiled food mess or a slide-out that sticks. I have been there, and I have learned that knowing how to level an RV on uneven ground separates a stressful trip from a relaxing getaway.
In this guide, I will walk you through everything you need to know about leveling your RV safely and efficiently. We will cover the essential tools, step-by-step instructions for both manual and automatic systems, and the common mistakes that can damage your rig. By the end, you will have the confidence to tackle any campsite setup, from a slightly tilted driveway to a challenging off-grid boondocking spot.
Why Leveling Your RV Matters
Your RV works hard to keep you comfortable, but it relies on one fundamental requirement: a level foundation. Skip this step, and you could face costly repairs, spoiled food, or even dangerous structural damage.
Refrigerator Damage
RVAbsorption refrigerators depend on gravity to circulate coolant through their systems. When your RV sits at an angle, the coolant pools in one area instead of flowing properly. Running a refrigerator on an uneven surface for even a few hours can cause permanent damage to the cooling unit. I learned this the hard way during my first year of RVing, when a tilted fridge cost me $1,200 in repairs.
Slide-Out Alignment
Slide-outs extend and retract on tracks that expect a level frame. When your RV tilts, those tracks bind and twist. Over time, this misalignment causes the slide-out motor to struggle, seals to fail, and eventually the entire mechanism can seize up. A slide-out repair can easily exceed $2,000, making proper leveling a simple preventive measure.
Water Drainage
Shower water should flow toward the drain, and sink waste should exit through the proper pipes. An unlevel RV causes water to pool where it should not, leading to unpleasant odors, potential water damage, and a shower floor that never quite drains. Your gray tank also may not empty completely when the RV tilts away from the dump valve.
Comfort and Stability
Beyond the mechanical issues, an unlevel RV just feels wrong. Eggs slide off the frying pan, cabinet doors swing open unexpectedly, and sleeping on a slope leaves you fighting gravity all night. Your stabilizer jacks can only do their job when the frame sits level first.
Essential Tools for RV Leveling
Before you can level your RV, you need the right equipment. I keep these tools in a dedicated storage compartment so they are always ready when I pull into a site.
Bubble Level or Digital Level: Most RVs come with built-in level indicators, but I recommend carrying a backup. A small torpedo level works well on countertops and floors. Digital levels give precise readings and some RVers use smartphone apps, though I prefer a dedicated tool that does not rely on battery life.
Leveling Blocks: These interlocking plastic blocks stack to create ramps of various heights. Lynx Levelers are the most popular brand, but any quality set works. I carry two packs of ten blocks, which handles most situations. Curved levelers offer a simpler alternative for smaller adjustments and let you drive forward or backward to fine-tune the height.
Wheel Chocks: Never skip these. Wheel chocks prevent your RV from rolling off the leveling blocks, especially on slopes. I use heavy-duty rubber chocks on both sides of the tires for maximum security.
Tongue Jack or Landing Gear: Travel trailers use a tongue jack for front-to-back leveling, while fifth wheels have hydraulic landing gear. Motorhomes with leveling systems use jacks at each corner. Make sure your jack handle is accessible and the mechanism works smoothly.
Plywood Pads: I always carry several 2×2 foot squares of 3/4 inch plywood. On soft ground, these pads distribute weight and prevent leveling blocks from sinking. They also protect asphalt and concrete surfaces from damage.
Understanding RV Leveling Basics: Side-to-Side vs Front-to-Back
Leveling happens along two axes, and understanding the difference is critical. You must level side-to-side before attempting front-to-back adjustments.
Side-to-Side Leveling
This axis runs across the width of your RV, from the driver side to the passenger side. Side-to-side leveling requires driving your RV onto ramps or blocks placed under the tires on the low side. This is why you must level side-to-side before unhitching a travel trailer or putting down your fifth wheel landing gear.
Front-to-Back Leveling
Once your RV sits level side-to-side, you adjust the pitch from nose to tail. For travel trailers, this means raising or lowering the tongue jack. Fifth wheels use their landing gear. Motorhomes with automatic systems handle this step electronically, though manual adjustments work just as well.
Why Order Matters
If you unhitch first, you cannot easily drive your trailer onto leveling blocks. You would need to re-hitch and start over. For motorhomes with auto-leveling systems, the side-to-side adjustment happens via hydraulic jacks, but the principle remains: always address the wider axis first because it affects the entire frame orientation.
What Is the 3-3-3 Rule for RVs?
If you spend time in RV communities, you will hear about the 3-3-3 rule. This guideline helps newer RVers plan safe travel days, though it is not specifically about leveling.
The rule suggests you drive no more than 300 miles per day, arrive at your campsite by 3:00 PM, and stay for at least three days. Following this schedule gives you plenty of daylight for setup, which includes leveling. Arriving in the dark makes it much harder to spot slopes and place leveling blocks accurately.
For leveling specifically, some RVers use a different 3-3-3 interpretation: check three times (when you park, after leveling, and after slides extend), use at least three points of contact with the ground (all tires plus stabilizers), and never stack more than three leveling blocks high for safety. Both interpretations promote careful, methodical setup.
How to Level an RV on Uneven Ground
Now let me walk you through the exact process I use every time I set up camp. These steps work for travel trailers, fifth wheels, and motorhomes alike.
Step 1: Scout the Site Before Parking
Walk the campsite before driving in. Look for obvious slopes, low spots, and drainage areas. Choose the most level position available, even if it means parking slightly off-center. A few minutes of scouting saves significant leveling effort later.
Step 2: Park and Check Your Initial Level
Position your RV where you want it and check the level indicator. Most built-in levels show side-to-side and front-to-back simultaneously. Note which side sits lower and by how much. Some levels use red, yellow, and green zones, while others show degrees of tilt.
Step 3: Place Leveling Blocks on the Low Side
For side-to-side leveling, stack leveling blocks in a ramp pattern on the low side of your RV. Start with a single layer if the level shows a slight tilt, or build a taller stack for more significant slopes. Make sure the blocks sit flat and stable on the ground.
Step 4: Drive Onto the Blocks
Slowly drive or roll your RV onto the leveling blocks. For travel trailers, use the tow vehicle to pull forward. Motorhomes can drive themselves. Watch your level indicator as you climb the ramp. Stop when the bubble centers or the digital readout shows level.
Step 5: Chock the Wheels Immediately
Place wheel chocks on both sides of the tires that remain on the ground. This prevents any rolling and locks your RV in position. Never rely on the transmission or parking brake alone, especially on slopes.
Step 6: Check Front-to-Back Level
With your RV level side-to-side, read the front-to-back indicator. If the nose sits high, lower your tongue jack or landing gear. If the nose droops, raise the jack until level. Take small adjustments and recheck after each change.
Step 7: Unhitch if Applicable
For travel trailers and fifth wheels, now you can safely unhook from your tow vehicle. The leveling blocks and wheel chocks hold everything stable. For motorhomes, skip this step and move to stabilizer deployment.
Step 8: Deploy Stabilizer Jacks
Extend your stabilizer jacks until they contact the ground with firm pressure. Do not crank them down hard enough to lift the frame. Their job is stability, not leveling. Use jack pads under the feet if the ground is soft.
Step 9: Final Level Check
Walk through your RV with a level on the floor and countertops. Check the refrigerator compartment if accessible. Make any final micro-adjustments needed. A perfectly level RV protects your appliances and your comfort.
Slides In or Out: When to Level Your RV
This question sparks debate among RVers, but manufacturers generally agree on the safest approach.
For automatic leveling systems: Level with your slides in. The auto-level system calibrates based on the RV weight distribution with slides retracted. Extending slides before leveling can cause the system to overcompensate or display error codes.
For manual leveling: You can technically level with slides either in or out. However, I recommend leveling first, then extending slides. This prevents the slide-out mechanism from experiencing stress while the frame shifts during the leveling process.
After leveling: Extend your slides, then deploy stabilizer jacks. Some RVers extend slides after stabilizers, but most manufacturers recommend stabilizers last. The stabilizers should reduce bounce but not bear the weight of the extended slides.
Automatic vs Manual Leveling Systems
Modern RVs offer several leveling options, from simple manual blocks to sophisticated hydraulic systems. Understanding each helps you choose the right approach for your rig.
Hydraulic Leveling Systems
High-end motorhomes and fifth wheels often feature hydraulic auto-leveling. Push a button, and the system extends jacks at each corner until level. These systems work quickly and precisely, but they require adequate battery power and regular maintenance. Hydraulic jacks can lift significant weight, but you should still use leveling blocks for extreme slopes rather than overextending the jacks.
Electric Leveling Systems
Electric systems use motorized jacks powered by your RV battery. They cost less than hydraulic systems and still offer push-button convenience. The main limitation is battery drain; an extended leveling session can deplete a marginal battery. I recommend running your generator or connecting to shore power during electric auto-leveling.
Manual Leveling
Manual leveling with blocks, ramps, and jacks works for every RV type. It costs less, requires no battery power, and gives you complete control. The trade-off is time and physical effort. I have leveled countless RVs manually, and the process becomes faster with practice. Many experienced RVers prefer manual leveling because they can see exactly what happens at each step.
How to Level a Camper Without Moving It
Sometimes you cannot or should not reposition your RV. Maybe you already unhitched, or the site leaves no room to maneuver. Here are options for leveling in place.
Bottle Jacks: A hydraulic bottle jack can lift one corner of a parked RV. Place a block of wood under the jack base for stability, position the jack under the frame near the axle, and pump to raise. This method works for minor adjustments but requires extreme caution. Never crawl under an RV supported only by a bottle jack.
Stacked Blocks: If your RV already sits close to level, you might create a ramp by stacking blocks tightly against the tire. Then rock the RV slightly until the blocks slide under the tread. This works best on firm ground with patient, careful movements.
Limitations: These methods have limits. Significant slopes really require repositioning. Trying to jack a frame too far puts stress on the structure and creates instability. If your RV sits more than a few inches off level, take the time to reposition properly.
Dealing With Soft Ground and Steep Slopes
Not every campsite offers a firm, flat surface. Here is how I handle challenging terrain.
Soft Ground Solutions
When leveling blocks sink into soft dirt or grass, they create instability. Place plywood pads under your blocks to distribute the weight across a larger surface area. The plywood prevents sinking and makes block removal easier when you leave. I carry four 2×2 foot squares of 3/4 inch plywood specifically for this purpose.
For extremely soft ground, double up the plywood or use wider sheets. Watch the blocks during your stay and add support if they start tilting. A tilted block stack becomes a safety hazard.
Steep Driveway Techniques
Many RVers store their rigs on steep driveways or use them for guest accommodations. In these situations, leveling blocks might not provide enough height. I have used a combination of wooden blocks and commercial plastic blocks stacked carefully. Never exceed three blocks in height without additional support, and always chock wheels on both sides.
For permanent or semi-permanent setups, consider investing in purpose-built leveling stands or consulting a professional about a custom leveling platform. The right solution protects your RV and your peace of mind.
When to Reposition
Sometimes the smartest move is admitting a site will not work. If you need more than four blocks stacked or the slope exceeds 5 percent grade, look for a different spot. An unstable setup risks your safety and your RV. Most campgrounds have alternative sites, and boondockers can usually find flatter ground nearby.
Common RV Leveling Mistakes to Avoid
After years on the road and countless conversations with fellow RVers, I see the same mistakes repeated. Learn from these errors rather than repeating them yourself.
Using Stabilizer Jacks for Leveling
This is the number one mistake I encounter. Stabilizer jacks are designed to reduce bounce, not to lift the RV frame. Cranking them down hard enough to level the RV bends the frame, strips the jack mechanism, and can crack welds. Always level with blocks and wheel adjustments first, then deploy stabilizers lightly for stability only.
Lifting Tires Off the Ground
Some RVers level until the tires on the high side leave the ground. This is dangerous. Your tires and suspension bear the RV weight safely, while leveling jacks are not designed to support the entire rig. Tires off the ground also means less contact with the surface, increasing the risk of shifting. Keep all tires firmly planted.
Stacking Too Many Blocks
I have seen block stacks six or seven levels high, teetering precariously. This creates a tipping hazard. If you need more than three blocks high, use a larger base platform, spread the load with plywood, or find a better parking spot. Safety always beats convenience.
Saving on Wheel Chocks
Chocks are not optional. I watched an RV roll off its blocks and into a neighbor’s rig at a campground. The owner thought the slope was mild enough to skip chocks. He was wrong. Always chock both sides of the tires, even on seemingly flat ground.
Not Checking After Slide Extension
Your RV frame flexes when slides extend. This can shift the level reading slightly. Always recheck level after extending slides and make minor adjustments to stabilizers if needed. A quick check prevents problems later.
Stabilizer Jacks vs Leveling Jacks: What You Need to Know
The confusion between these two components causes more damage than almost anything else in RV leveling. Let me clarify the difference.
Stabilizer Jacks: These are typically scissor jacks or electric jacks located near the corners of your RV. They extend downward to touch the ground and reduce the bouncing motion you feel when walking inside. They are not designed to lift weight. Their capacity usually ranges from 5,000 to 6,500 pounds, but that capacity is for stability, not lifting.
Leveling Jacks: Found on motorhomes and some high-end fifth wheels, leveling jacks are hydraulic or electric jacks capable of lifting the RV frame. They handle the actual leveling process, sometimes lifting one wheel slightly off the ground. These jacks have significantly higher capacity and are engineered for structural support.
If your RV only has stabilizer jacks, you must level using blocks under the wheels. If you have a true leveling system, you can use the jacks for minor adjustments, though blocks are still recommended for significant slopes.
How to Reset Your RV Leveling System
Automatic leveling systems occasionally need recalibration. If your system shows error codes or cannot find level, try these steps.
Step 1: Park on the most level surface you can find. A concrete pad works best.
Step 2: Retract all jacks completely.
Step 3: Turn off the leveling system and disconnect from shore power.
Step 4: Wait 30 seconds, reconnect power, and turn the system back on.
Step 5: Access the calibration menu through your control panel. The exact steps vary by manufacturer.
Step 6: Follow the prompts to set the new zero point. This usually involves confirming the RV is level.
If error codes persist after reset, the issue might be a faulty level sensor, low hydraulic fluid, or a stuck jack. These problems require professional diagnosis. Attempting repairs without proper training can cause expensive damage.
RV Leveling Safety Tips
Working around heavy equipment and vehicles requires attention to safety. Follow these guidelines every time.
Never position yourself between the RV and a fixed object. If the RV shifts, you could be trapped. Always check that your path is clear before driving onto blocks. Have a spotter guide you if visibility is limited.
Wear gloves when handling leveling blocks, especially in cold weather. Plastic blocks become slippery, and dropped blocks can crack. Inspect your blocks regularly for cracks and replace damaged ones.
Keep children and pets away from the leveling area. Moving RVs, extending jacks, and stacked blocks all present hazards. Set up a safety perimeter and monitor the area throughout the process.
Test the stability before fully trusting your setup. Walk through the RV and feel for movement. A properly leveled and stabilized RV should feel solid underfoot. Excessive motion indicates inadequate stabilization.
FAQs
How to level RV on unlevel ground?
Park on the most level spot available, check your level indicator side-to-side, place leveling blocks under the low-side tires and drive onto them, chock the wheels, adjust the tongue jack or auto-leveling system for front-to-back balance, then deploy stabilizer jacks for additional stability.
What is the 3-3-3 rule for RVs?
The 3-3-3 rule suggests driving no more than 300 miles per day, arriving at your campsite by 3:00 PM, and staying for at least three days. For leveling specifically, some interpret it as checking level three times, using three points of ground contact, and never stacking more than three blocks high.
Do you auto level RV with slides in or out?
Always auto-level with slides in. The leveling system calibrates based on weight distribution with slides retracted. Extending slides before leveling can cause the system to overcompensate or display error codes.
Is it okay to level RV with wheels off ground?
No, you should keep all tires firmly on the ground when leveling. Lifting tires off the ground shifts weight onto jacks not designed to support the entire rig, creates instability, and increases the risk of the RV shifting or tipping.
How to level a camper on unlevel ground?
Level side-to-side first by driving onto leveling blocks placed under the low-side tires, then adjust front-to-back using the tongue jack or landing gear. Always use wheel chocks, check level with a bubble or digital level, and deploy stabilizer jacks after leveling.
What is the 333 rule for campers?
The 333 rule for campers is another name for the 3-3-3 rule: drive 300 miles maximum, arrive by 3:00 PM, and stay three nights minimum. This promotes safer travel, adequate setup time, and relaxed camping.
How to fix uneven floor in RV?
An uneven floor often indicates the RV is not properly leveled. Check your level indicators and adjust leveling blocks or jacks. If the floor remains uneven after proper leveling, inspect for structural issues like frame damage, water damage, or failed stabilizer jacks that may require professional repair.
How do you reset the leveling system on an RV?
Park on a level surface, retract all jacks, turn off the system and disconnect power for 30 seconds. Reconnect power, access the calibration menu on your control panel, and follow prompts to set a new zero point. Persistent errors require professional diagnosis.
Conclusion
Learning how to level an RV on uneven ground is a fundamental skill for every RVer. With the right tools, a systematic approach, and attention to common mistakes, you can set up safely on almost any site. Remember to level side-to-side first, keep tires on the ground, use wheel chocks every time, and understand the difference between stabilizer and leveling jacks. Your appliances, your comfort, and your peace of mind depend on a level foundation.