
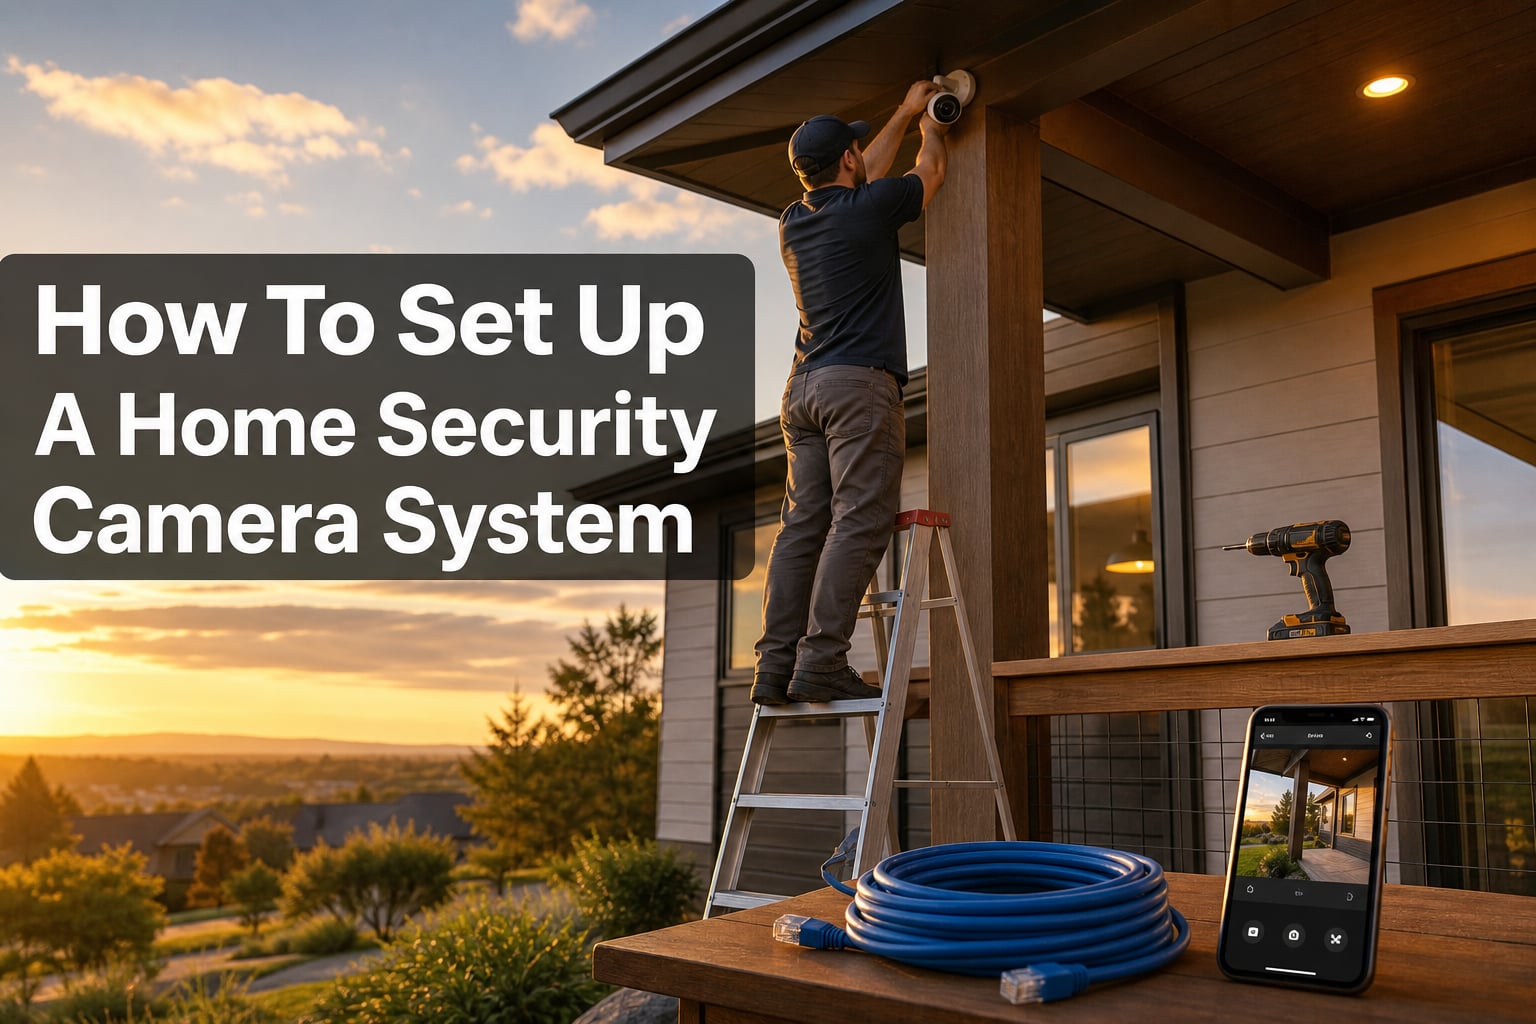
Setting up a home security camera system used to mean scheduling a professional installer and paying a hefty fee. In 2026, most homeowners can complete the entire job in a single weekend with basic tools and a clear plan.
We have walked through installations in everything from 900-square-foot condos to 4,000-square-foot two-story homes, and the core process is the same. This guide covers every step you need to figure out how to set up a home security camera system that fits your space, your budget, and your comfort with tools.
What You Need Before You Set Up a Home Security Camera System
A smooth installation starts with a complete checklist. Gather everything before you climb the ladder so you only have to do each step once.
Tools and Materials Checklist
Most DIY security camera installations only require common household tools:
Drill with appropriate drill bits (masonry bit if mounting on brick or stucco)
Phillips and flathead screwdrivers
Wire strippers and a cable crimper (for wired systems)
Stud finder for indoor drywall mounting
Ladder rated for your mounting height
Smartphone or tablet for app configuration
Ethernet cables (Cat5e or Cat6 for wired setups)
Cable clips, weatherproof junction boxes, and silicone sealant for outdoor runs
If you are running cables through an attic or crawlspace, add a fish tape and a headlamp to the kit. For power over ethernet (PoE) systems, you will also need a PoE switch or PoE-capable NVR.
Power and Connectivity Requirements
Every camera needs power, and most also need a data connection. Before mounting anything, map out:
Where your router sits and how strong your Wi-Fi signal is at each planned camera location (walk around with your phone and check signal bars)
Available outlets near each mounting spot, or the route you will take to run low-voltage power cable
Whether your internet upload speed can handle live streaming (at least 3 to 5 Mbps per 1080p camera; more for 4K)
If your Wi-Fi signal is weak where a camera is going, do not skip a mesh access point or a wired backhaul. Most of the connectivity complaints we see in homeowner forums come from cameras mounted at the edge of router range.
Types of Home Security Camera Systems
Before you set up a home security camera system, choose the architecture that matches your home and your tolerance for running wire.
Wired Security Camera Systems (DVR, NVR, and PoE)
Wired systems record to a central recorder and offer the most reliable connection. There are two main flavors:
DVR (Digital Video Recorder): Uses analog cameras with BNC cables. Older technology but still common in budget four-camera kits.
NVR (Network Video Recorder): Uses IP cameras over Ethernet. Modern, supports higher resolutions, and pairs naturally with PoE so one cable handles both power and video.
PoE (Power over Ethernet) is worth understanding if you are buying new. A PoE switch sends electrical power through the same Ethernet cable that carries video, so you only need to run one wire per camera. For a four-camera system, a basic 8-port PoE switch plus an NVR is usually enough.
Wireless and Wire-Free Camera Systems
Wireless cameras connect to your home Wi-Fi and typically stream to the cloud. Wire-free cameras run on batteries and connect to a small base station or your Wi-Fi directly.
Wireless (plug-in): Reliable, no battery to charge, but still needs an outlet within cord reach.
Wire-free (battery): Easiest to install, no wires at all, but you will charge or replace batteries every few months.
From our testing across more than a dozen models, battery cameras are great for rentals and quick installs, while wired PoE systems win for owners who want zero monthly fees and rock-solid 24/7 recording.
How to Plan Camera Placement for Maximum Coverage
Good placement does more for security than expensive hardware. A budget 1080p camera pointed at the right spot beats a 4K camera staring at the wrong wall.
Indoor Camera Placement Priorities
Start with the entry points and high-value zones:
Front entry: Captures everyone who approaches, including delivery drivers.
Back door and side doors: Common break-in points that often get ignored.
Main hallway or stairway: Forces anyone moving through the house to pass in view.
Garage interior: Protects vehicles, tools, and the door that leads into the house.
Mount indoor cameras 7 to 8 feet high, angled slightly downward. This keeps them out of casual reach and gives a clean facial angle.
Outdoor Camera Placement Priorities
Outdoors, think about coverage and visibility:
Front porch or doorbell area: The single highest-value outdoor location.
Driveway: Captures vehicles and license plates (with the right lens).
Backyard and ground-floor windows: Less visible, more attractive to intruders.
Side gates: Often forgotten but offer an easy way around a back fence.
Mount outdoor cameras 8 to 10 feet high with a slight downward tilt. This height is high enough to defeat casual tampering but low enough to capture useful face detail.
Where NOT to Install Cameras
Some locations cause more problems than they solve. Avoid putting cameras:
In bedrooms or bathrooms (privacy concerns and, in many states, illegal)
Pointed at a neighbor’s windows or yard in a way that violates local privacy laws
Where direct sunlight or bright backlighting will blow out the image
Beneath heavy tree cover that sways and triggers motion alerts all day
Where a Wi-Fi signal cannot reach reliably
How to Set Up a Home Security Camera System: Step-by-Step
Once you have your gear and a placement plan, the actual setup moves quickly. Most homeowners finish the hardware portion in three to five hours.
Step 1: Test Your Equipment Before Mounting
Set every camera on a kitchen counter, plug it in, and connect it to your NVR or app. Confirm each one powers up, streams a clean image, and records. Finding a defective unit on a countertop is far easier than finding it 12 feet up a ladder.
Step 2: Mount the Cameras at the Right Height
Hold the mounting bracket where you want it, mark the screw holes, and drill pilot holes. Use the included anchors for masonry or stucco. For wood or vinyl siding, a pilot hole plus exterior-grade screws is enough.
Attach the bracket, then snap the camera onto the bracket and tighten the locking screw. Do not fully tighten the final aim until you have live-tested the angle.
Step 3: Run Power and Network Cables
For wired systems, run your Ethernet cables from each camera back to the NVR or PoE switch location. Tuck cables into plastic cable clips every 12 to 18 inches and seal any exterior penetration with silicone caulk to keep moisture out.
For wireless systems, this step is much simpler: just plug each camera into a nearby outlet or mount a weatherproof outlet box if none exists.
Step 4: Connect the Recorder or Hub
Hook up your NVR or DVR to your network with an Ethernet cable, plug in the included power adapter, and connect it to a monitor or TV for first-time setup. Format the hard drive before recording so the file system is clean and ready to use.
Wire-free systems typically pair with a small base station or sync module. Plug the hub into your router with the included Ethernet cable, then power it up.
Step 5: Configure the Mobile App
Download the manufacturer’s app, create an account, and follow the prompts to add each camera. Most apps use a QR code on the camera body or back-of-device serial number to pair the device. Make sure your phone is on the same 2.4 GHz Wi-Fi network during setup, even if your router broadcasts both 2.4 and 5 GHz.
Step 6: Set Up Motion Detection and Alerts
Open the motion settings in the app and draw activity zones around the areas that matter (driveway, doorway) while excluding busy zones (street, trees). Set sensitivity to medium at first; you can raise it later if you are missing events.
Turn on push notifications and, if the system supports it, set recording to continuous for high-value cameras and motion-only for the rest to save storage.
Step 7: Test Everything End-to-End
Walk in front of each camera to confirm motion triggers a recording. Check live view on your phone from the driveway. Review recorded clips to confirm the angle, the time stamps, and the audio (if enabled).
Test at night, too. Infrared night vision and color night vision behave differently, and you may need to nudge a camera a few degrees to avoid IR glare from a nearby wall.
Connecting Your Cameras to Your Phone for Remote Viewing
Once the app is installed, remote viewing usually takes just a few more taps. Open the app, make sure you are signed in with the same account you created during setup, and confirm the cameras show a green online status.
From here, enable remote access in the app settings and, if you have not already, set up two-factor authentication on your account. Change the default password to something unique. Most camera security incidents we see in the news start with the homeowner never changing the factory password.
Troubleshooting Common Connection Issues
If a camera shows as offline or will not stream live, work through these checks in order:
Confirm the camera has power (LED indicator on).
Confirm your phone has internet access (not just Wi-Fi connection).
Restart the camera by unplugging it for 30 seconds.
Restart your router.
Make sure the camera is on a 2.4 GHz network if it does not support 5 GHz.
Check that your router firewall or parental controls are not blocking the camera.
Nine times out of ten, one of these steps fixes it. If not, the manufacturer’s support line can usually see device connection logs and pinpoint the issue in minutes.
Storage Options: Cloud vs Local (DVR/NVR/SD Card)
Where your footage lives matters for both cost and control. Most systems offer at least one local option and an optional cloud plan.
Local Storage (DVR, NVR, SD Card)
Local storage means the footage stays on a hard drive inside your recorder or on a microSD card inside the camera. There are no monthly fees, and you can typically store two to four weeks of continuous 24/7 video on a 1 TB to 2 TB drive.
Drawbacks: if a thief steals the NVR, they get the footage too. Mitigate this by placing the recorder in a locked closet or mounting it out of sight.
Cloud Storage
Cloud plans usually cost between three and fifteen dollars per month per camera, depending on the brand and the video length retained. Footage stays safe even if hardware is stolen, and you can usually access clips from anywhere.
The main pain point mentioned in homeowner forums: cloud subscriptions that quietly double in price after the first year. Read the fine print before you buy and look for brands that let you use local storage alongside cloud if you want to mix the two.
Privacy and Legal Considerations
Recording video in and around your home is generally legal, but there are important limits. Knowing the rules before you set up a home security camera system keeps you out of trouble and keeps you on good terms with your neighbors.
In most U.S. states, you can record video on your own property without telling visitors. Where people get into trouble is two areas:
Audio recording: Many states (including California, Florida, and Massachusetts) require two-party consent for audio recording, even in your own home. When in doubt, disable audio recording.
Neighbor and public-space recording: Pointing a camera so it films areas where neighbors have a reasonable expectation of privacy (bathroom windows, fenced backyard) can violate state wiretapping or privacy laws.
Signage helps in some jurisdictions. Even when not required, a small visible camera and a doorbell sticker tell visitors they are being recorded and deter unwanted behavior at the same time.
Smart Home Integration and Maintenance Tips
Once your cameras are running, a little polish makes them feel like part of the house instead of bolted-on gadgets.
Alexa, Google Home, and Home Assistant
Most modern cameras work with Amazon Alexa and Google Home for voice-controlled live view on smart displays like the Echo Show or Nest Hub. The setup is usually a one-time linking step inside the Alexa or Google Home app.
For tinkerers, Home Assistant offers the deepest integration, but expect to spend some time configuring ONVIF, RTSP, or camera-specific add-ons. The payoff is local control with no cloud dependency.
Routine Maintenance Checklist
To keep footage clean and reliable, plan a quick check twice a year:
Wipe the camera lens with a microfiber cloth (dust and pollen kill image clarity fast).
Trim any new tree branches that have grown into the field of view.
Test motion zones and sensitivity; seasons change the motion activity around your home.
Confirm your NVR hard drive is still recording and not full.
Update camera and NVR firmware through the manufacturer’s app.
That quick seasonal pass takes about 30 minutes and noticeably extends the life of the system.
FAQs
How do I set up my wireless home security camera?
Start by plugging the camera into power near your router. Download the manufacturer’s app, create an account, and add the camera by scanning its QR code. Connect it to your 2.4 GHz Wi-Fi network, name the camera, and test live view from your phone. Once that works, mount it in its final location and re-test the signal strength.
Can I install home security cameras myself?
Yes, most homeowners can install a wireless or wire-free system themselves in an afternoon using only basic tools. Wired PoE systems take longer (typically three to six hours for a four-camera install) but are still well within reach for anyone comfortable with a drill. Professional installation usually runs $150 to $500 per camera on top of hardware costs.
How to setup a security camera in a home?
Pick a mounting location with a clear view and a reachable power outlet or PoE run. Drill pilot holes, mount the bracket, attach the camera, and aim it. Connect power, then pair the camera with the NVR, hub, or app. Set motion zones and alerts, then test recording during the day and at night before considering the job done.
How do I connect my home security camera to my phone?
Download the camera app from your phone’s app store, sign in to the account you created during setup, and confirm the camera shows online. Enable push notifications and remote access in the app settings. For two-factor authentication, add your phone number and a backup email so you never lose account access.
What are the most common mistakes when installing security cameras?
The most common mistakes are mounting cameras too low (under 7 feet makes them easy to grab), aiming them too high (faces become unreadable from above), skipping Wi-Fi signal checks before mounting, leaving default passwords unchanged, and forgetting to seal outdoor cable penetrations so moisture gets in.
Where not to put security cameras?
Avoid bedrooms, bathrooms, and any area where people expect privacy. Do not point cameras into a neighbor’s yard or windows in a way that violates local privacy laws. Skip locations with direct sun glare, heavy tree sway, or weak Wi-Fi signal. Also avoid aiming cameras at busy streets where constant passing motion will fill your storage with useless footage.
Wrapping Up Your Home Security Camera Setup
Learning how to set up a home security camera system is mostly about getting the planning and placement right, then letting the actual hardware steps fall into place. Pick the system type that fits your home, mount cameras between 7 and 10 feet high, run clean power and network connections, and test everything before you call it done.
Once you have the basics working, add the maintenance habit: wipe the lenses twice a year and check your motion zones when the seasons change. With those habits in place, you have a security camera system that will reliably protect your home for years to come.