
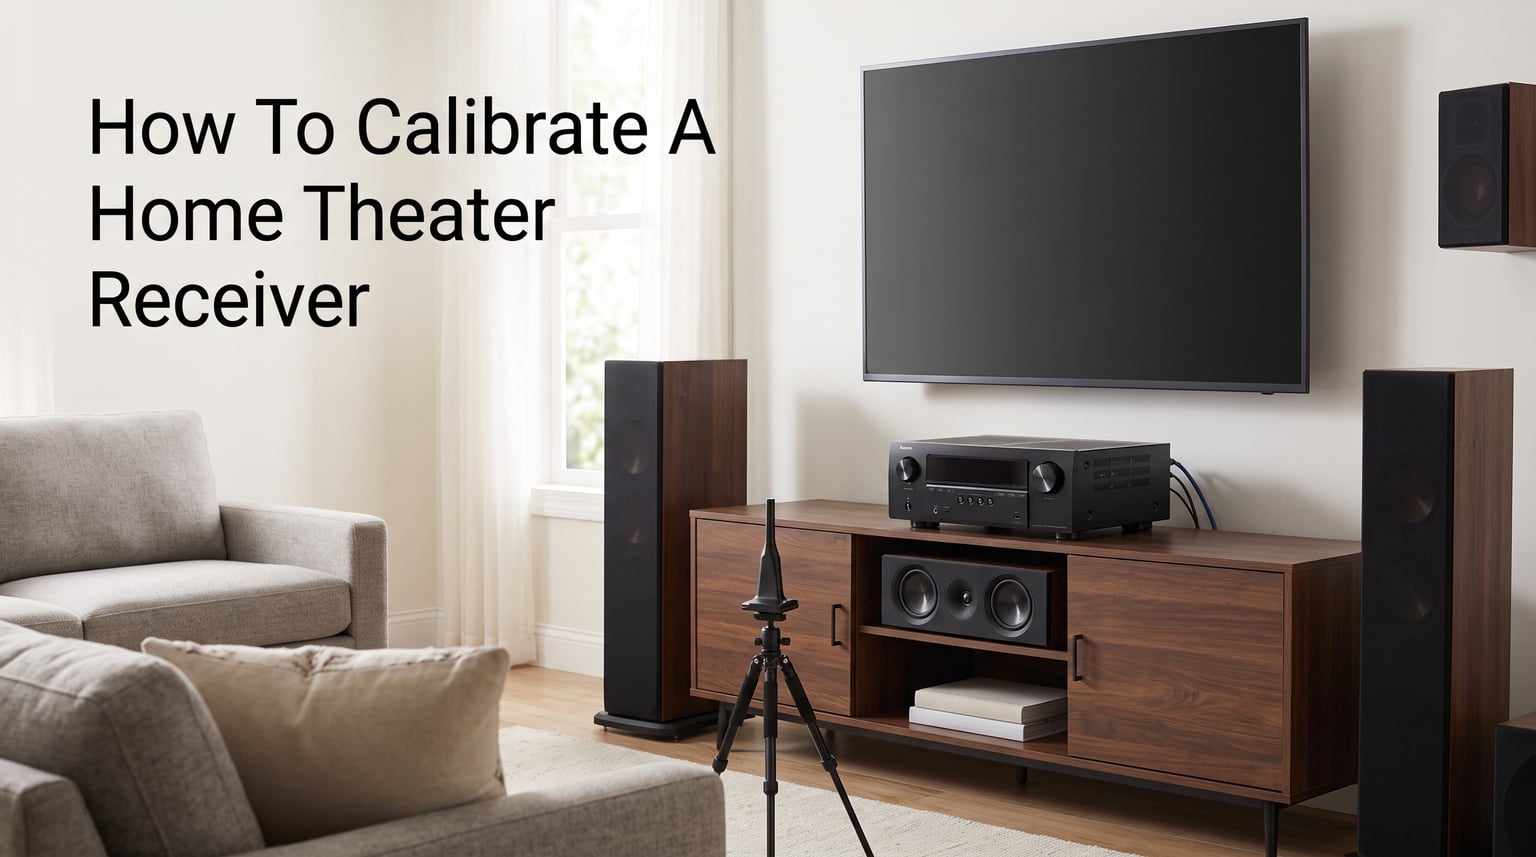
To calibrate a home theater receiver, set the speaker layout, run its test tones or room-correction routine, then check speaker distances, channel levels, crossover frequency, and subwoofer level from the main listening seat. That order makes every channel arrive at roughly the right time and loudness, instead of letting one nearby speaker or boomy corner dominate the room.
This guide explains how to calibrate a home theater receiver without treating the automatic routine as a final verdict. You will learn what the receiver is measuring, what settings are usually safe to keep, and what to check by ear afterward for clearer dialogue, more even bass, and convincing surround sound.
Calibration is not a special mode reserved for elaborate systems. A modest surround setup benefits because the receiver has to account for real speaker positions, furniture, room reflections, and the fact that a subwoofer behaves very differently from the other channels.
The short version: prepare a quiet room, enter the correct speaker layout, put the supplied microphone at seated ear height, run room correction from several listening positions if the receiver asks for them, inspect its results, set sensible crossover points, and confirm channel balance with test tones. Change one setting at a time after that, using familiar movie and music scenes.
How To Calibrate A Home Theater Receiver: Follow This Order
The most dependable home theater calibration sequence is layout first, measurement second, verification third, and listening last. Skipping the early steps can make later corrections misleading, especially when bass is involved.
- Prepare the room and speakers. Put every speaker in its intended position, connect it with correct polarity, and place the main seat where you normally listen.
- Tell the receiver what is connected. Select the actual layout, such as stereo, 5.1, 7.1, or an Atmos layout with height channels. Disable channels that do not physically exist.
- Set the subwoofer for the receiver to manage. Start with its crossover control at its highest setting or bypass position when the receiver manual calls for that, set phase to its starting position, and use a moderate volume setting.
- Run automatic room correction or receiver test tones. Keep the microphone at ear height, keep the room quiet, and do not hold the microphone in your hand.
- Check the reported results. Confirm that every speaker was detected, speaker distances are plausible, polarity warnings make sense, and no channel trim is pushed to an extreme.
- Set or review crossover frequency and speaker size. In most mixed home theater systems, use Small for speakers that hand bass to the subwoofer and start near 80 Hz unless the speaker and room call for something else.
- Verify levels from the main seat. Use the receiver’s test tone generator and, if available, an SPL meter to match channels to the receiver’s reference target.
- Listen, then make restrained changes. Check dialogue, panning effects, music, and low-frequency transitions with material you know well.
Do not try to correct a placement problem only with equalizer settings. If a speaker is blocked by furniture, aimed far away from the seat, or placed in a deep corner, moving it is usually more useful than adding large channel trims.
Calibration works because it aligns time, level, and bass management
Home theater receiver calibration is the process of adjusting settings so sound from all speakers reaches your ears at appropriate times, volumes, and frequency ranges. It does not make every room acoustically perfect; it gives the receiver a sensible map of your room and a balanced starting point.
Speaker distance settings become delay settings inside the receiver. A closer surround speaker needs more delay than a far front speaker, so a sound traveling around the room reaches the seat together instead of pulling effects to one side.
Speaker level calibration handles loudness differences. A speaker just a few feet from the sofa can sound much louder than its matching partner across the room, even when both amplifiers receive the same signal.
Bass management divides work between speakers and the subwoofer. The crossover frequency tells the receiver where to redirect low bass, which can reduce strain on smaller speakers and make the system easier to blend.
Prepare the room and equipment before you measure anything
Start with your normal room arrangement, not an empty room you will never use. Close doors and windows, turn off loud fans or appliances, silence phones, and keep people and pets out of the measurement area while test tones play.
Put the main seat in its real listening location before measuring. Moving a couch substantially after calibration changes its relationship to speakers and room boundaries, so the earlier results no longer describe what you hear.
Use the included microphone, test tones, and a stable support
The microphone supplied with a receiver is made for its own room-correction system, so it is the best first tool when your receiver supports automatic calibration. A camera tripod or other stable stand is more reliable than a stack of cushions, because the capsule can stay at seated ear height and remain still.
An SPL meter is useful for manual speaker level calibration. Set it to the response and weighting specified by its instructions or your receiver manual, then use the receiver’s internal test tone generator rather than random clips from an app.
A phone sound-meter app can help you notice a large mismatch when no dedicated meter is available, but its microphone and processing vary by device. Treat it as a rough cross-check, not laboratory-grade evidence.
Practical tip: write down the receiver’s original settings or photograph each setup screen before starting. You can compare results calmly and restore a setting if a new change makes your familiar content less natural.
Check speaker placement and wiring before blaming calibration
Place the front left and right speakers symmetrically when the room allows, with their tweeters near ear height and a clear path toward the seat. Pointing them toward the listening area is a sensible starting position, though the amount of toe-in depends on the speakers and room.
Keep the center speaker near the display and aim it toward ear level rather than the listener’s knees. Surround speakers should provide a side or rear sound field, while height speakers in a Dolby Atmos calibration or DTS:X calibration need the location your receiver’s layout diagram specifies.
Inspect every red-to-red and black-to-black speaker connection. A reversed connection can weaken bass and blur the image, and an automatic polarity warning deserves a physical wiring check before you dismiss it.
Set the speaker layout and size settings to match the room
Select only the channels you actually have. Declaring rear surrounds or height speakers that are not connected asks the receiver to send soundtrack information into empty space, and declaring the wrong layout can put effects in the wrong locations.
Choose Small when a subwoofer handles the lowest bass
In receiver menus, Small usually means bass below the selected crossover frequency is redirected to the subwoofer; it does not mean the physical speaker is poor or tiny. For most systems with a working subwoofer, Small is the practical choice for the front, center, surround, and height speakers.
Large commonly means the speaker receives a full-range signal. That can be appropriate in specific systems, but it often leaves a center or surround channel working harder than needed and can make bass response less even across seats.
What “Small” means: it activates bass management for that speaker. It is a routing choice, not a judgment about speaker quality or cabinet size.
Start crossover frequency at 80 Hz, then judge the blend
An 80 Hz crossover frequency is a widely useful starting point because it keeps demanding deep bass away from speakers that may not reproduce it cleanly while leaving direction-sensitive upper bass with the main channels. It is a starting point, not a rule that overrules the speaker manual or a measurement.
If a small speaker sounds strained or its stated low-frequency ability is limited, a higher crossover can be the better choice. If a speaker is genuinely capable in the room and the handoff sounds thin, a lower point may work, but change one crossover at a time and listen again.
Avoid using different values just because the menu permits it. Per-speaker crossover settings can be helpful, yet a simple consistent plan is easier to evaluate than many simultaneous changes.
Set speaker distances as acoustic timing values, not tape-measure scores
Enter measured distances manually when using a fully manual AV receiver setup. Measure from the front of each speaker, or its acoustic center when known, to the main listening position, then enter the values using the receiver’s selected units.
When room correction reports a distance that is not identical to a tape measurement, do not automatically replace it. The receiver may be accounting for electrical delay from a subwoofer, powered speaker circuitry, or its own signal processing; what matters is whether the value is plausible and produces coherent timing.
A reported distance that is wildly different from reality can point to a wrong speaker assignment, a microphone problem, unusual reflections, or a setup error. Re-run the measurement after checking the wiring and microphone position before making a manual correction.
Match speaker level calibration with receiver test tones
Use your receiver’s test tone generator to send noise through one channel at a time. From the main seat, adjust channel trim so each comparable speaker reads the same target on an SPL meter, following the receiver’s reference guidance.
Many enthusiasts use a 75 dB target with the appropriate receiver test-tone setting, but the target depends on the receiver’s own calibration procedure. The useful principle is consistency: left, center, right, surrounds, and height channels should arrive at the intended matched reference.
Keep the main volume control where the calibration method specifies
Do not randomly raise the master volume to make a meter reading look more impressive. The receiver’s calibration routine and test tones assume a particular volume state, and channel trims should solve level matching rather than an arbitrary master-volume change.
Start with trims near zero whenever possible. If a channel needs a very large positive or negative trim, inspect placement, speaker sensitivity differences, wiring, and the subwoofer’s physical gain before accepting the result.
Use your ears as a final check for the center channel
Dialogue should stay anchored to the screen and remain intelligible at your usual listening level. If voices are routinely buried by music or effects after calibration, first confirm the center speaker’s angle, placement, and crossover before making a small center-trim change.
Do not use a large center boost as a cure for a heavily reflective room or a speaker trapped inside a cabinet. Those problems affect clarity across the dialogue range and cannot be fully repaired with one number.
Run room correction with the microphone at ear height
Automatic room correction measures test signals at one or more microphone locations and creates settings for level, distance, bass management, and sometimes equalization. Systems such as Audyssey setup, MCACC calibration, and Dirac Live have different menus, but careful microphone placement matters more than rushing through any brand’s prompts.
Place the microphone at the height of your ears in the main seat. Keep it away from the seat back, do not grip it, and give it open space around the capsule so upholstery and your body do not distort the reading.
- Set the supplied microphone on a stable stand at the primary seat.
- Keep the first position exactly where your head normally is, rather than at the center of the whole room.
- Use the additional positions requested by the receiver around that seat, keeping them within the actual listening area.
- Keep each position at similar ear height and do not place it against a wall or on a different row of seating unless the receiver instructions say to measure multiple rows.
- Wait until the routine completes, save the result, and inspect the values before listening.
Forum discussions often point to microphone positioning as the difference between a useful automatic result and a baffling one. A measurement taken from a hand, armrest, or far outside the seating area tells the receiver about the wrong acoustic location.
Warning: do not run room correction while the room is noisy or while someone is walking around. The system cannot reliably separate its test tones from those interruptions, and a bad measurement can create worse equalizer settings than no correction at all.
Verify automatic results instead of accepting every value
Auto-calibration is an efficient baseline, not a substitute for checking. Community reports commonly mention implausible speaker distances, unsuitable crossover points, and confusing Small versus Large selections, so inspect those fields before treating the routine as finished.
Keep a result when it correctly identifies channels, reports believable timing values, leaves trims in a reasonable range, and makes familiar content sound balanced. Re-run it or adjust manually when a speaker is missing, a crossover conflicts with the speaker’s capabilities, or the subwoofer is clearly too loud or too quiet.
Keep room EQ when it improves the main seat without dulling the system
Room EQ can reduce obvious peaks and smooth tonal balance at the listening position. It cannot erase deep nulls caused by room geometry, and it may sound less appealing if it applies too much correction high in the frequency range.
Compare the corrected and uncorrected modes with the same scene at the same volume. Choose the mode that gives steadier bass and natural voices, not merely the one that sounds brighter or louder during the first few seconds.
Use manual calibration when automatic measurements conflict with reality
Manual calibration is useful when the receiver has no microphone, when the routine repeatedly misidentifies a channel, or when you need a simple verified configuration. It is also appropriate for a careful listener who has an SPL meter and can make repeatable changes from the main seat.
Automatic calibration is usually the faster first step because it handles multiple channels and room effects at once. The strongest approach for many rooms is automatic measurement followed by manual verification, rather than treating either method as an all-or-nothing choice.
Calibrate the subwoofer by level, placement, crossover, and phase
Subwoofer calibration starts before the receiver menu. Place the subwoofer where it can play freely, avoid blocking its driver or port, and know that a corner can increase output while also making certain bass notes uneven.
Set its physical crossover control to the receiver-managed position described by the subwoofer or receiver instructions, then let the receiver’s bass management use the chosen crossover frequency. Running two different crossover filters without understanding their interaction can make the handoff between speakers and subwoofer uneven.
Set a moderate subwoofer gain before room correction
Begin with a moderate physical gain rather than the maximum setting. The receiver needs enough range to trim the subwoofer up or down; an extreme starting gain can force the trim to an edge and make later adjustments less flexible.
After calibration, use familiar bass passages to check whether bass overwhelms dialogue or vanishes at ordinary volume. A small trim adjustment is reasonable, but repeated big changes suggest a placement, crossover, phase, or room-mode issue.
Use phase adjustment only while comparing the crossover region
Phase adjustment changes how the subwoofer and main speakers combine around the crossover region. Compare the available phase settings from the main seat using a steady bass passage or measurement method, and keep the option that produces the cleanest, strongest blend rather than simply the loudest single note.
Two subwoofers can improve seat-to-seat consistency when positioned and measured carefully, but they add variables. Calibrate each one according to the receiver’s process, and do not assume matching knob positions will produce matching in-room output.
Fix common calibration problems by checking the simple causes first
Poor calibration has recognizable symptoms: dialogue seems detached or muffled, a surround channel calls attention to itself, bass changes dramatically from one note to another, effects do not pan smoothly, or listening fatigue arrives quickly. Start with setup and placement before adding equalizer changes.
Re-run measurement when a speaker is missing or mislabeled
Check the receiver’s speaker terminals, the on-screen layout assignment, and every cable connection. A receiver cannot correct a surround connected to the wrong terminal or a height speaker declared as a rear surround.
Then place the microphone correctly and run the routine again in a quiet room. If the warning returns, consult the receiver manual for its specific diagnostic meaning rather than guessing from a generic label.
Raise the crossover when small speakers sound strained
Distortion, rattling, or weak output from compact speakers during loud bass passages can mean they are being asked to play too low. Set them to Small, choose a higher crossover frequency, and let the subwoofer take more of the low-frequency load.
Conversely, a gap or obvious change in tone near the handoff can mean the crossover, subwoofer level, placement, or phase needs another check. Make one controlled change and replay the same passage before deciding whether it helped.
Recalibrate after meaningful room or system changes
Move a speaker, add a rug, replace seating, install a new subwoofer, or rearrange the front wall, and the previous measurements may no longer fit. Re-run room correction after changes that alter speaker position or the acoustics near the primary seat.
You do not need a full recalibration every time you change the master volume or switch from a film to music. Save the stable base configuration and use small, reversible preferences only when you can hear a consistent reason for them.
Use restrained profiles for movies, music, games, and dialogue
A well-calibrated base setting should work for all content. Movie sound calibration benefits most from correct center-channel balance, bass management, and surround timing, while gaming audio configuration benefits from stable directional cues and no exaggerated rear channel.
For music listening, compare direct or stereo modes to room-corrected modes at the same volume. Prefer the mode that preserves believable voices and instruments while avoiding uneven bass, not the one that adds the most treble or bass on first impression.
For dialogue clarity enhancement, start with physical center-speaker placement and matched levels. A receiver’s dialogue or dynamic-range option can be helpful for late-night viewing, but it is a listening preference rather than a replacement for surround sound calibration.
Professional help is useful when the room or system exceeds a DIY check
A retailer or home-theater installer may offer audio calibration, but ask what the service includes before booking it. A meaningful visit should cover placement, measurement, verification, and explanation of the final settings, rather than only pressing the receiver’s automatic-calibration button.
Consider a qualified calibrator when the room has difficult acoustics, several subwoofers, complicated processors, persistent bass problems across multiple seats, or a system you cannot safely move and test yourself. For a typical receiver and one main seat, the procedure in this guide gives you a solid DIY starting point.
Frequently asked questions answer the most common calibration concerns
How do I calibrate my home theater system?
Set the receiver to the real speaker layout, place the supplied microphone at ear height in the main seat, run room correction or receiver test tones, then verify speaker distances, channel levels, speaker size, crossover settings, and subwoofer output. Finish with familiar content and make only small, repeatable changes.
What are the common symptoms of poor calibration?
Common signs include muddy or buried dialogue, bass that booms on some notes and disappears on others, one speaker that sounds much louder than the rest, effects that do not pan smoothly, and listening fatigue. Check speaker placement, wiring, levels, distances, crossover settings, and subwoofer integration in that order.
Does Geek Squad do audio home theater calibration?
Availability and scope can vary by location and service package, so contact the provider directly and ask what measurements and verification are included. Ask whether the visit includes speaker placement, level and distance checks, bass management, subwoofer integration, and an explanation of the final receiver settings.
How much do calibrations cost?
The amount varies by provider, room complexity, equipment, and whether the work includes placement advice and measurement beyond the receiver’s built-in routine. Get a written description of the service first; for many single-seat systems, careful DIY calibration with the supplied microphone and receiver test tones is a practical starting point.
Calibrate a home theater receiver once, then verify it whenever the room changes
To calibrate a home theater receiver well, establish the real layout, measure from the main seat, verify levels, distances, speaker size, crossover frequency, and subwoofer behavior, then listen with content you already know. The automatic routine provides a strong base when it is measured carefully, but your final checks are what make the settings fit your room.
Keep a record of the final configuration and repeat the process after major speaker, furniture, or room changes. That simple habit keeps clear dialogue, controlled bass, and stable surround effects from becoming a lucky one-time result.