
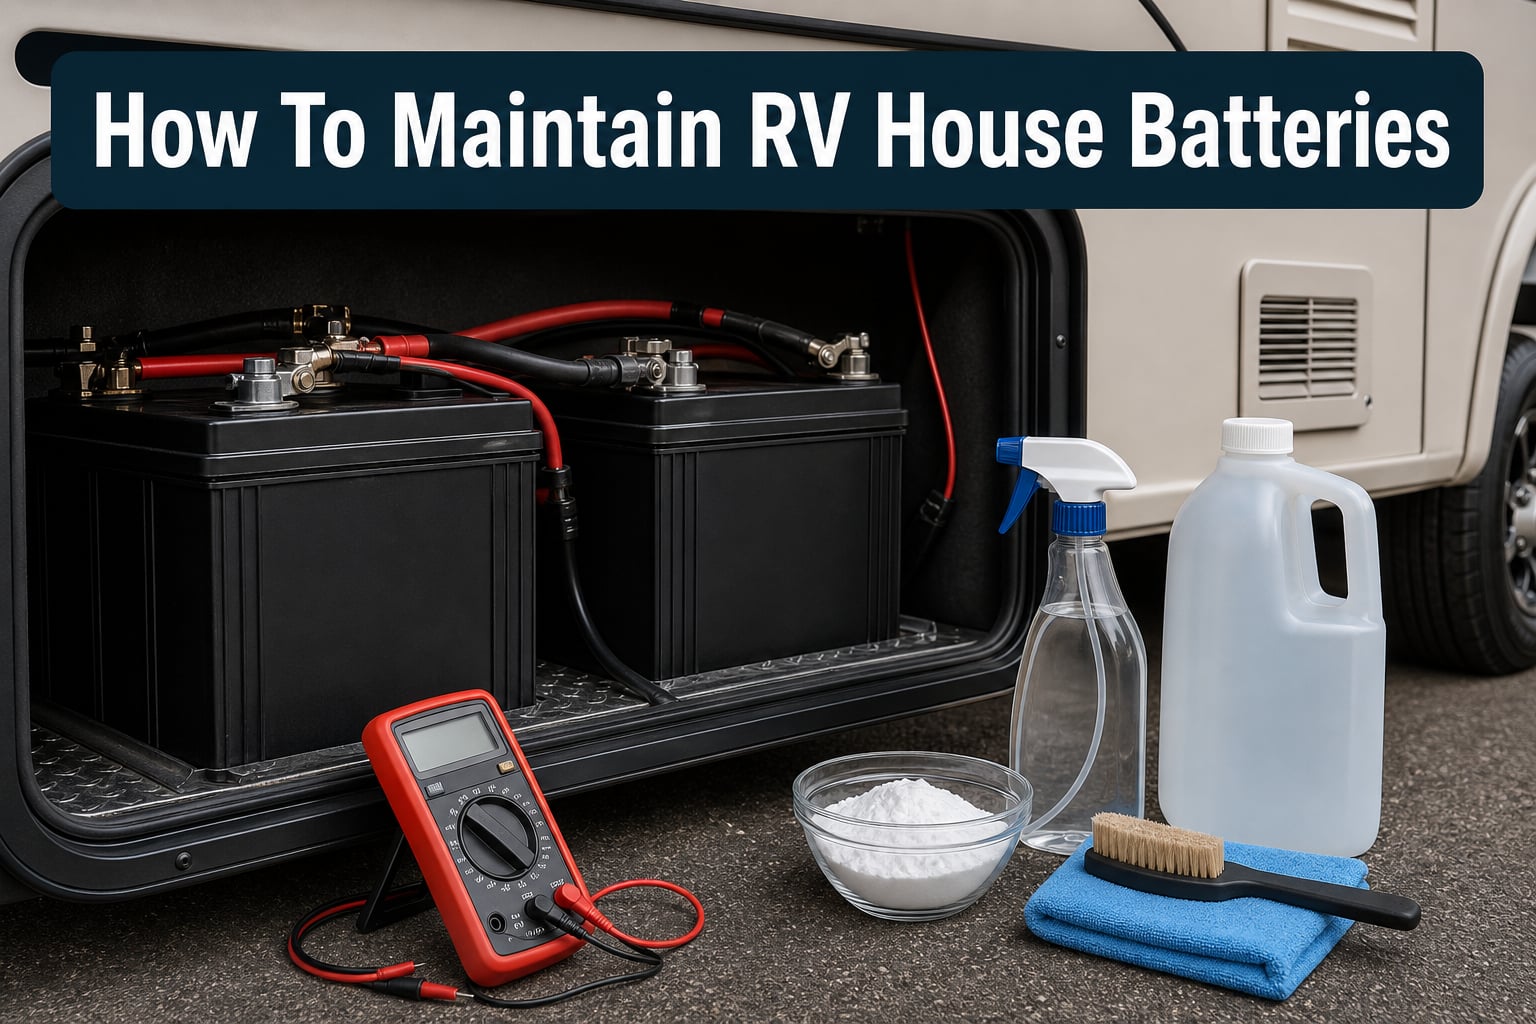
There is nothing worse than pulling into a campsite after a long drive, flipping on the lights, and hearing nothing but silence. Dead house batteries have ruined more camping trips than bad weather and flat tires combined. Learning how to maintain RV house batteries is the single most impactful skill an RV owner can develop, and it saves hundreds of dollars in premature replacements.
RV house battery maintenance comes down to a few straightforward habits: keeping terminals clean, checking water levels on flooded lead-acid types, respecting the 50 percent discharge rule, and storing batteries properly when your rig sits unused. Whether you are running basic flooded lead-acid batteries or have upgraded to lithium, the care routine changes but the principles stay the same.
In this guide, I will walk you through every step of maintaining your RV house batteries so they last their full expected lifespan and keep your power flowing when you need it most. You will learn cleaning procedures, charging best practices, winter storage steps, and how to spot a battery that is on its last legs.
Understanding RV House Battery Types
Before you can maintain your batteries properly, you need to know what type you are working with. Each battery chemistry has different needs, and applying the wrong maintenance routine can actually cause damage. The four main types of RV house batteries are flooded lead-acid, AGM, gel, and lithium-ion.
Flooded Lead-Acid Batteries
Flooded lead-acid batteries are the most common and most affordable option found in stock RVs. They use removable caps that give you access to the electrolyte fluid inside. These batteries require the most hands-on maintenance of any type, including regular water level checks and terminal cleaning.
On the plus side, flooded lead-acid batteries are forgiving and easy to troubleshoot. You can test their health with a hydrometer by measuring specific gravity of each cell. They typically last three to five years with proper care.
AGM Batteries
Absorbent Glass Mat (AGM) batteries are sealed lead-acid batteries that use a fiberglass mat to hold the electrolyte. They are maintenance-free in the traditional sense, meaning you never add water. AGM batteries resist vibration well and can handle deeper discharges than flooded types.
However, AGM batteries still need clean terminals and proper charging. They are more sensitive to overcharging than flooded batteries, so a smart charger with an AGM mode is important.
Gel Batteries
Gel batteries use a silica additive to turn the electrolyte into a thick gel. Like AGM, they are sealed and require no water maintenance. Gel batteries are sensitive to charging voltage and can be permanently damaged if charged too aggressively. If you have gel batteries, make sure your charger has a dedicated gel setting.
Lithium-Ion Batteries
Lithium iron phosphate (LiFePO4) batteries have become the go-to upgrade for serious RVers. They can be discharged down to 20 percent without damage, weigh about half as much as lead-acid, and last ten years or more. The built-in Battery Management System (BMS) handles most protection automatically.
Lithium batteries require almost zero hands-on maintenance. No water checks, no terminal corrosion to deal with, and no sulfation concerns. The main rule is never to charge them in freezing temperatures unless they have built-in heating. For storage, keep them at 50 to 80 percent state of charge rather than fully charged.
Our team has found that understanding your battery type eliminates about 80 percent of the confusion around RV house battery maintenance. If you are not sure what type you have, check the label on the battery case or look for removable cell caps, which indicate flooded lead-acid.
How to Clean RV Battery Terminals Step by Step
Terminal corrosion is the number one cause of charging problems in RV house batteries. That white, crusty buildup on your battery posts creates electrical resistance that prevents proper charging and discharging. Cleaning your terminals every two to three months keeps your electrical system working efficiently.
Here is the step-by-step process I use every time I clean battery terminals on an RV:
Step 1: Turn off all power draws inside the RV and disconnect shore power. Remove the negative (black) cable first, then the positive (red) cable from each battery. Removing the negative first prevents accidental short circuits if your wrench touches the frame.
Step 2: Mix a cleaning solution of one tablespoon of baking soda per cup of water. This neutralizes the acidic corrosion on the terminals. For heavy buildup, you can sprinkle dry baking soda directly on the terminals first, then add water.
Step 3: Use an old toothbrush or a battery terminal brush to scrub the posts and cable connectors. Work the baking soda solution into all corroded areas until the bubbling stops. Rinse with clean water and dry thoroughly with a rag.
Step 4: Inspect the cables for fraying or damage. If you see green or white buildup inside the cable ends that will not come off, consider replacing the cables. Loose or corroded cables are a leading cause of intermittent power issues in RVs.
Step 5: Reconnect the positive cable first, then the negative. Apply a thin coat of terminal protector spray or petroleum jelly to the posts. This creates a barrier that slows future corrosion buildup significantly.
Always wear gloves and safety glasses when cleaning battery terminals. The corrosion is acidic, and a splash in the eye can cause serious injury.
Checking and Refilling Battery Water Levels
If you have flooded lead-acid batteries, checking water levels is your most important recurring maintenance task. The electrolyte inside each cell is a mixture of sulfuric acid and water. During charging, some water evaporates through the vent caps. If the plates inside are exposed to air, the battery suffers permanent capacity loss.
I recommend checking water levels every 30 days during camping season. Here is the proper procedure:
When to check: Always check water levels after the battery has been fully charged, not before. Charging causes the electrolyte to expand, and adding water before charging can cause overflow.
What level to maintain: The electrolyte should cover the plates by about one-half inch and sit approximately one-eighth inch below the bottom of the fill tube. Most batteries have a fill ring inside each cell opening that marks the correct level.
Use only distilled water: Never use tap water, bottled drinking water, or filtered water in your batteries. Tap water contains minerals and chemicals that react with the battery chemistry and cause internal damage over time. Distilled water costs about one dollar per gallon at any grocery store.
Do not add acid: You should never add sulfuric acid to a battery unless you are filling a brand-new dry-charged battery for the first time. During normal operation, only water is lost through evaporation. Adding acid throws off the electrolyte concentration and damages the battery.
AGM, gel, and lithium batteries are sealed and never need water. If someone tells you to check water levels on an AGM battery, they are giving you incorrect advice for a different battery type.
The 50 Percent Discharge Rule and Voltage Guidelines
The single most important rule of RV house battery maintenance for lead-acid batteries is this: never discharge below 50 percent of capacity. Going deeper than 50 percent dramatically shortens battery life through a process called sulfation.
What is sulfation? When a lead-acid battery sits in a discharged state, lead sulfate crystals form on the plates. These crystals harden over time and block the chemical reaction that stores and releases energy. Once sulfation becomes severe, the battery will not accept a full charge and loses significant capacity.
Here are the key voltage measurements every RVer should know for a 12-volt lead-acid battery:
12.6 volts or higher: Battery is fully charged (100 percent).
12.3 volts: Battery is about 75 percent charged.
12.1 volts: Battery is at 50 percent charged. This is your recharge point for lead-acid.
11.9 volts: Battery is about 25 percent charged. Damage is occurring.
10.5 volts: Battery is effectively dead. Discharging to this level causes severe sulfation.
Lithium batteries operate by different rules. A LiFePO4 battery can safely discharge to 20 percent of capacity (around 12.0 volts under the lithium voltage curve) without damage. Lithium batteries also do not suffer from sulfation, so they handle partial states of charge without issue.
If you want to monitor this accurately, invest in a battery monitor with a shunt. Voltage-only readings can be misleading right after charging or when under heavy load. A shunt-based monitor tracks actual amp hours in and out, giving you a true state-of-charge reading.
Charging Best Practices for Longer Battery Life
How you charge your RV house batteries matters just as much as how you maintain them. Proper charging extends battery life by years, while poor charging habits kill batteries quickly. The key is understanding the three-stage charging process that smart chargers use.
Stage 1 – Bulk: The charger delivers maximum current to bring the battery up to about 80 percent charge quickly. This is where most of the energy goes in.
Stage 2 – Absorption: The charger holds a constant voltage while the current tapers off. This finishes the charge and ensures all cells reach full capacity. Skipping this stage leads to chronic undercharging and sulfation.
Stage 3 – Float: The charger drops to a maintenance voltage that keeps the battery topped off without overcharging. This is the safe level for long-term connection.
Many RVers are confused about the difference between a battery maintainer, a trickle charger, and a smart charger. Here is the breakdown:
A smart charger uses multi-stage charging and adjusts its output based on the battery’s needs. It is the best option for restoring and maintaining charge. Look for one rated for your battery type.
A battery maintainer (sometimes called a battery tender) is designed to keep an already-charged battery topped off during storage. It provides a low float voltage and is safe for months-long connection. Maintainers are not designed to charge a deeply discharged battery.
A trickle charger delivers a constant low current regardless of battery state. These can overcharge a battery if left connected too long. I do not recommend trickle chargers for modern RV battery maintenance.
Overcharging is just as harmful as undercharging. It causes excessive gassing, water loss in flooded batteries, and heat buildup that warps plates. Always use a charger matched to your battery type and capacity.
Storage and Winter Maintenance Procedures
When your RV sits unused for weeks or months, your batteries need special attention. Storage is where most batteries die an early death. A few simple steps can keep your batteries healthy through the off-season.
Charge fully before storage. Never store a battery in a discharged state. A half-charged lead-acid battery will sulfate over weeks of sitting idle. Charge to 100 percent the day before you park the RV.
Disconnect or remove batteries. Even when everything is turned off inside the RV, small parasitic loads draw power. The propane detector, clock radio, and refrigerator circuit board all pull current continuously. Use a battery disconnect switch or physically remove the negative cable to eliminate all draw.
Use a battery maintainer for long storage. If you have shore power at your storage location, connect a smart maintainer. This keeps the battery at optimal float voltage without overcharging. For lithium batteries, check the manufacturer’s storage recommendation, which is typically 50 to 80 percent charge.
Top off monthly if not using a maintainer. Plug the RV in for about eight hours every month to bring the batteries back to full. Lead-acid batteries self-discharge at a rate of roughly 5 percent per week at room temperature, and faster in hot weather.
Store in a cool, dry place. Heat accelerates self-discharge and chemical degradation. If you live in a hot climate, remove batteries and store them indoors at moderate temperatures. Cold slows self-discharge, but never let batteries freeze. A fully charged battery freezes at minus 77 degrees Fahrenheit, while a discharged battery can freeze at 32 degrees.
Clean before storing. Give the batteries a full terminal cleaning before putting them away for the season. This prevents corrosion from hardening over months of storage and making it harder to clean later.
Preventing Parasitic Drain on RV Batteries
Parasitic drain is the silent killer of RV house batteries. These are small electrical loads that run continuously even when you think everything is off. They can drain a fully charged battery in two to three weeks.
The most common parasitic loads in an RV include the propane leak detector, refrigerator control board, carbon monoxide detector, clock radios, stereo memory, and any LED indicator lights on panels. Individually each draws a fraction of an amp, but together they can pull one to three amps per hour around the clock.
To diagnose parasitic drain, you need a digital multimeter. Disconnect the negative battery cable and set the multimeter to measure amps. Connect it between the negative battery post and the disconnected cable. A reading above 0.1 amps (100 milliamps) indicates a significant parasitic draw.
Pull fuses one at a time while watching the multimeter. When the reading drops, you have found the circuit responsible. From there you can decide whether to install a disconnect switch, remove the fuse during storage, or address the specific component drawing excess power.
The simplest solution is a battery disconnect switch. These cost about twenty dollars and let you completely cut all power with a single turn of a knob. Every RVer who stores their rig should have one installed.
Signs Your RV House Batteries Need Replacement
Even with perfect maintenance, batteries eventually wear out. Knowing the warning signs helps you replace them on your schedule instead of discovering the problem at a campsite. Here is what to watch for:
Voltage drops rapidly under load: A healthy battery holds its voltage when you turn on lights or a fan. If voltage plummets the moment you apply any load, the battery has lost internal capacity. This is the most reliable indicator of a failing battery.
Battery will not hold a charge: If you fully charge the battery and it drops to 50 percent within 24 hours with nothing connected, one or more cells have failed internally.
Bulging or swollen case: A battery case that looks warped or bloated indicates internal overheating and plate damage. This is a safety hazard and the battery should be removed immediately.
Rotten egg sulfur smell: A strong sulfur smell means the battery is venting hydrogen gas excessively. This happens when cells are shorting internally and the battery is overcharging trying to compensate.
Low specific gravity in one cell: For flooded lead-acid batteries, use a hydrometer to test each cell. If one cell reads significantly lower than the others and does not improve after charging, that cell has failed.
Expected lifespans by battery type: flooded lead-acid typically lasts three to five years, AGM lasts four to seven years, and lithium-ion lasts ten years or more with thousands of charge cycles.
RV House Battery Maintenance Checklist
Print this checklist and keep it in your RV. Following this schedule prevents nearly all common battery problems.
Monthly tasks: Check water levels on flooded lead-acid batteries. Inspect terminals for corrosion. Check battery voltage with a meter. Top off charge if voltage is below 12.3V.
Quarterly tasks: Perform full terminal cleaning with baking soda solution. Check and tighten all cable connections. Test specific gravity on flooded batteries with a hydrometer. Inspect battery cases for swelling or cracks.
Seasonal tasks: Before winter storage, fully charge batteries and disconnect them. Apply terminal protector spray. Store in a cool, dry location or connect a maintainer. Before camping season, perform a full charge cycle and load test.
FAQs
How long should house batteries last in an RV?
Flooded lead-acid RV house batteries typically last three to five years with proper maintenance. AGM batteries last four to seven years, while lithium-ion batteries can last ten years or more. How you charge, discharge, and store your batteries has the biggest impact on lifespan. Following the 50 percent discharge rule and keeping terminals clean can add years to a lead-acid battery’s life.
How do I keep my RV battery charged when not in use?
The best way to keep your RV battery charged during storage is to connect a smart battery maintainer that provides a safe float voltage. If you do not have shore power at your storage location, fully charge the batteries before storage, disconnect them using a battery disconnect switch to eliminate parasitic drain, and plug the RV in for about eight hours every month to top off the charge.
How to know if RV house batteries are bad?
Signs of bad RV house batteries include voltage dropping rapidly under any load, inability to hold a charge after a full charge cycle, a bulging or swollen battery case, a strong sulfur smell, and significantly lower specific gravity readings in one or more cells. A battery that drops below 10.5 volts quickly when tested with a moderate load is at end of life.
Why are my RV house batteries dying while plugged into shore power?
RV house batteries dying while plugged into shore power usually means your converter or charger is malfunctioning and not delivering charge to the batteries. Other causes include a blown reverse-polarity fuse, loose or corroded battery connections preventing charge flow, or a failed isolation solenoid. Check converter output voltage at the battery terminals. You should see 13.2 to 14.4 volts when charging. If voltage reads 12.6 or lower, the charging system needs service.
What drains a RV battery the fastest?
The biggest battery drains in an RV are the propane leak detector, refrigerator control board running on 12-volt mode, furnace blower motor, and incandescent interior lights. The propane detector pulls power continuously, drawing about 0.3 amps around the clock. The furnace is the largest single draw at 5 to 8 amps when running. To minimize drain, convert to LED lighting, run the fridge on propane when boondocking, and use a battery disconnect switch during storage.
Should you leave your RV inverter on all the time?
You should not leave your RV inverter on when you are not actively using it. An inverter draws a parasitic load of 1 to 3 amps even when nothing is plugged into it, because it constantly searches for AC loads. This standby draw can drain your house batteries significantly over a few days. Turn the inverter off when you leave the RV or when running strictly on 12-volt DC power.
Wrapping Up Your RV Battery Maintenance Routine
Consistent RV house battery maintenance is what separates RVers who replace batteries every two years from those who get a full five to seven years out of every set. The work takes about 30 minutes per month, and it pays for itself many times over in avoided replacement costs and uninterrupted camping trips.
Remember the core habits: clean terminals quarterly, check water levels monthly on flooded lead-acid, never discharge lead-acid below 50 percent (12.1 volts), charge with a multi-stage smart charger, and use a disconnect switch during storage. If you build these steps into your routine, your batteries will take care of you on every trip.
Start by checking your battery type today and printing the maintenance checklist from this article. Your first full inspection should take about an hour, and after that the monthly routine becomes quick and second nature.